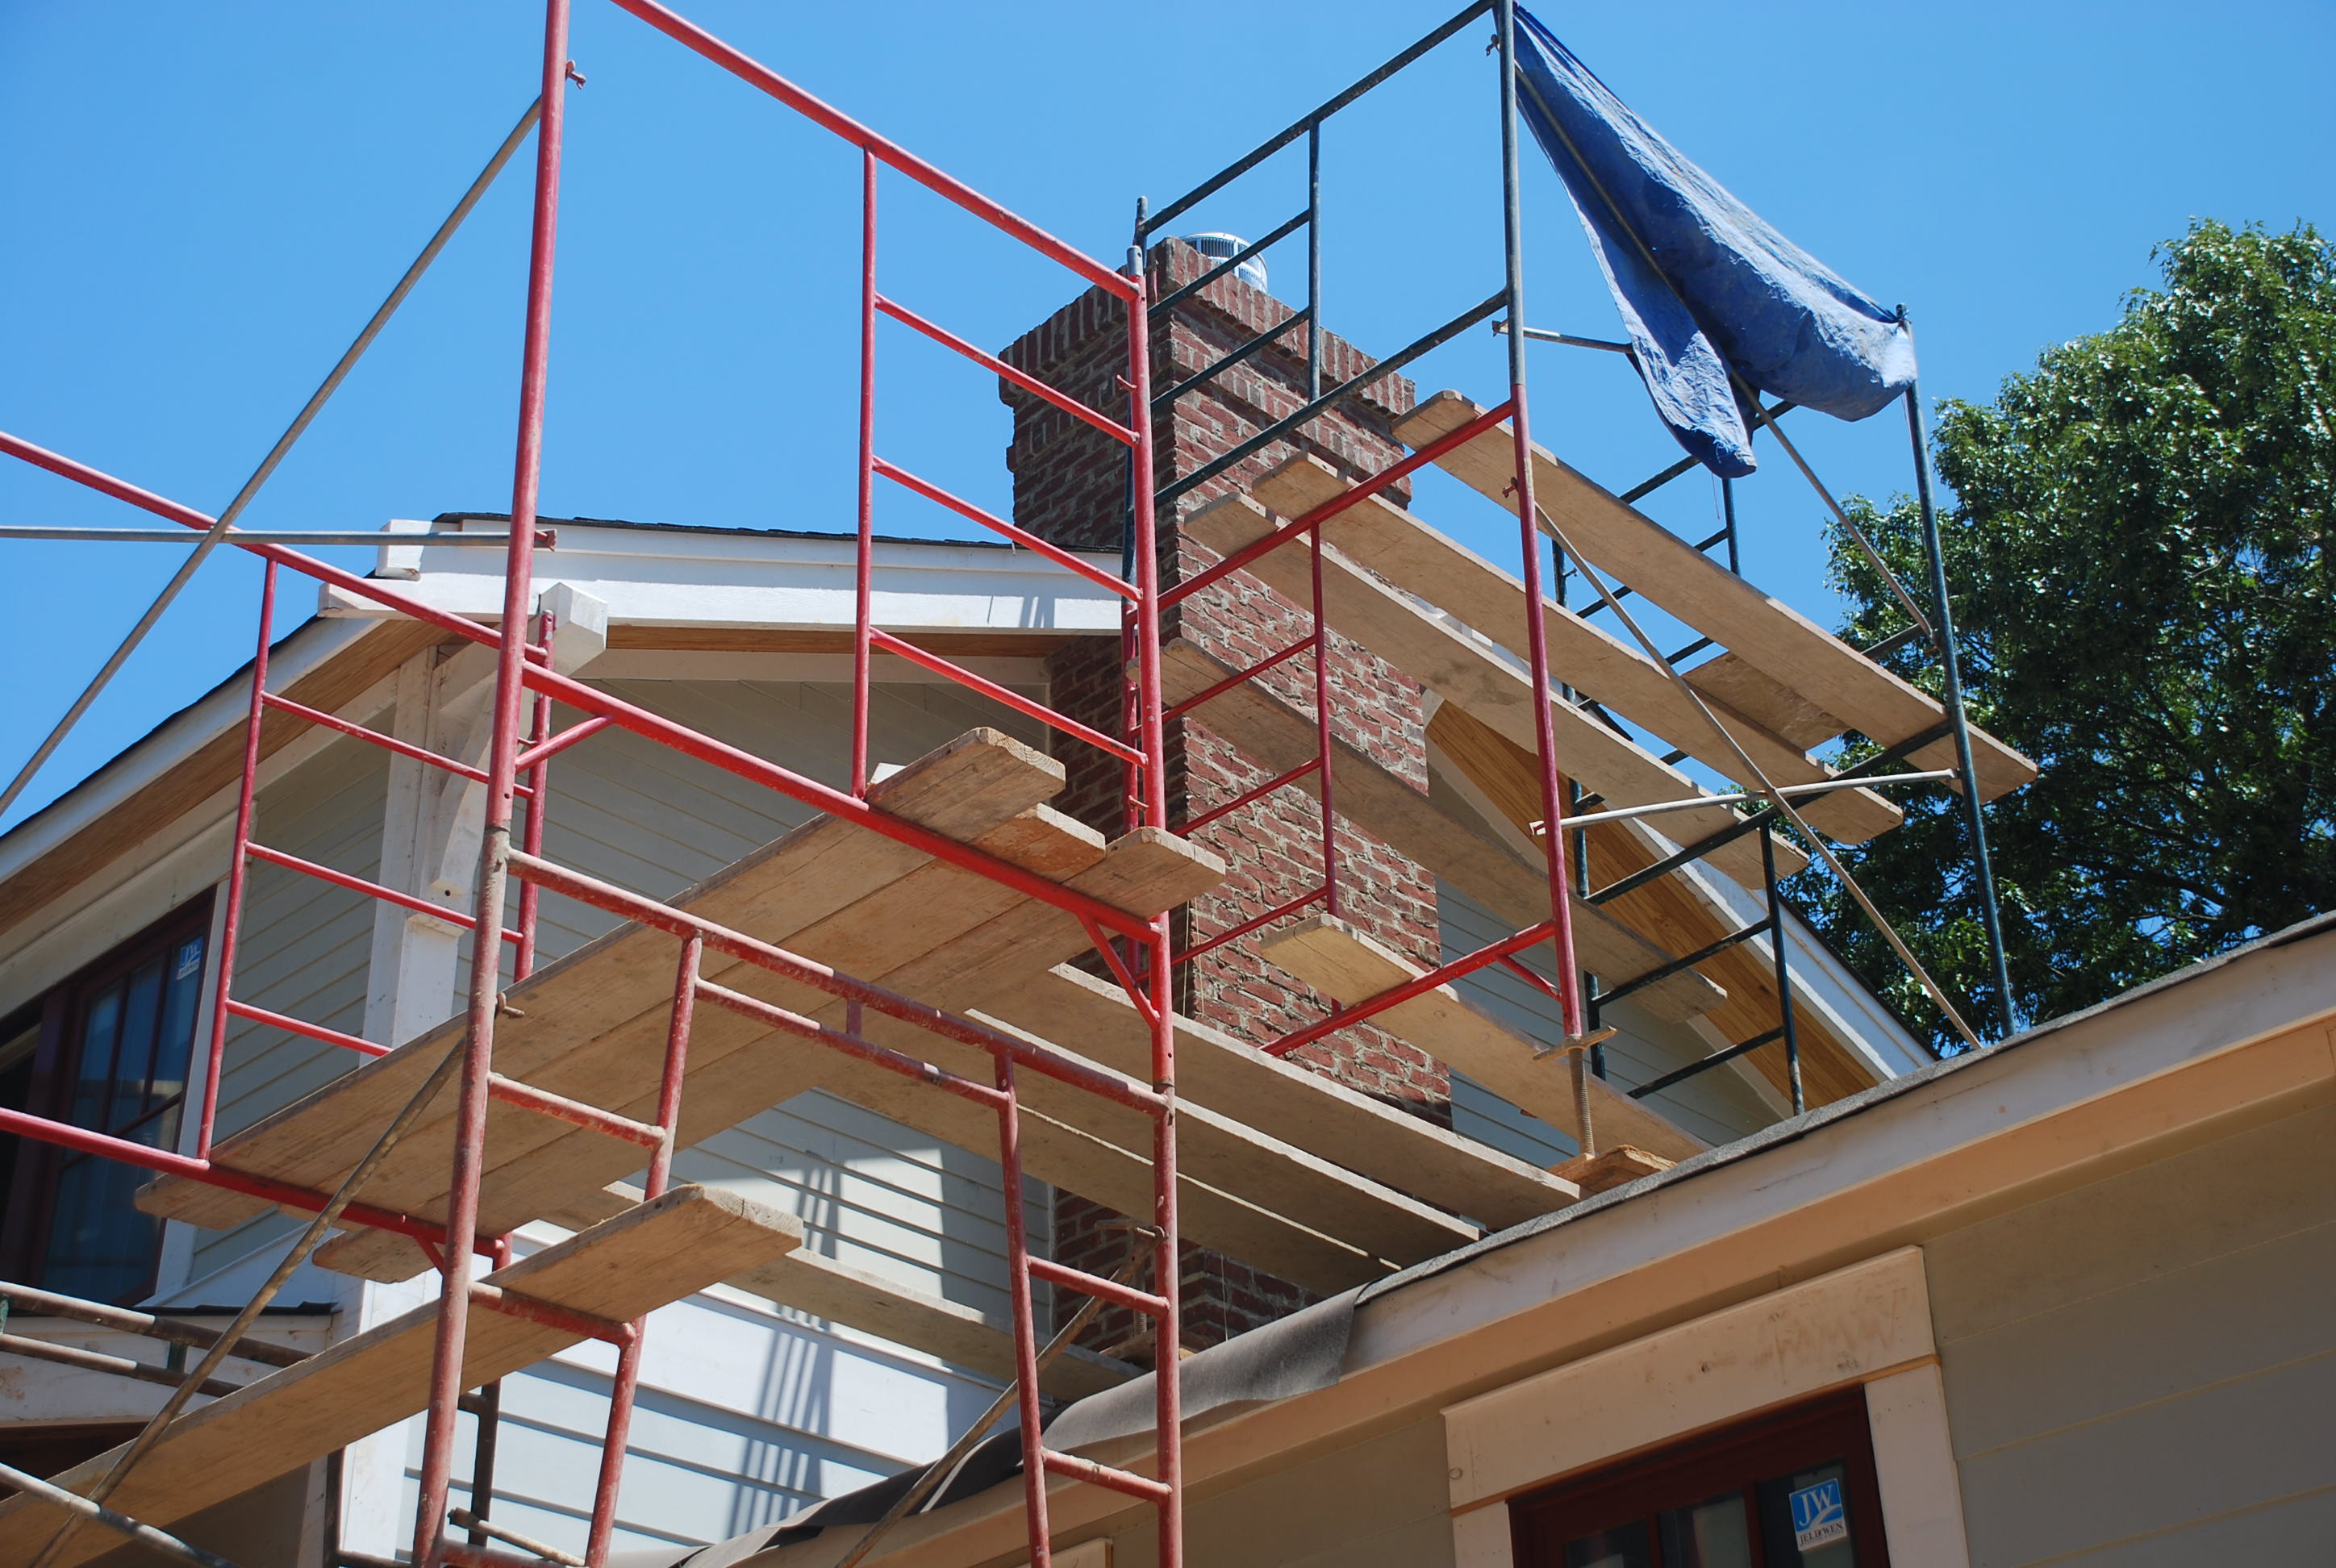
Another busy and exciting week as the exterior of the house starts to take on more design character! We scheduled the masons to return to wrap up most of the remaining brick work. First item – the chimney.
You’ll remember all the thin brick that we’ve been cutting for several weeks – it was all for the chimney. We’ve gone to all this effort because we need to reduce the weight of the chimney as it is being carried by the floor joists spanning the Garage on the bottom level.
With normal brick, you have some sort of foundation or footing that it sits on because it is so heavy. But with thin brick, it is basically ‘glued’ to the wall with mortar – so the sheathing on the wall holds it up – and the bricks don’t actually sit on top of each other. The first thing to do is to apply metal lath to the wall so that the mortar has something to grab hold of.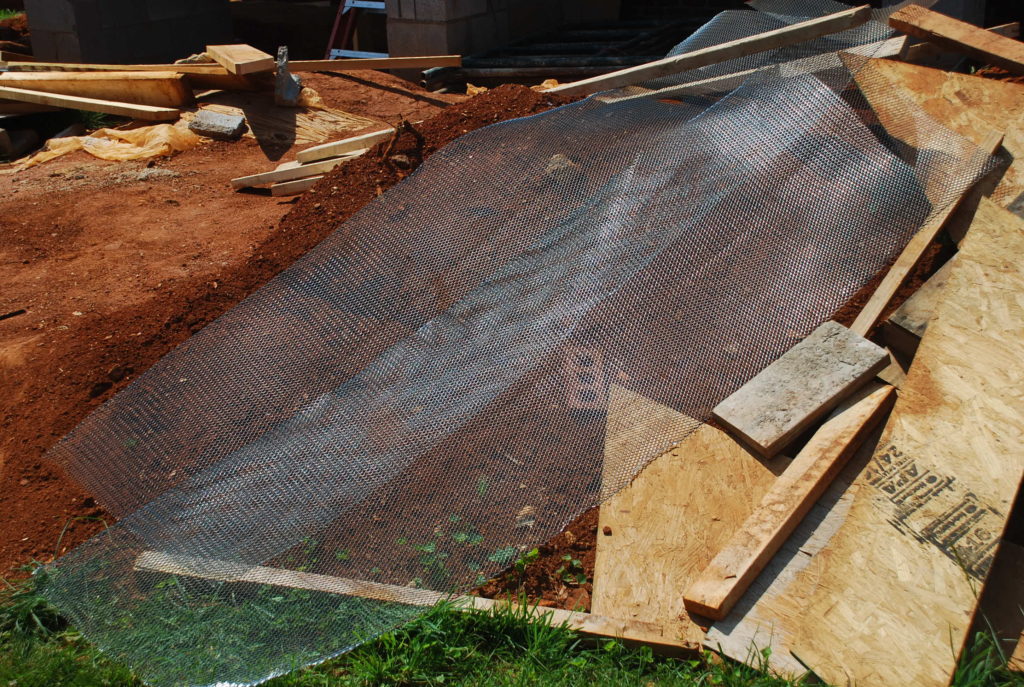 The metal lath was draped around the chimney and then nailed/stapled firmly in place. Then the mortar is applied over the lath like a scratch coat of plaster is applied.
 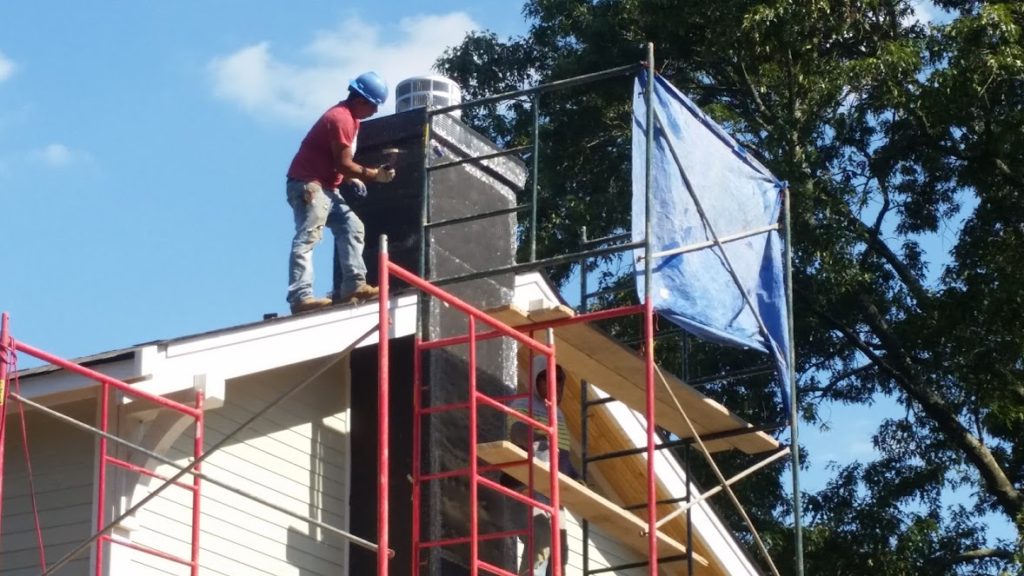 Once the mortar is set, then it is time to apply the brick. After carefully measuring down from the top, the masons laid out horizontal lines representing each of the mortar joints so that everything would go up level. Then they started at the bottom with the brick that we had cut and worked their way up – course by course.
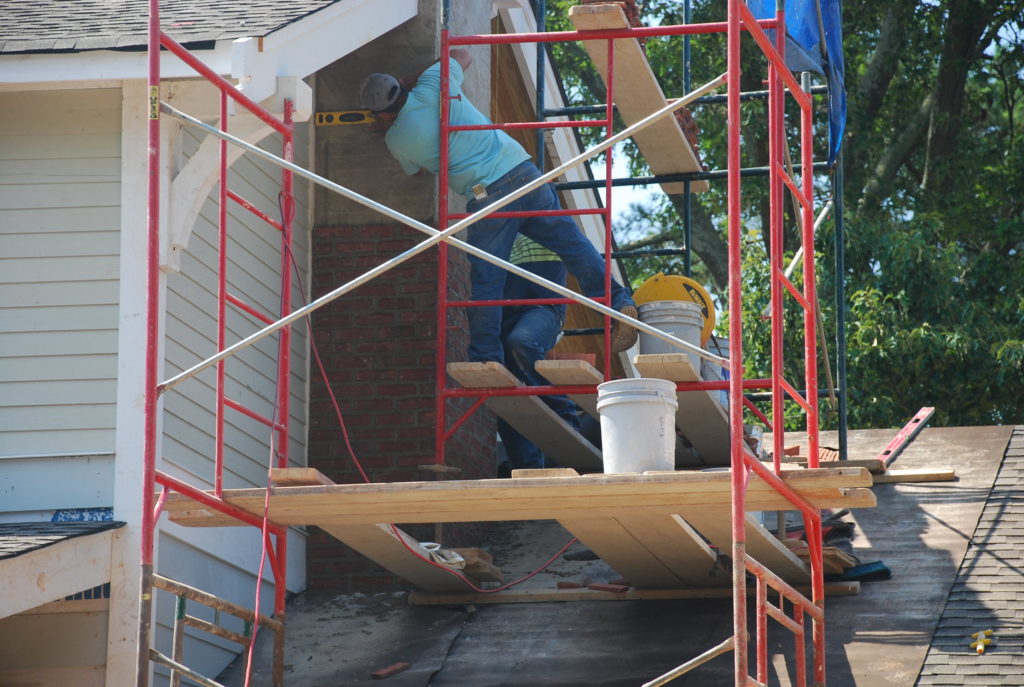 The brick ‘glues’ onto the scratch coat with mortar. The result is a brick veneer that looks authentic, but is only about 1/4 the weight and thickness.
 The blue tarp is there for a sun shade. A full day in the sun gets pretty hot and once you’ve climbed the scaffolding, you want to stay up there for a while.
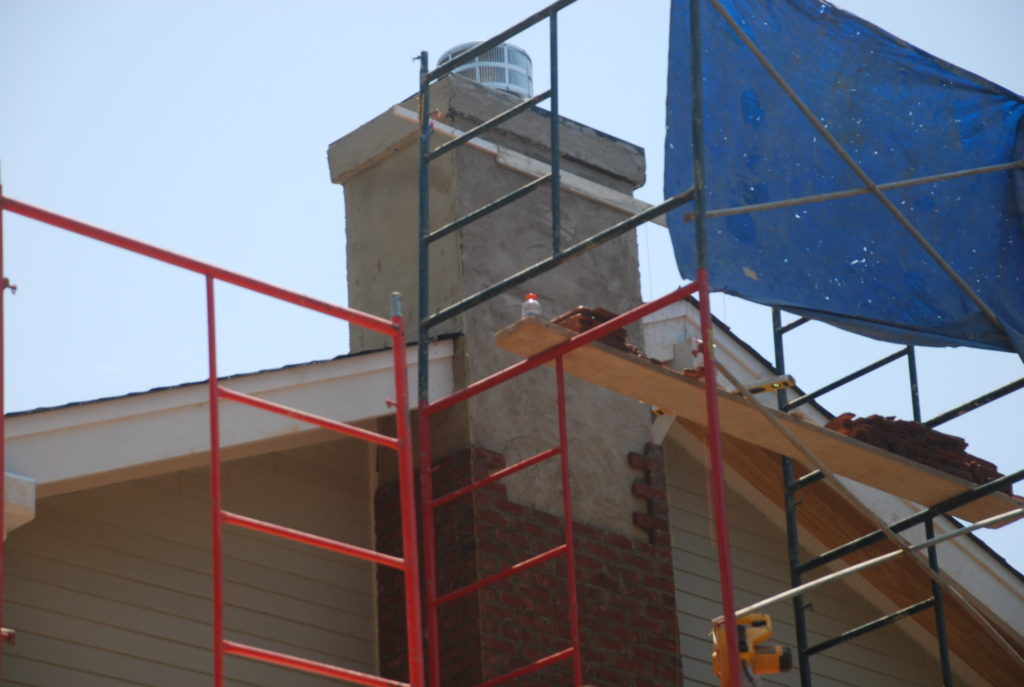 At the end of the day Wednesday they were almost up to the rake board. And by the time we got by there on Thursday they had it topped out and everything looked just like the design! There were just a few pieces left over, so our estimate was almost right on.
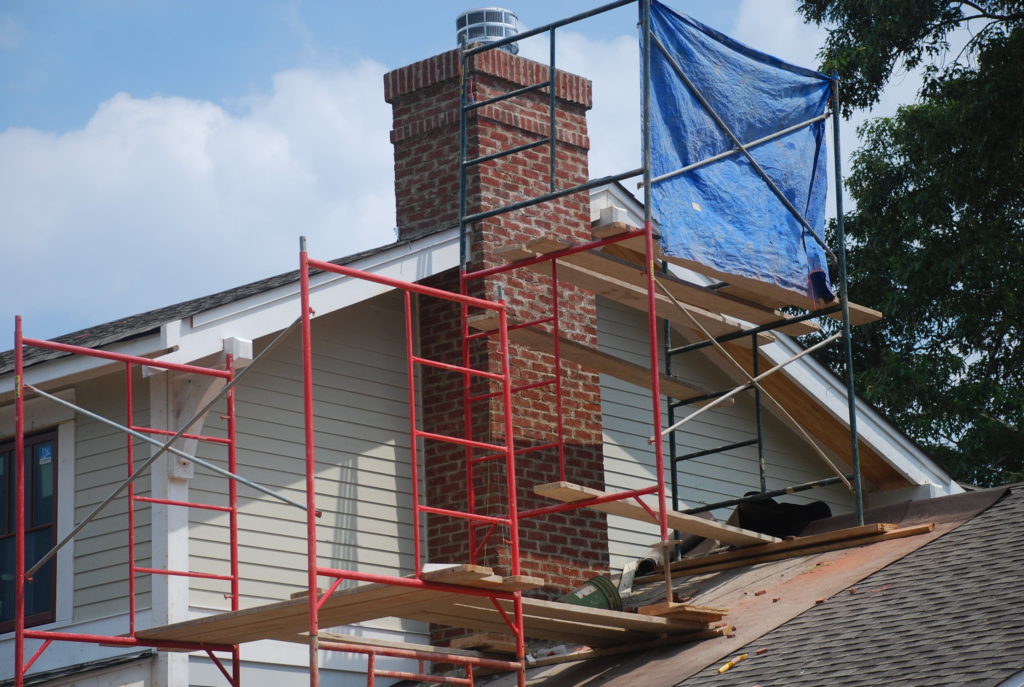 While the chimney brick was going up, our exterior trim guys were back to wrap up a few things. First off was the eyebrow roof over the Garage doors. They had to furr down so that the soffit would flush up with the trim board, and then apply the beadboard to create the soffit. Once that was done they could attach the corbels that Dave had made to create the illusion that they are holding up the roof.
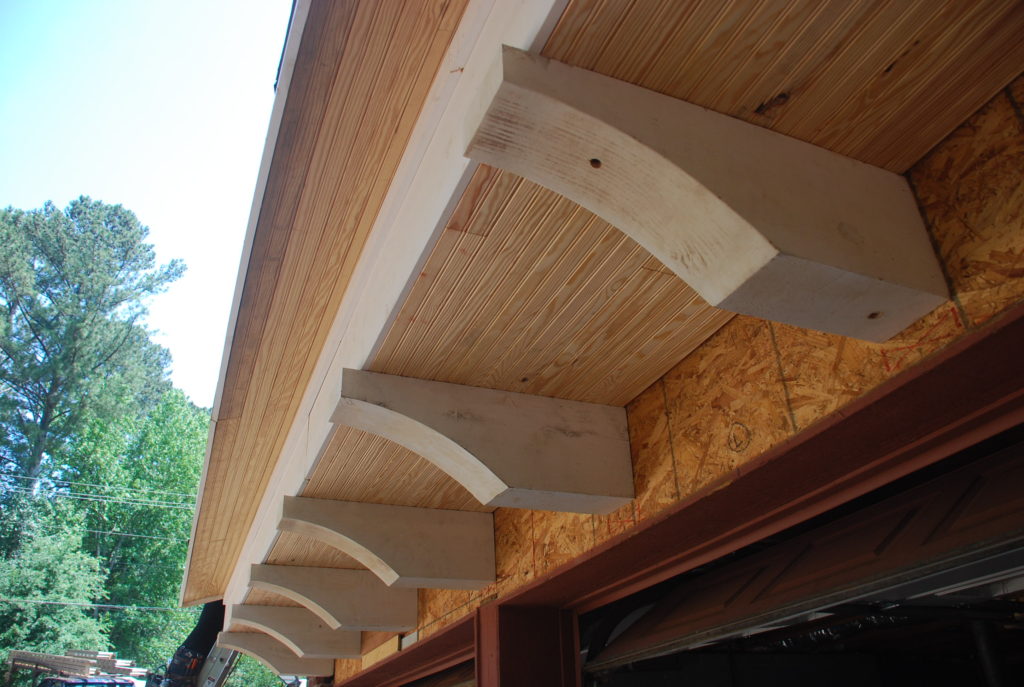 There’s still some trim to apply, but all the corbels are in place and looking great!
Once the masons were finished with the chimney brick, they were ready to tackle the front porch piers. I mentioned earlier that the original mason had somehow miscalculated the location of the piers, so we have been debating how to best deal with the block being in the wrong place, but the brick veneer having to be correct. We considered taking down all the block and starting over, but the new mason suggested that it would be better to just cut away the part that stuck out too far and adjust the location of the pier by laying the brick in the correct place.
Last weekend we had mounted the main floor beams to the block, so that connection point had to stay where it was.
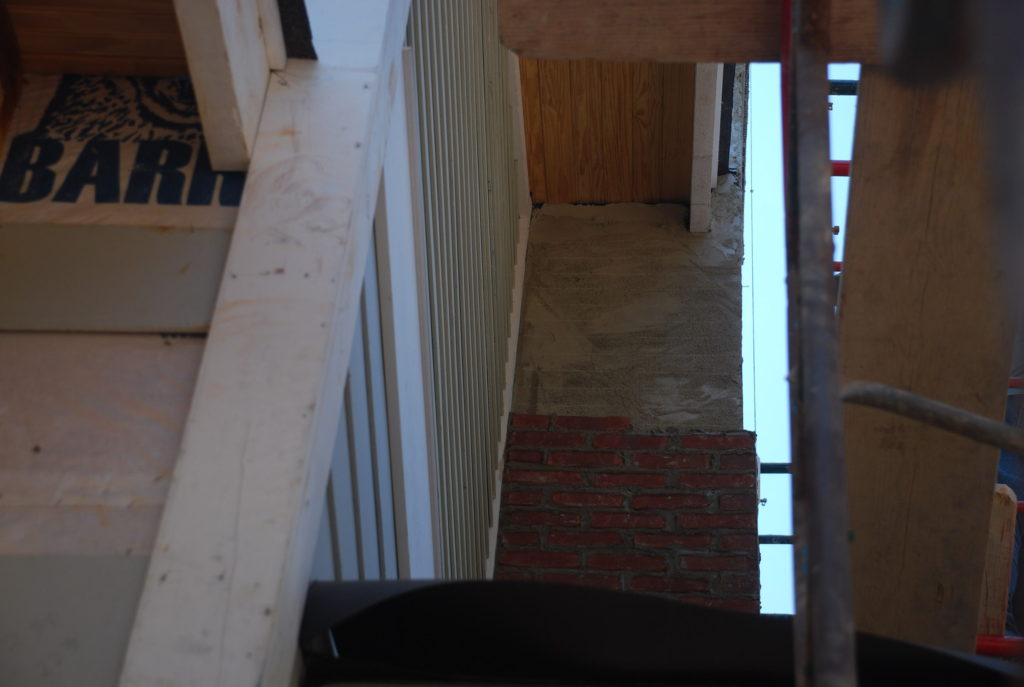
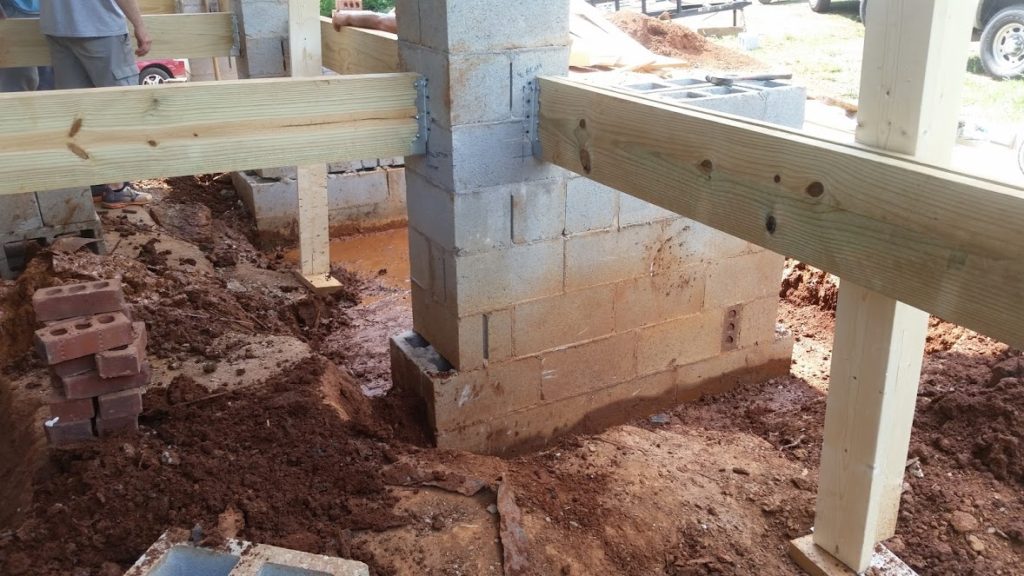 However the rest of the block saw the wrath of the concrete saw! The piers were too close to the house and too far to the left, so that part had to be cut away as you can see below. They left the blocks alone where the beams were fastened and will use thin-cut brick to go around those faces.
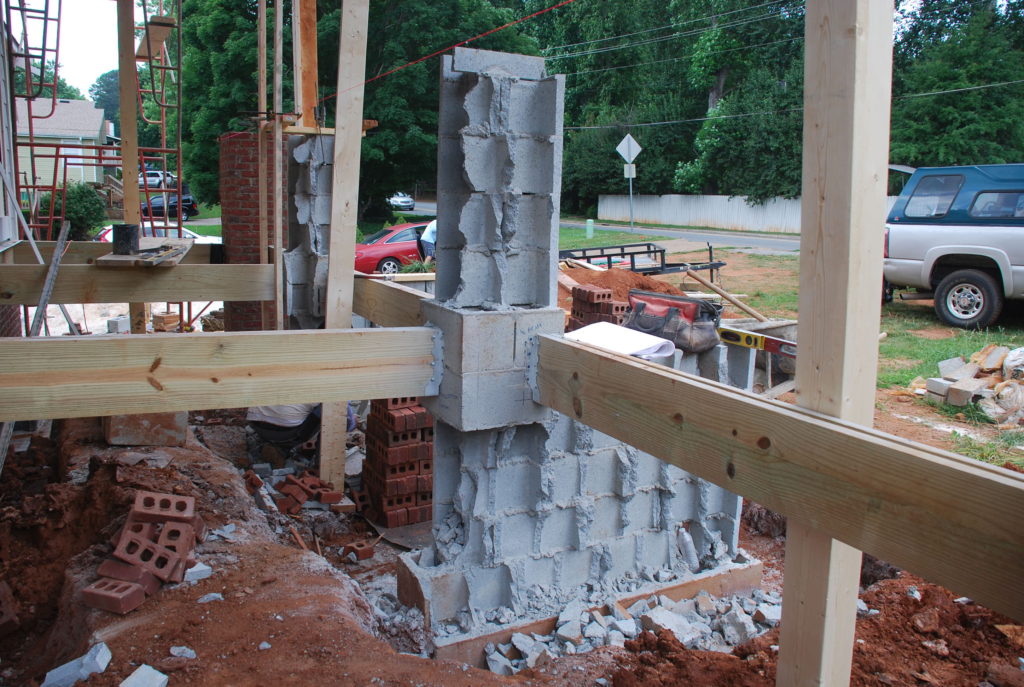 Below is the right center pier looking from the front door. They filled in the entire area with mortar and the broken pieces of block and brick remnants so once they were through each pier was completely solid.
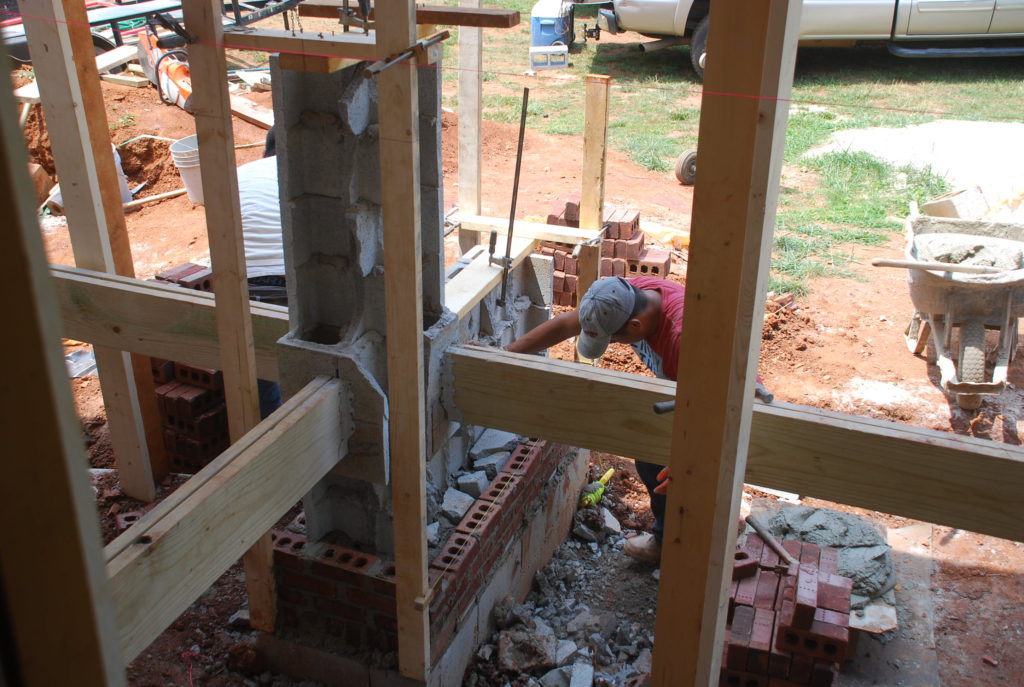 Once the block was covered by brick, you couldn’t tell that there was ever anything wrong.
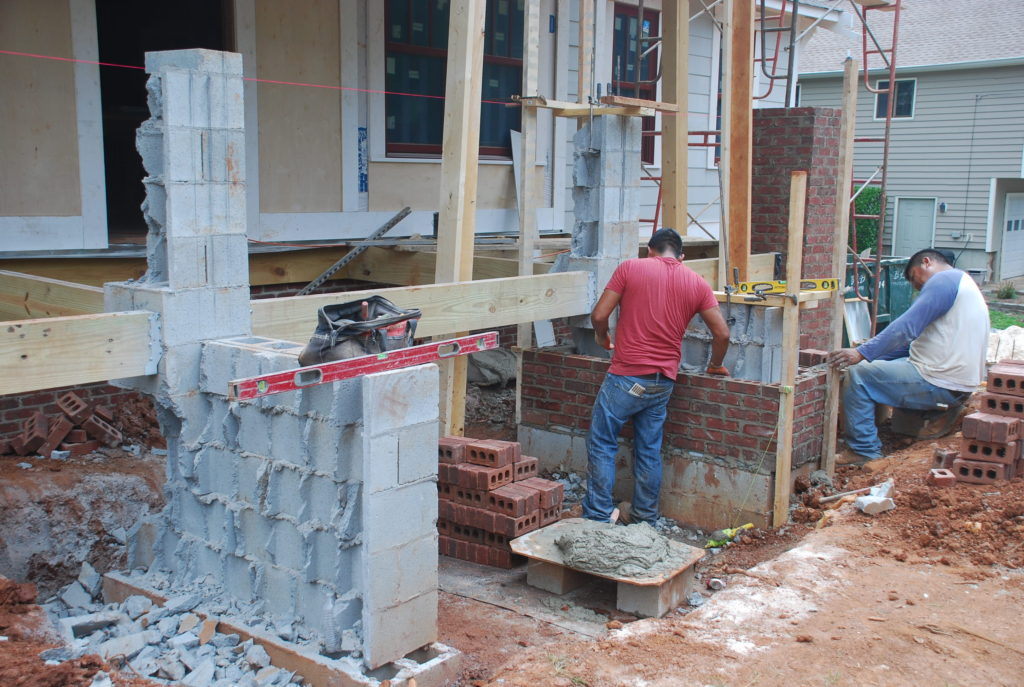 By the end of the week they had finished three of the piers – just one left to go!
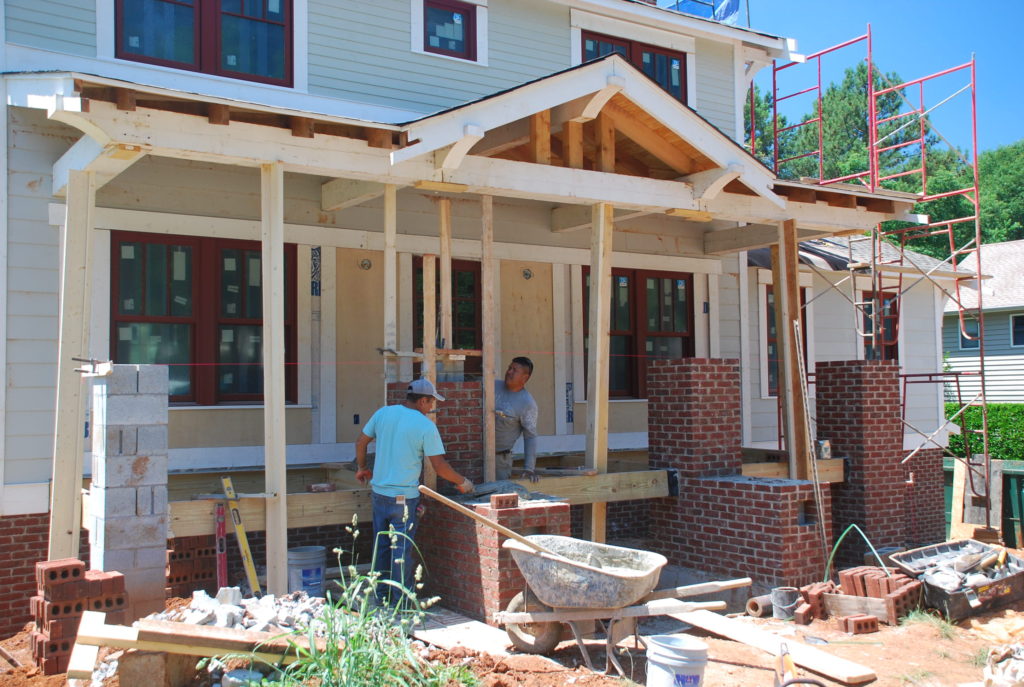 On Saturday, Jonathan and Dale tackled the foamboard insulation that is required around the perimenter block walls of the Basement. Some areas were pretty wide open and went quickly, but others required some precision measuring and cutting.
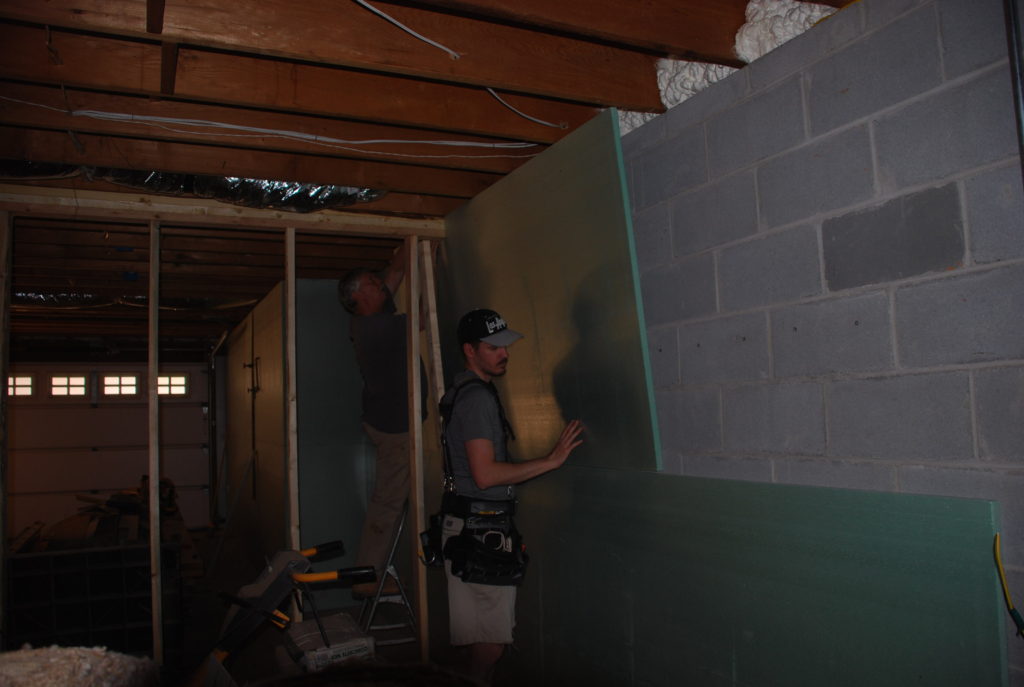 We even got the wall behind the racks all insulated. It was good to get this job out of the way.
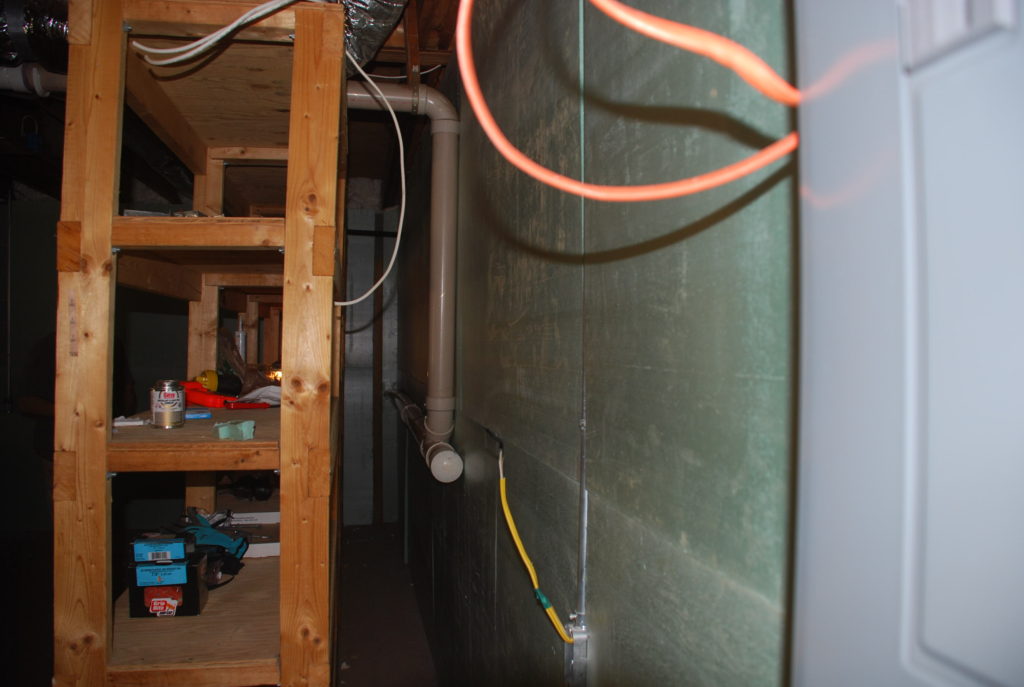 Next week the masons will be back to wrap up the rest of their work, and we have also scheduled in the drywall. The transformation is picking up speed!