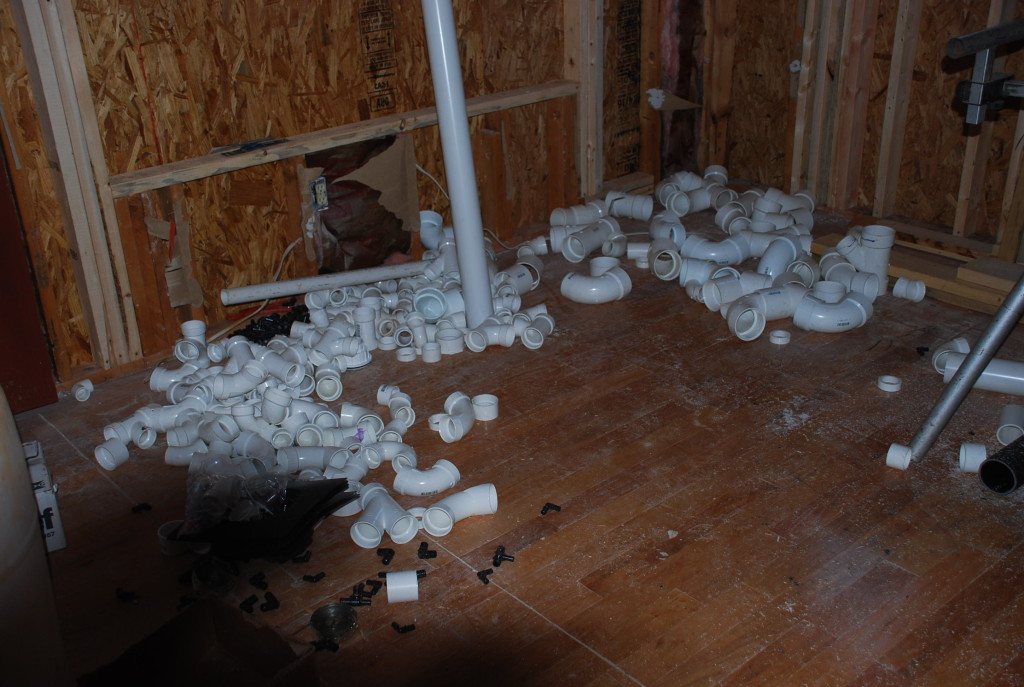
The interior framing modifications are pretty much done, so it is time for the ‘mechanicals’ to start on their ‘rough’. Translated that means that the Plumber, the HVAC sub, and the Electrician (in that order) are going to put in all their equipment and pipes and wires and boxes that have to be done before they are covered up with drywall. Once they are all in, then they will have to pass inspection by the City inspector before we can insulate the walls and put the drywall up. One pet peeve we have developed over the years is our dislike of hearing the sound of a waterfall in the ceiling/wall every time someone flushes or showers or runs the sink upstairs. After much research we have learned that one solution is to use cast iron pipe for the drains because the mass and weight of the pipe is a much better sound insulator than the thin PVC pipe that everyone uses today. The plumber insists that we only need to use cast iron on the drops (vertical drains), but we are skeptical. We’ll be sure and do some testing before covering them up to make sure – and will let you know.
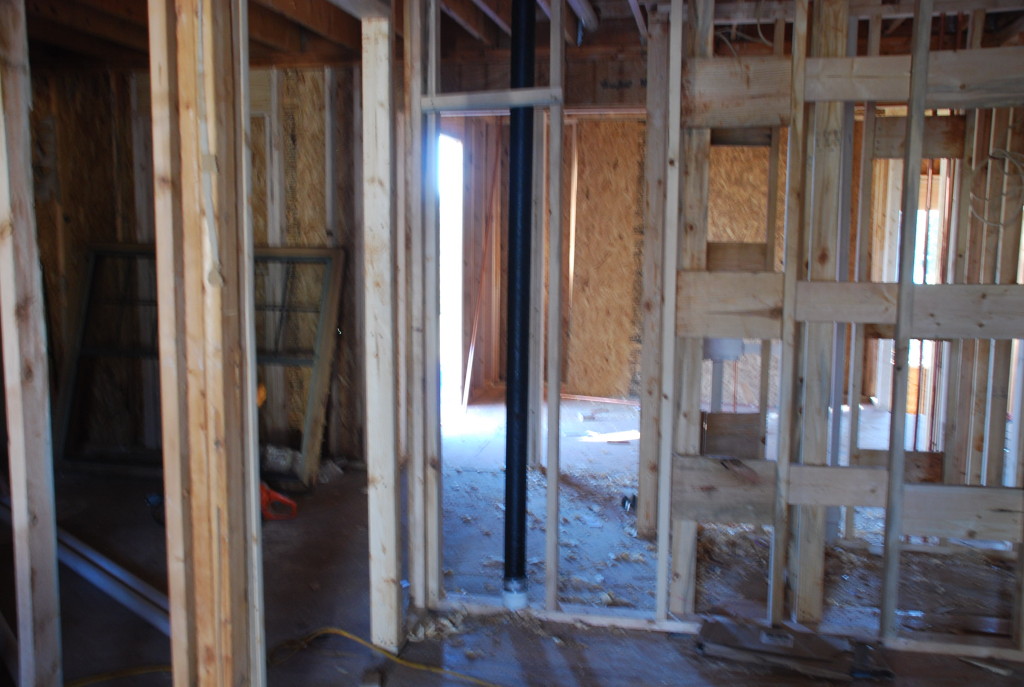
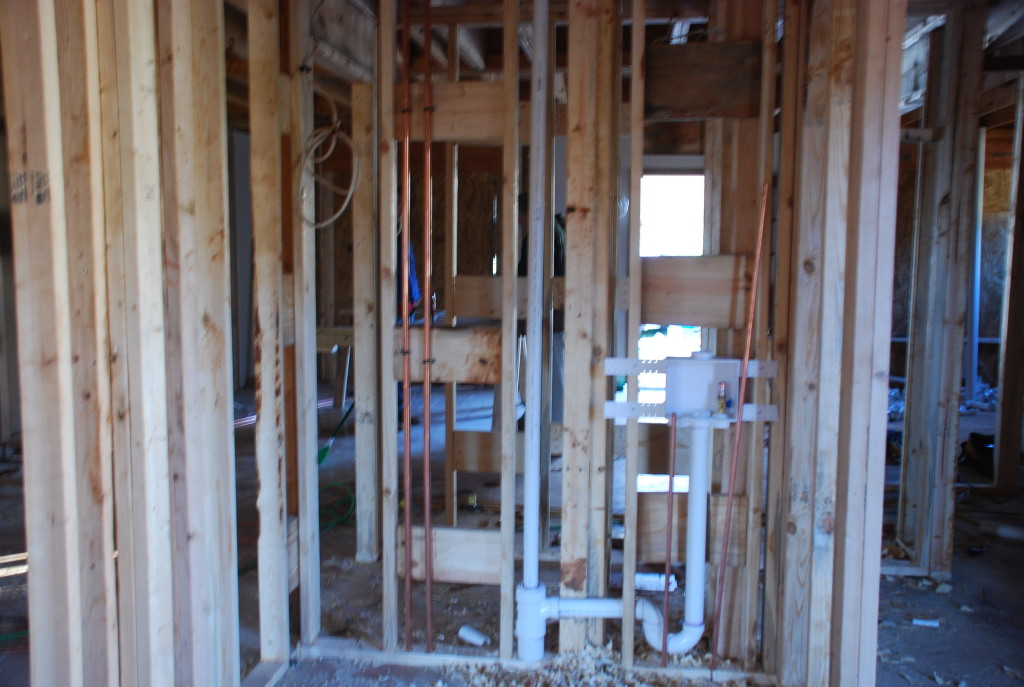
The plumbers have been busy this week and have much of their rough installation in place. We discussed using Pex for the new waterlines – a new piping product that is all the rage today, but the price of copper is so low now that we decided that it just made more sense and it ties in well with the existing copper of the original house. The drains and vents are all PVC (except for the two drops in the First Floor walls).
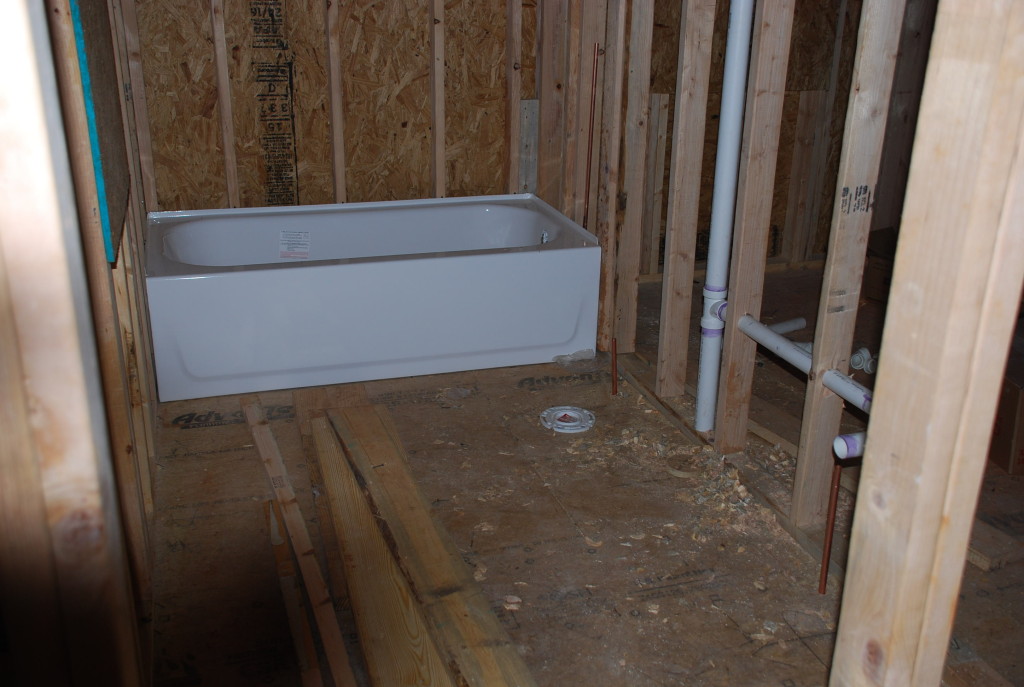
The tubs are porcelain over steel, an upgrade for the old fiberglass ones we had before.
Plumbing takes a bit of planning to figure out how to get from Point A to Point B without cutting holes in all the framing. And then you also have to size the pipe correctly depending on the fixture being served or the required vent size. The plumber gets to go first because his material are more rigid and it is more difficult for him to work around the other trades than it is for them to work around the plumbing.
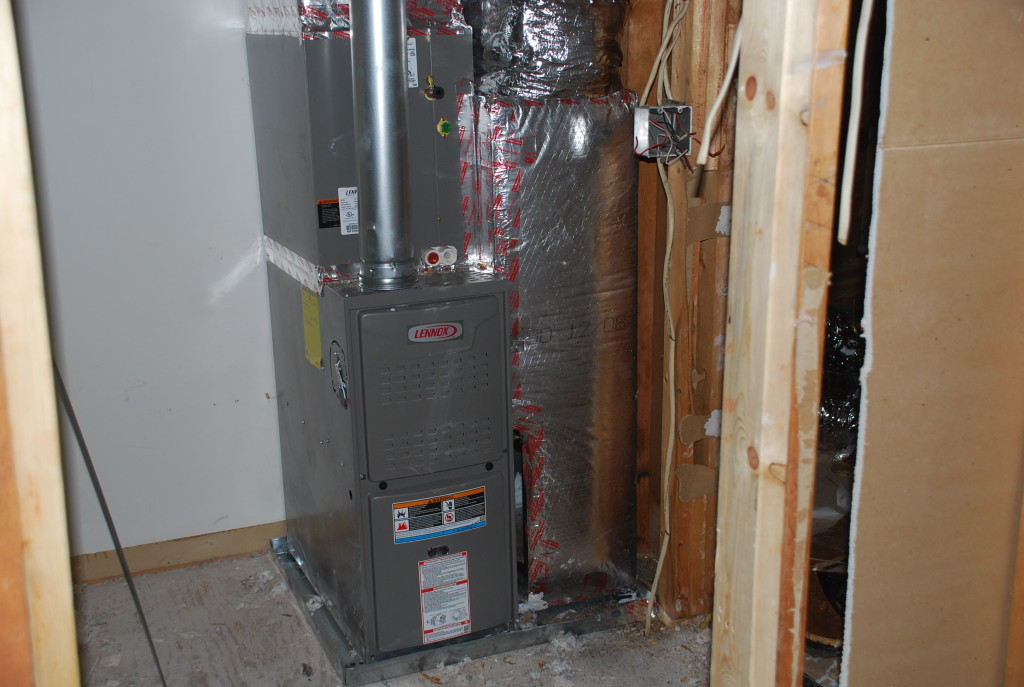
After plumbing comes the HVAC contractor. We’re putting a new unit upstairs just to serve that floor and they are abandoning the original ductwork for new flex. I’m not a big fan of flex because it is easily squashed at turns and where it is supported and the air-flow is easily cut off or reduced. But it seems to be the duct of choice these days for residential, and the most reasonable cost solution. We’re just going to have to watch it closely to make sure all the ducts/registers have good air flow.
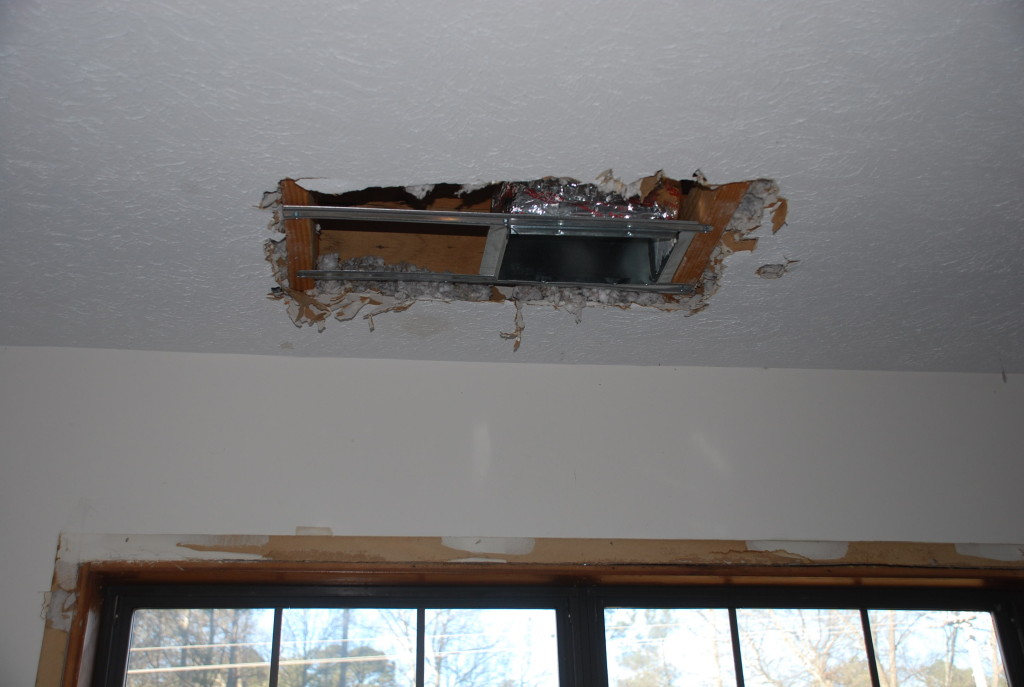
The HVAC sub determined that we didn’t have sufficient room to place and service a unit in our small attic space, so we have taken a large part of what was going to be a huge linen closet upstairs to be the new ‘Mechanical Room’. This will require a bit of rework on the floor plans and resizing a couple of doors, but we can handle that without any problem.
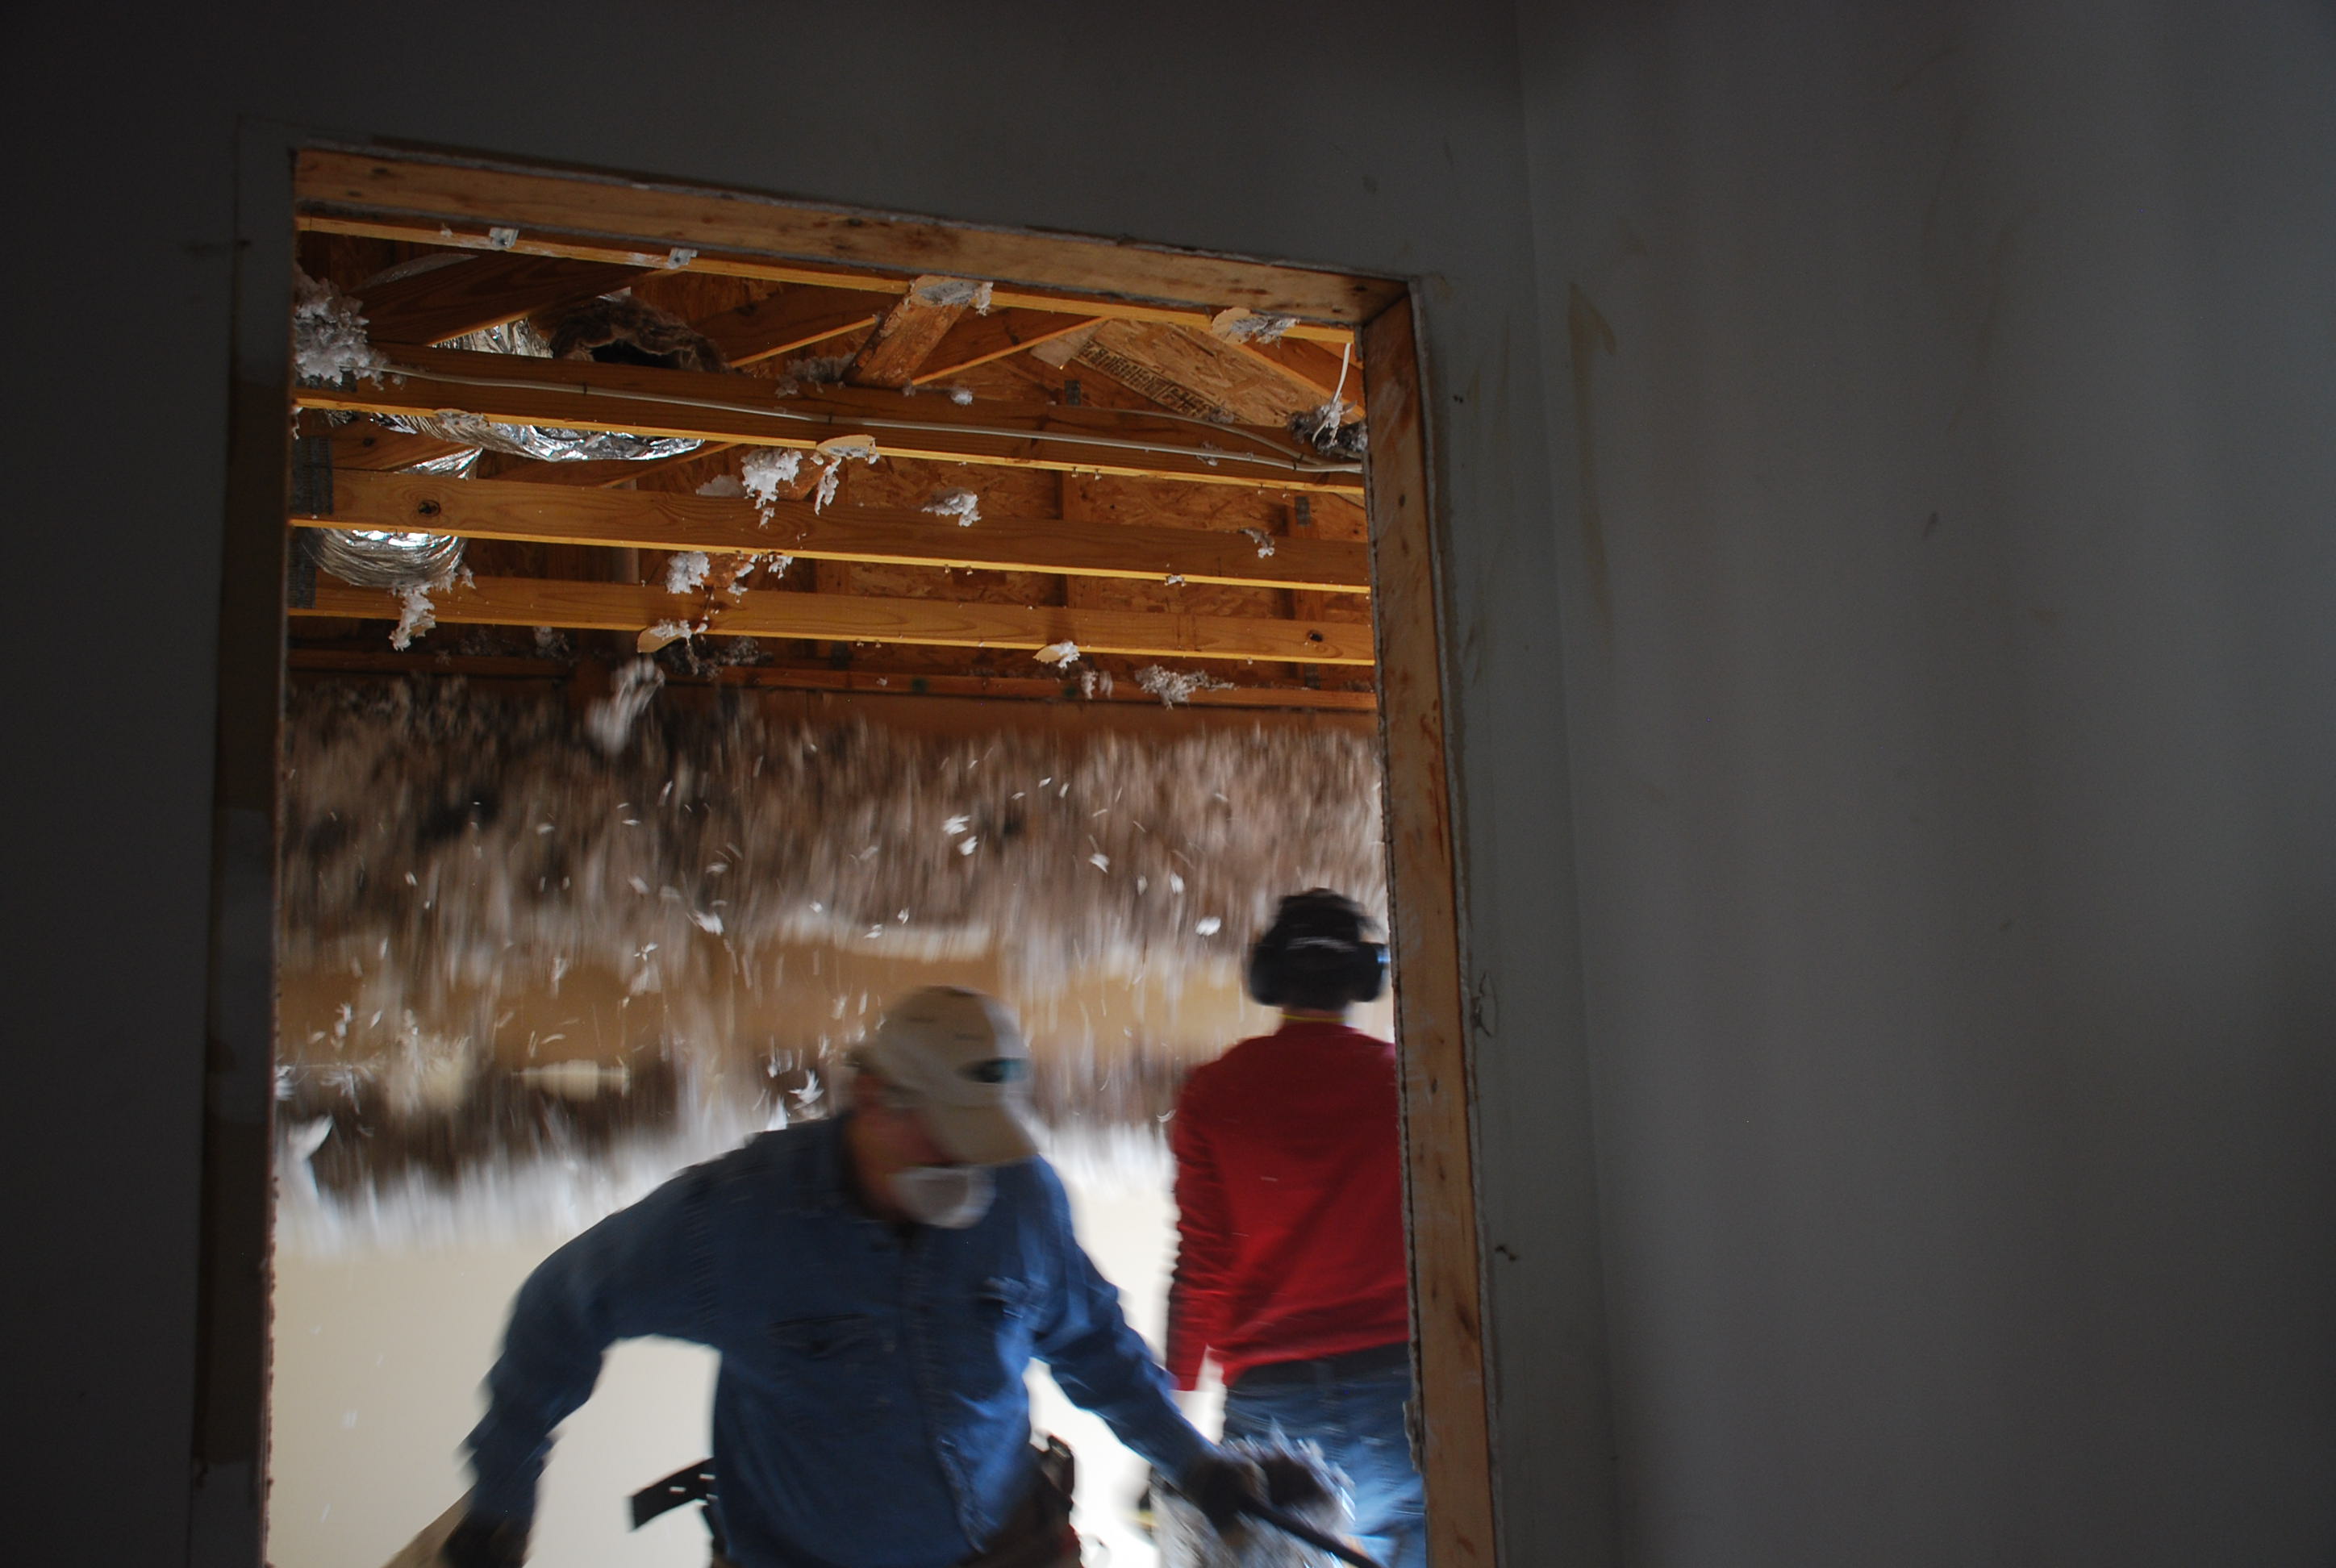
Once the HVAC subcontractor got finished chopping up the upstairs ceiling with new supply and return grille locations, we decided that it was going to be best to just go ahead and remove the ceiling and go back in with new drywall. This is going to make it easier for lots of folks, including the electrician, the spray foam insulation guys, the demo guys (us) taking out the ductwork, etc. Through our vast experience with drywall demo, we had developed a systematic approach which started with Jonathan taking our reciprocating saw and cutting the drywall between the studs (or the trusses in this case).
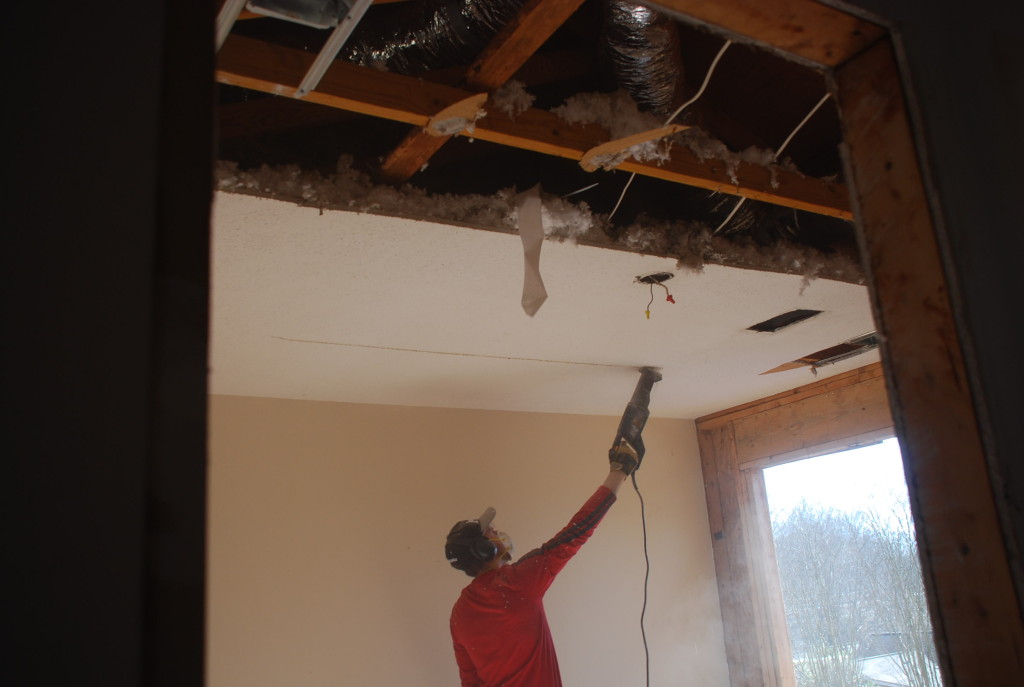
Next we gently pull the drywall off the wall in pieces that usually break at a joint every 4 or 8 feet. Jonathan can reach the ceiling, but I need a ladder.
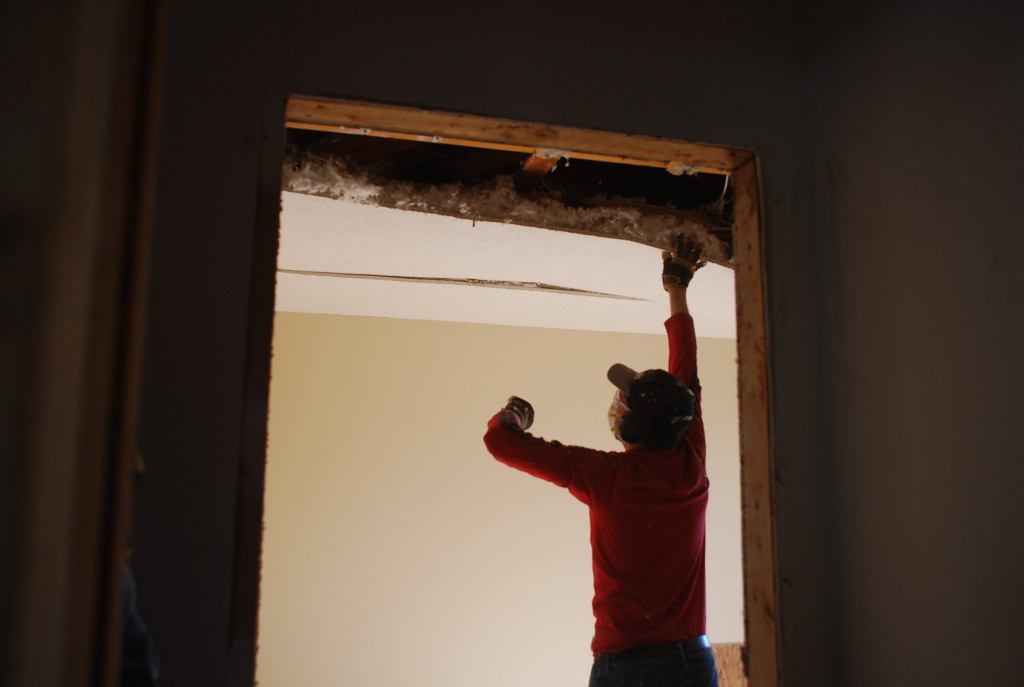
Occasionally it decides to all come down at the same time – which results in the picture at the beginning of this post!
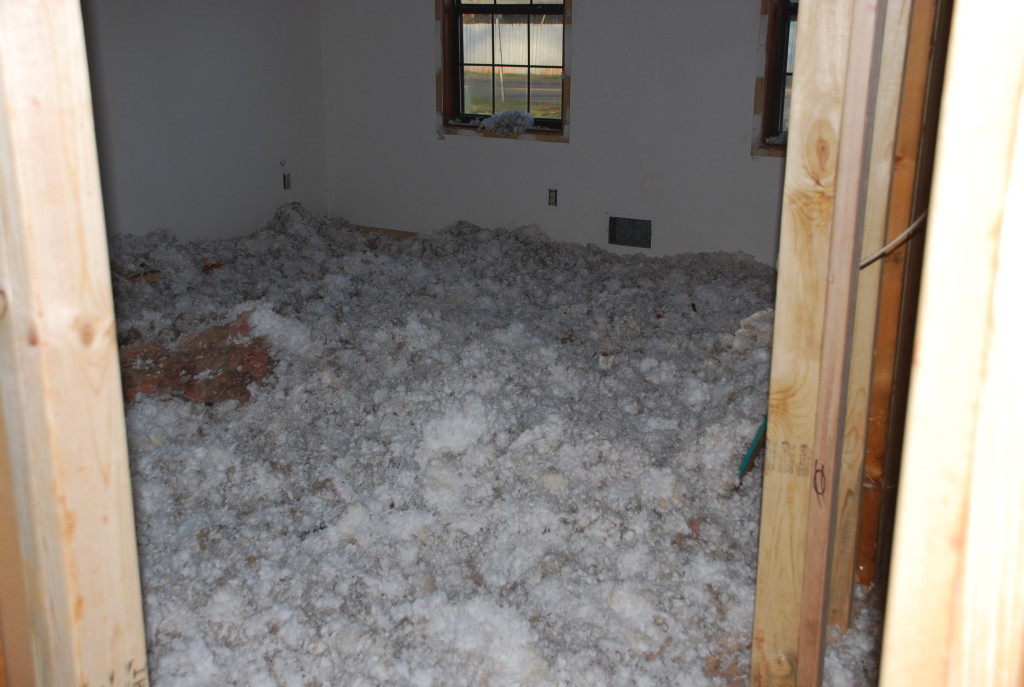
And of course, when the ceiling comes down, so does the blown-in insulation that was sitting on top of it. Looks like it is time for a little more cleanup. Where’s my snow shovel?