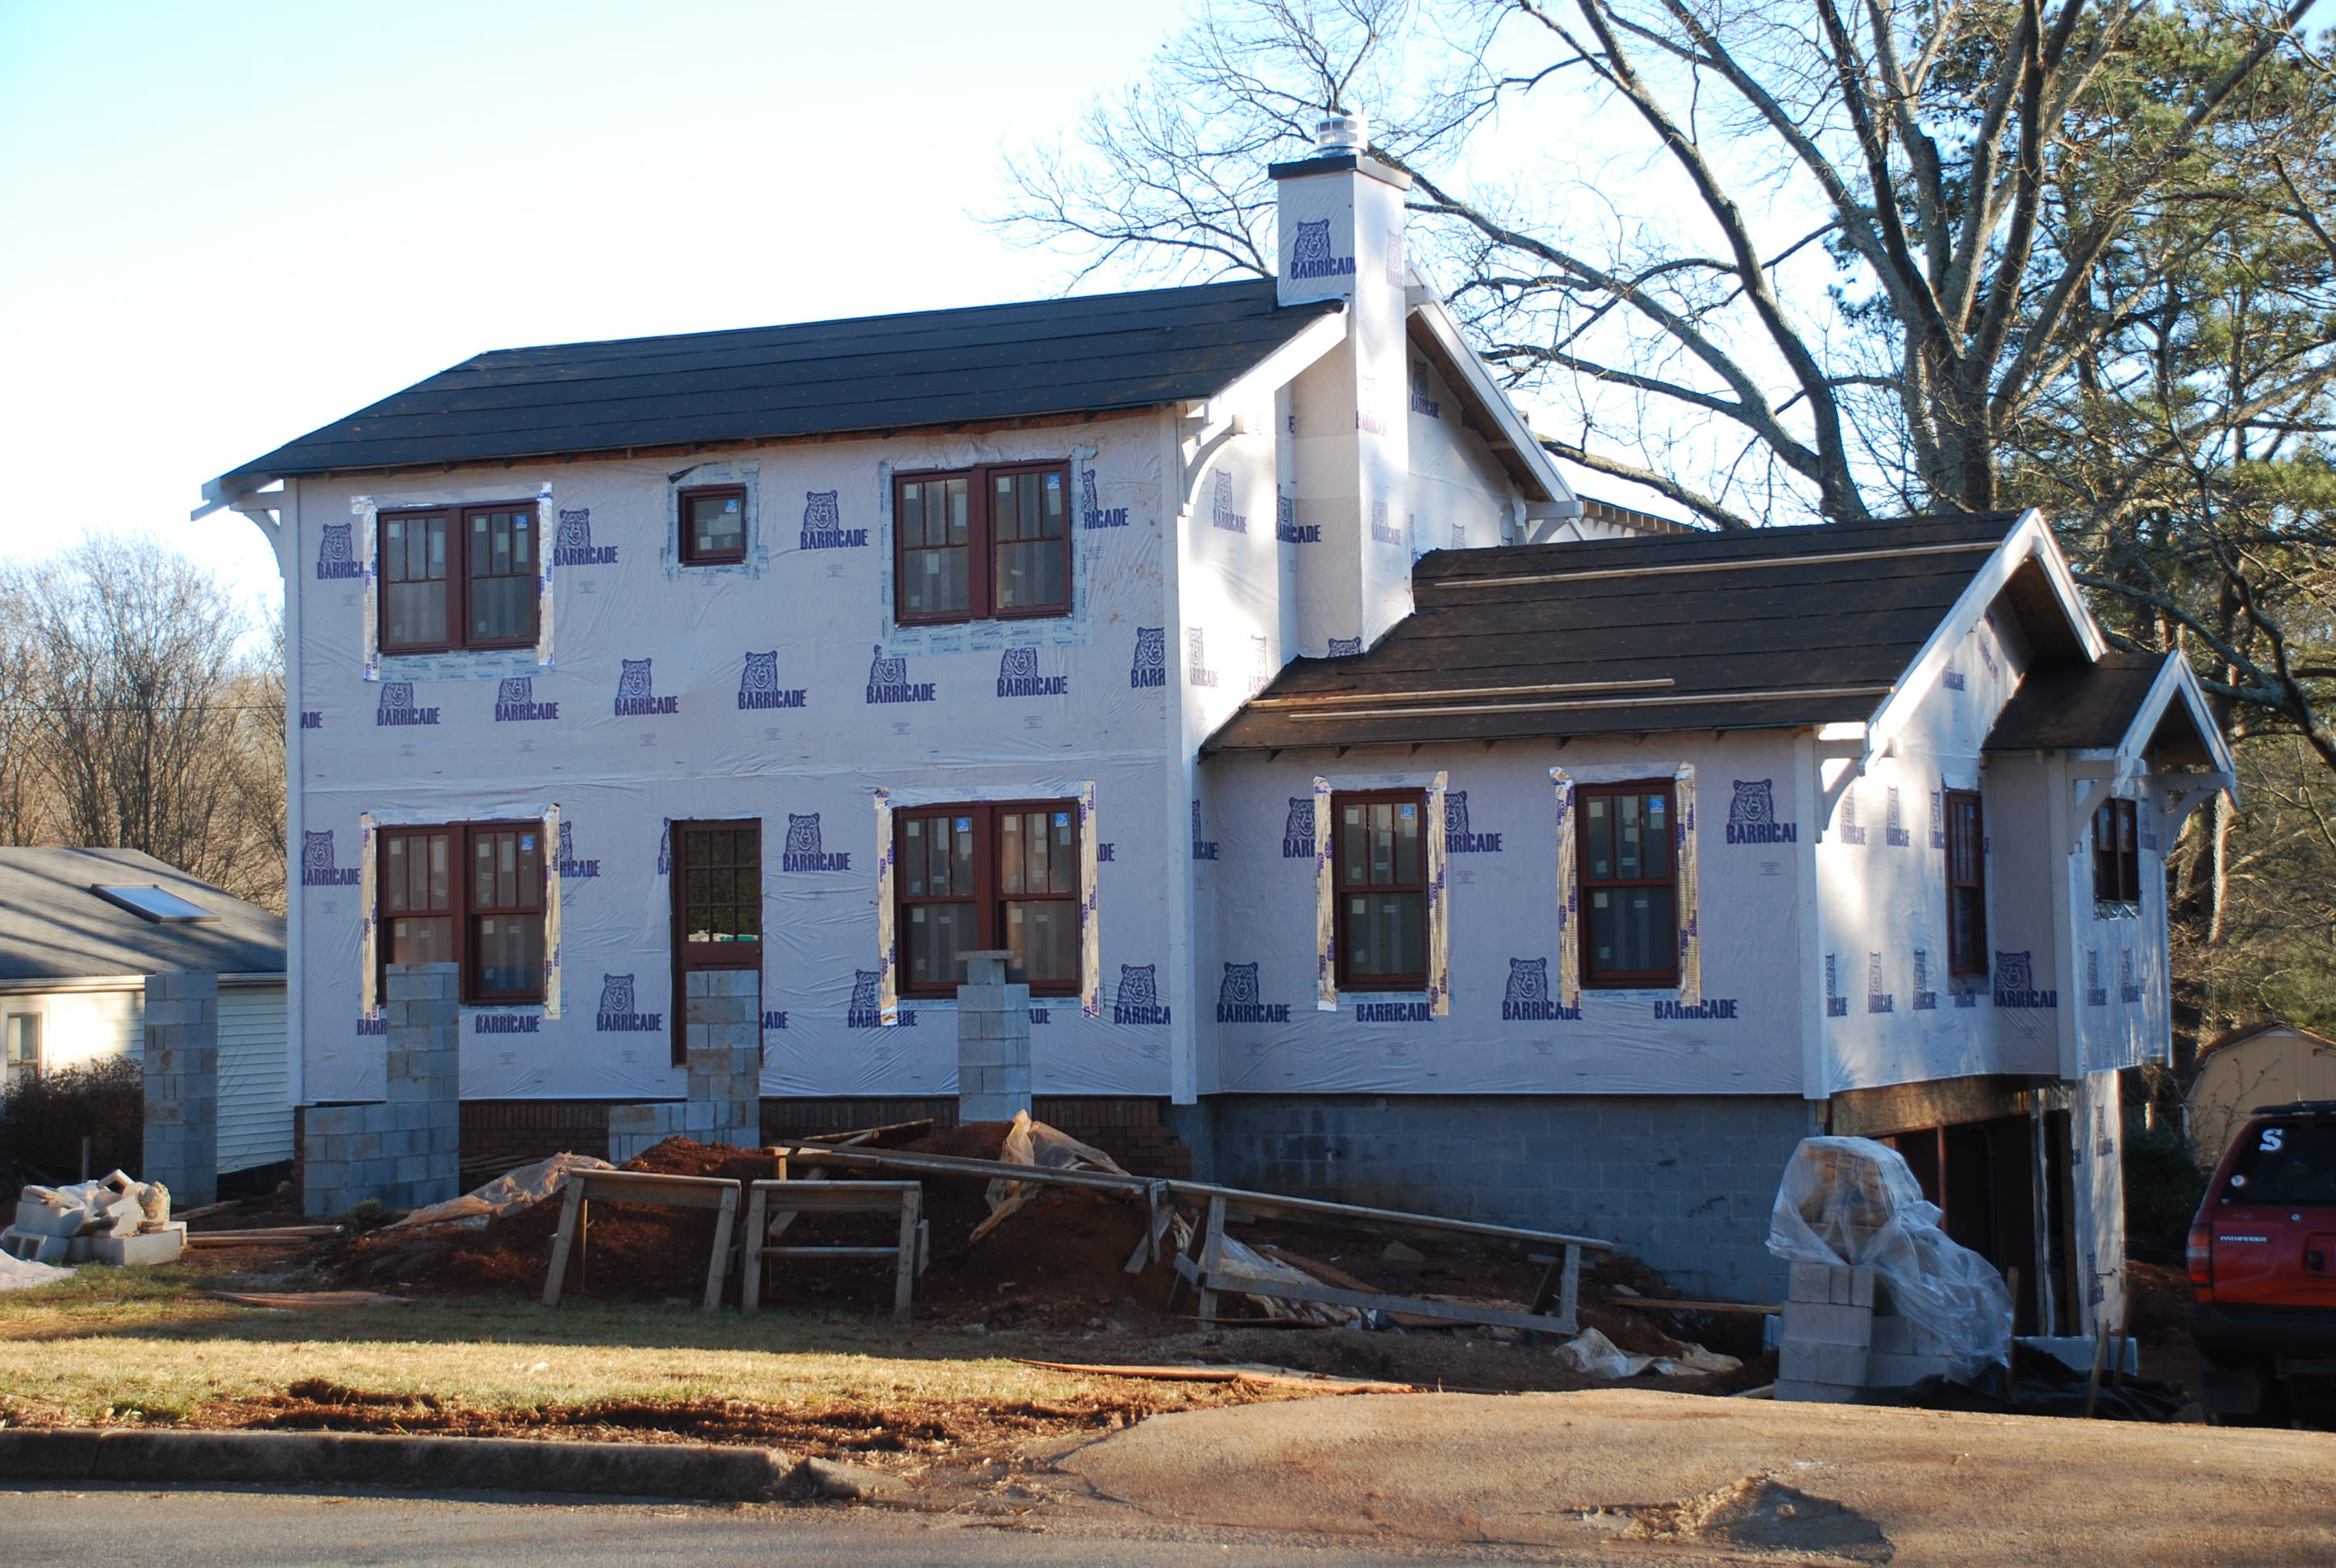
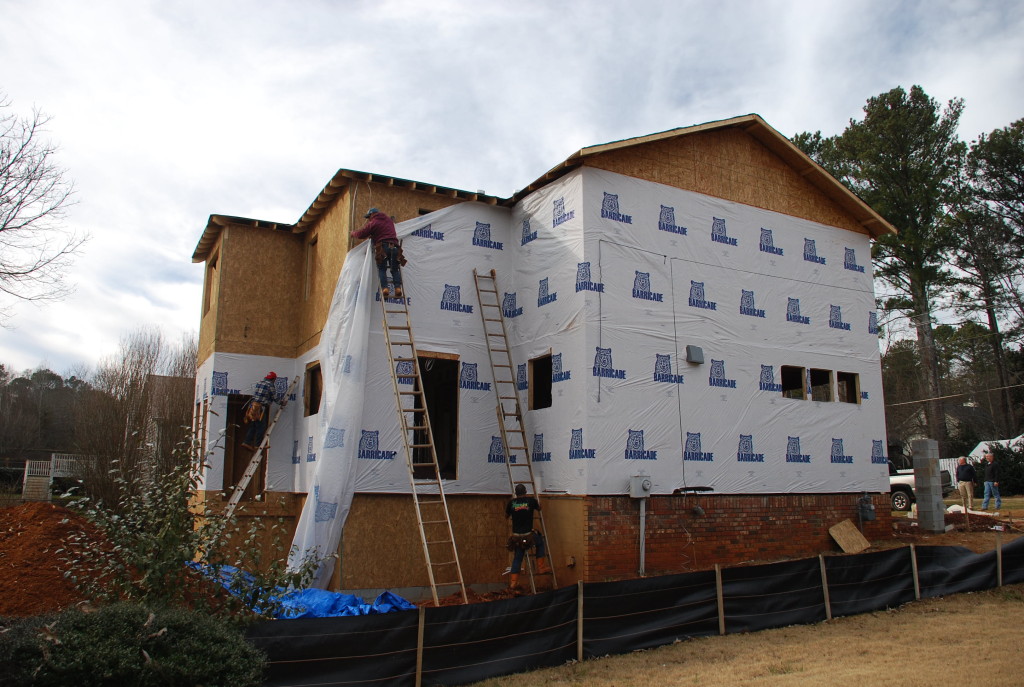
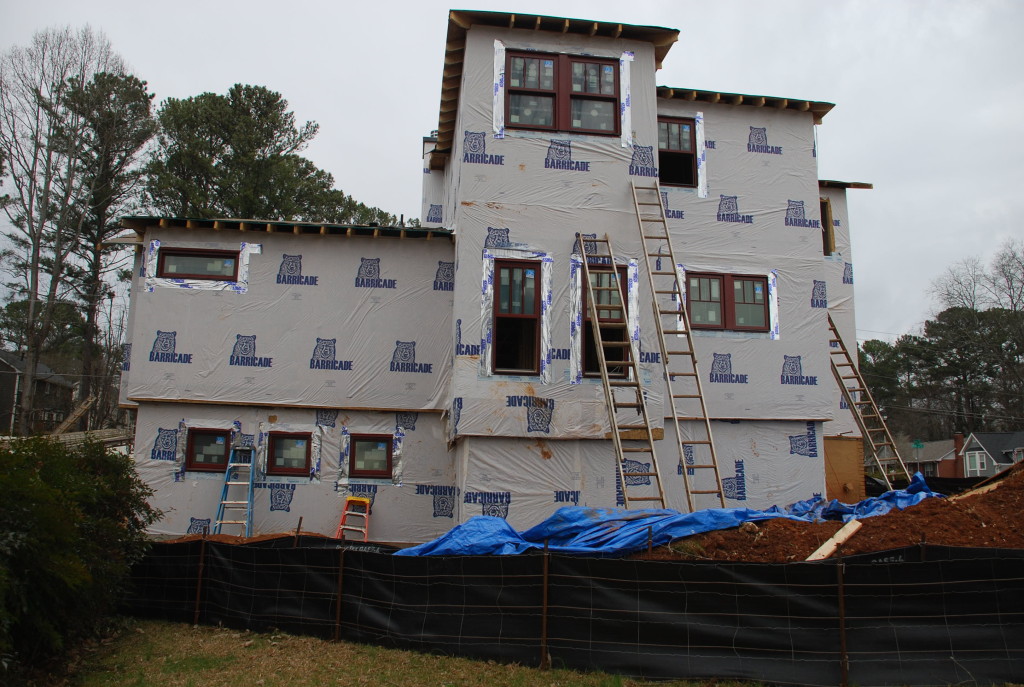
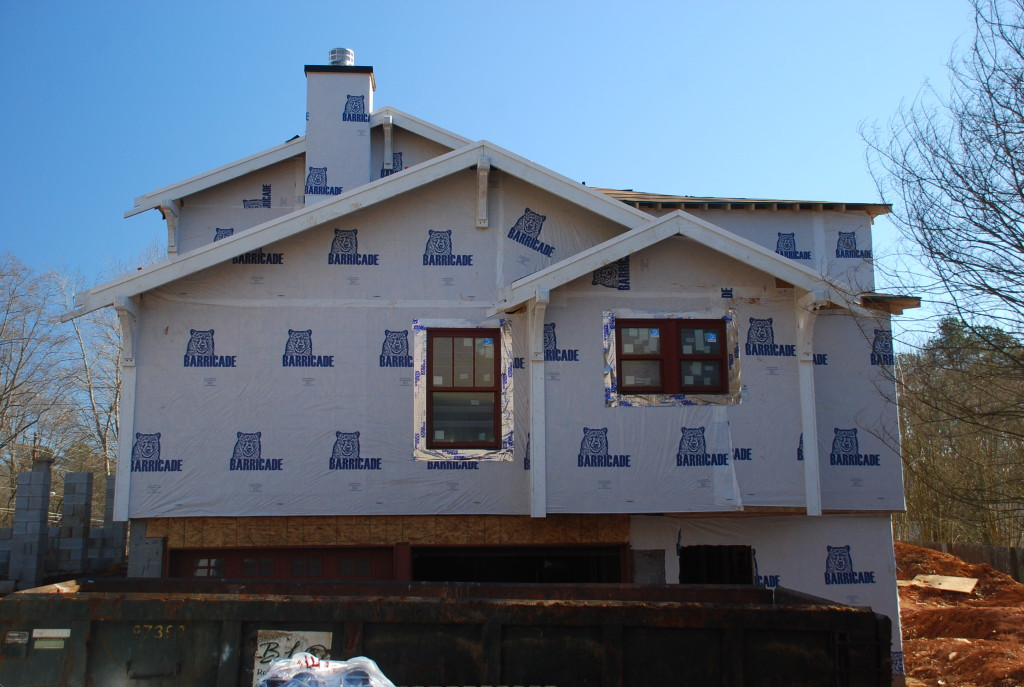
It didn’t take long for the snow to melt and it was time to get back to work. Now that the windows were on site, we scheduled the framers to come back and put them in. First of all they put the housewrap up – which serves as an air infiltration barrier as well as a vapor barrier.
The housewrap goes up all the way around on all vertical surfaces, and then we are ready to get the windows installed.
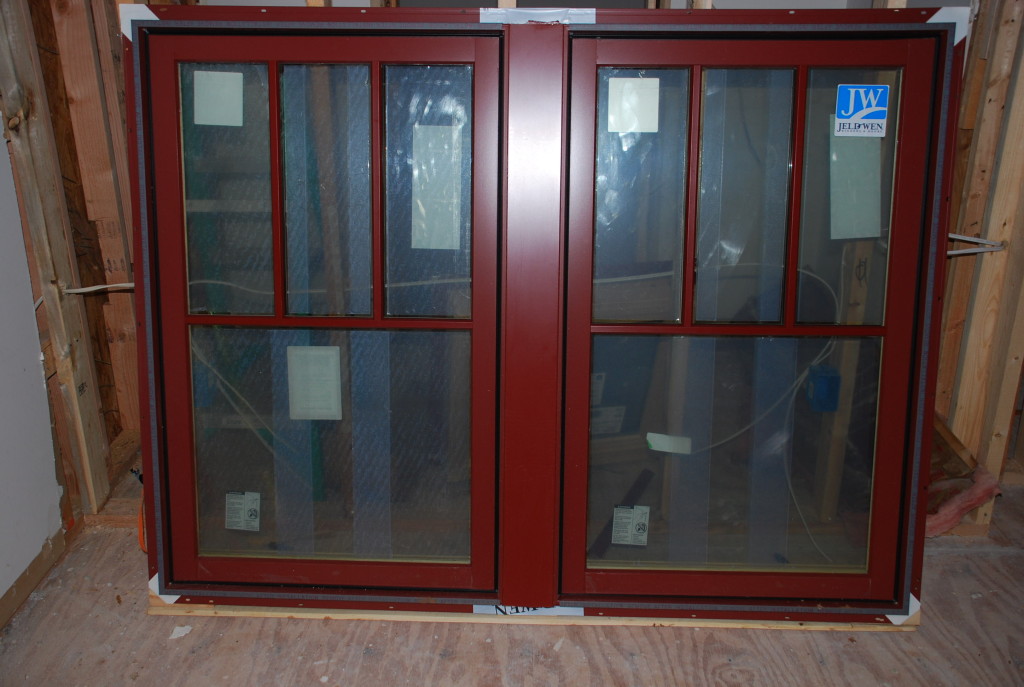
We did a lot of research and pricing comparisons on windows and to make a long story short, we decided to use the Jeld-Wen Siteline product. It is a wood window but has an exterior cladding made of pre-finished anodized aluminum. We have a mix of double-hung, casement and fixed windows depending on where the go and what purpose they serve.
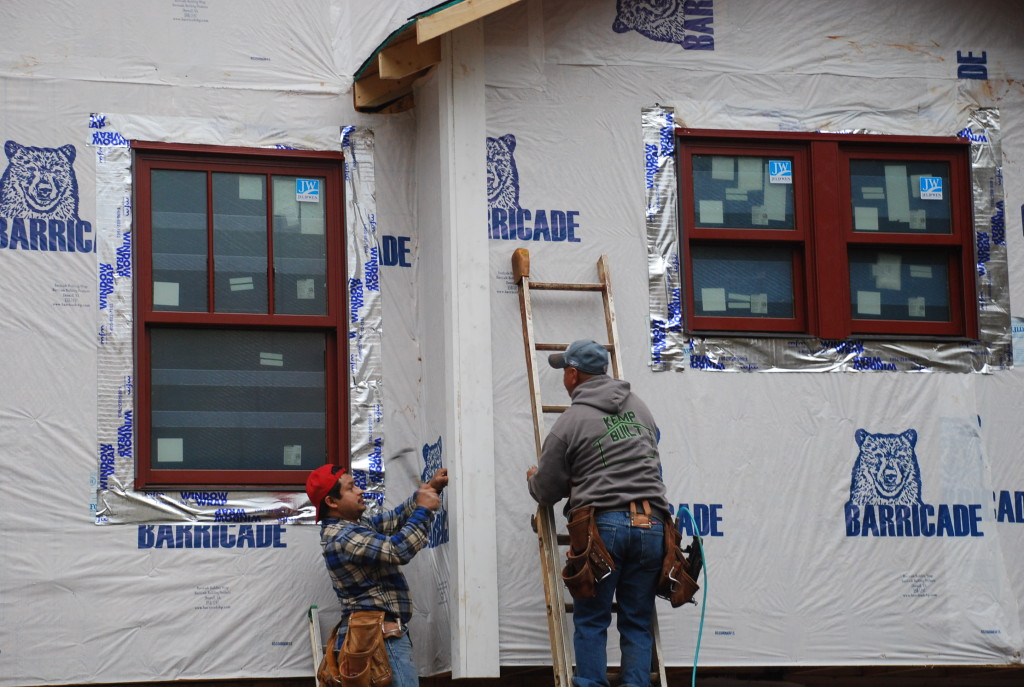
Every window manufacturer has very specific installation requirements that you must follow if the warranty is to be in effect. A big part of the guidelines is in regard to how the windows are flashed at the top and sides as well as how the sill is prepared before the window is installed.
Tom and the installers studied the instructions carefully before beginning and made sure they had all the materials that they would need to install them. The building code has very specific rules about windows in bedrooms – which are called ‘Egress Windows’. The code requires that the windows when open have a certain minimum opening width, height, and square foot area. The old windows in the house were single-hung, which means that only the bottom sash is operable. They didn’t meet the current code, so we knew we were going to have to replace them. In addition, we really didn’t have enough room above the front porch to make the upstairs Bedroom windows any taller, so we opted to use casement type windows there. Casements are a little more expensive, but they DID meet egress code and were a very close match to the look of the double-hung windows below.
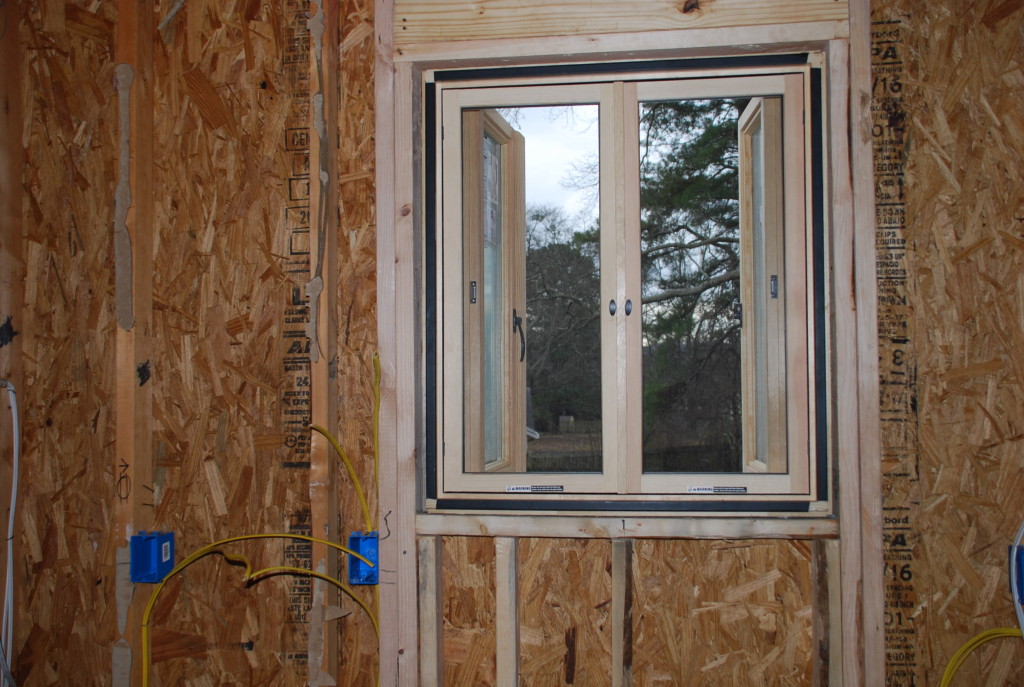
We redesigned the Kitchen layout so that the sink would face the back and would have a window that opened up the the new porch behind. When we were at the showroom we found a great solution – a push-out casement with an internal screen. It will be great for handing things out for grilling or just being able to have a conversation without allowing bugs to get in.
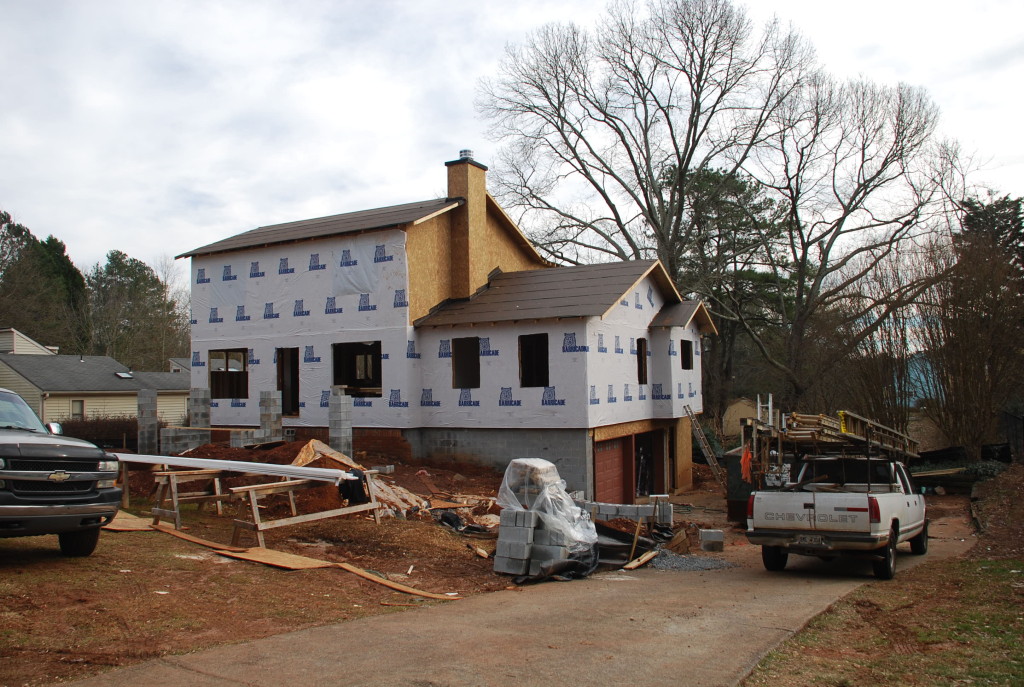
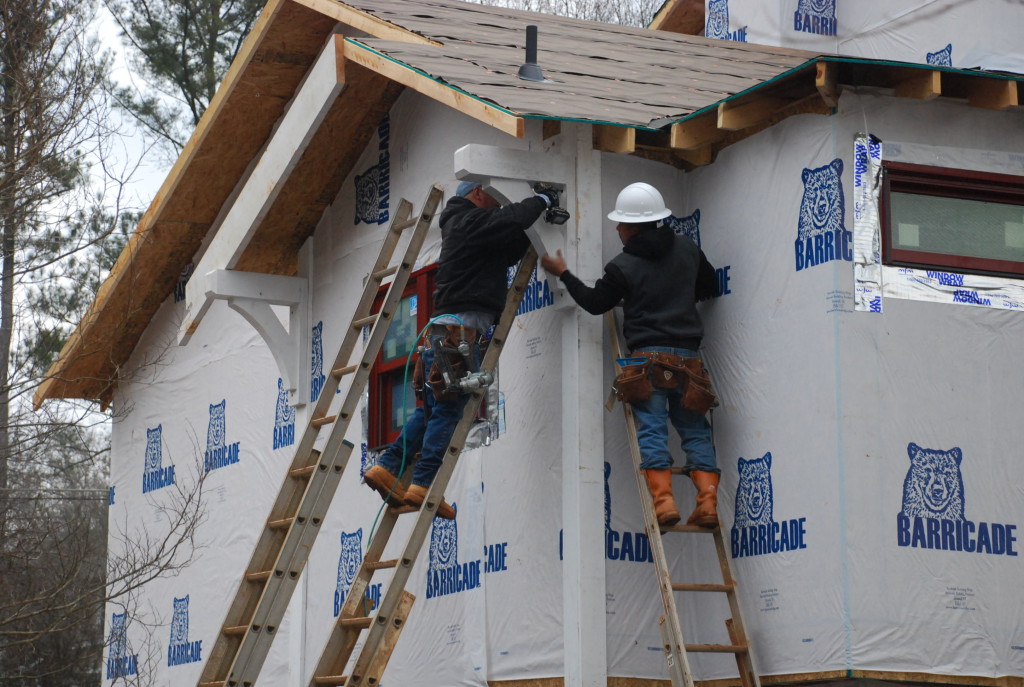
Once the windows were in, the crew was ready to start on the exterior trim. We designed 5/4 x 6 boards to be used for corners and those were the first to go up.
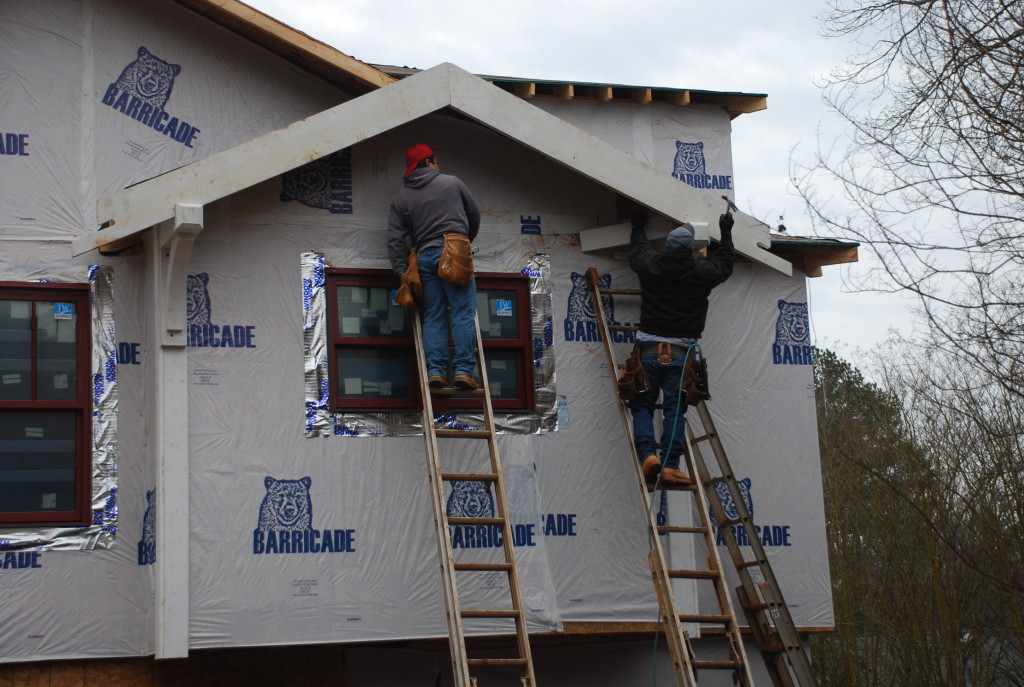
Then it was time for the brackets and bargeboards to be installed (watch for a special posting about this design feature of Craftsman homes soon)! One of our key CAD guys at Peek Design Group, Dave Lawrence is also a skilled woodworker, and so we asked him if he would be willing to cut and assemble these important trim elements. He had been working on them for a couple weeks, and they were all ready to put up on the house.

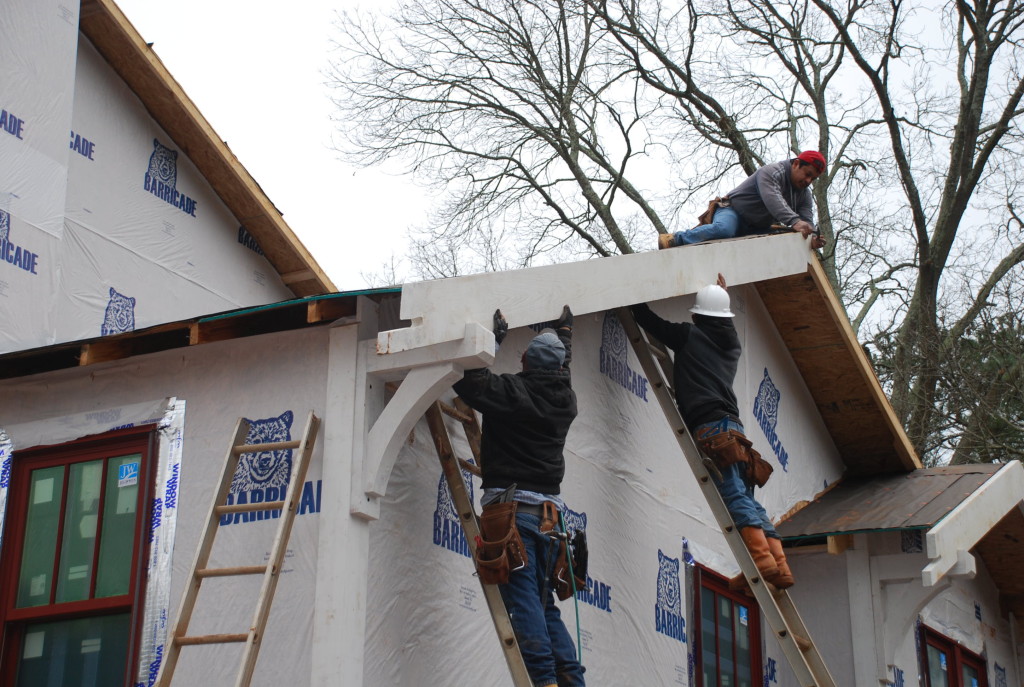
In order for them to look true to the early 1900’s, they needed to be thicker than the normal lumber that you get today. For example, if you buy a 2×10 at the big-box store, it is only about 1-1/2″ thick by 9-1/4″ wide. But in the old days, a 2×10 would have been a full 2″ x 10″. So we ordered boards and beams the full thicknesses that they would have been for an original bungalow and cut all the trim elements from that wood. It made a huge difference in scale once they were up on the house.
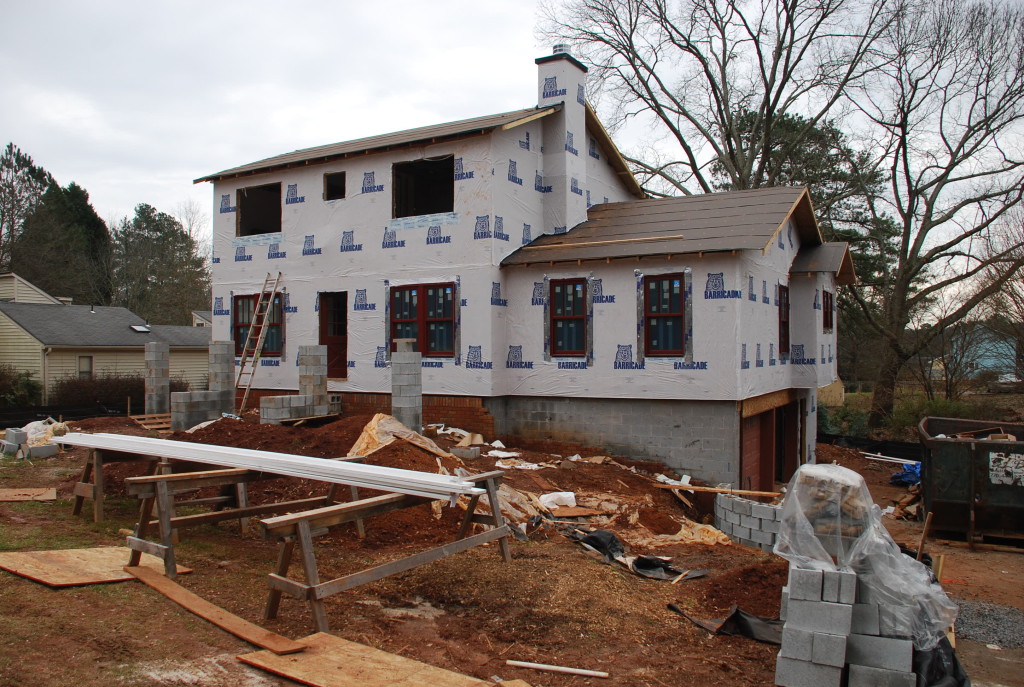
I’m not sure the framers had ever put up bargeboards and brackets before, but we cautioned them that we didn’t have any spares, so there wasn’t any room for mistakes, they had to get it right the first time. So after lots of measuring and figuring, the first ones went up and looked great!
Once the first set was up in place, they could take measurements and that made it much easier for all the rest.
Before the long they were through with the second set and ready to start on the third.
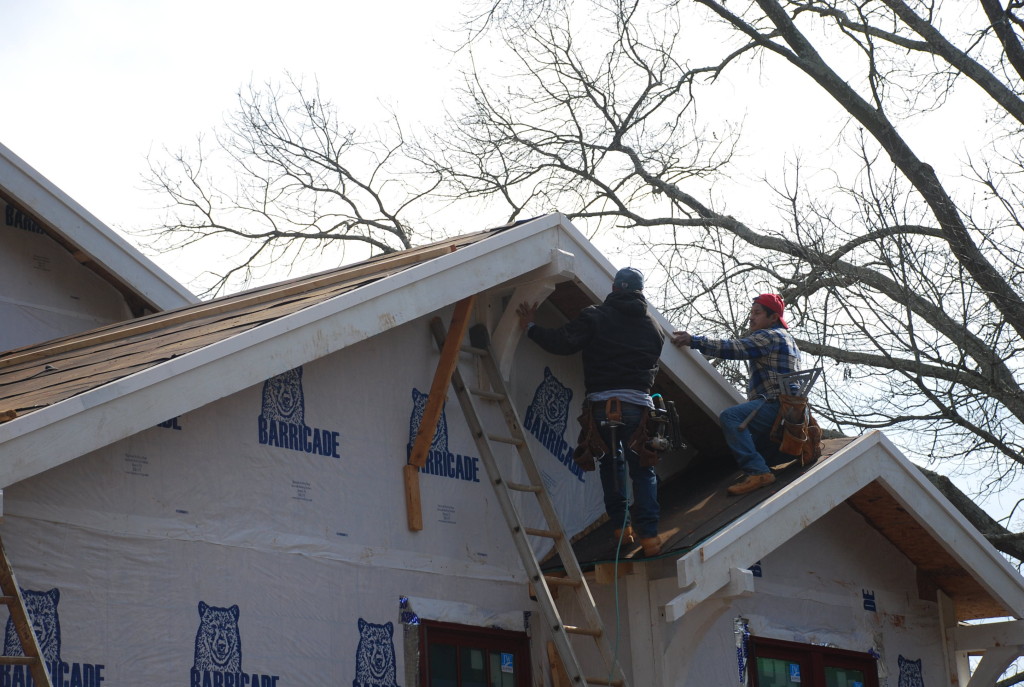
Nine brackets and eight bargeboards later, they were all done and the house was starting to get a little of its new personality.
After a lot of planning and preparation, it seems that this phase went smoother than we ever thought it would.