Once the drywall is installed and mudded, it needs a bit of time to dry, and then it is ready for sanding/finishing. Early in the week the finishing crew came and went to work sanding down all the dried ‘mud’.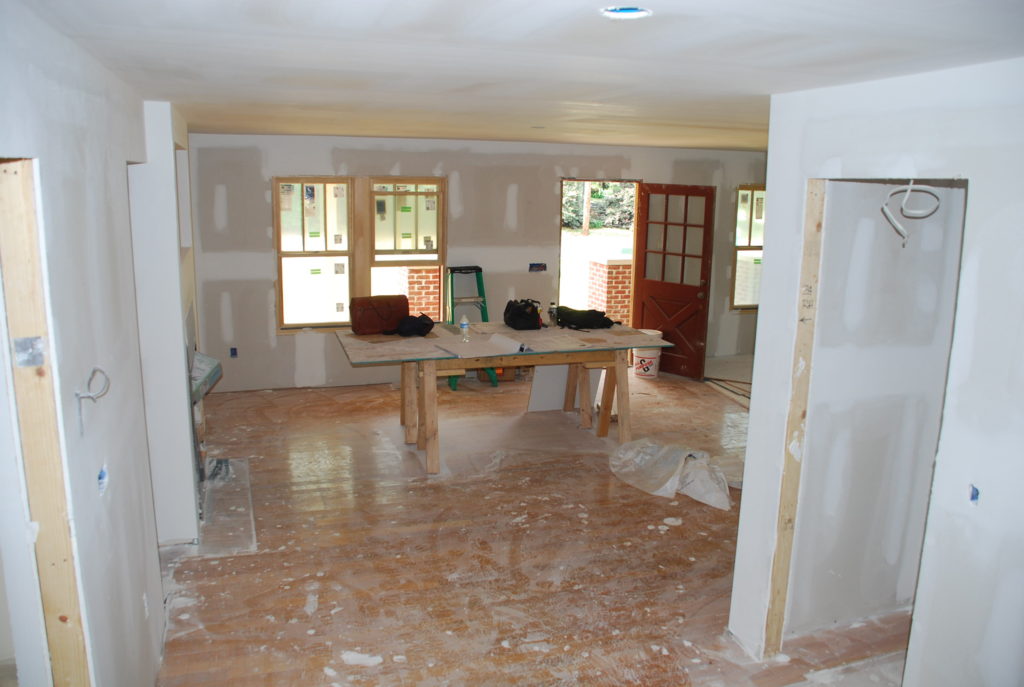 It makes a huge amount of dust which we will be cleaning up for a while.
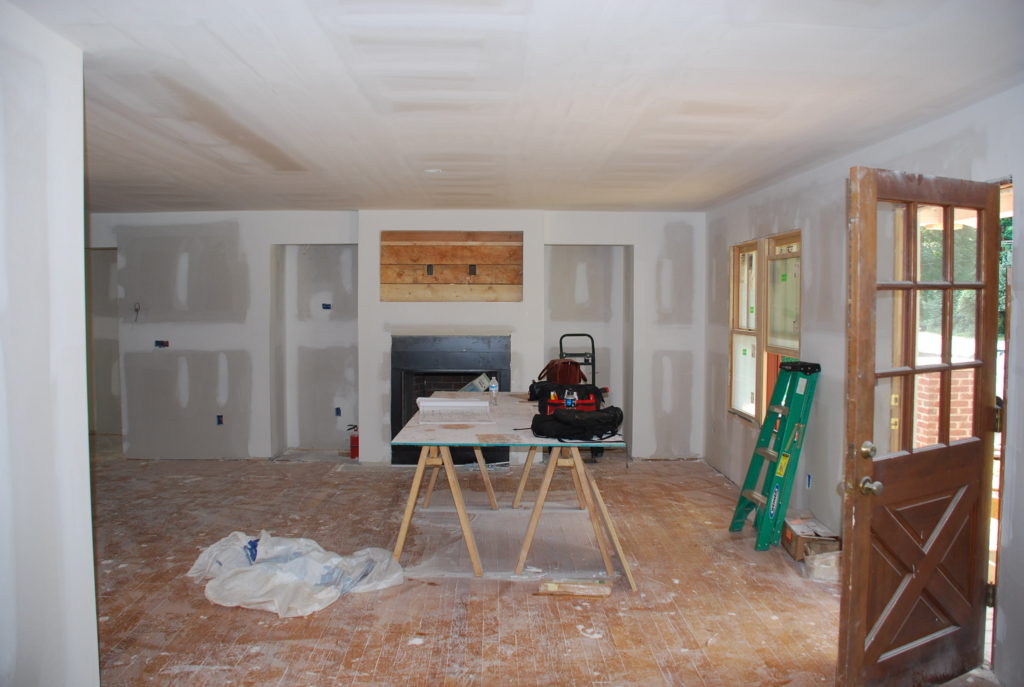 All the walls are now sealed up and ready for trim!
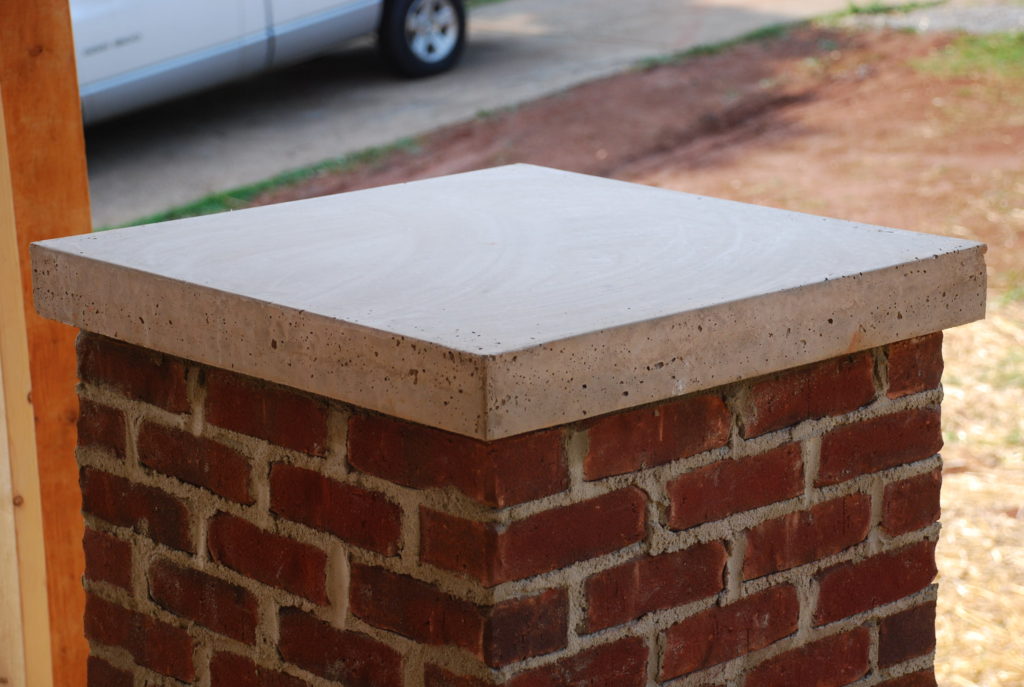
In the meantime, the cast-stone caps have cured and they have stripped off all the formwork. They are looking pretty good and ready to be installed on the top of the brickwork.
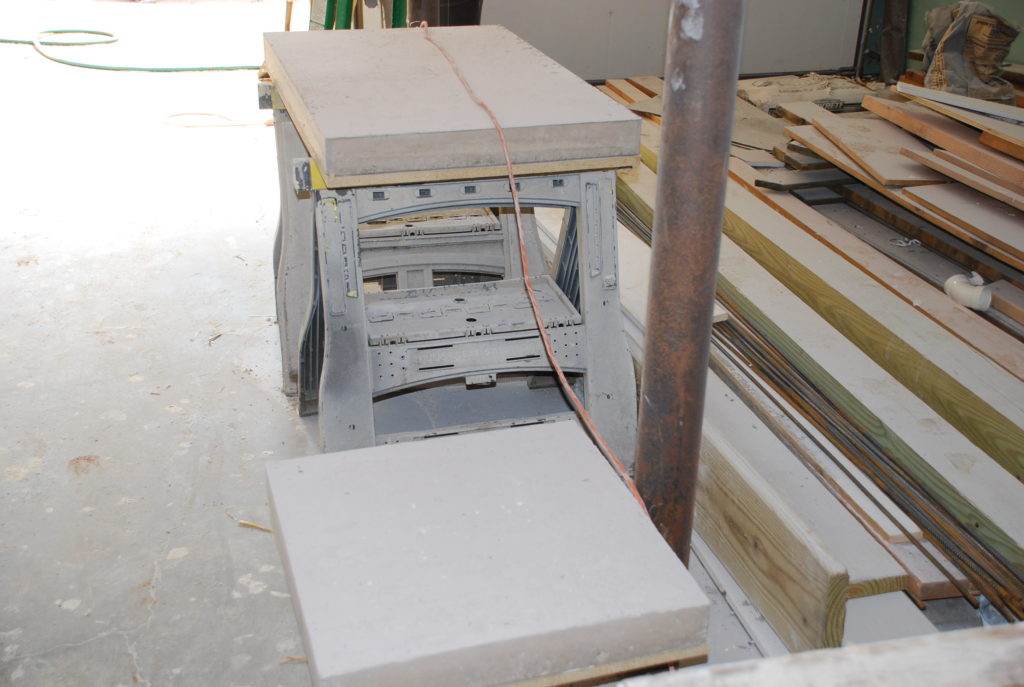 They don’t have a lot of color in them – just enough to make them look more like stone and less like concrete. They also go nicely with the mortar we selected for the brick.
 There’s about 1″ overhang on all sides and they are set in the same kind of mortar that was used for the brickwork.
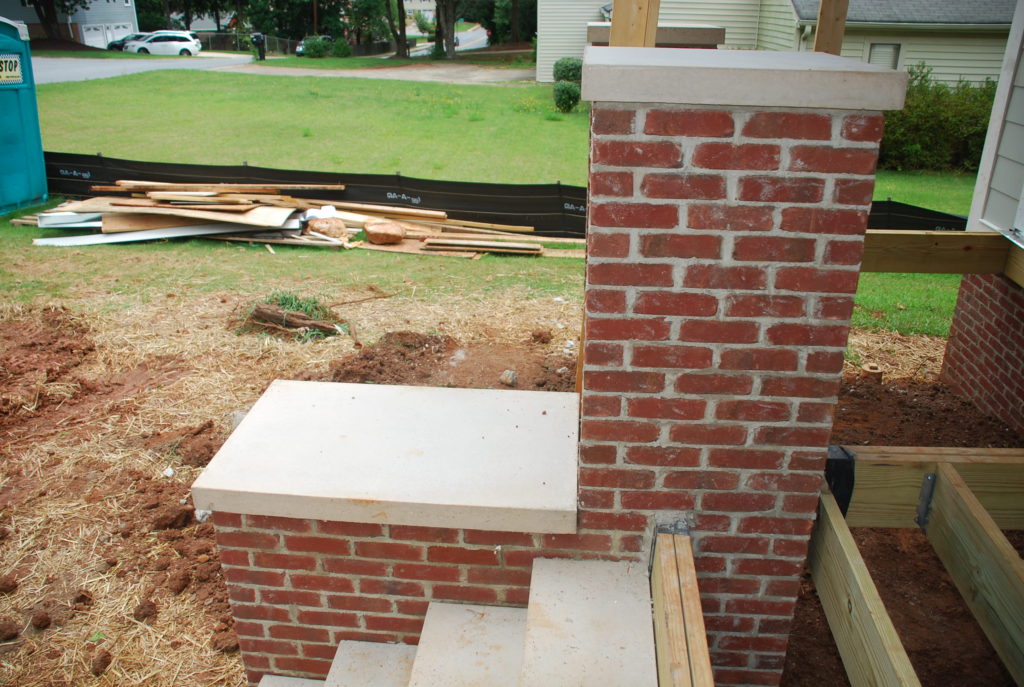 The cast-stone step treads are a nice touch and will be a lot more solid than the old lumber steps we used to have.
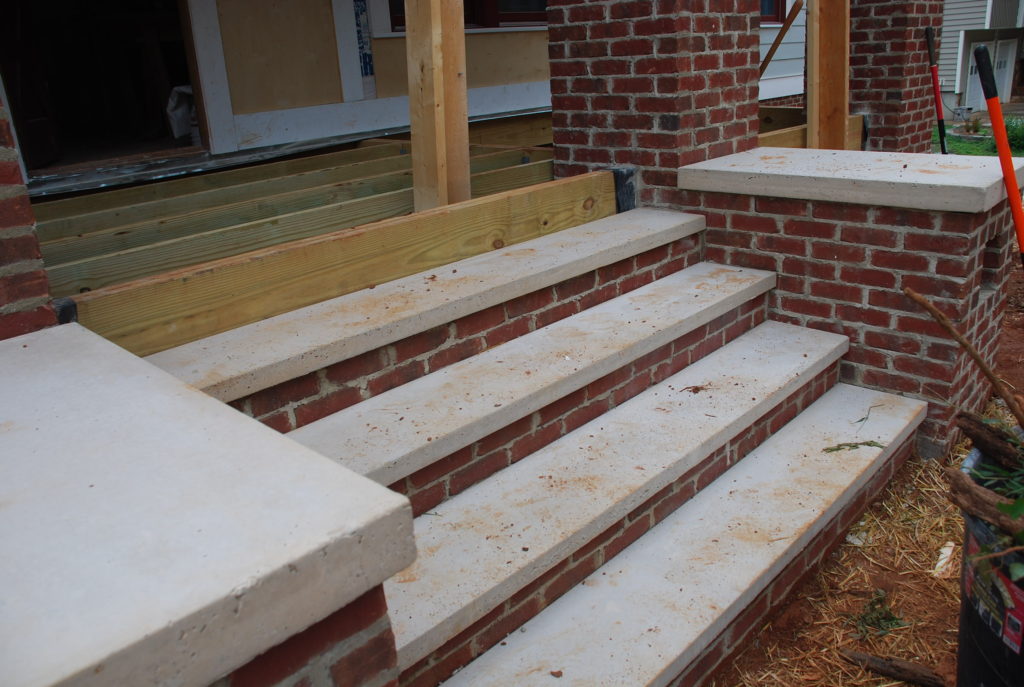 They also spent some time this week filling the gaps where we replaced the bargeboard extensions last week.
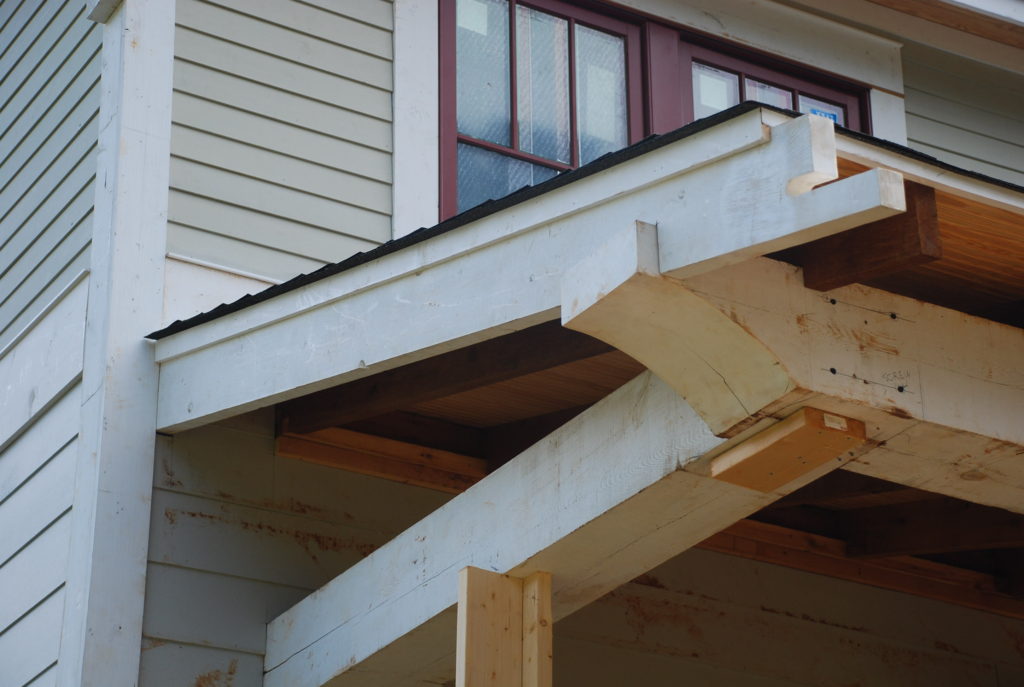 Once the gaps were filled with epoxy and sanded down, you can hardly tell that there was anything done. Once they are painted, you won’t be able to tell at all.
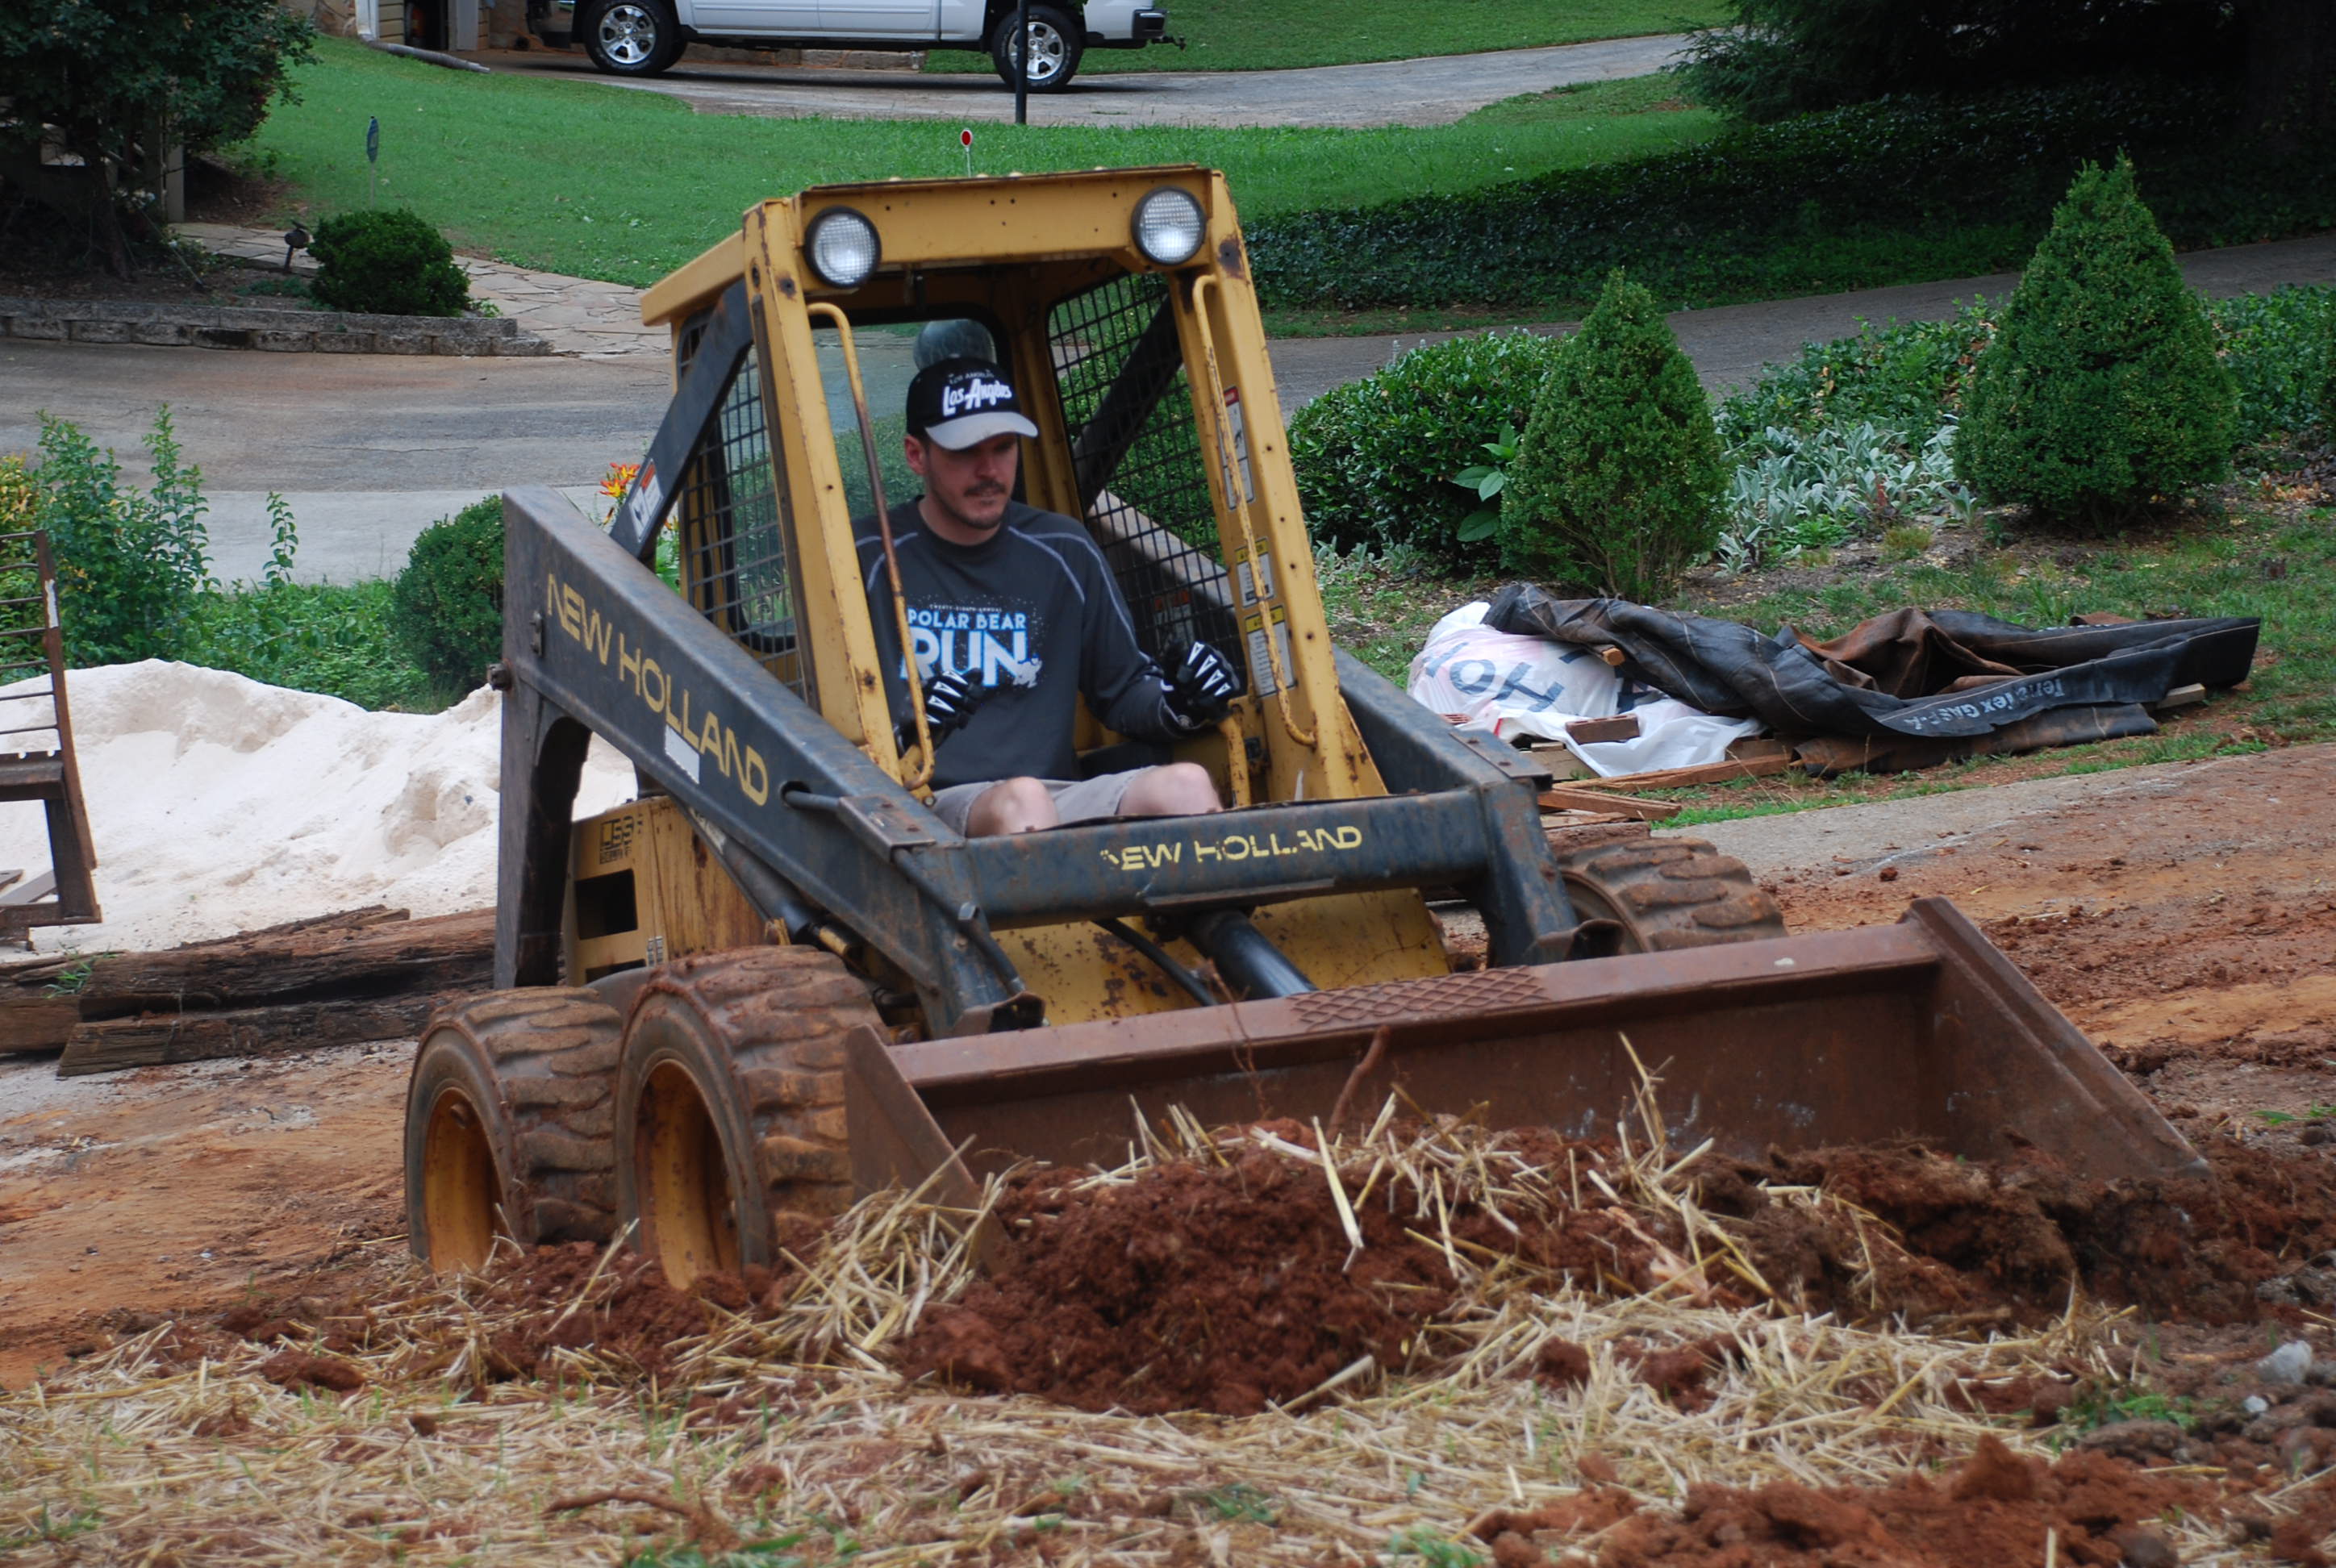
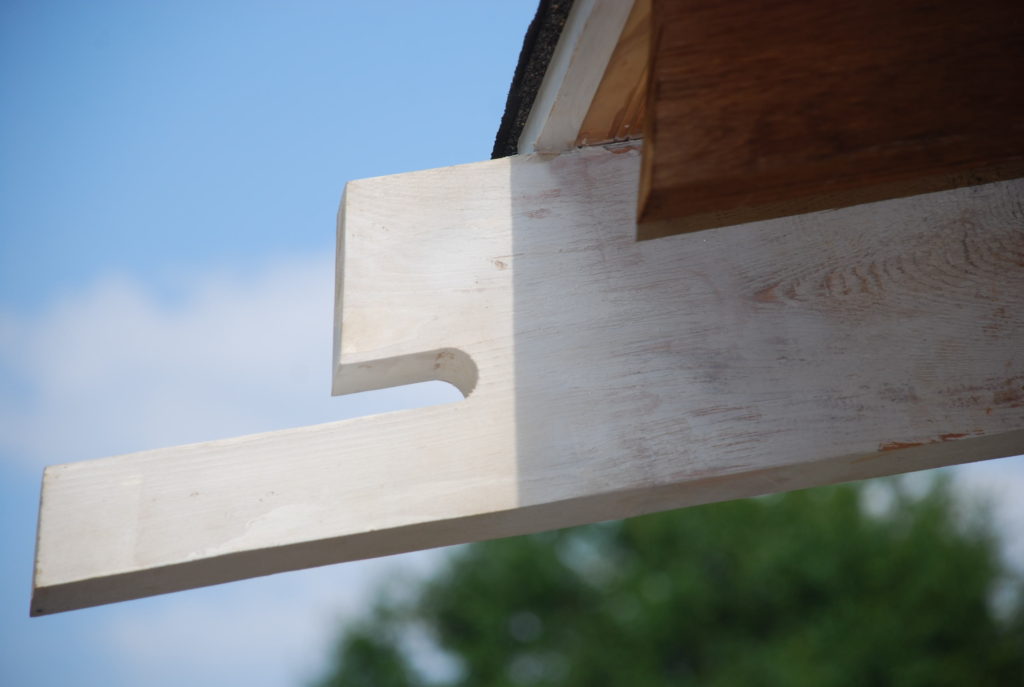 Before we put in the floor joists and frame in the front porch, we needed to backfill around the columns and steps with dirt. With a little help from the skid-steer loader – we moved some dirt over to the porch area and then shoveled it in under the framing. It would have been better to just dump the bucket back in the under the porch, but the temporary bracing for the porch roof are still in the way – so had to go with manual labor this time. The columns are being fabricated – but are not here yet.
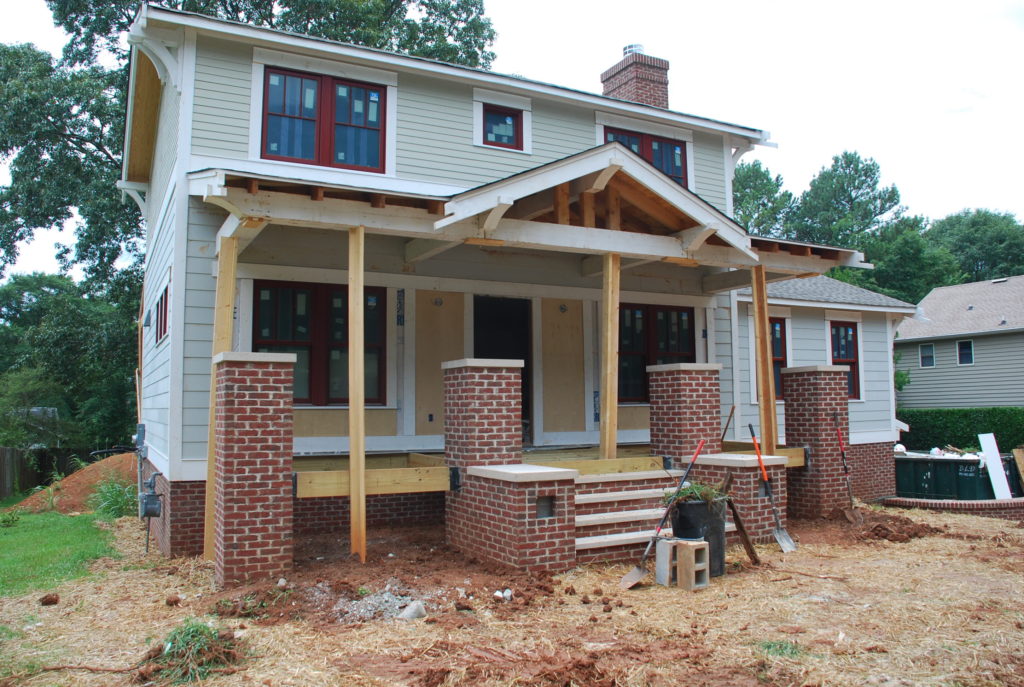 Once we got that done, it was time for some major digging. There is a walkway that goes from the front porch down to the driveway near the retaining wall, but all that goes away – so we needed to get that walk out of there to prepare for planting in that area. A couple of pieces of the concrete walk had already been taken out up near the steps, but there was more to do.
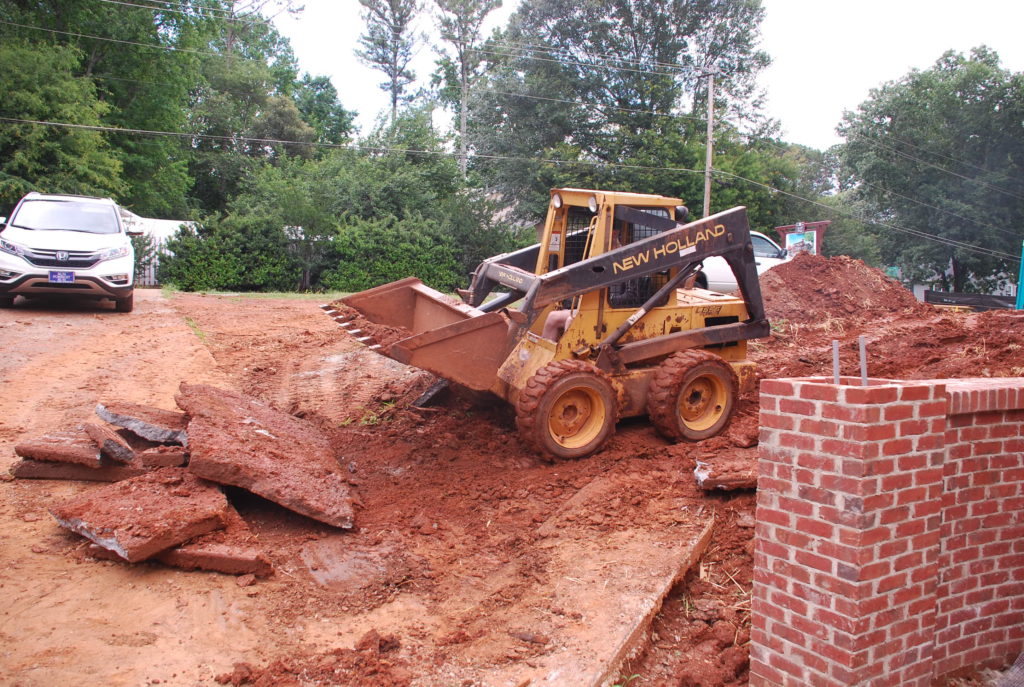 So we moved the dirt off the top of the concrete and attacked it from the upper end. The loader strained a bit, but we eventually got it all out and broken up into pieces that were then put in the dumpster.
We also spent a good bit of time digging up the stump and roots of our old maple tree. When we took it down last fall, we had the stump ground, but there was still plenty there below grade that I wanted to get out. There’s still some roots there, but we got out the majority and the remainders will be well below the new grade.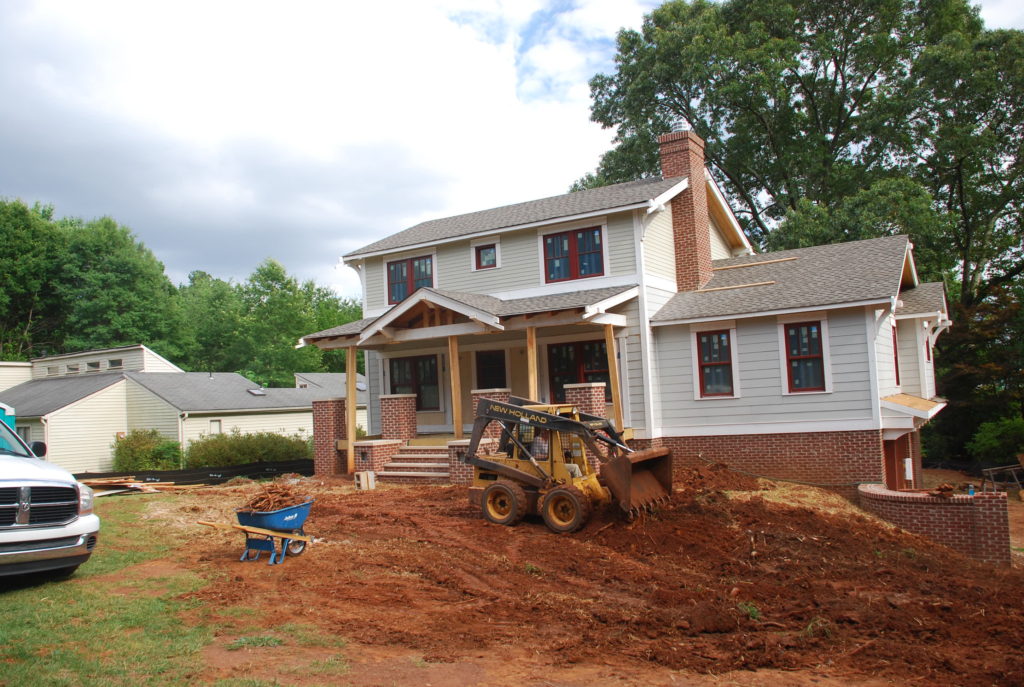 Once all the digging was done, then we spent time spreading around the remainder of the dirt to be as close as we could to the eventual final grade. Next week we’ll get out the surveyor’s level and see how close we are. There’s still plenty of dirt around back that we can use to fill in if it is still low.
While Jonathan and Dale were out digging in the dirt, Stephanye took on the job of cleaning the floors inside. We’re going to have to add plywood in the areas where there was no hardwoods before to level-up the subfloor before we install the new flooring. The plywood will be glued and screwed down and the glue won’t stick to the existing subfloor with all the dust from finishing the drywall. So it was a major job of sweeping, then vacuuming, then mopping to get the cleaning begun.
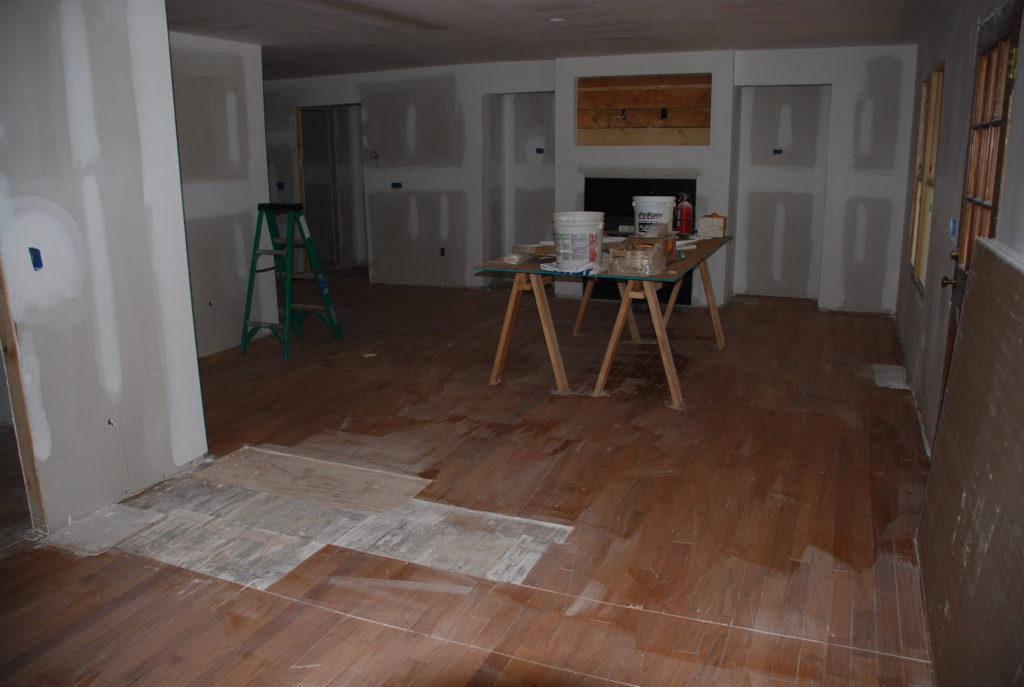 As you can see, after it dried, there is still dust, so the mopping process will probably have to be repeated another time or two before the glue goes down. At least we got the worst part done, and looking forward to the hardwoods coming very soon.