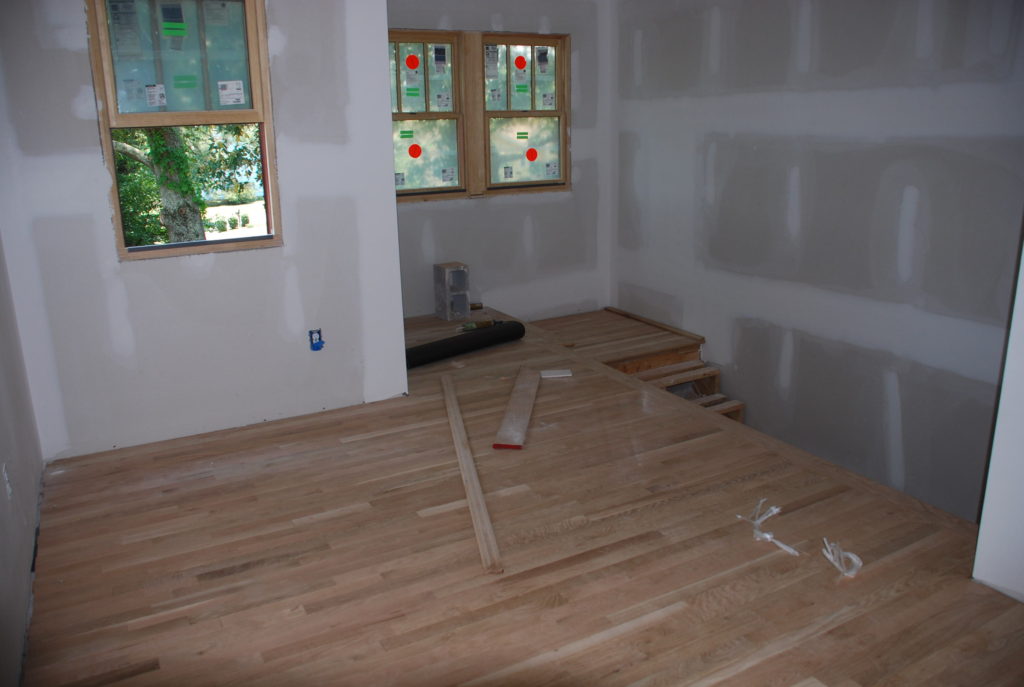
As we anticipated, it was some kind of busy at 637 Polk this week! You saw that the hardwood flooring had been delivered last week – but before we install it, we needed to level out the subfloor where there had been different materials before. So in the Master Bedroom for example, we had to install 3/8″ plywood to bring it up to the level of the old hardwood flooring that is in the Family Room (which we didn’t remove because it was glued down and almost impossible to ‘unglue’). Below is a photo taken when it was almost all installed. 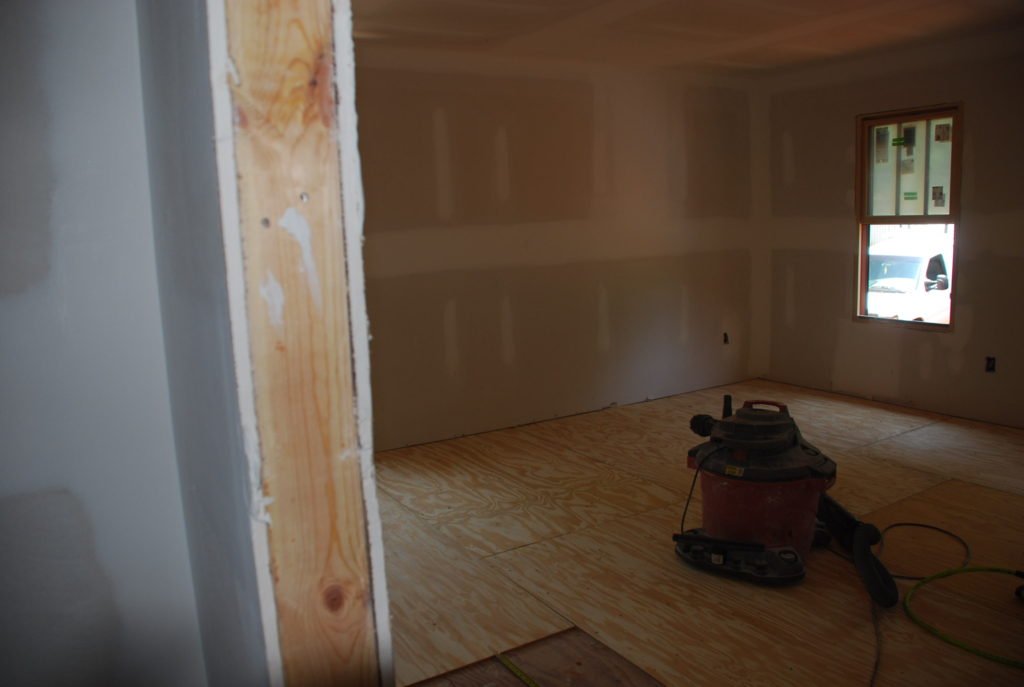 Once the subfloor was all done in the areas to receive new flooring, it was off to the races with the new hardwoods. We had selected white oak and they started by putting down some paper underlayment and then began laying out the boards loose to make sure the joints would all be staggered.
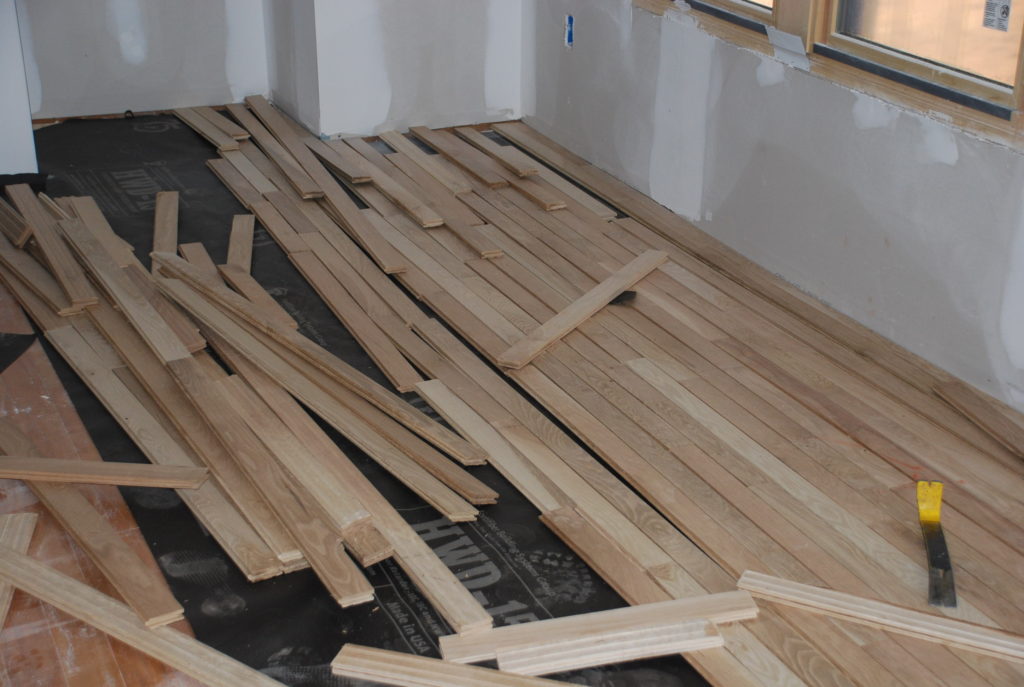 Before long they were hammering them in and it was starting to look like a floor.
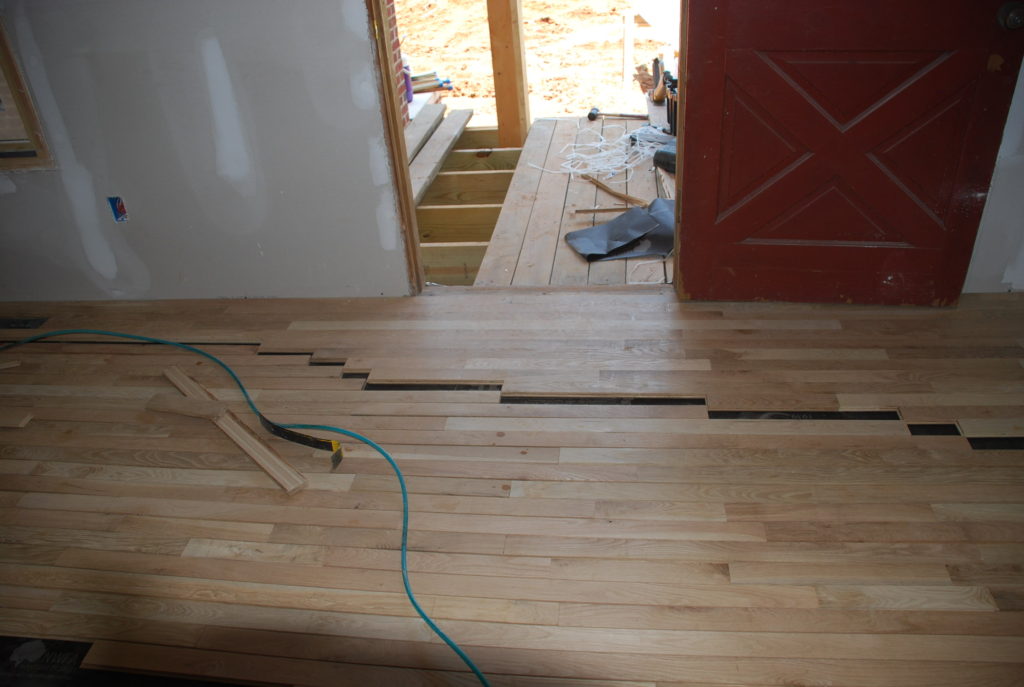 We’re also putting hardwoods in the Loft area and the Upstairs Hallway. Below is a view of the Loft looking toward the back of the house.
 Once the flooring was all in, then they covered it all up with heavy paper to protect it while the rest of the interior work proceeds.
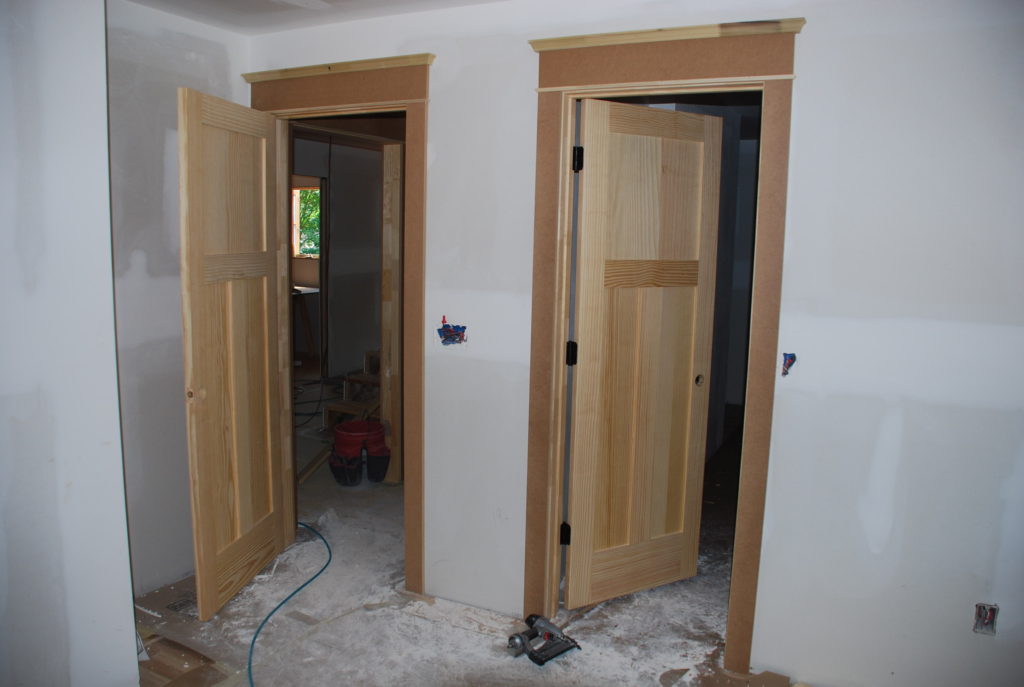
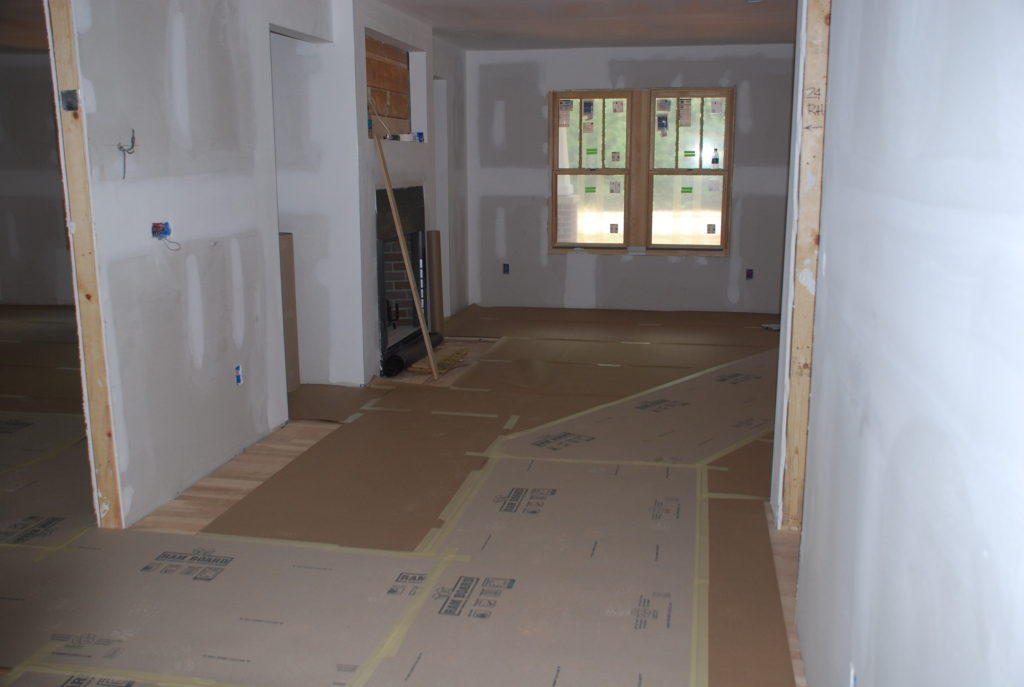 By that time, the trim guys were in the house – and the first thing for them to do was to hang all the doors that you saw had been delivered last week. The doors we ordered are a typical ‘Craftsman’ style with a single panel at the top and double panels below, and have a radiata pine veneer which we plan to stain to match the windows and the stained trim at the fireplace. The hinges have the oil-rubbed bronze finish which will match the hardware throughout the house.
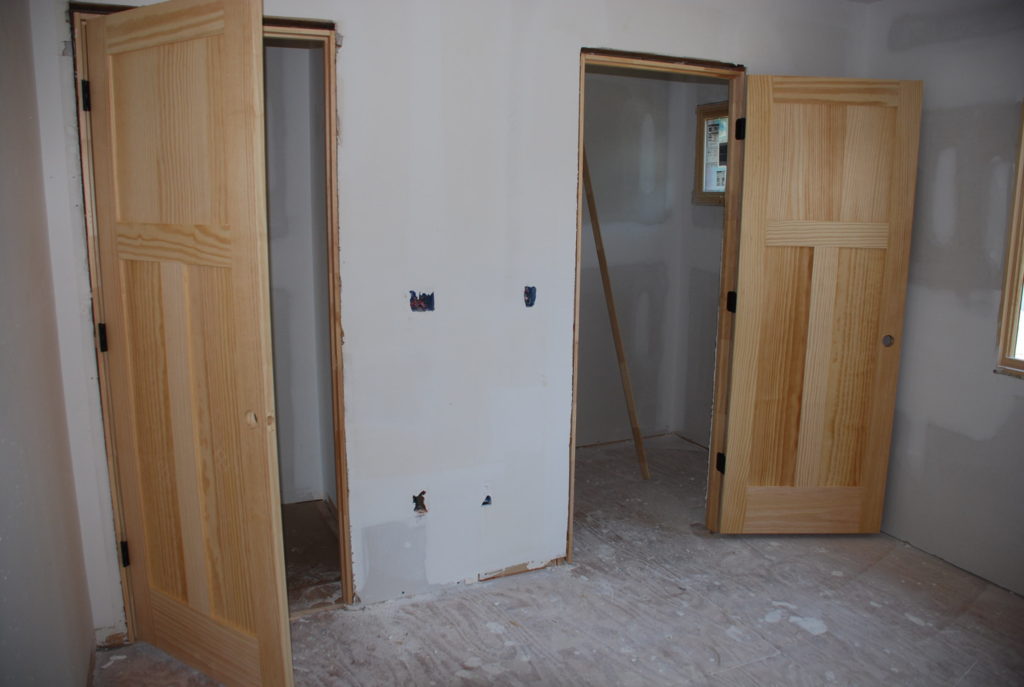 They also hung the pocket doors and figured out how the hardware worked on the double pocket door. It has a clever design that doesn’t require a track in the floor. You pull one door and as it opens, it grabs the other door and pulls it out too.
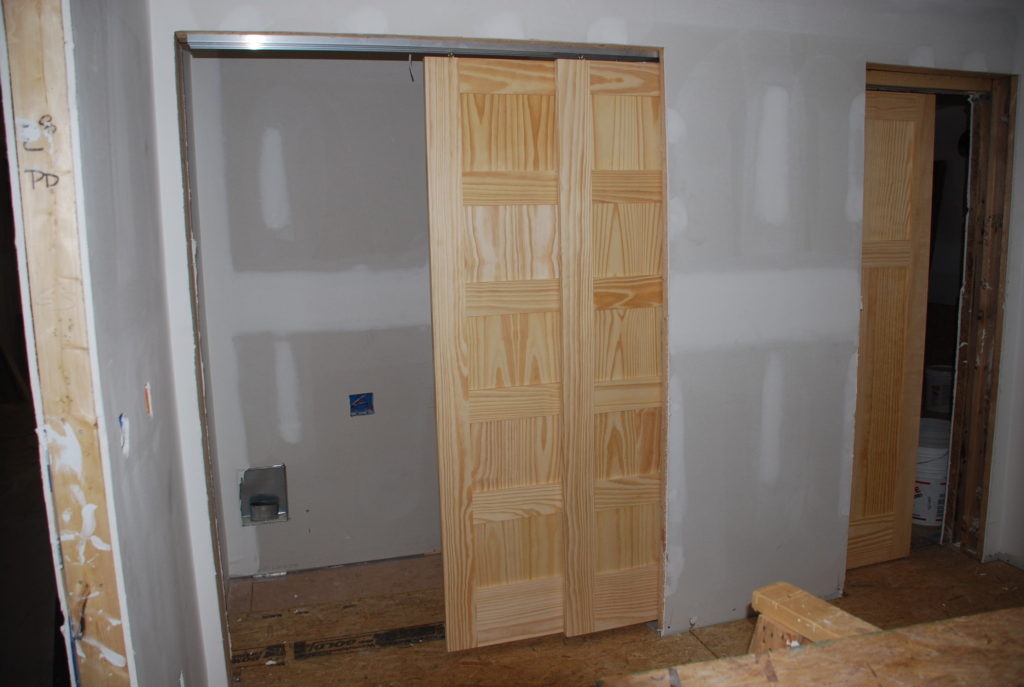 Once they got all the doors hung it was time for the real trim. We have a special design that we figured out 12 years ago when we built-out the Peek Design Group offices which came straight out of a 100 year old trim catalog we referenced.
  Most of the trim will be painted so we used finger-joint material for the shaped items, and are using MDF (medium density fiberboard) for the jambs and header at the doors and windows. MDF is less expensive than wood and works well for this application. You just don’t want it to get wet – or it swells up and looks really bad.
 Below you can see the front door and window in the Family Room all trimmed out and waiting for the crown moulding. The front door is a temporary that will stay through the rest of construction and then be replaced by a nice craftsman style door that we selected.
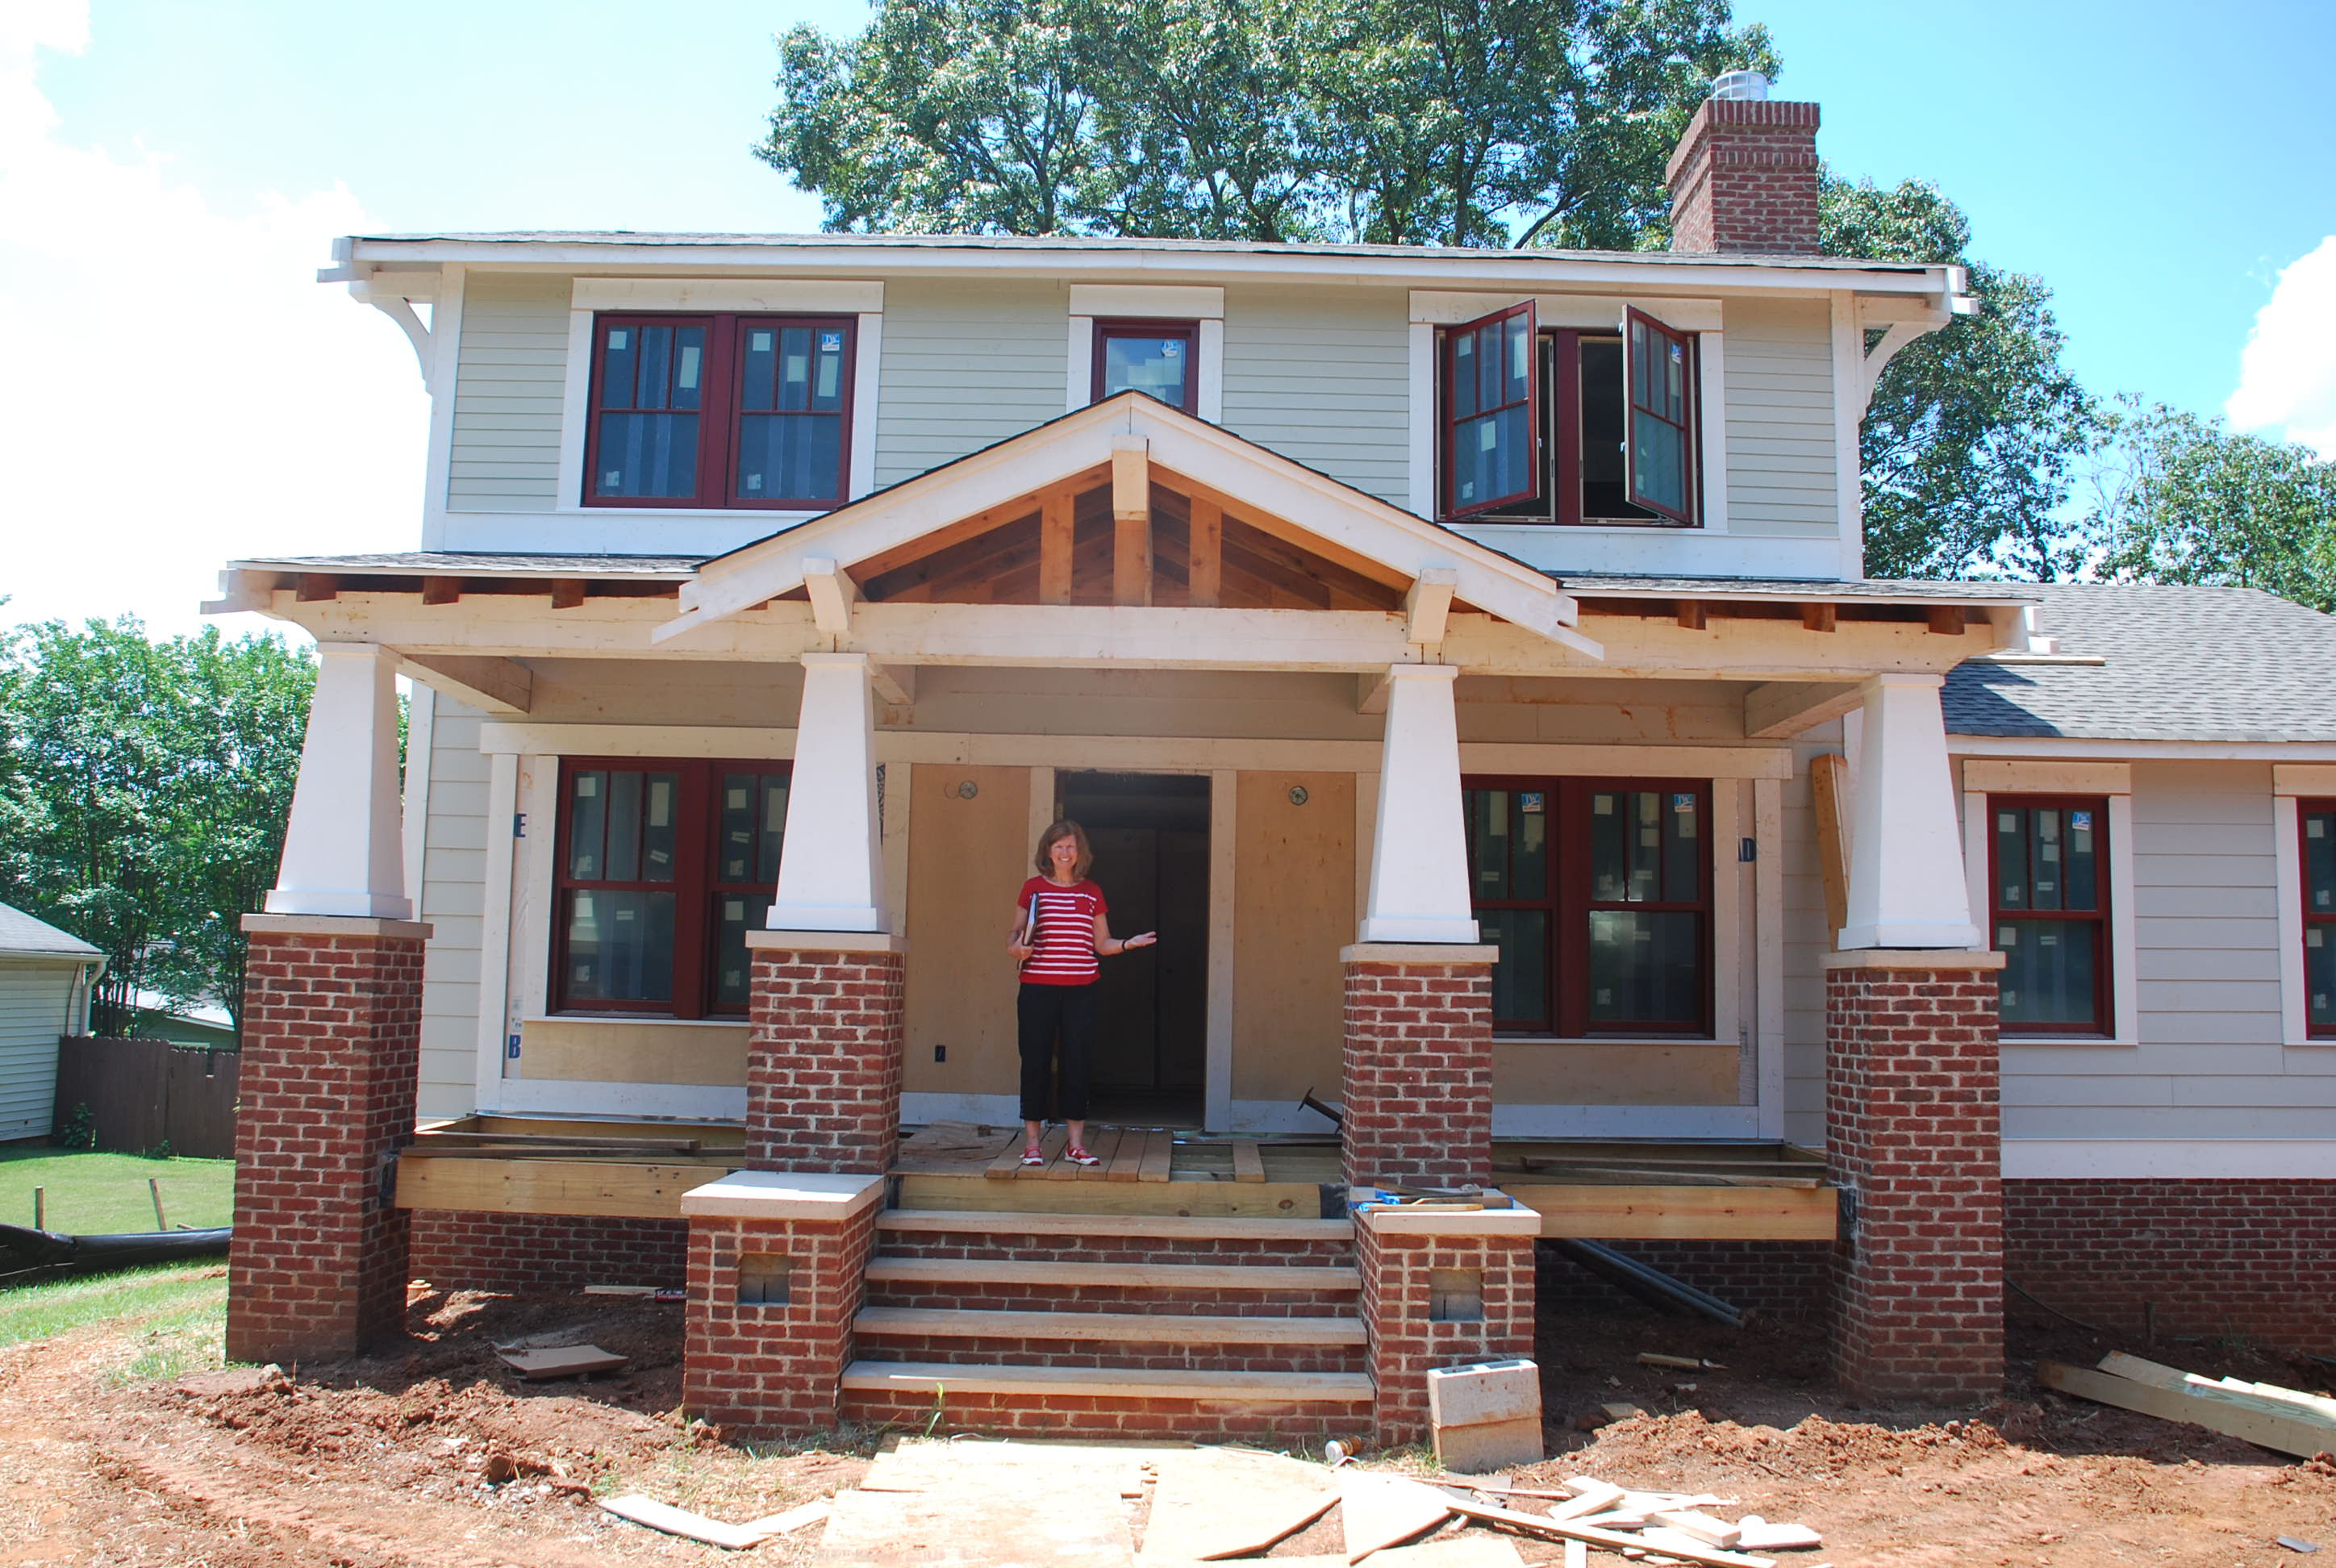
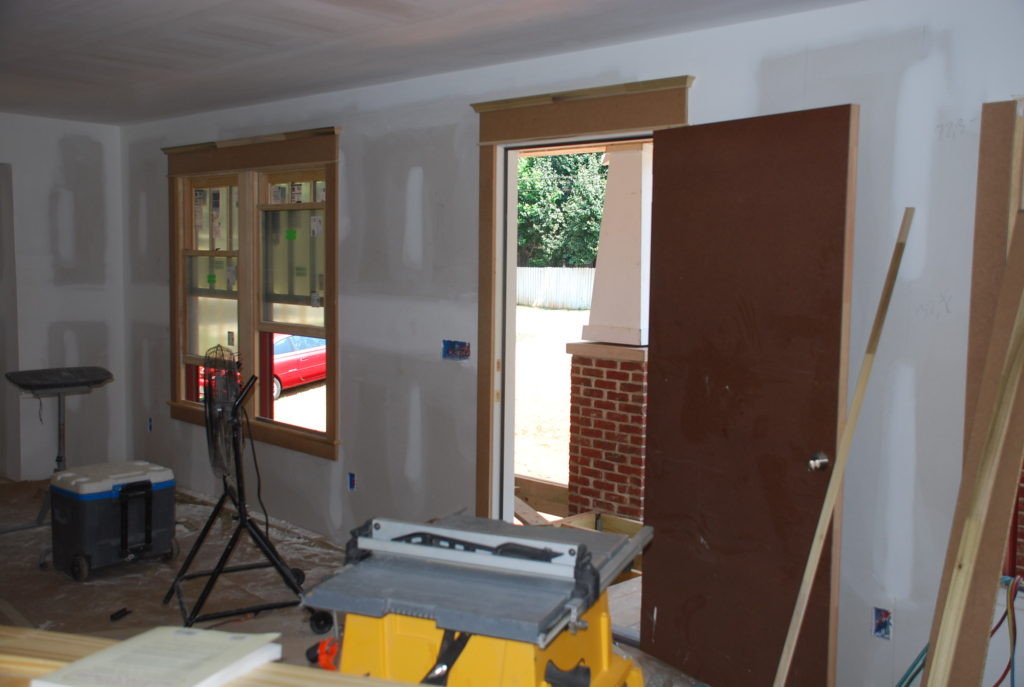 Also this week Tom and crew decided to install the columns. We’ve been working around those 2x temporary posts long enough – it is time for the real thing! They brought out some jacks and carefully leveled the beams and then measured the height between the concrete caps and the beam so they could cut the columns precisely.
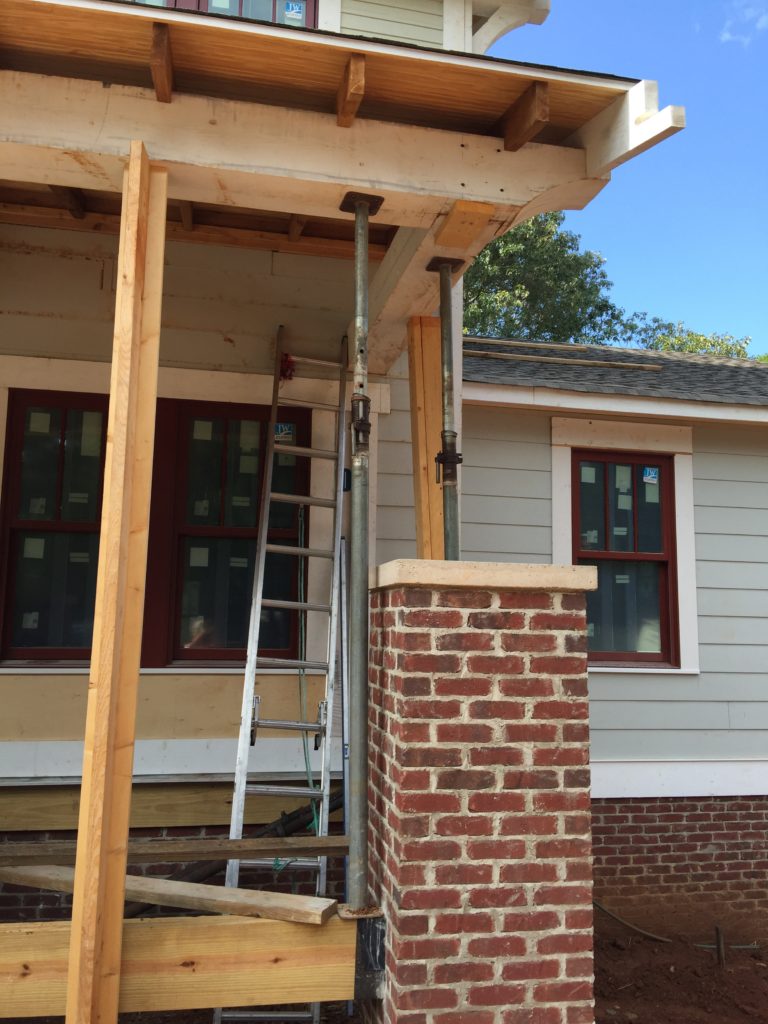 Measurements were transferred carefully to the pressure treated posts inside the columns and then they cut the length.
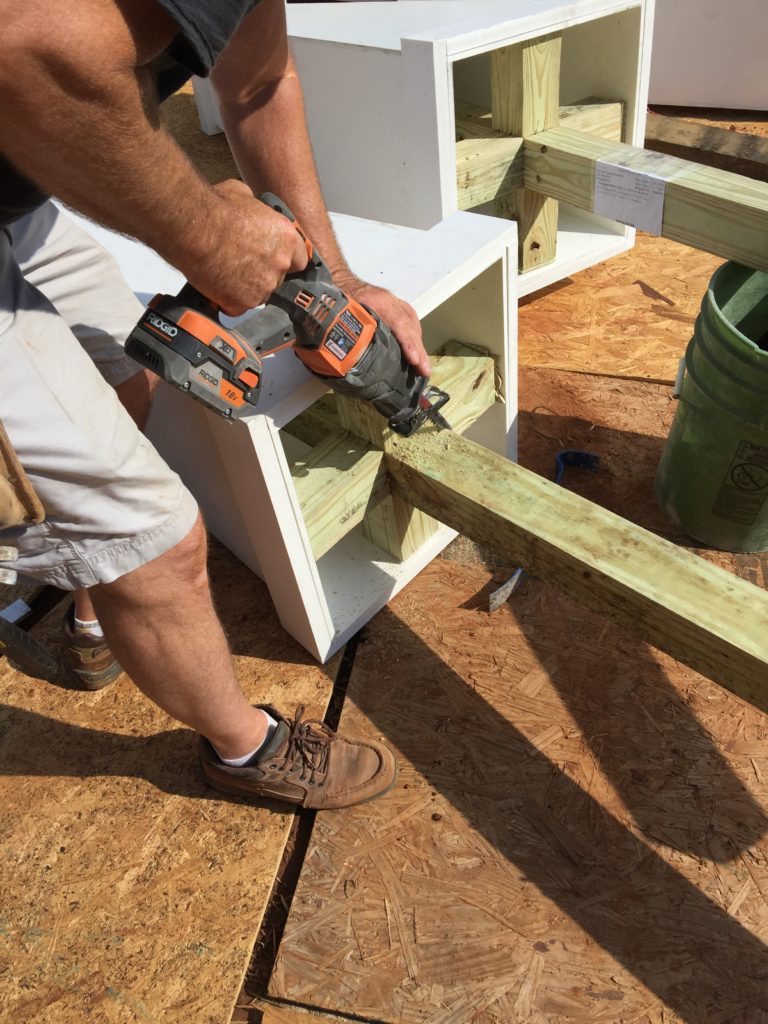 It wasn’t long before the first one was in place – and we could better visualize how it was going to look.
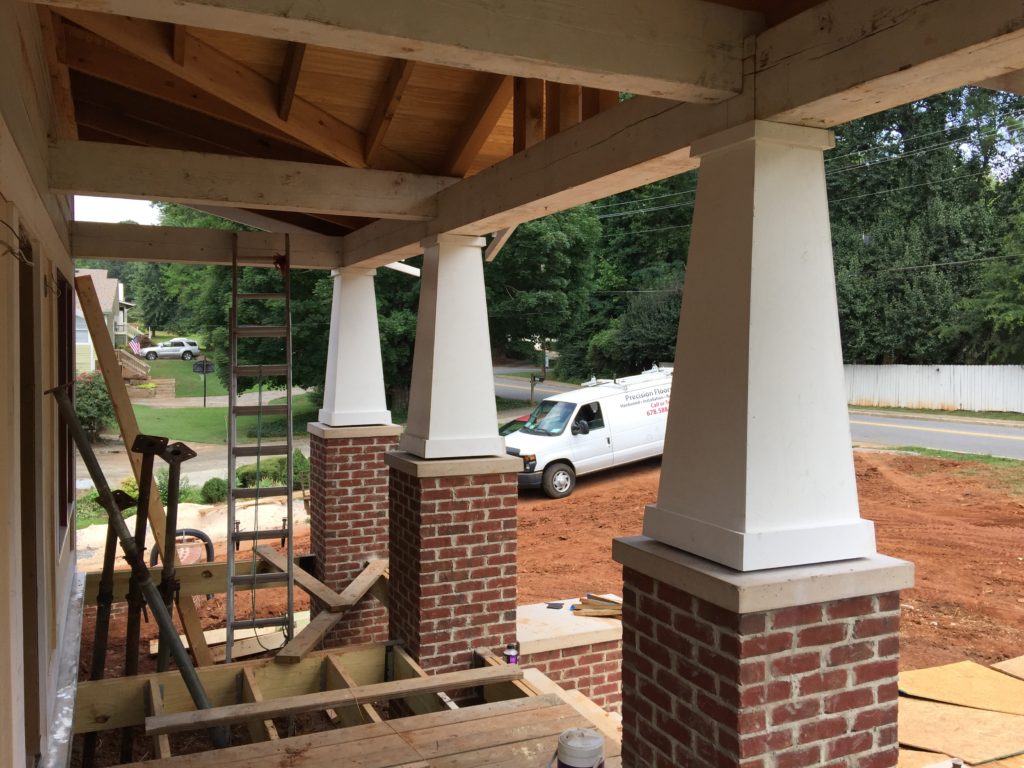
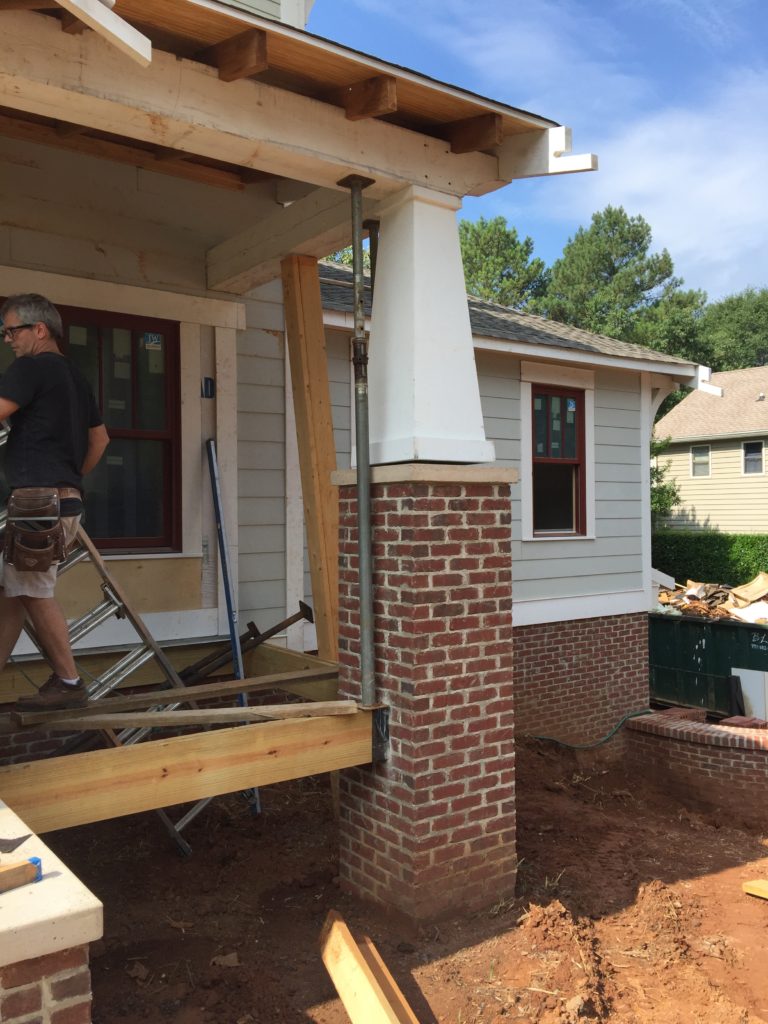 The other three columns followed suit, and they were finally able to take away the temporary supports and have a real porch with columns. There’s a little bit of a gap at the bottom that will be trimmed out to finish them off.
 And just because we needed more stuff to happen this week, the roofing guys came by and started on the metal roofing. We designed the two back porch roofs and the side roof over the Garage doors to have standard 5V-crimp roofing. That’s the old standard metal roof that you see on barns all over the country – and what they would have used 100 years ago. Below is the roof over the Back Porch behind the Kitchen.
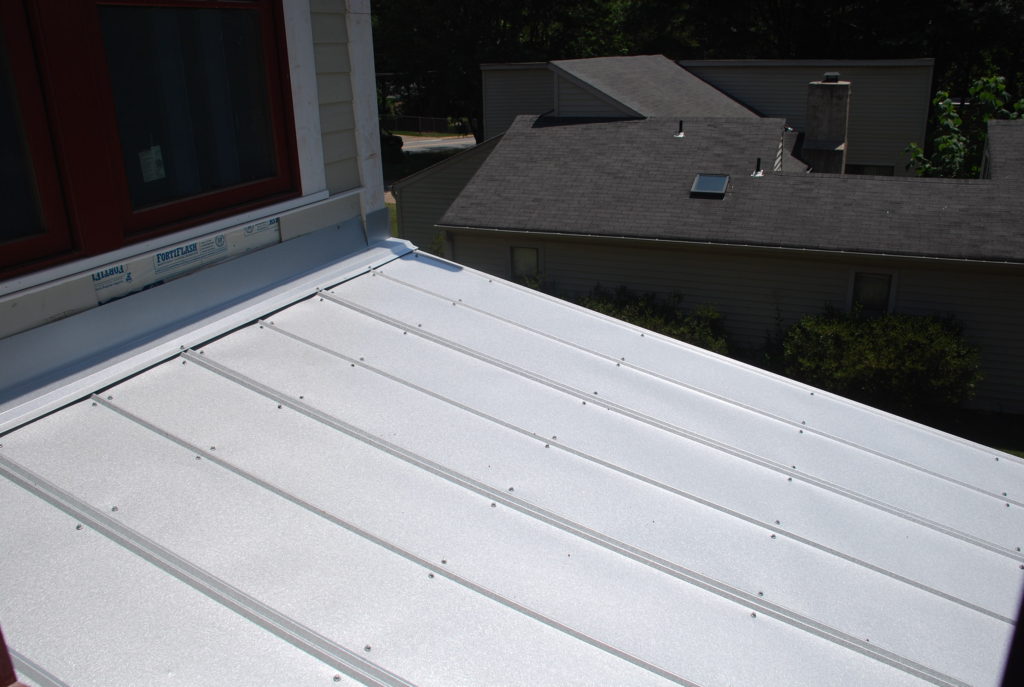 There were a few details to figure out with the flashing and drip edges, but once they were resolved the guys were able to move ahead quickly.
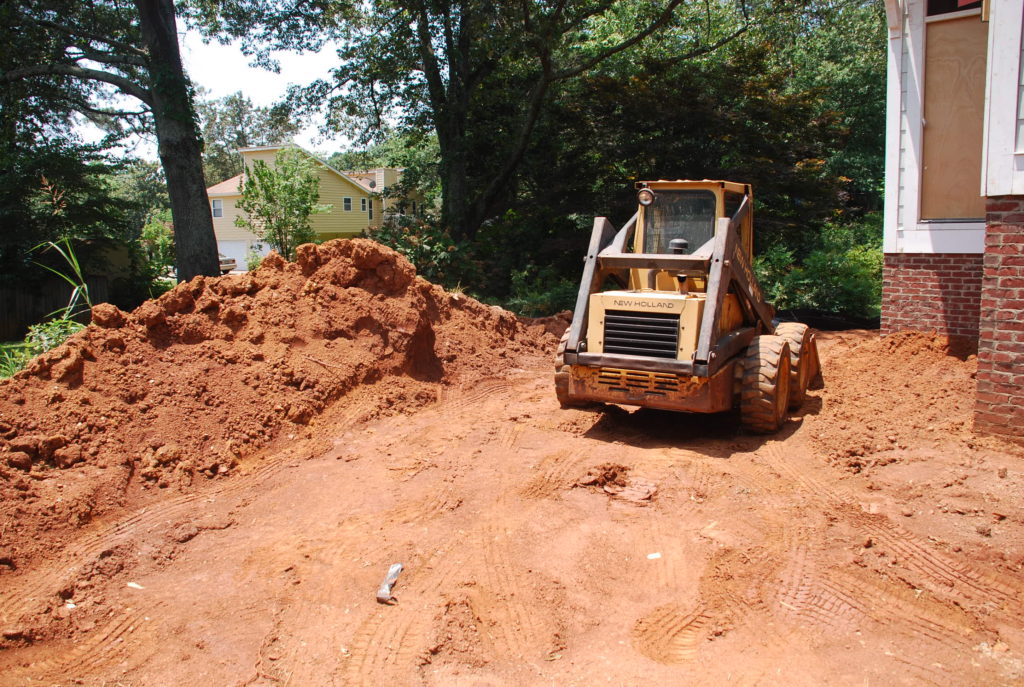
 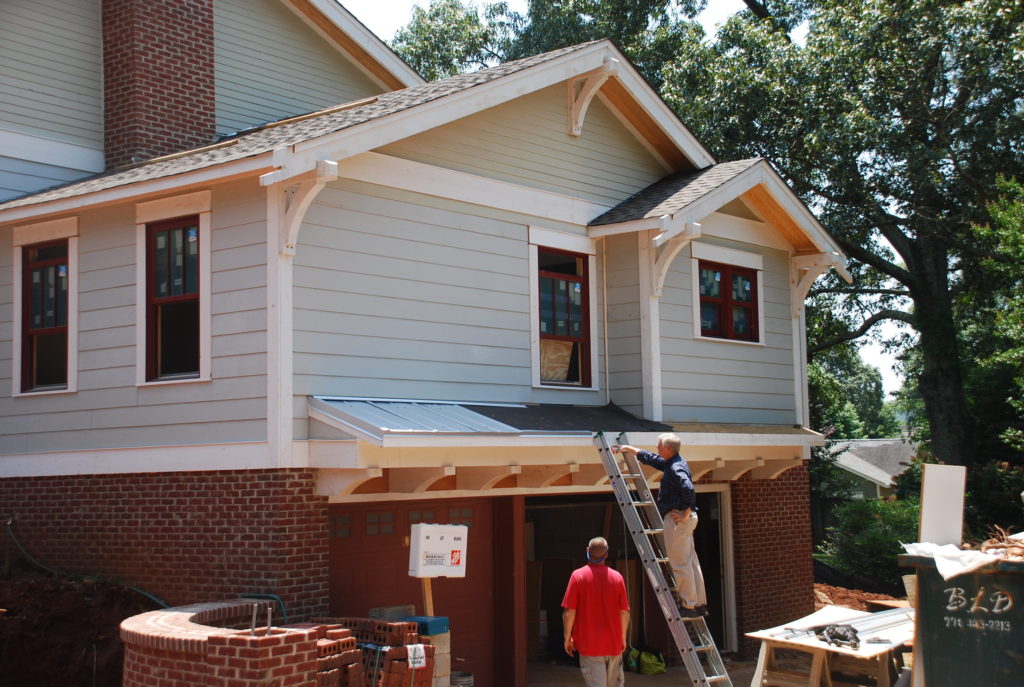 Forgot to mention last week that while Dale was moving some dirt around in the back and backfilling the foundation, he got the loader stuck in the soft dirt. It was late Saturday and the sun was going down quickly, so he left it for Tom and Andrew to pull out. They popped it right out on Monday, and were back in business.
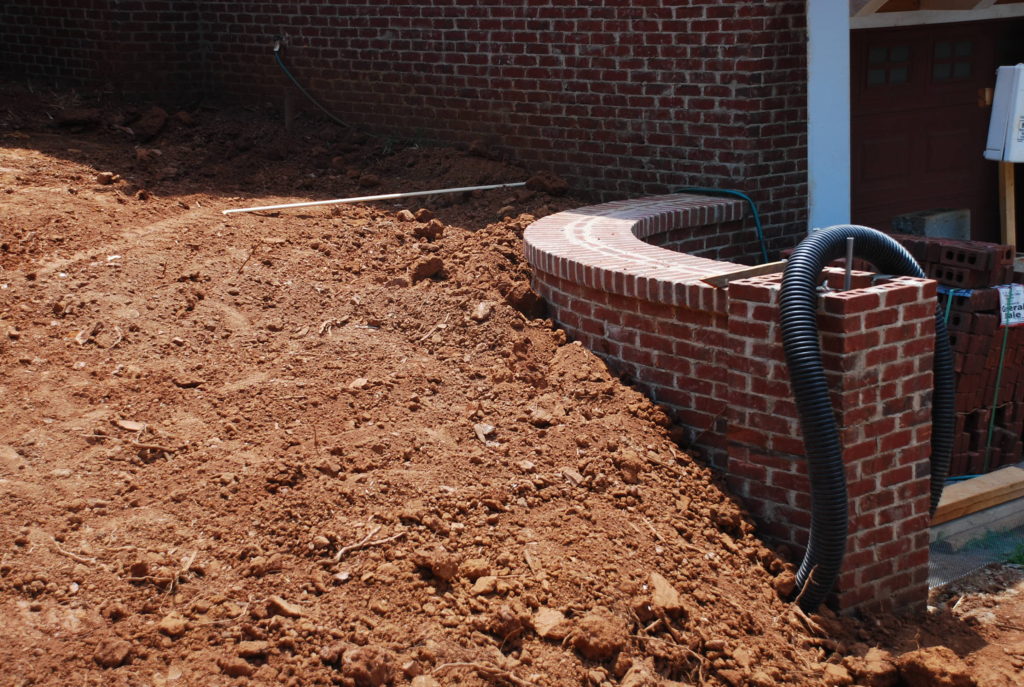
Sometime later in the week Andrew extended the foundation drain out to the end of the retaining wall, and then it was time to backfill that big hole that we dug the week before. With the loader back in business he was able to handle the job easily.
 And then on Saturday Dale jumped back in and continued moving some dirt around in the back. Slowly those huge piles of dirt are starting to get shorter and we are getting a better view of the house from the back.
If only all the weeks could be this productive – we’d be in before we knew it! We’re hoping we can keep it up.