
We did have a little rain, but resolved that we were still going to be OK to install the foundation drain without scouring the footings again. The moat drain worked great and Tom had one of his guys lay block against the wall in preparation for the brick.

The idea is that the brick has to sit on something, and it would be a waste of effort and money to take it all the way down to the footing if much of that brick is just going to be covered up with dirt. So we took 4″ cap block and laid it sideways to create a ‘brick ledge’ for the brick to sit on. We carefully figured out where the final grade was going to be and but the block in just high enough so that it wouldn’t ever be exposed once the final grading was done.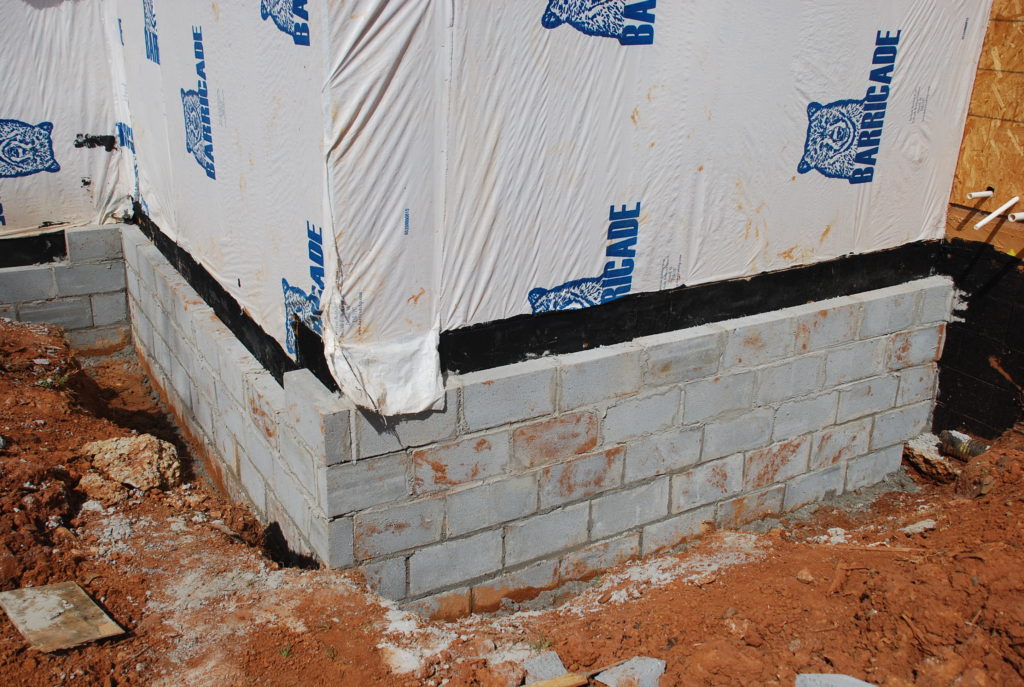
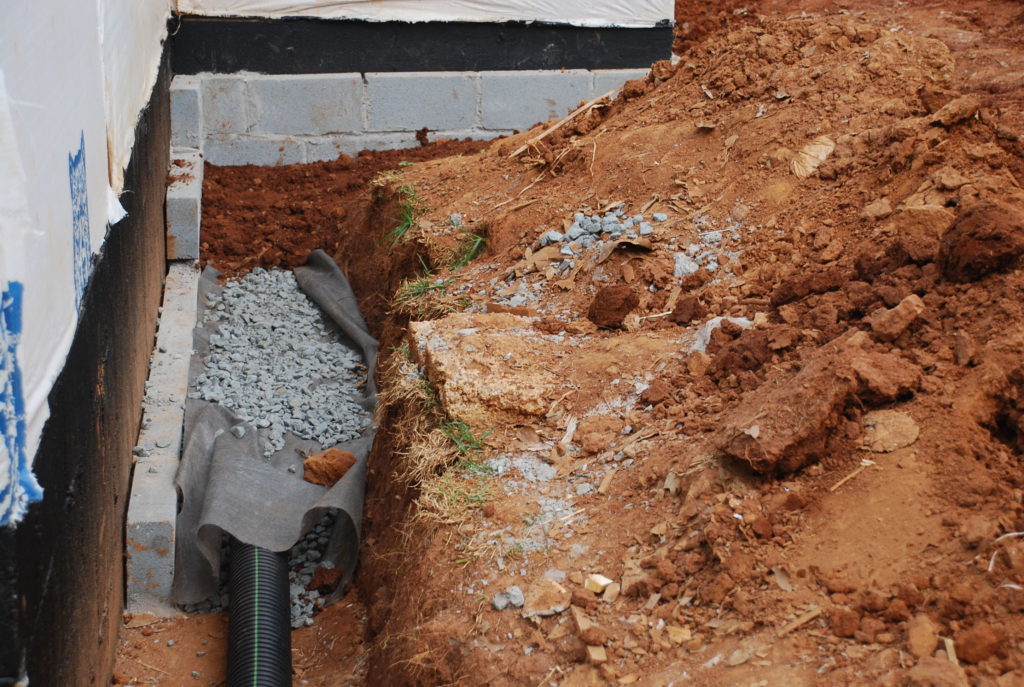
Once the block was in place, then it was time to install the foundation drain. We had a some 4″ corrugated drain pipe delivered along with elbow fittings for the corners and silt barrier to keep the dirt away.
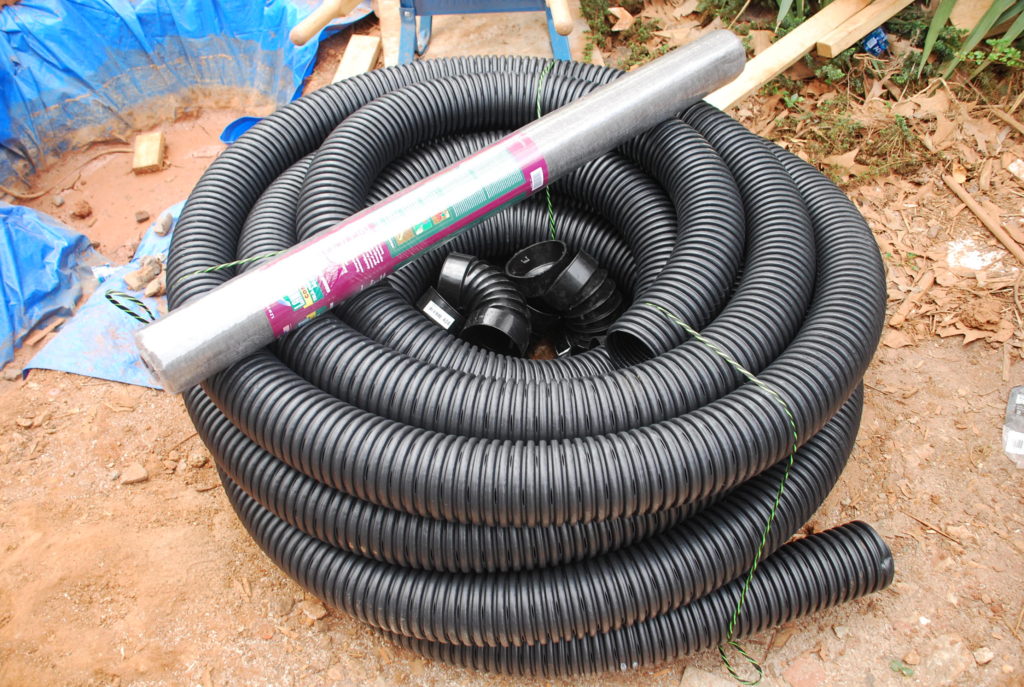
Finally we needed gravel to embed the drain in, and we were ready to go.
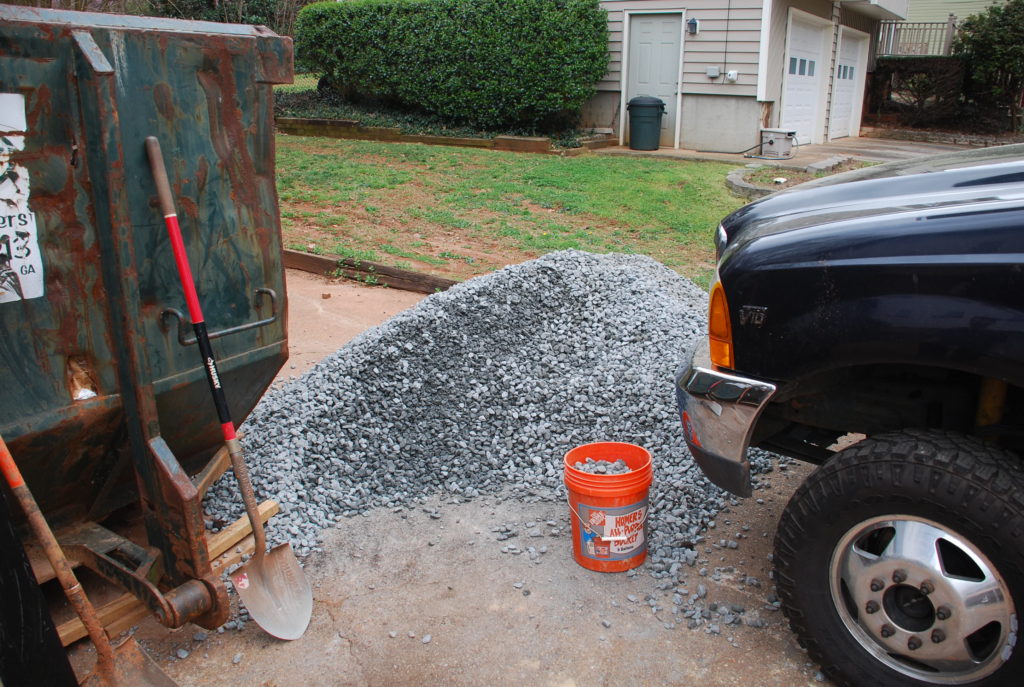
First we laid the silt barrier down on the footing and held it in place with whatever we could find. Then it was a matter of cutting the drain pipe to the right length, putting the fittings on, and then laying it up against the foundation wall. The heavy lifting was hauling tons of gravel around the back of the house and pouring it around and on top of the drain pipe.
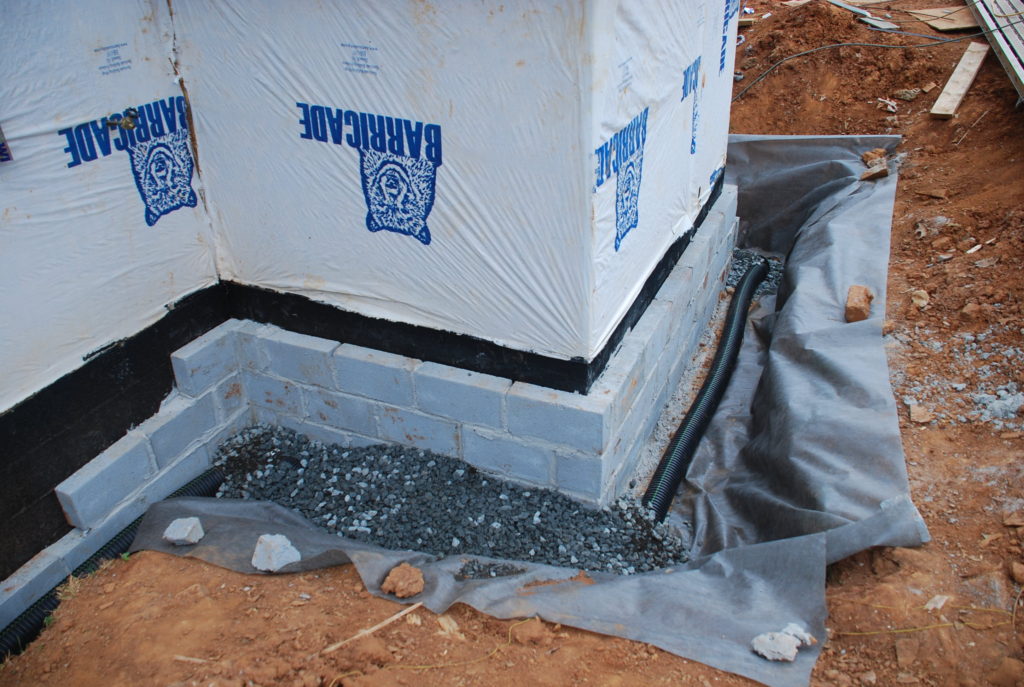
Once the pipe was well covered – about 8″ to 10 deep, we then folded the silt barrier over the top of it. This will keep the dirt, which we then put on top, from getting down into the gravel and clogging up the drain pipe.
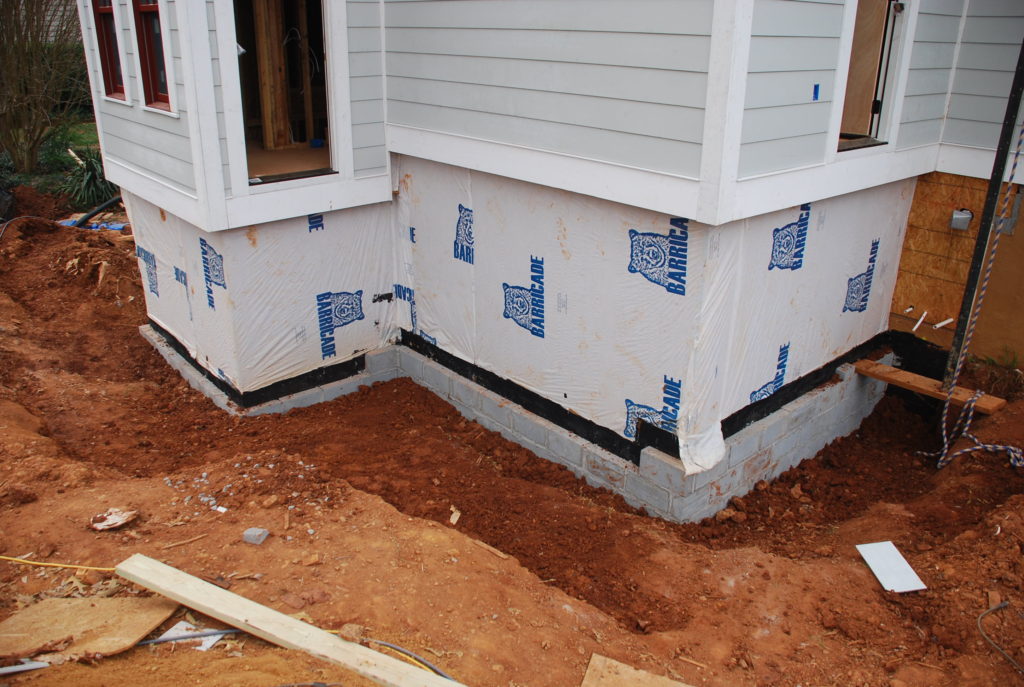
We were elated to have this job behind us, and ready to back-fill the dirt up against the foundation wall and fill in the trench that has been there since November!
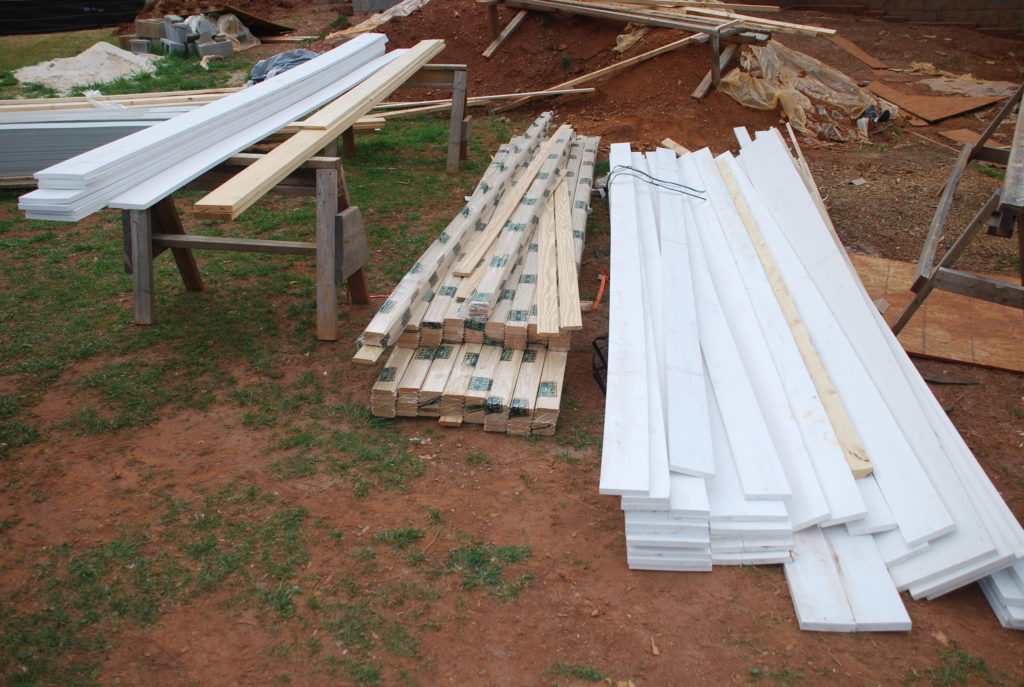
While we were laying the drain and backfilling, we were joined by the siding crew who were ready to go. Tom had ordered the material for the siding and corner boards and beadboard for the soffits, and it was waiting on site for someone to put it on the house.
They started on the back corner and worked their way across the back of the house.
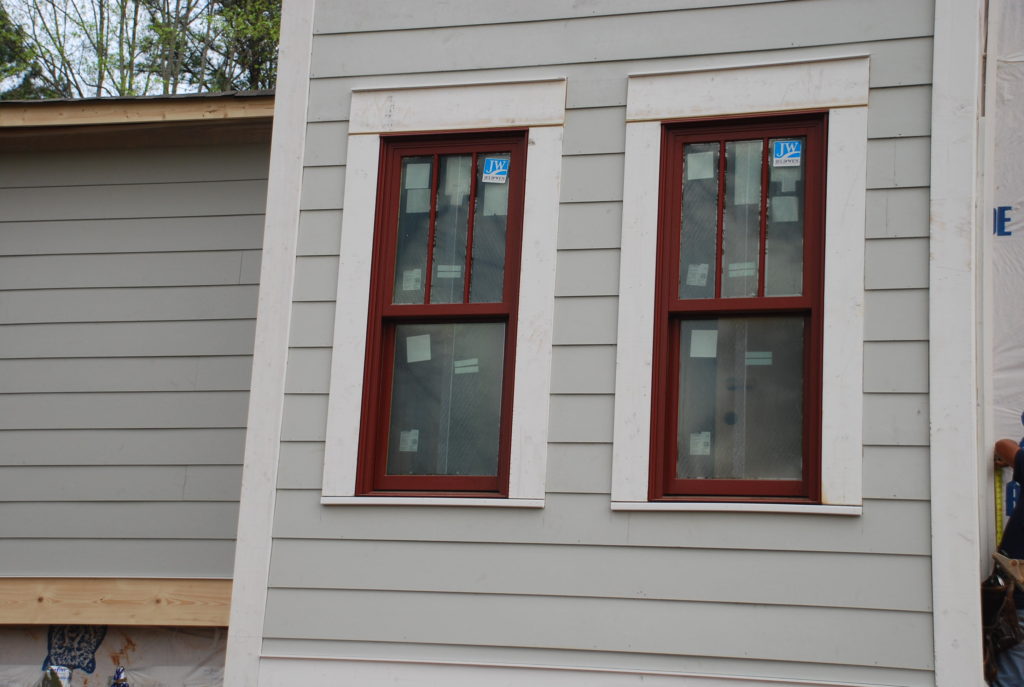
We designed the Elevations to use two different siding exposures – the lower siding with an 7″ exposure and the upper area above the band to be 4″ exposure. Our supplier had to order more siding for the upper part, but the guys wanted to get started, so they got all the corner boards, and window/door trim, and lower siding going, and will come back when the other siding is delivered. 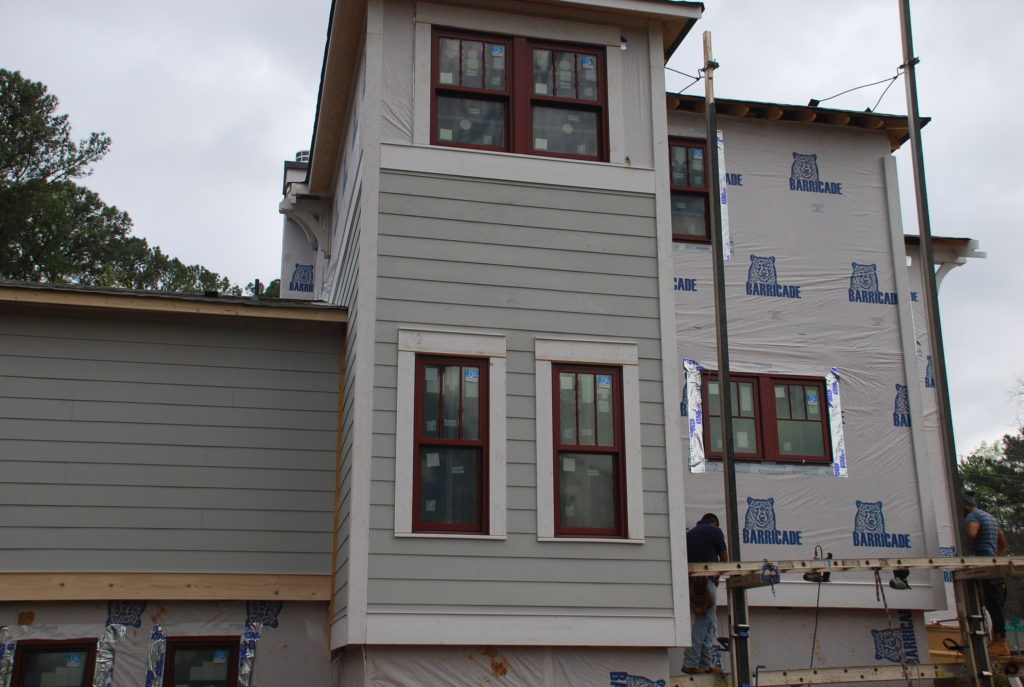
The exterior walls of the house are finally starting to get a little texture and detail and we can visualize better how it is going to look.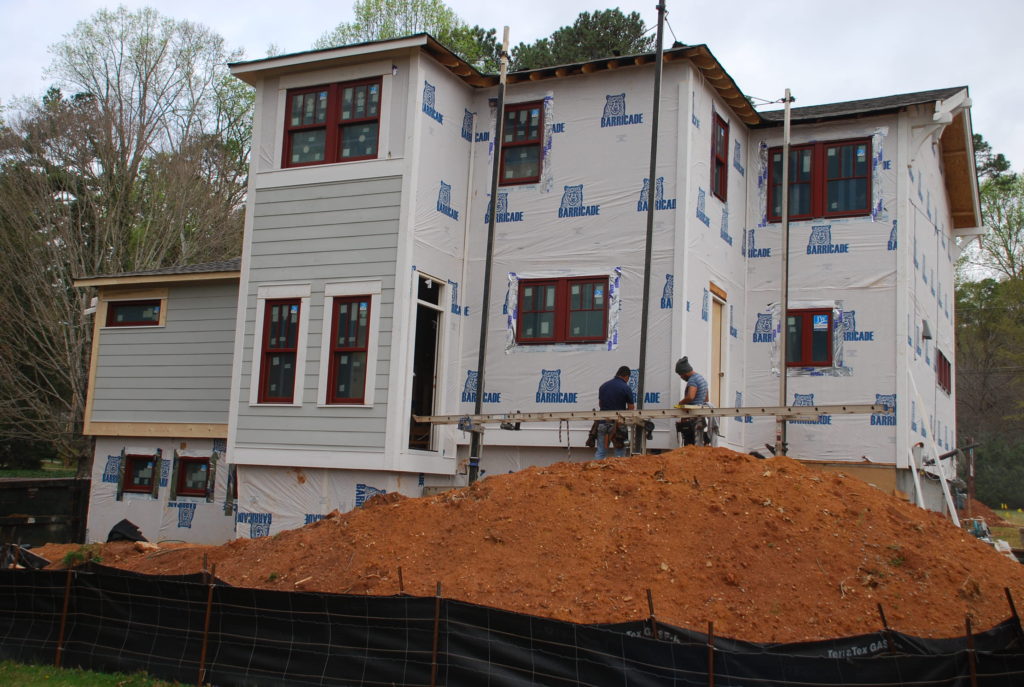
Nice detailing at the jambs and heads will really make the windows pop.
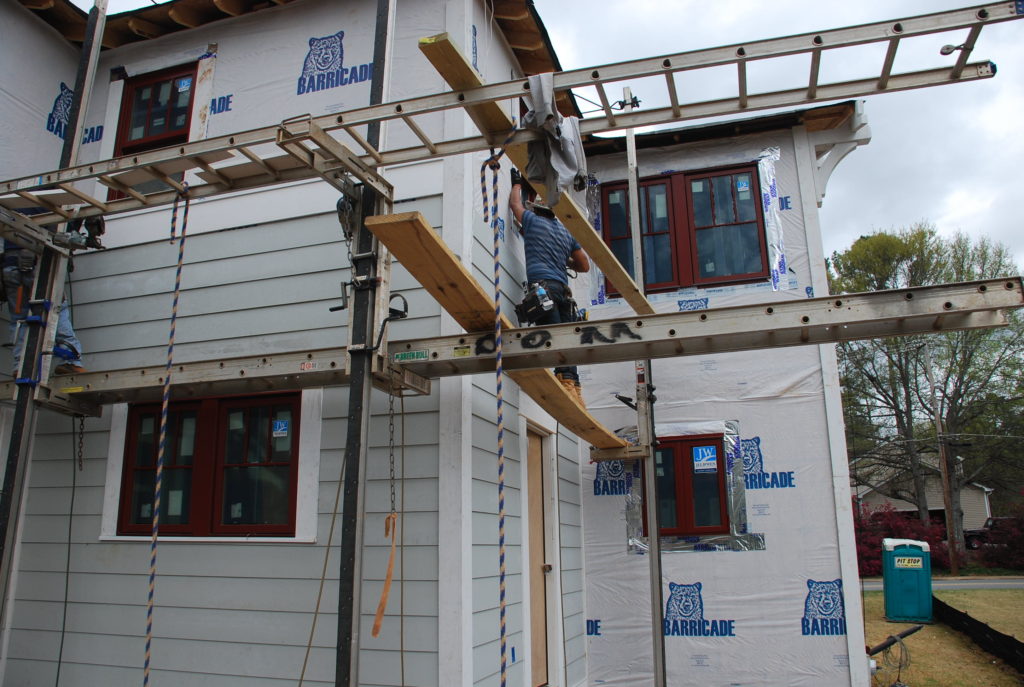
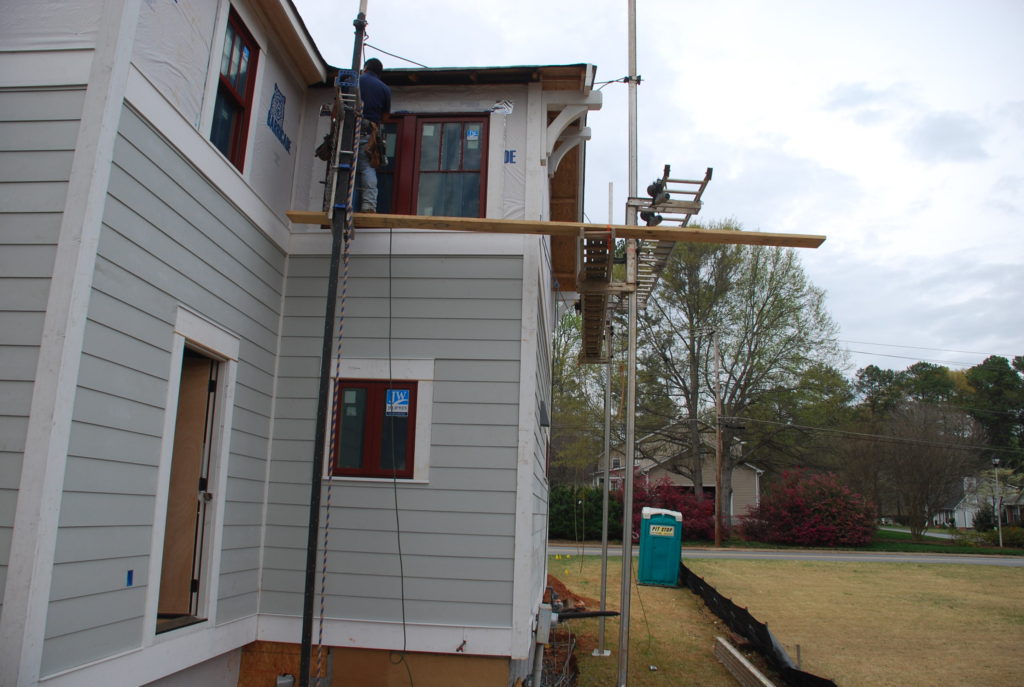
The normal scaffolding for residential guys consists of single poles with a foot crank that raises and lowers a support on which these aluminum ladder things sit. Lay a 2x on top of that and you’re good to go!
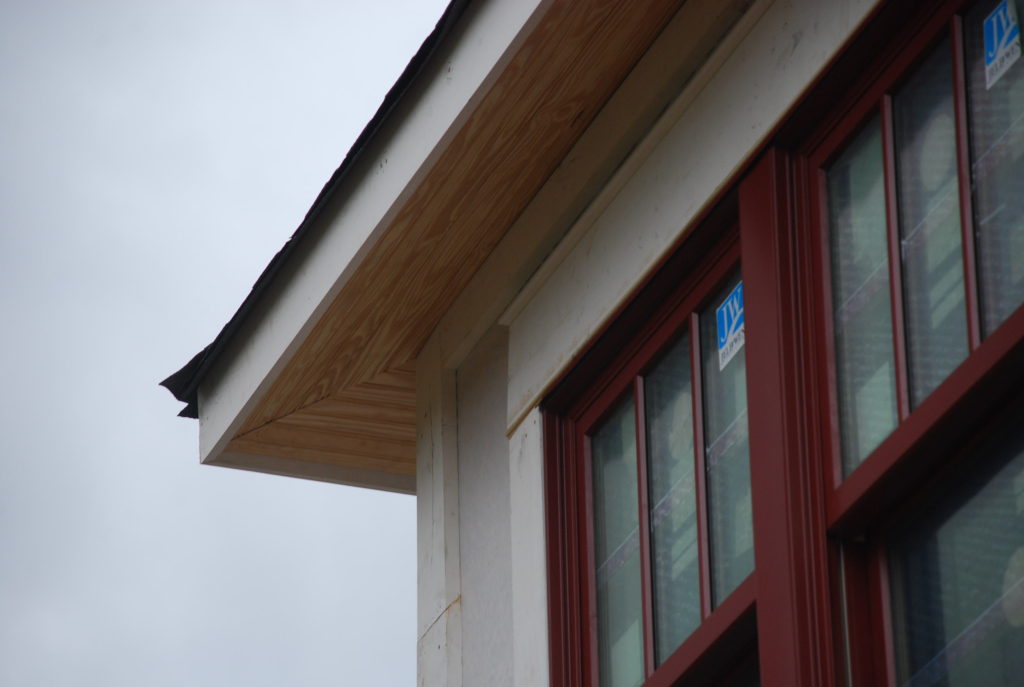
We designed the soffits to be sloped to match the rafters and covered with beadboard. We are going to use sprayed foam roof insulation so soffit vents are not going to be necessary.
The siding guys continued working down the back of the house and then around the corner at the back and up toward the front.
You can see how we designed a continuous band to go around the house just under the upper window sills. This will make for a nice break in the height of the walls and allow for our change in siding color.

By the end of the week the siding guys were able to complete all of the lower siding and trim boards except for the front which will go in after the porch is framed in.