After a couple of weeks of planning and reviewing our budget and expenses, we are back in the swing again.
After further review of the code and discussion with the inspector we resolved that we are going to need to separate the Garage portion of the Basement from the house above with fire-rated drywall. The original house had drywall partially in that area but over the years we had poked holes and removed parts of it in order to run wires and things. In addition the HVAC guys, plumbers and electrician had pretty well butchered it up, so we decided that it would be easiest to just take out all the old drywall and start over with new.
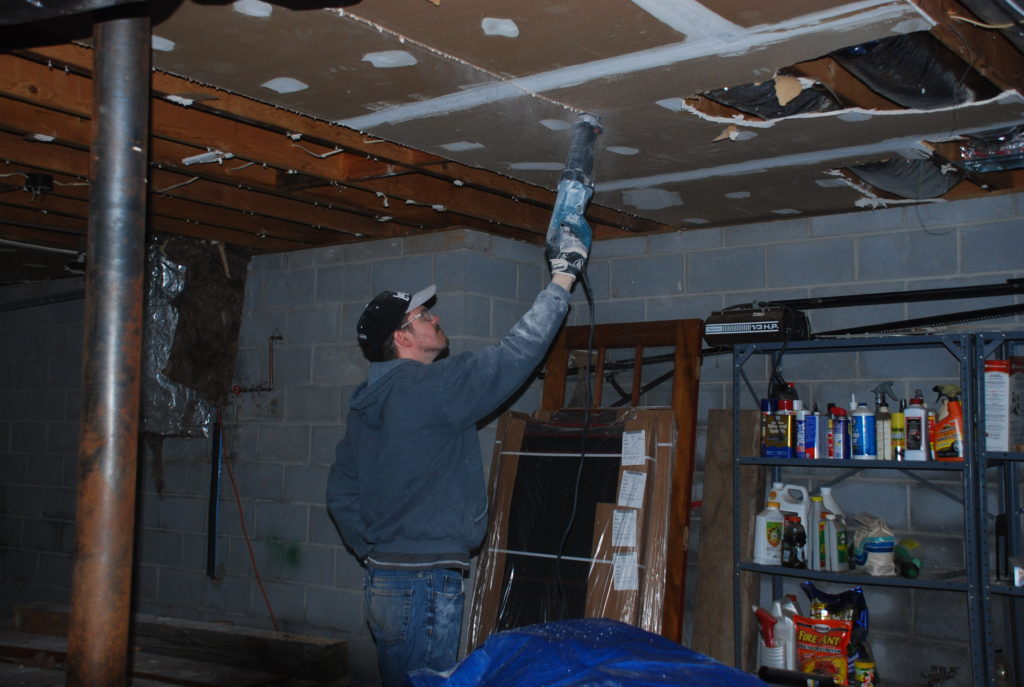
So we thought we were through removing drywall, but there was more to do. It wasn’t that much and didn’t take long for the Jonathan and Dale demo team to knock it out. The trip to the dumpster was very short so we were done pretty quickly.
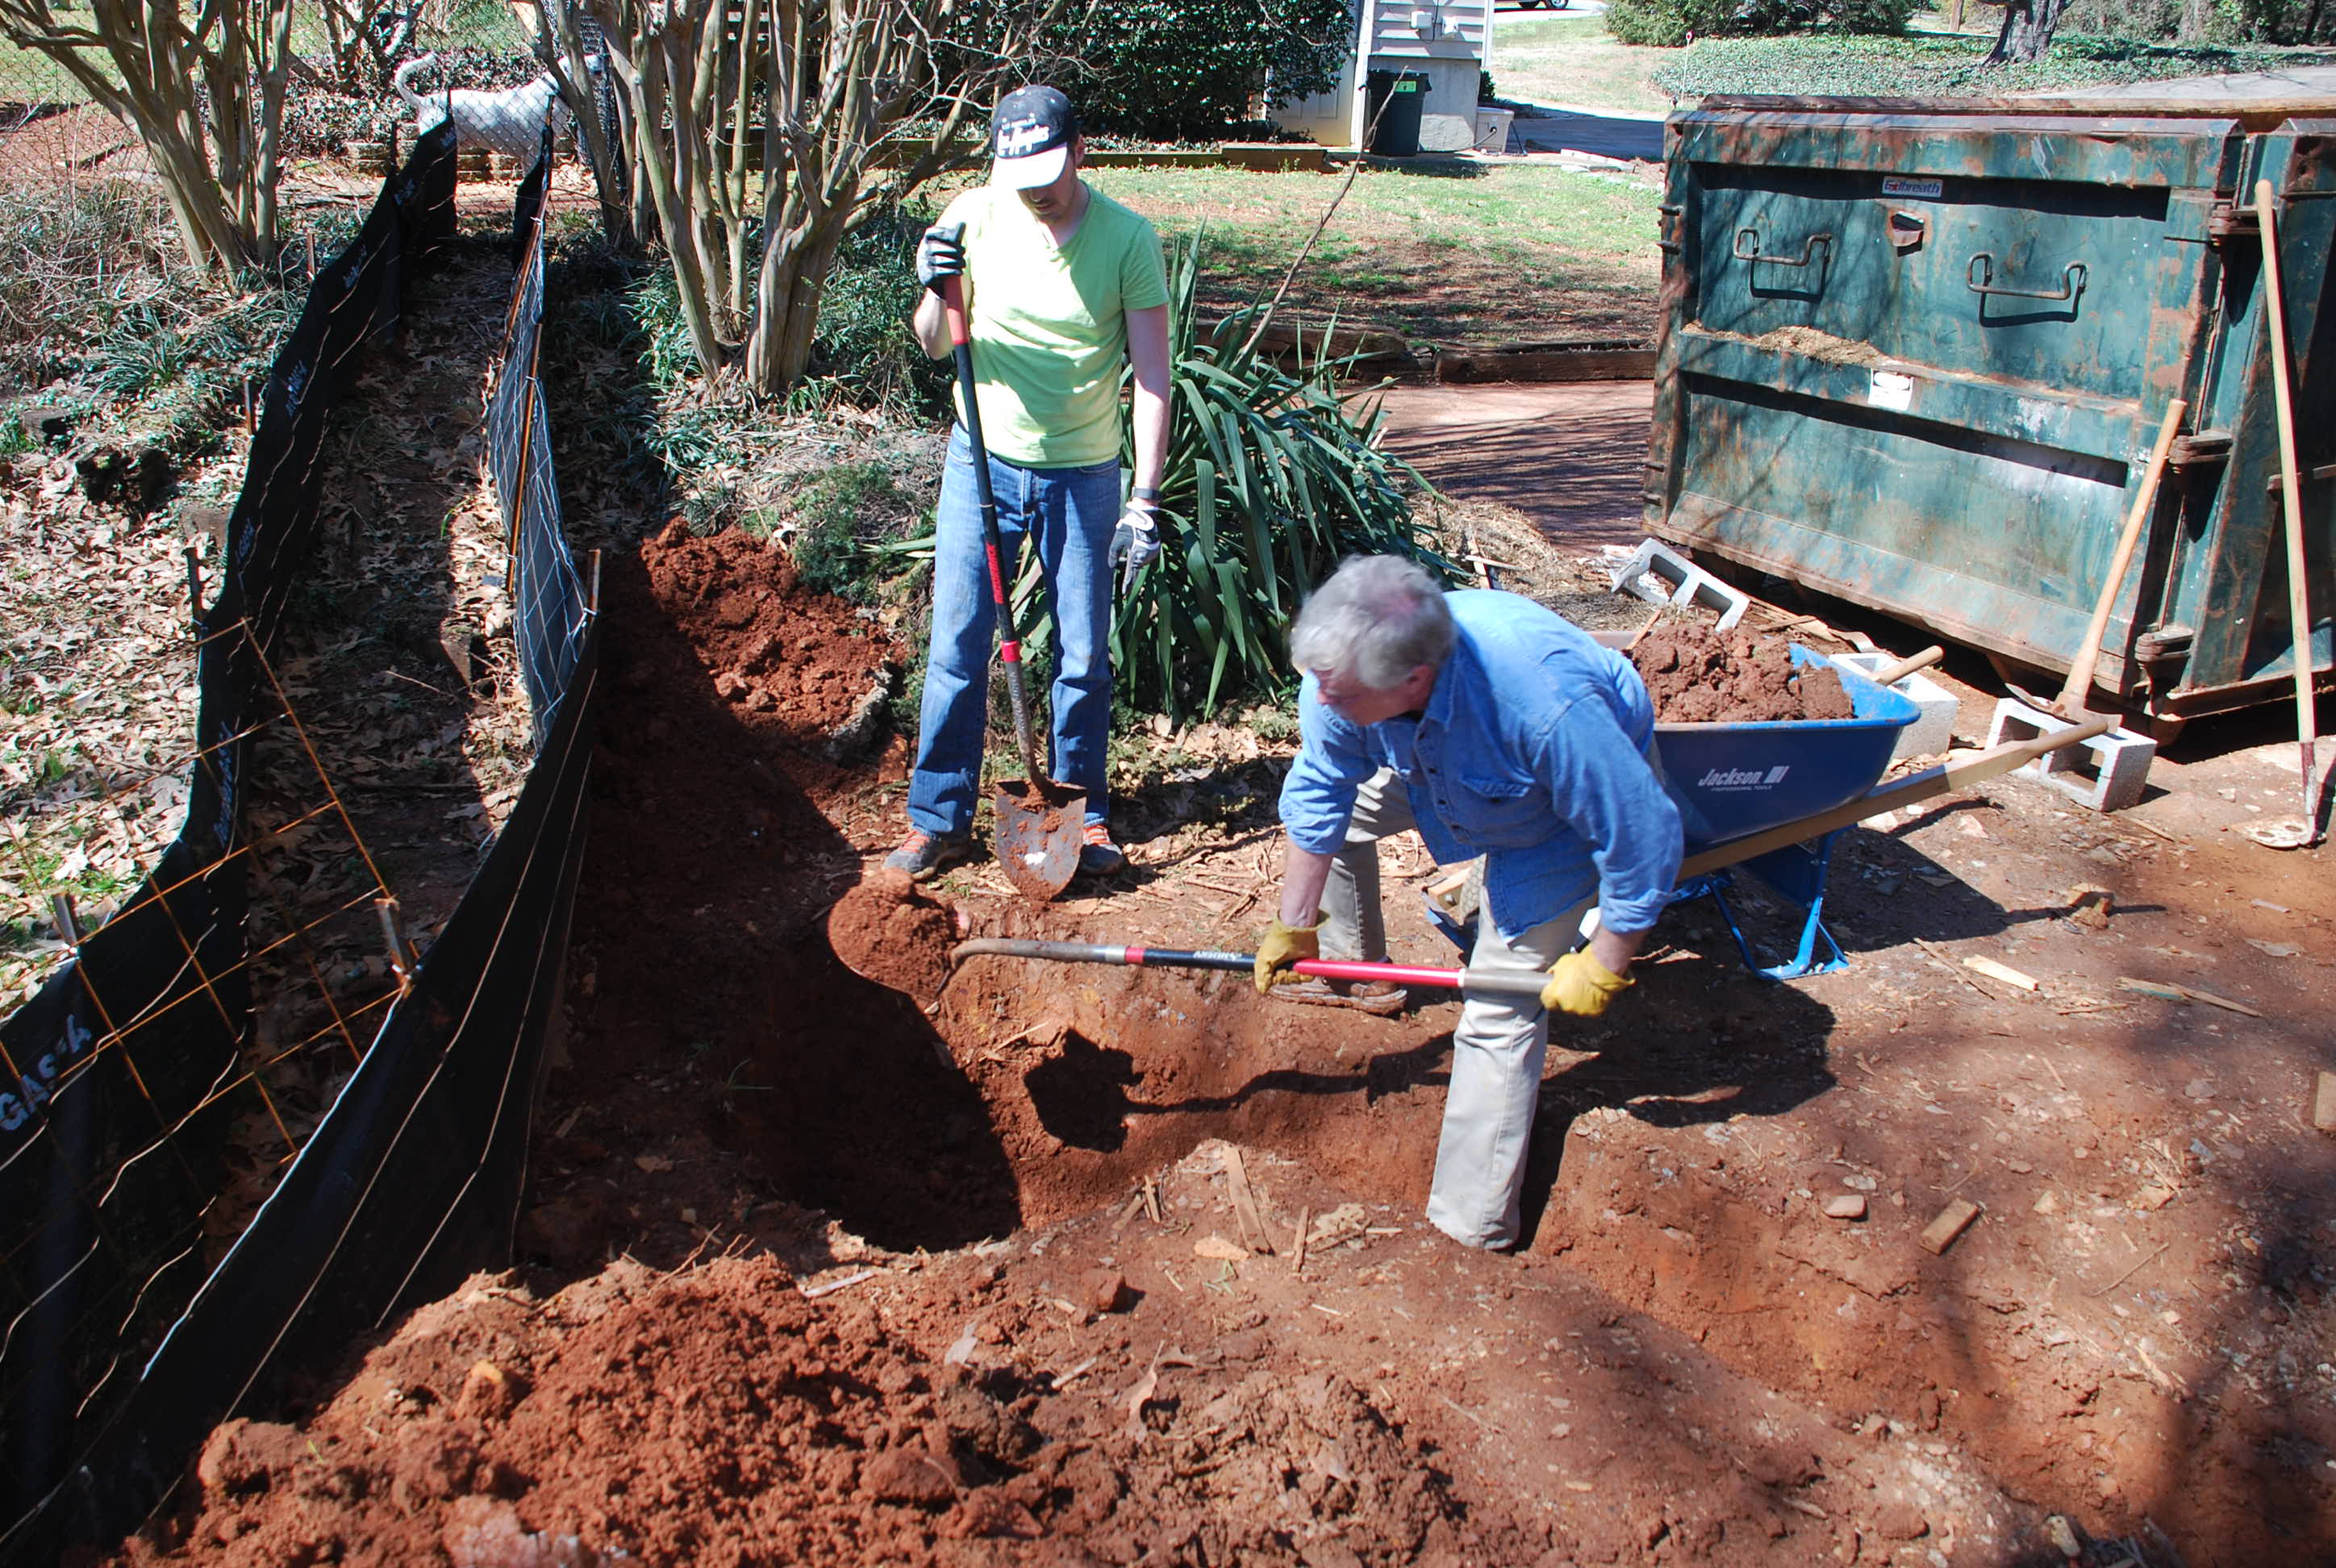
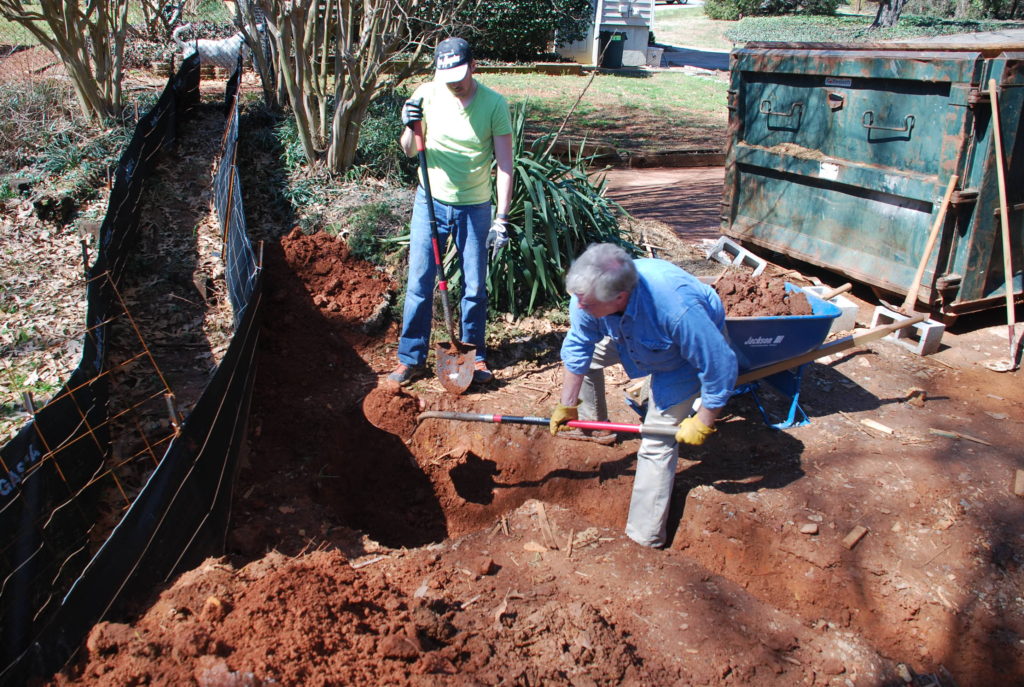
Then it was time for the job that we had all be putting off for months. We need to get started with the brick, but before we can – we need to damp-proof the new foundation walls around the back. The first step is to remove all the water and muck that has accumulated on the footing outside the foundation wall so it can dry out and the damp-proofing can be applied to the wall.
That’s easier said than done, as it was basically a moat around the perimeter of the footing, and being flat and in a hole, there was nowhere for it to go. By the time the water evaporated, another rainstorm would fill it up again.
To remove the water, we experimented with siphoning it, and then pumping, but eventually came to the conclusion that it would be best to just drain it.
So we decided to dig a detention pond to push all the water and muck into so we could clean the footings and foundation wall and prep them for the damp-proofing.
Once we dug the hole large enough to handle the run-off, we lined it with a piece of tarp to slow the percolation into the ground.
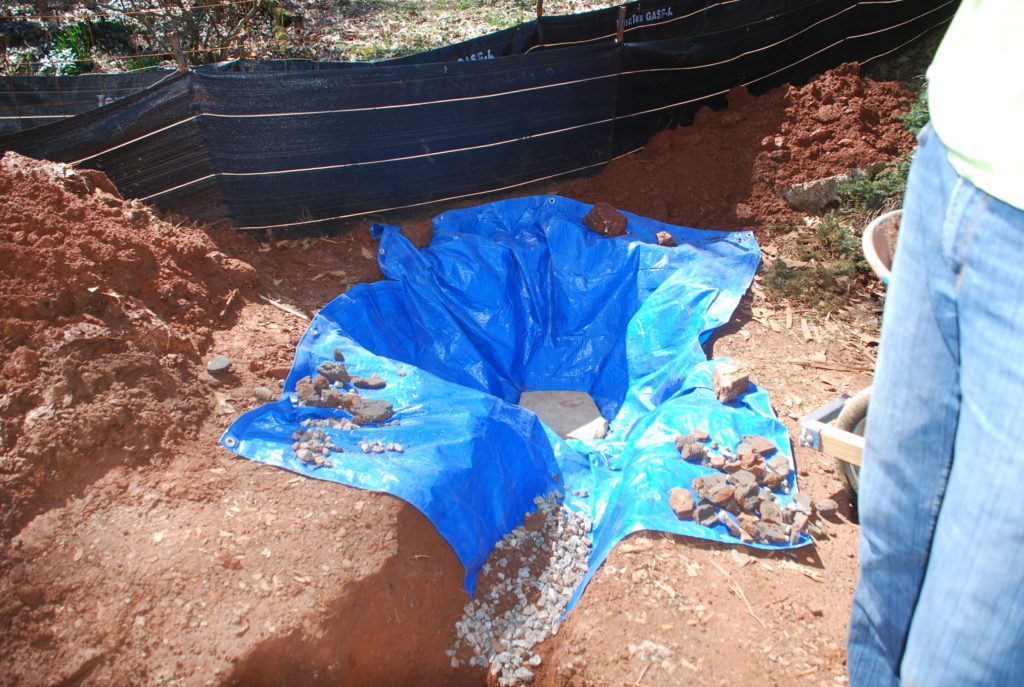
Then we dug a trench connecting the end of the footing by the back of the Garden Room to the detention pond, and the drainage began.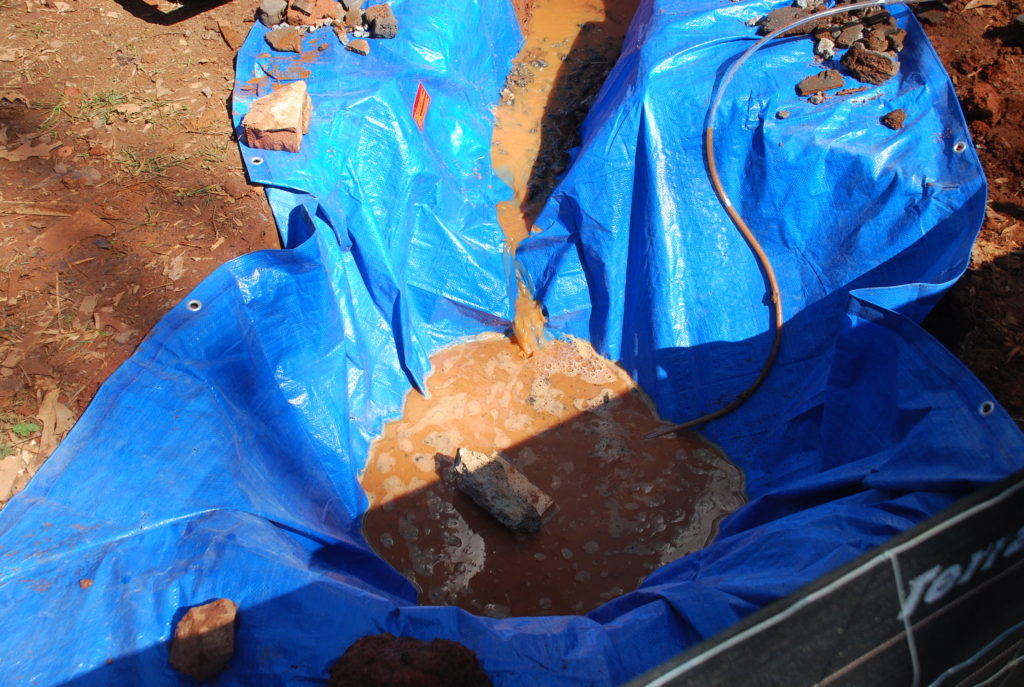
Once the existing water drained from the moat into the pond, we started all the way back at the far corner of the footing and hosed the footing and wall to get all the muck and dirt and debris off.

It gave a whole new meaning to the phrase, ‘rinse and repeat’.
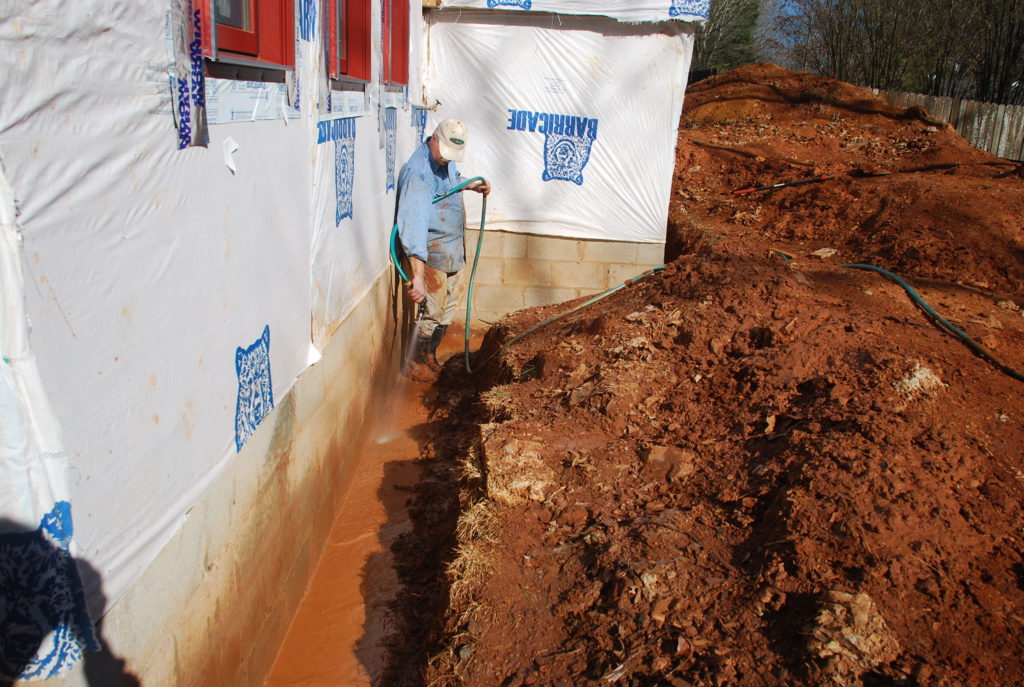
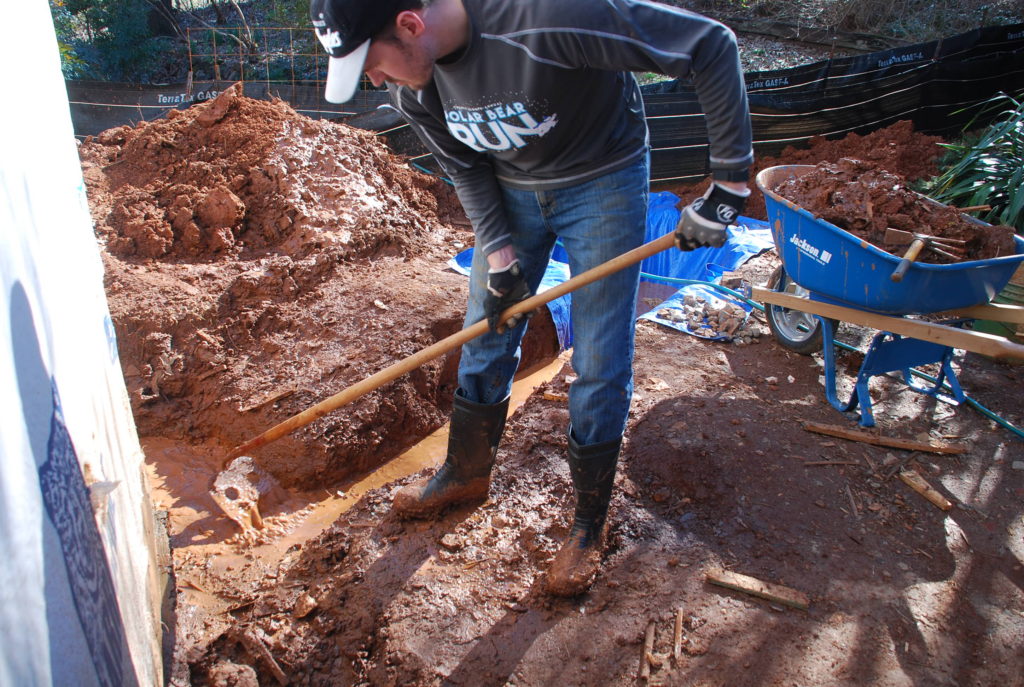
Because it is flat, the muddy water needed some persuasion to get down to the pond which took a hoe and brooms and hose all working together.
Finally we got it clean enough that the damp-proofing would stick to the foundation wall and provide adequate protection, but by that time we had run out of sunlight. Thank goodness there wasn’t any rain in the forecast for the next few days, so Tom volunteered to apply the damp-proofing which we had purchased several weeks ago.
 The next time we came by the house – it was all done! Basically he used a long-nap roller and rolled the damp-proofing on all the concrete block that was exposed.
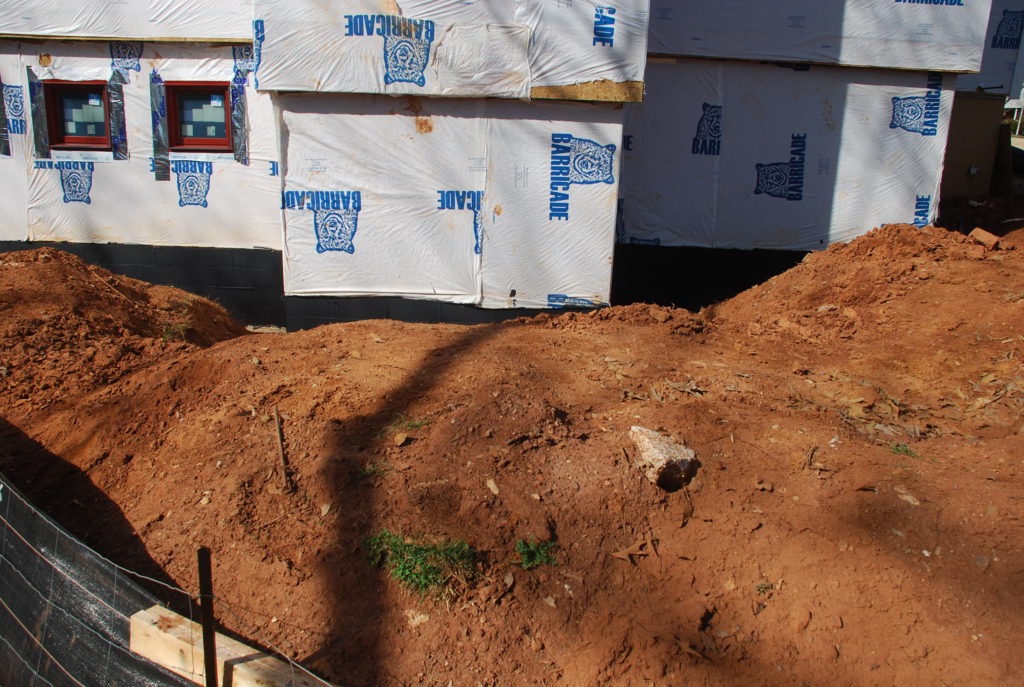
We still have dirt piles from where the foundation was dug, but at last we had the walls damp-proofed and ready for the next step. We’re hoping for good weather so the footings don’t get all mucky again before we get the foundation drains in place.
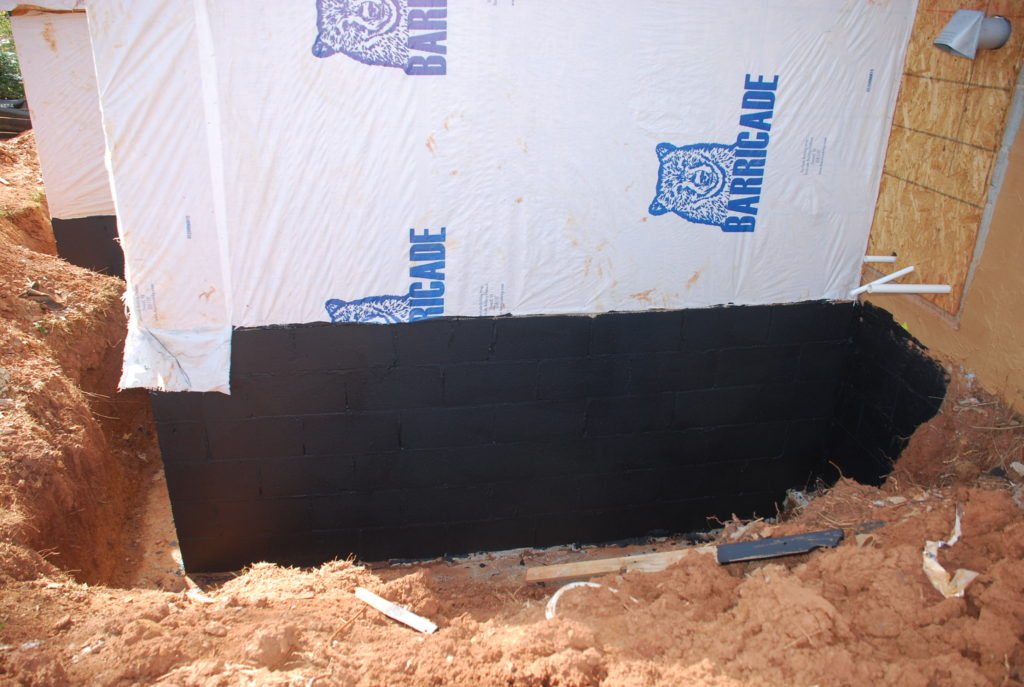
For now, they’re all clean and there’s nice new black damp-proofing protecting our Basement from water intrusion.