As we approach getting the drywall installed, we are focusing on getting everything done inside the walls before they get covered up. Sound insulation is one of those – either it goes in now, or it doesn’t get done.
We worked this week on the walls surrounding the Loft. Since we are going to use it as sort of a Media Room, we want to isolate it from the other rooms around it, particularly the Bathrooms and the Mechanical Room where the HVAC unit is.
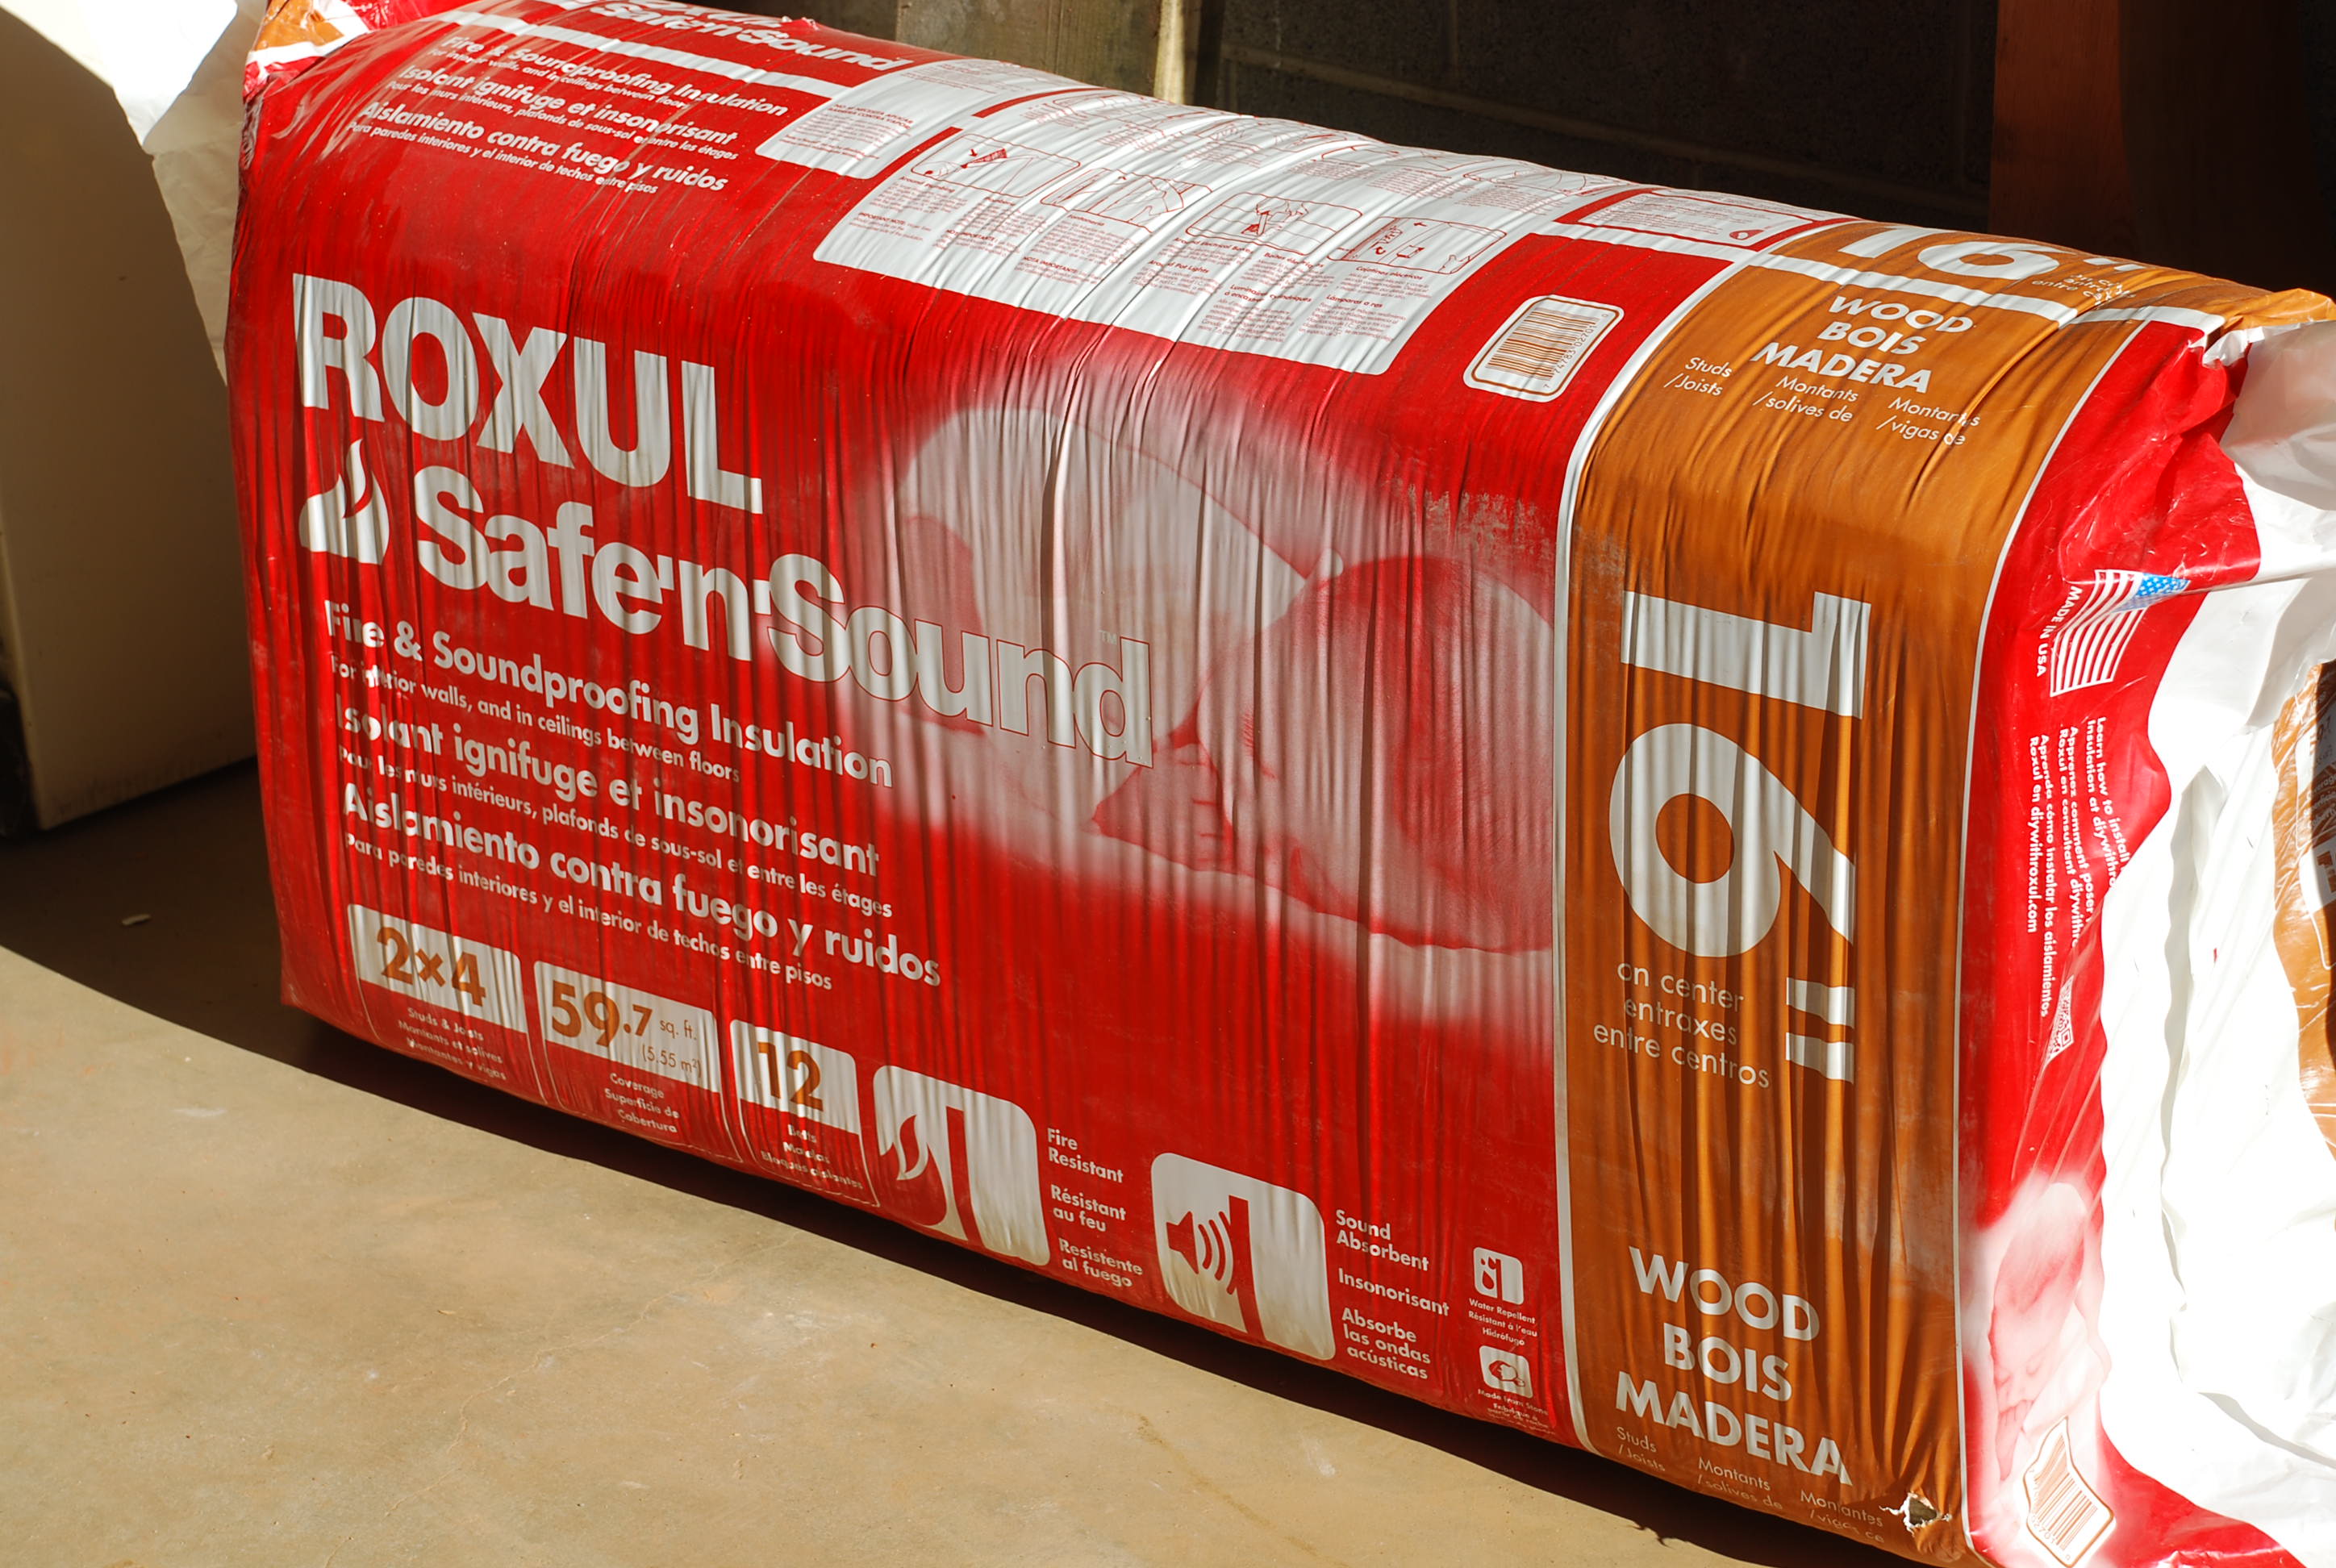
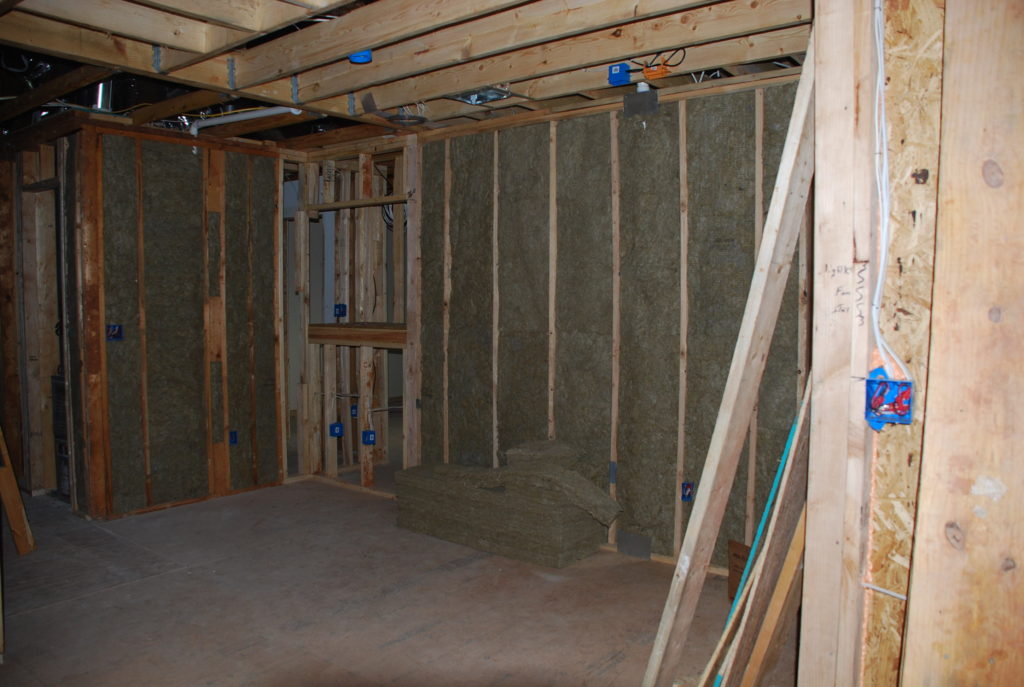 We started with the walls – installing the mineral wool in all the spaces between studs and carefully cutting around pipes and wires to make sure that there were no gaps.
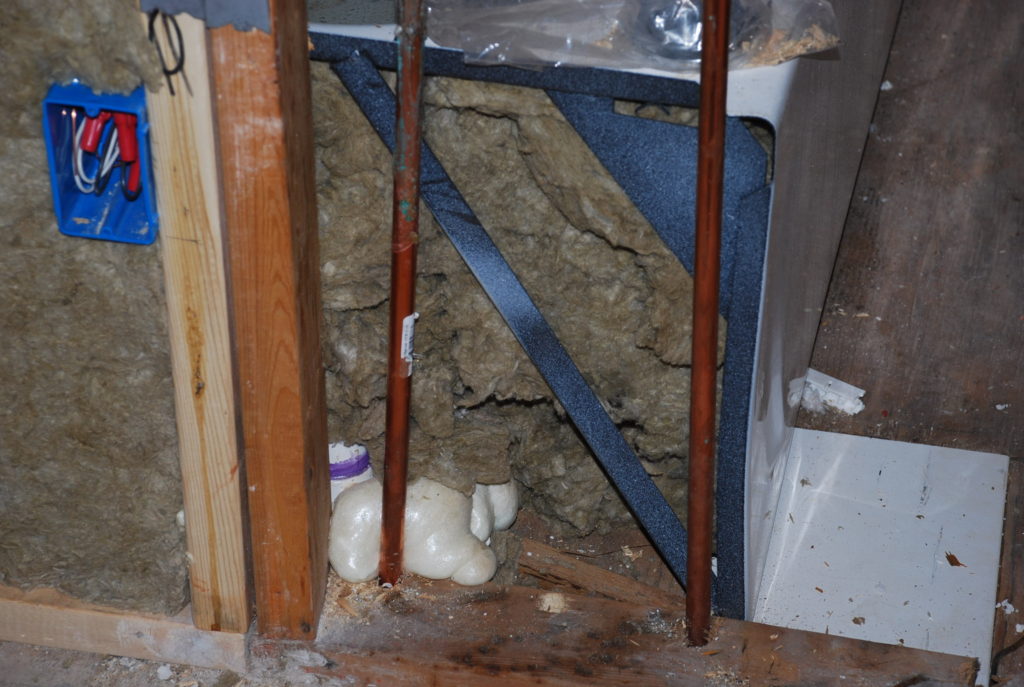
We have new tubs in both bathrooms and they are metal with a ceramic type coating. They are a bit thinner than I anticipated and when you thump them with your knuckle they sound like a gong. So we spent a good bit of time stuffing mineral wool all around the tubs (see below) the best we could and now they are much quieter than before.
 Next we moved to the Basement to get started on the rigid foamboard insulation that will be glued to the inside face of all the concrete block walls. The sheets are 4′ x 8′ and as it turns out the full-height block walls are exactly 8′ tall, so that will work out well.
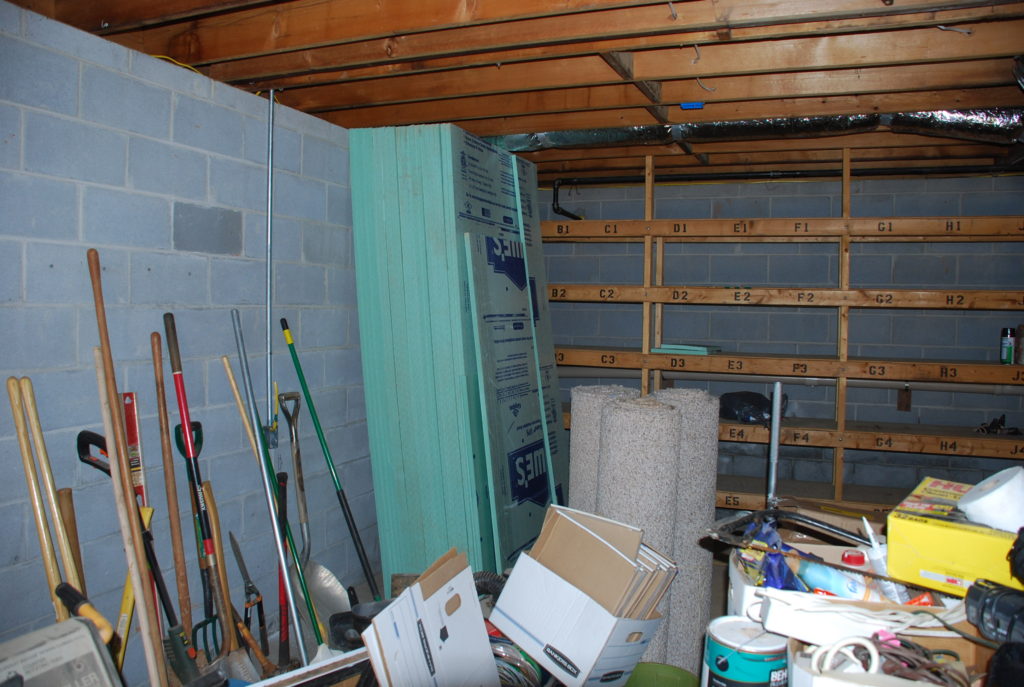 However, around the back where we added onto the house, the concrete block part of the walls is shorter and steps down as you move toward the Garage. So we started there with the cut pieces wanting to get the harder part done first.
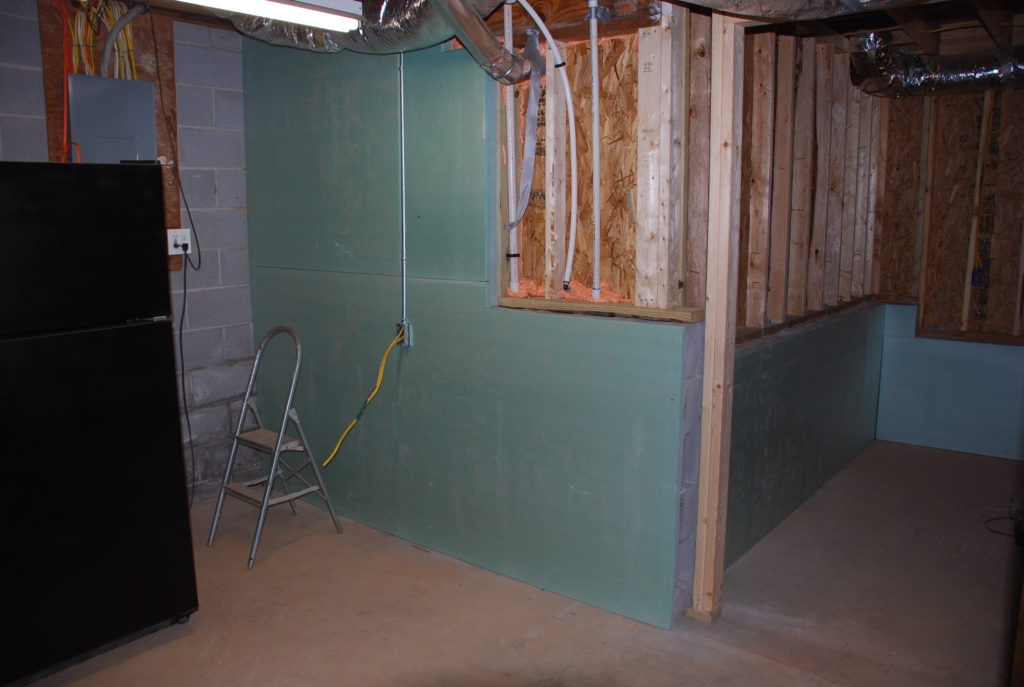 We only need to cover the concrete block – the stud wall cavities will be infilled with fiberglass batts. There were a few things to cut around – but with a little measuring it wasn’t too complicated. The foamboard cuts easily with a razor knife – like a box cutter, and we glued it up with a basic construction adhesive. You do have to make sure the adhesive is designed to be used with foamboard because some of the adhesives will eat into the board and destroy it.
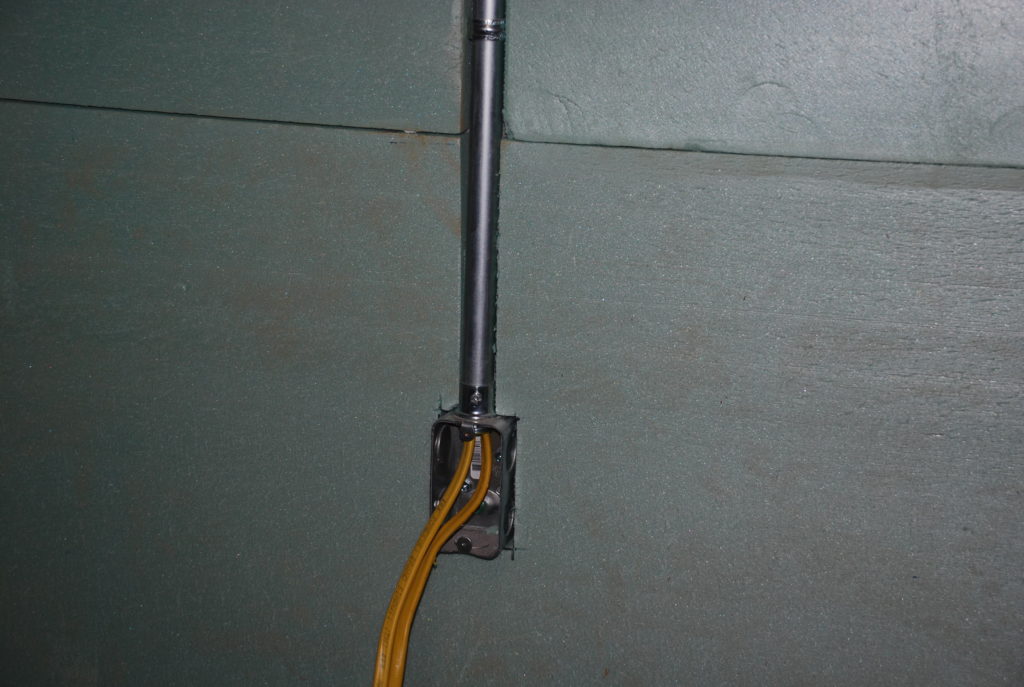 Below is a photo of the back wall of the new Shop. On the outside of the wall it has brick veneer all the way up to the ceiling, but the grade only comes up to a little under the top of the concrete block.
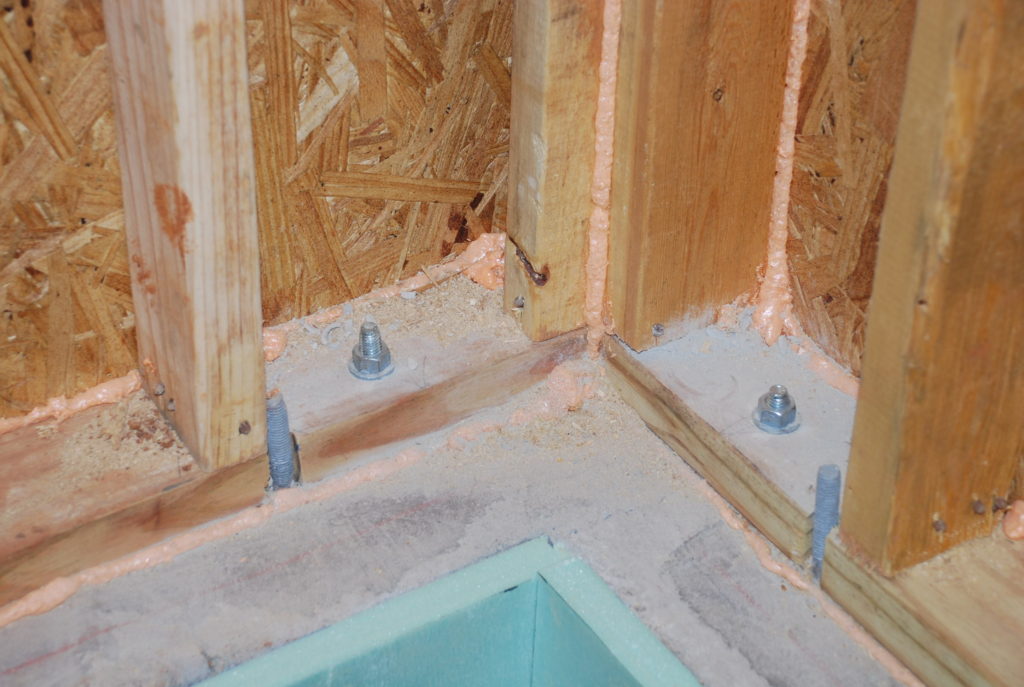
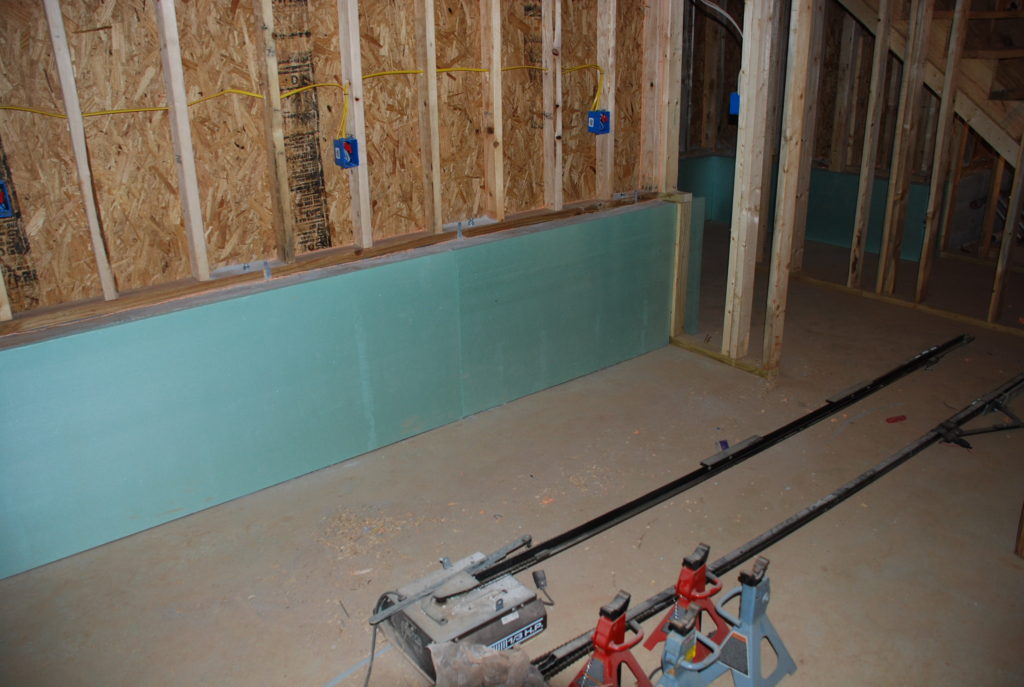 Way back when the framers arrived to start framing the new exterior walls of the addition, we discovered that the original mason had embedded the anchor bolts in the wrong place in the tops of the concrete block walls. Not sure what happened – but they are useless. So Andrew drilled new anchor bolt holes into the blocks (which were filled with mortar) and we have new anchor bolts that actually serve a purpose – holding the sole plate down to the foundation wall.
 That was one of the punchlist items that we knew that we needed to get handled before the framing inspection. So with it done (as well as a bunch of other items that the inspector identified), Tom called for a re-inspection.
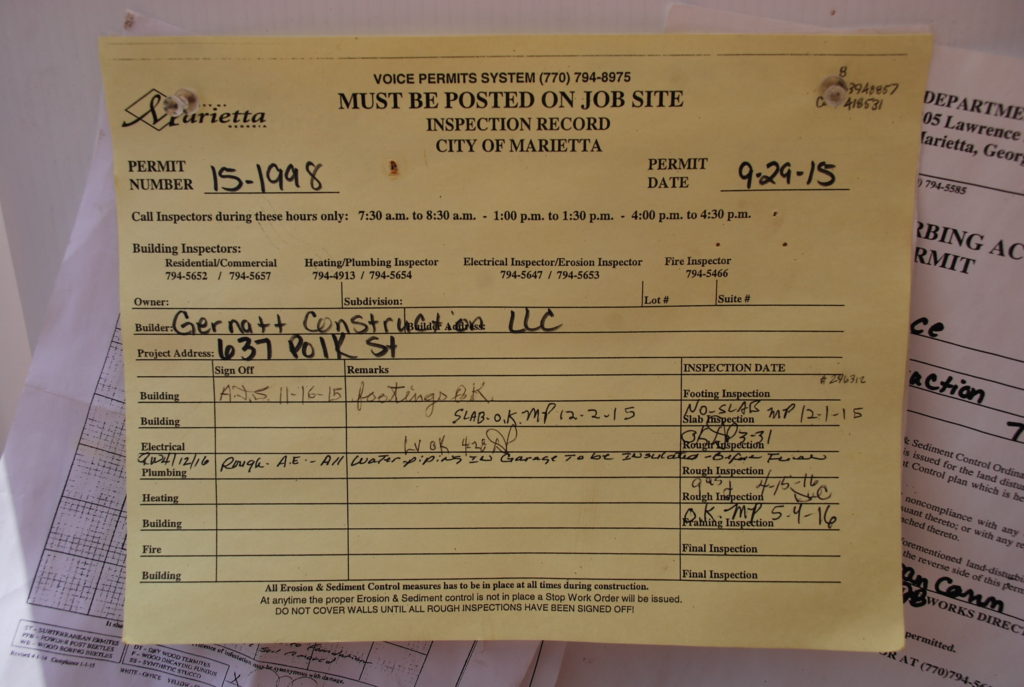 This time all was well and the inspector signed off on all the framing. This is a huge milestone and now we are ready for insulation . . . and then drywall! We’re all looking forward to the next step, as temperatures are starting to climb and we’ll soon need all the insulation we can get.