We started off the week early with a strategy session concerning the pond. 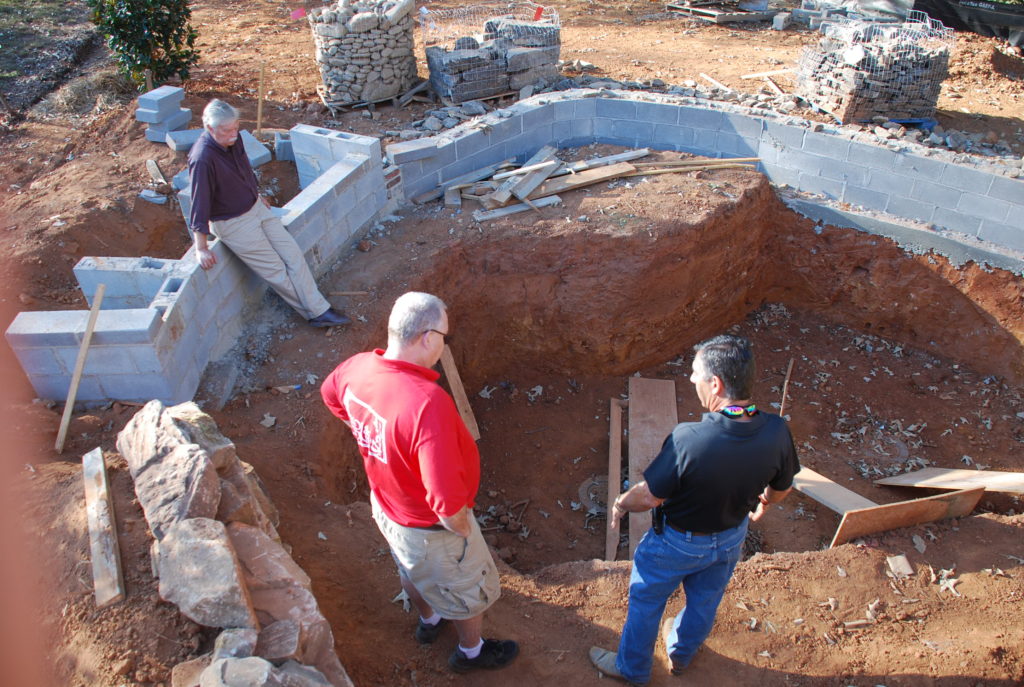 Here Dale, Chuck and Doug discuss the vision and the best way to make it happen. We decided it was best to divide and conquer – so Chuck and his crew are going to wrap up the pond stuff since that what they do best. That will free Doug and his crews up to focus on hardscape and landscape planting in order to get everything wrapped up a bit sooner.
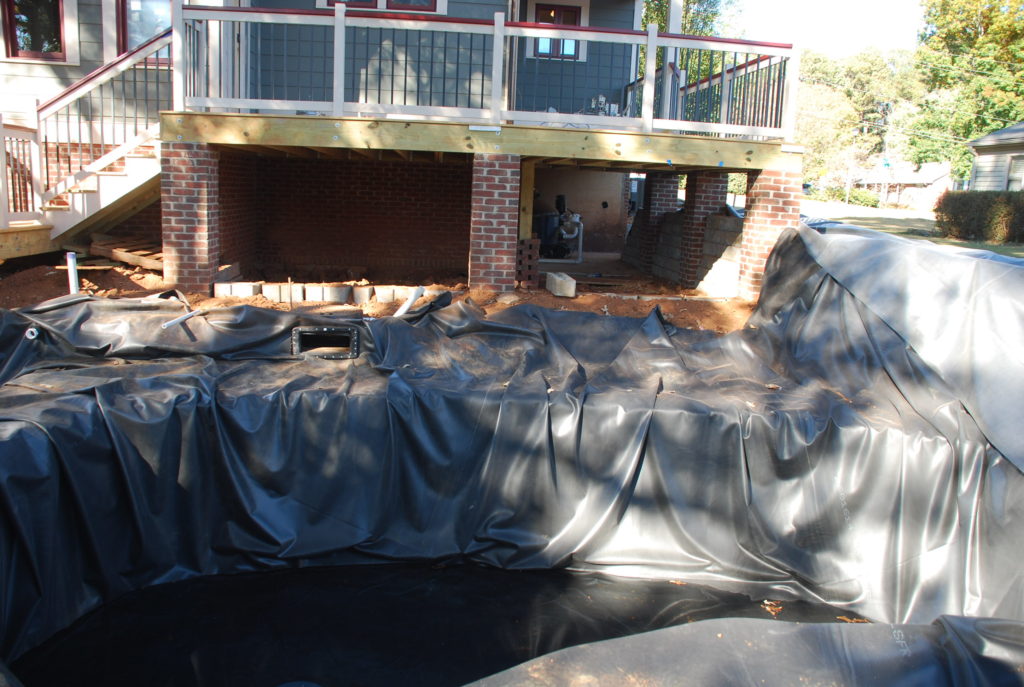 The next step with the pond was getting the liner in. Chuck’s guys first put down an ‘underlayment’ which is a thin pad that helps to protect the liner from anything sharp or hard that might be underneath.
 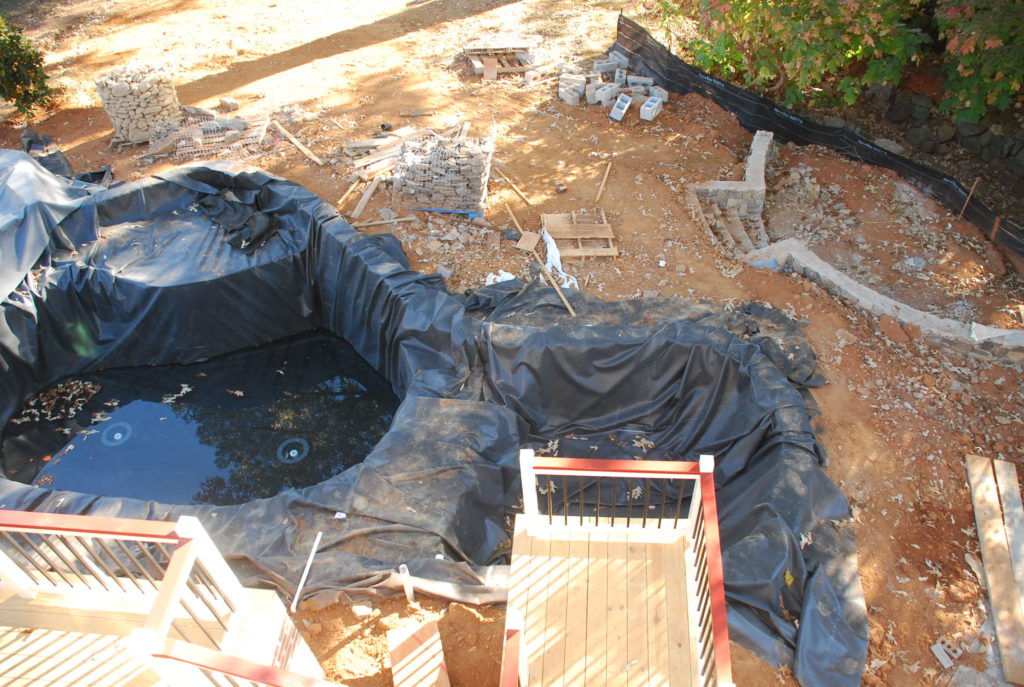 Then the rubber liner went down and boy is it a big one! There’s a separate liner over at the stream and waterfall to keep them from leaking. Once they got the main liner in they fused it to the bottom drains and put some water in to test for leaks. So far everything is holding.
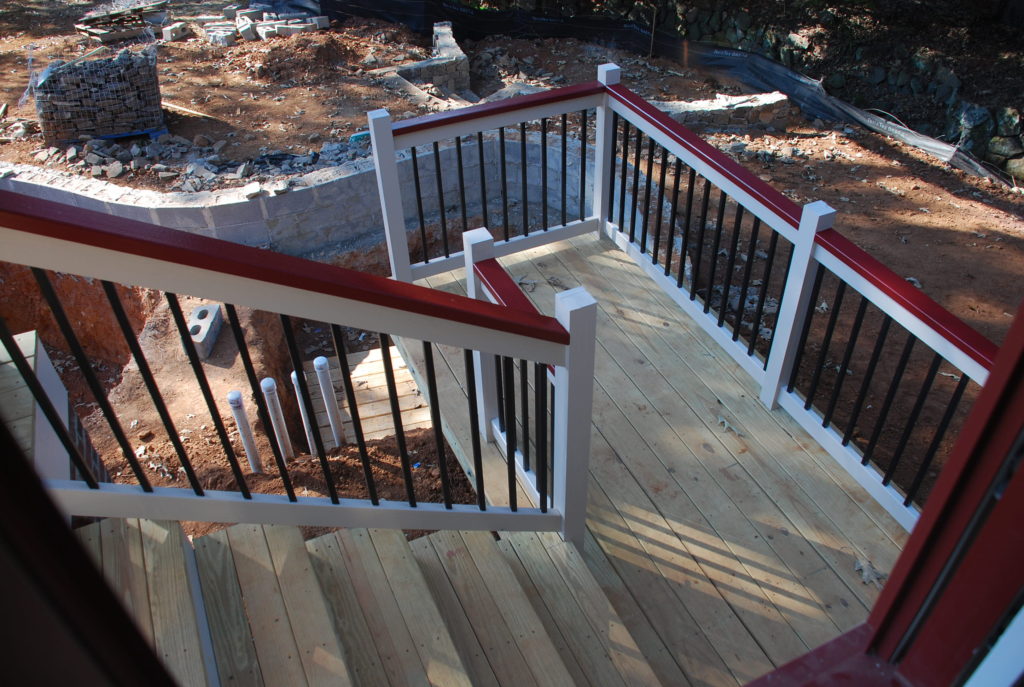 At the same time, our painter was out finishing the railing – the pickets are pre-finished black and the main railings are the trim color. We decided to match the window color with the handrail to help tie it all together. The floor will be stained, but not quite ready yet.
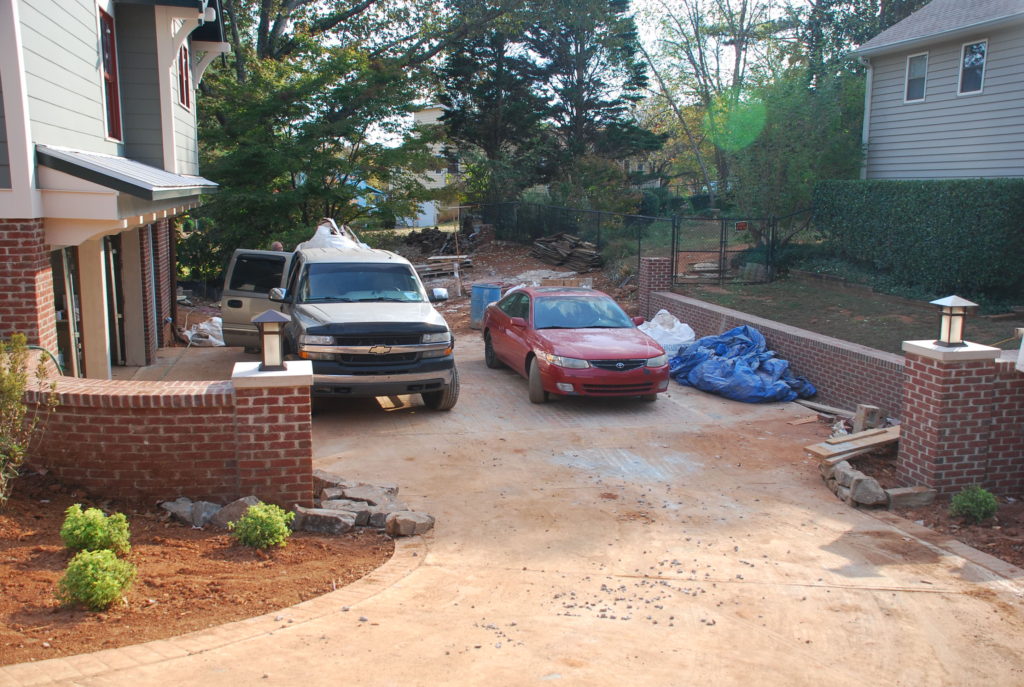 Our electrician was back finishing up some things and got the two lights mounted out by the driveway. They’re tied in with the lights over the Garage doors and look really nice at night.
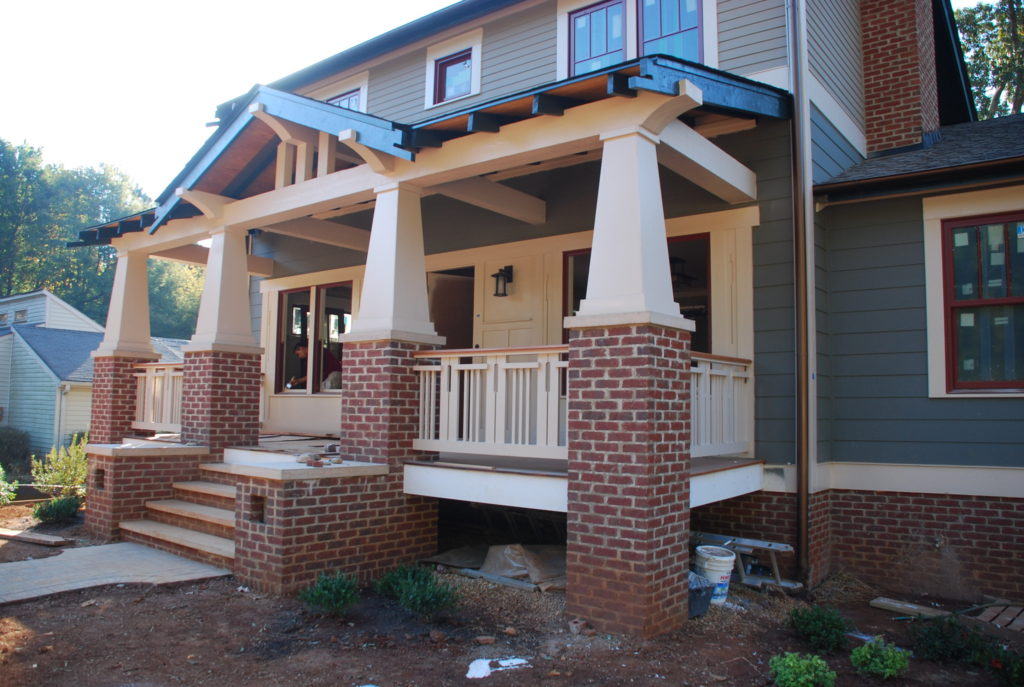 A huge milestone – the front porch railings are now all painted and mounted. They really help to finish out the detail of the Front Elevation. Soon we will oil the tigerwood floor deck and handrails to match.
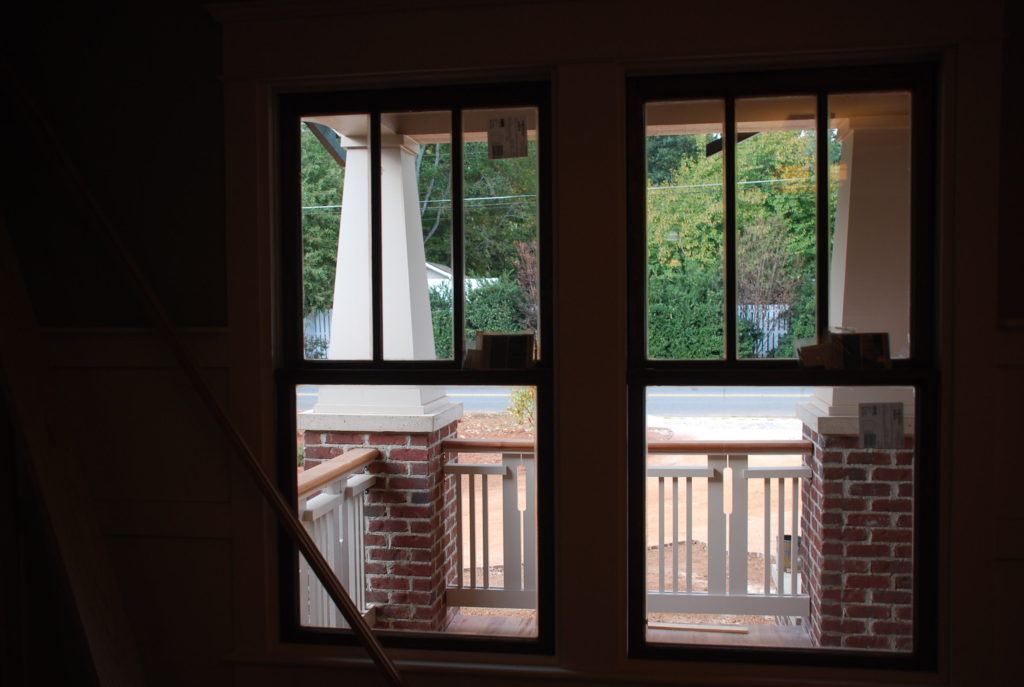 Viewing the railings through the window of the Family Room you can see the cattail motif that we are repeating several places in different details.
 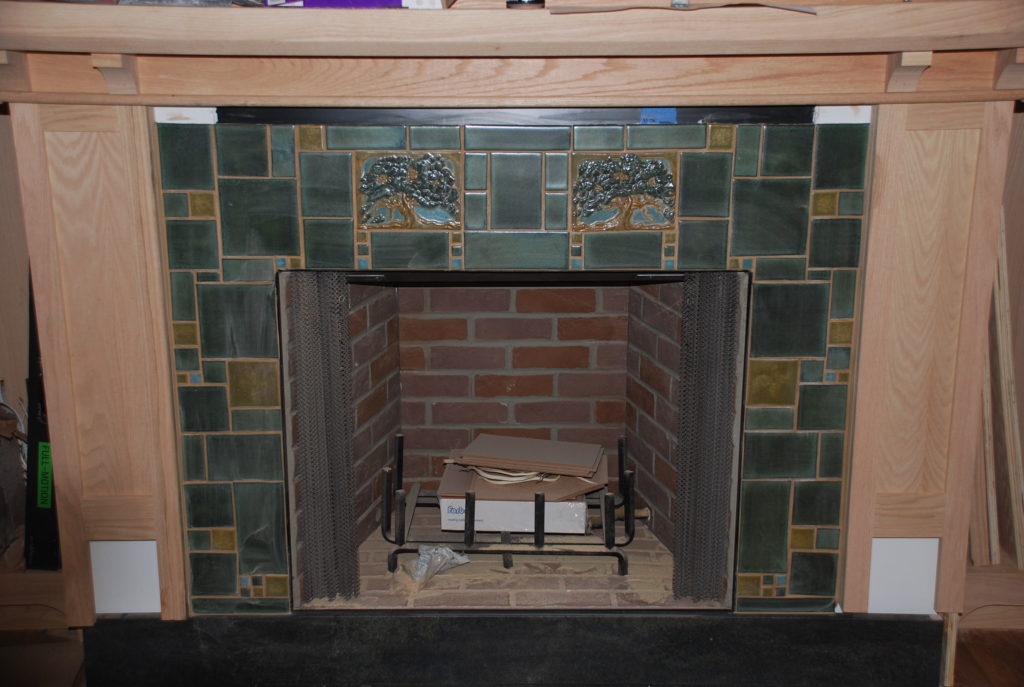 Just to the left of that window is the fireplace – with the art tile installed and grouted in. The mantle trim is still in the works but is starting to take shape nicely.
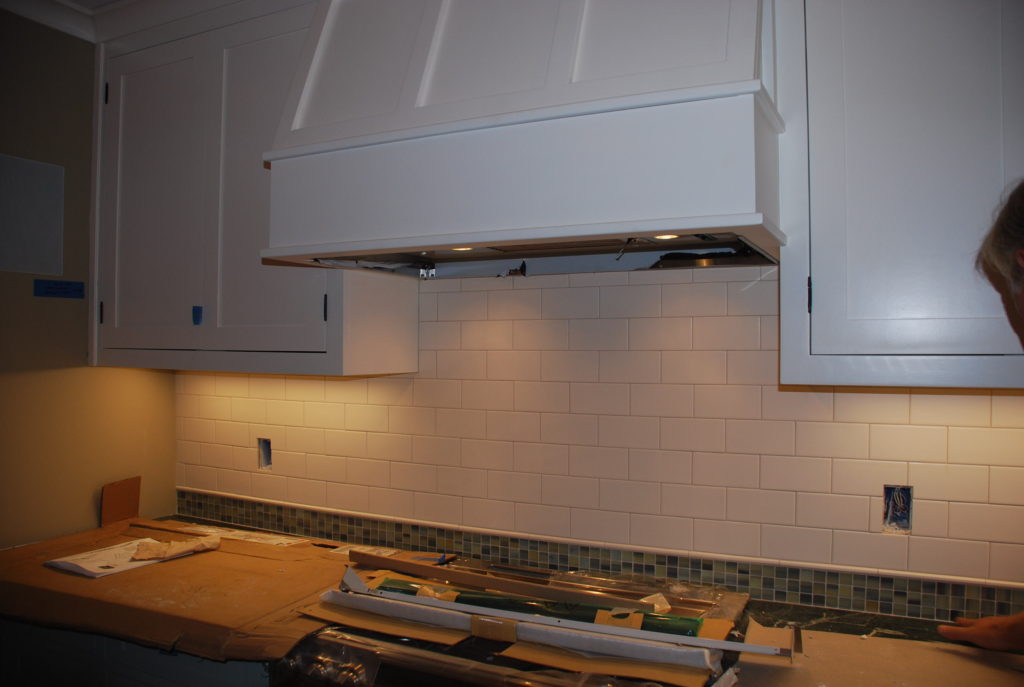 While the tile guys were there, they also installed the backsplash for the Kitchen.
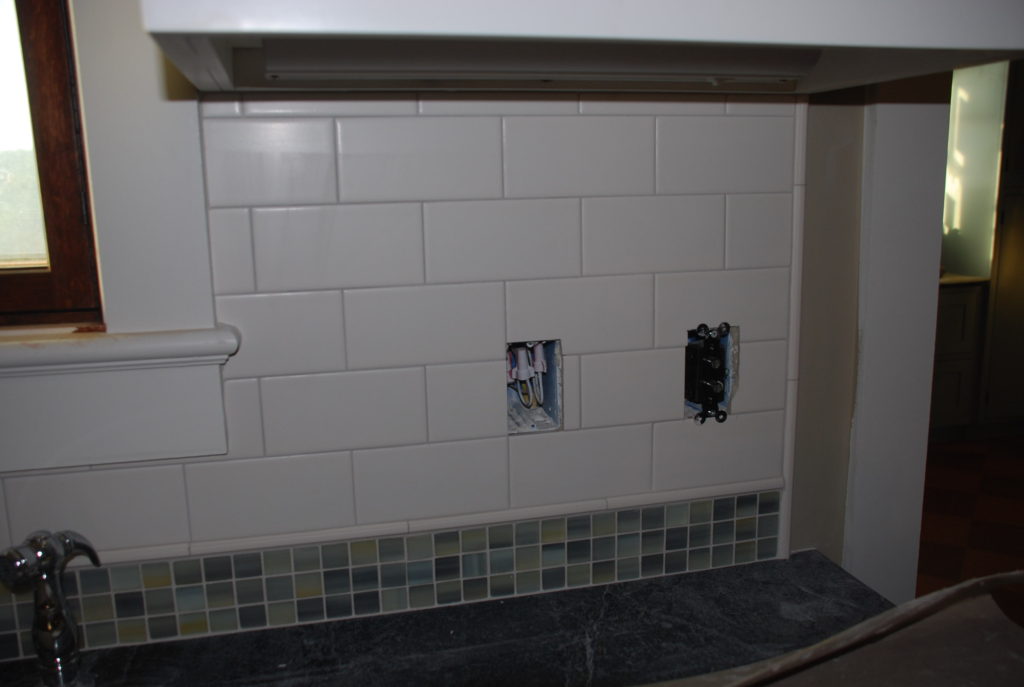 We found a great glass mosaic tile to come up off the soapstone counters, then a pencil mould tile and topped it off with a clean subway tile almost the same color as the trim and upper cabinets. It really helped to tie together several different elements in the room.
 We chose very authentic-looking period hardware with bronze plates and glass knobs for all the interior doors. Clint got started installing but found that the manufacturer had left out some very important bushings. We got them to send us some, but it will be next week before they get here.
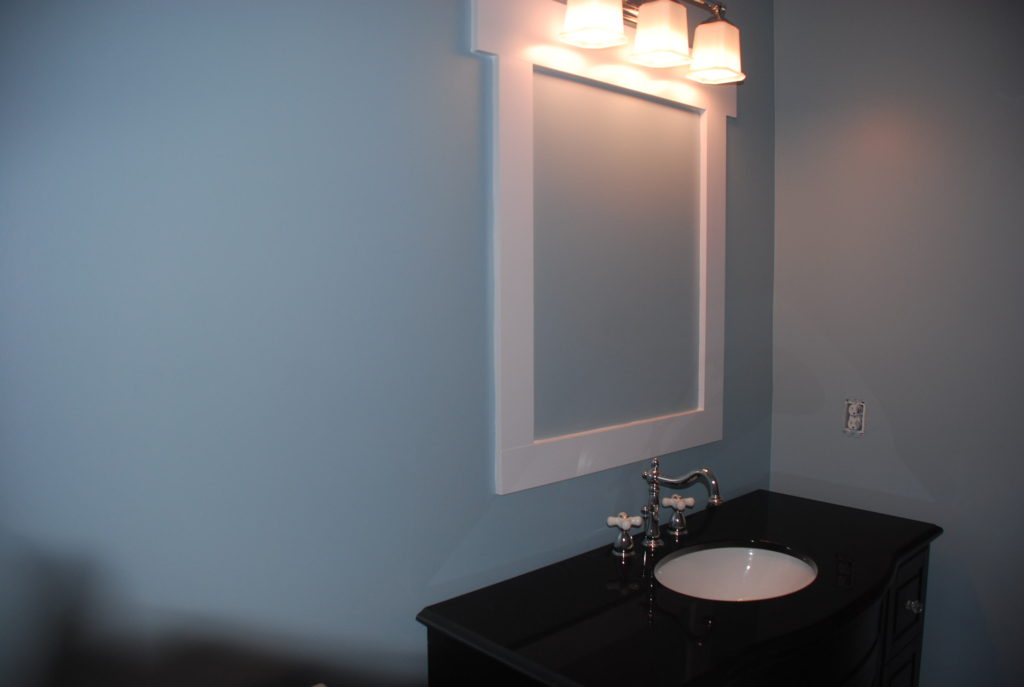 Viktor and crew were also in to install mirror frames in the two bathrooms upstairs.
 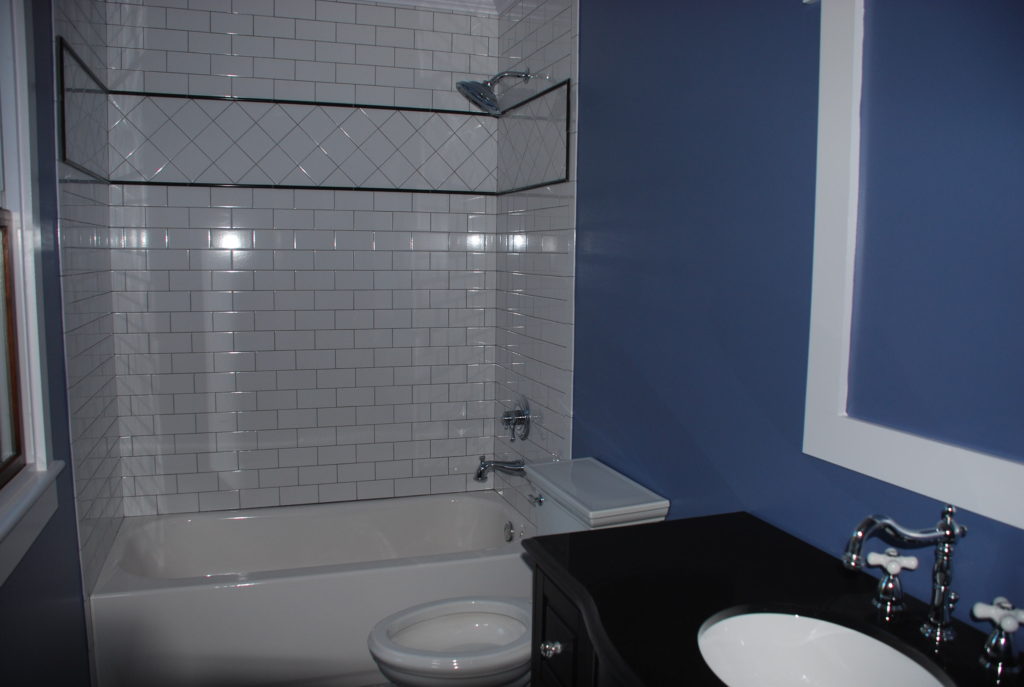 And the plumbers were back to finish installing all the fixtures and fittings throughout. Here’s Bath 2 with all the plumbing in place. We’re just missing some bath accessories (towel bars and such) and the mirror itself.
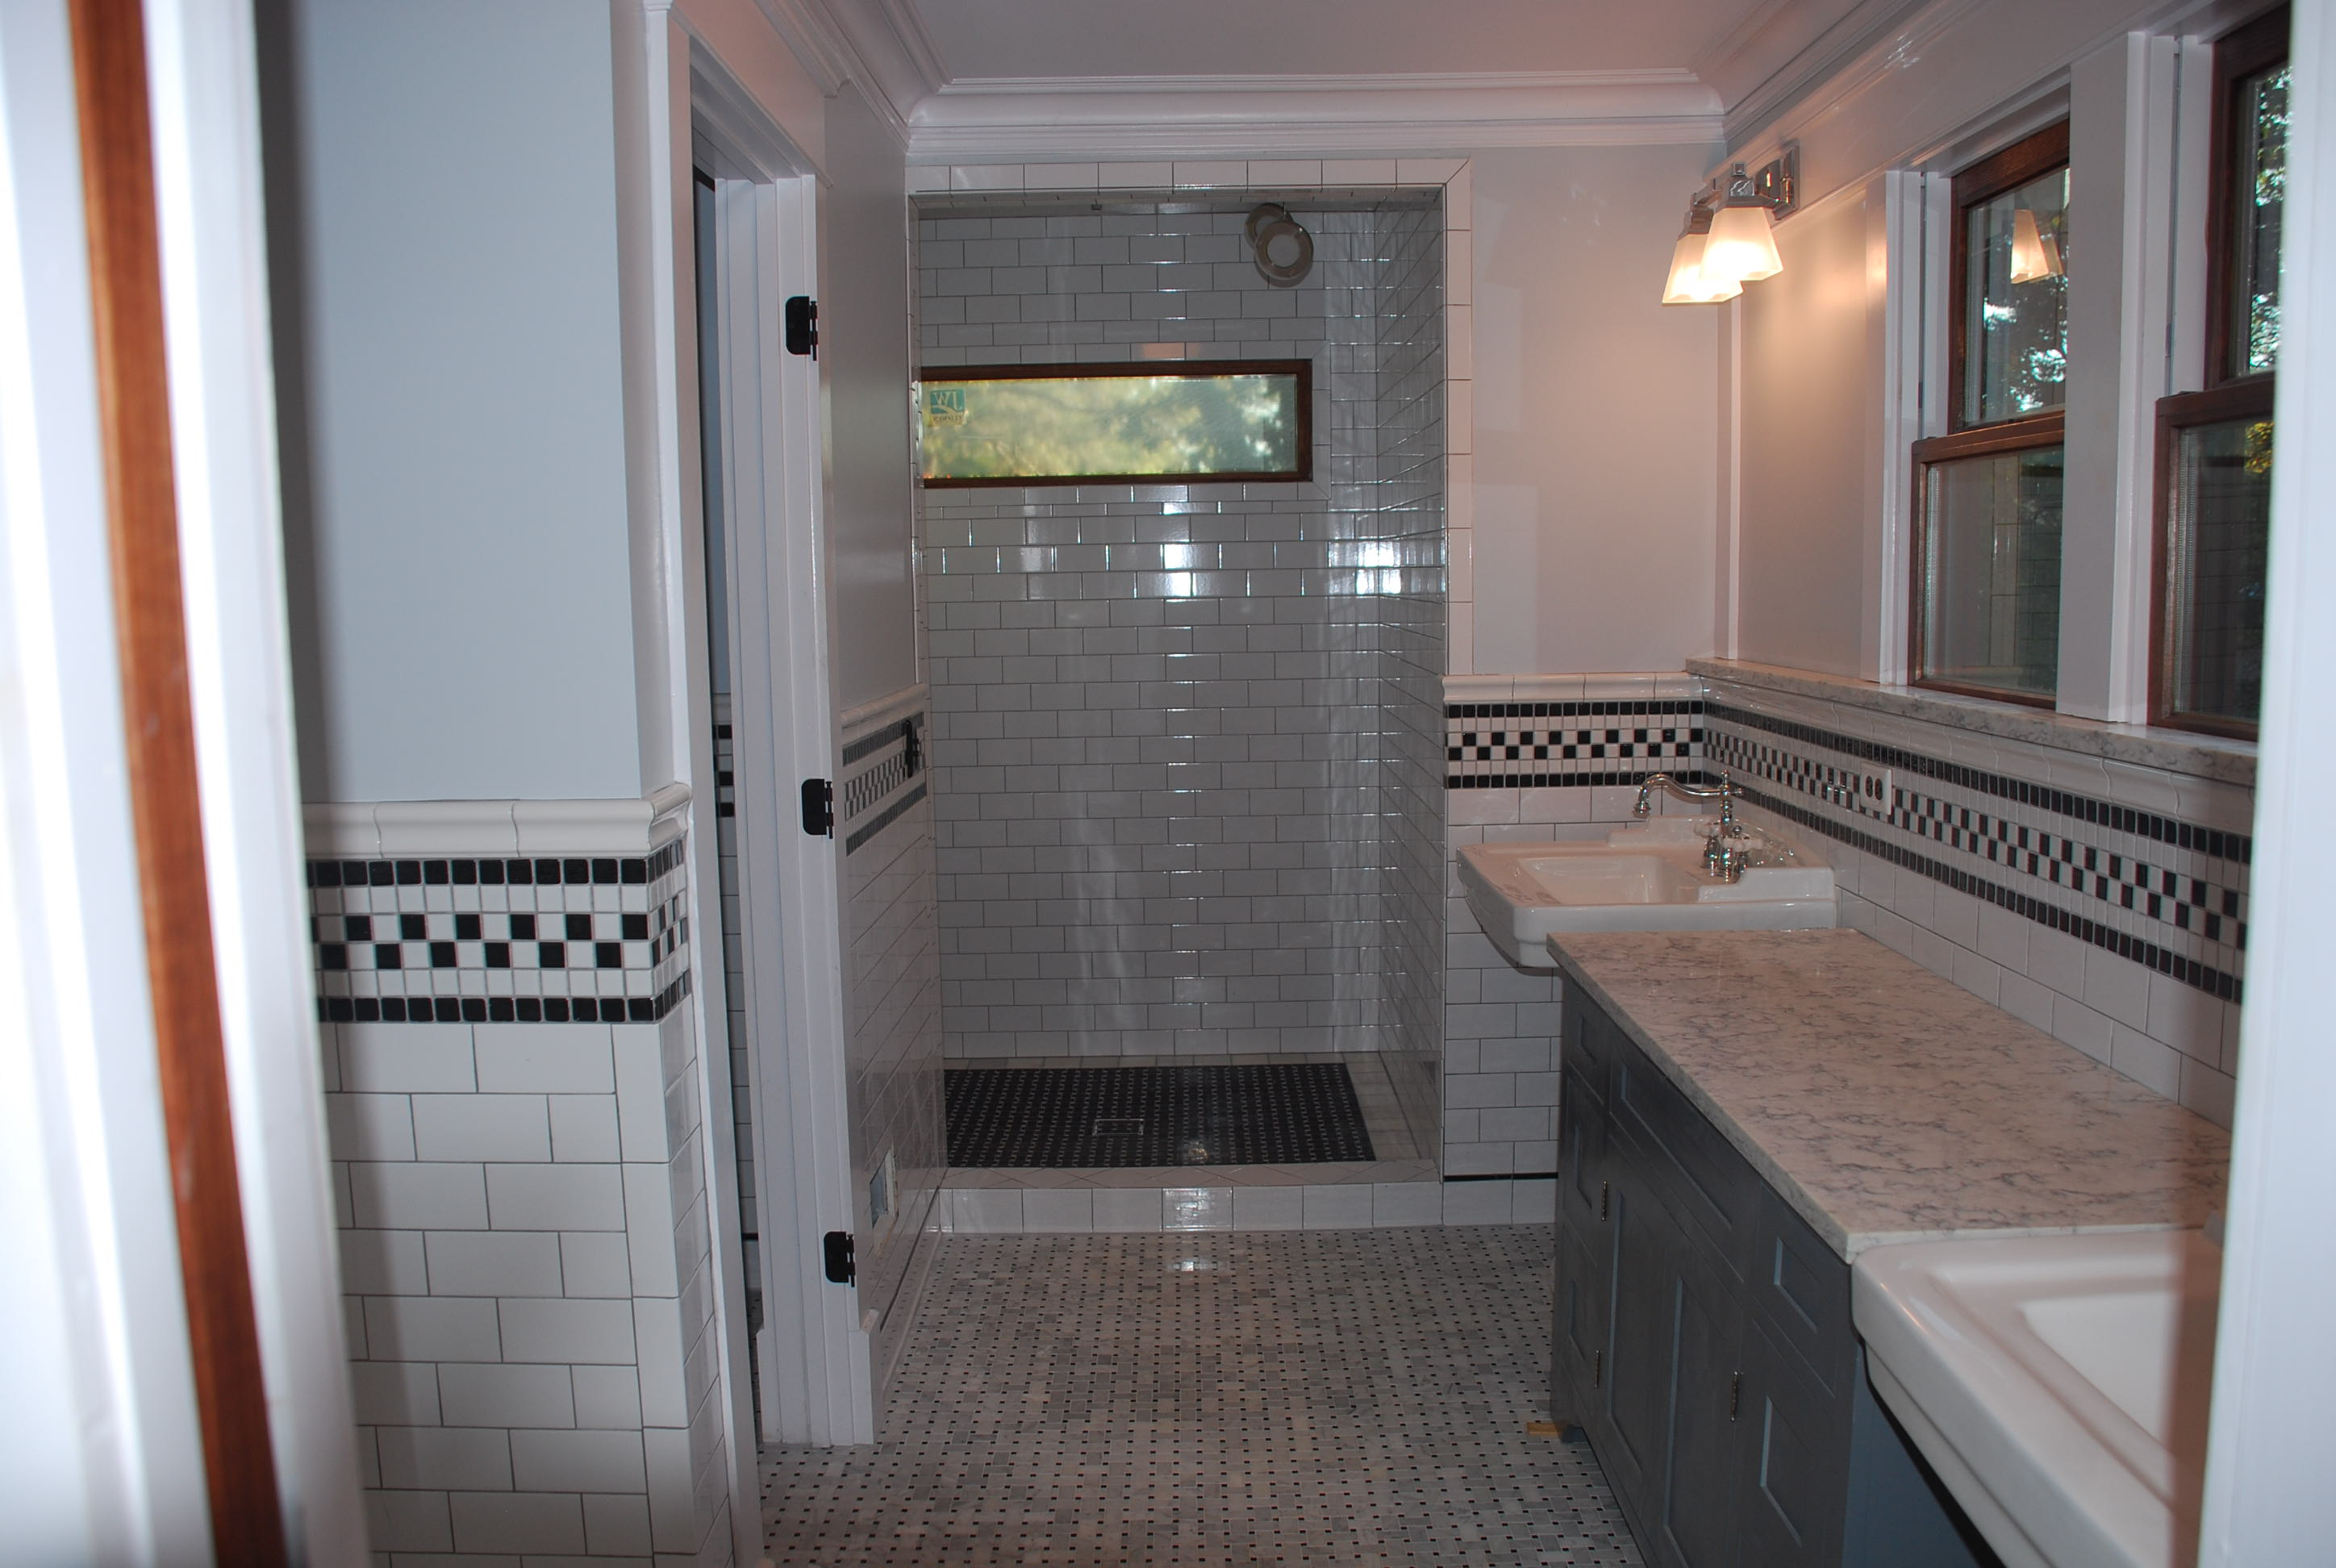
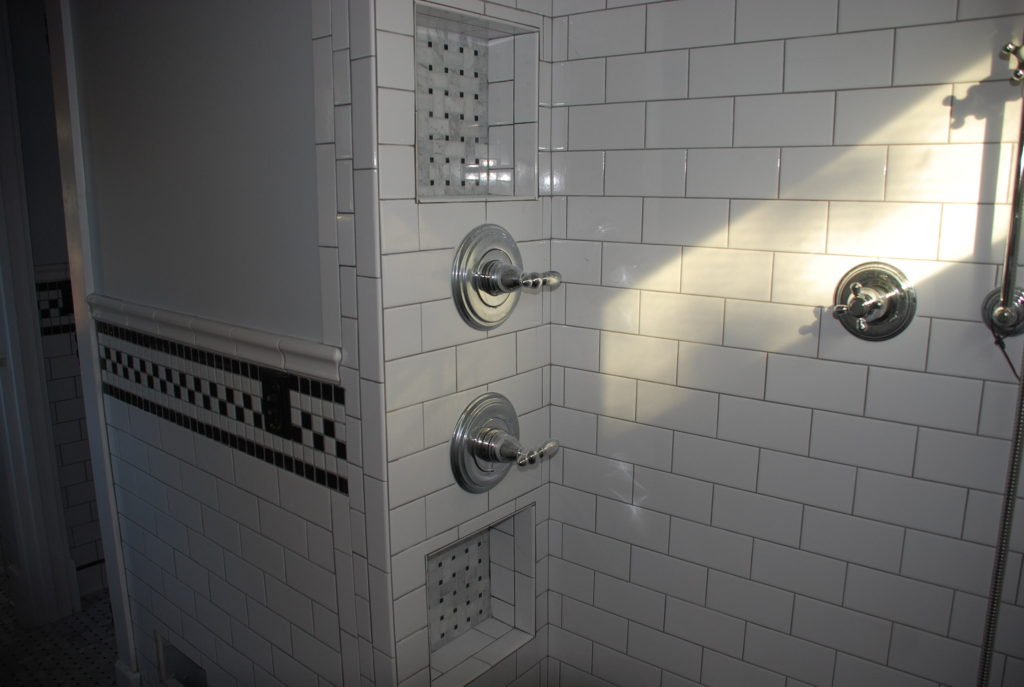 In the Master Shower we now have trim on the supply valves and the diverter on the right which tells the water where to go – either the normal shower head or the hand-held.
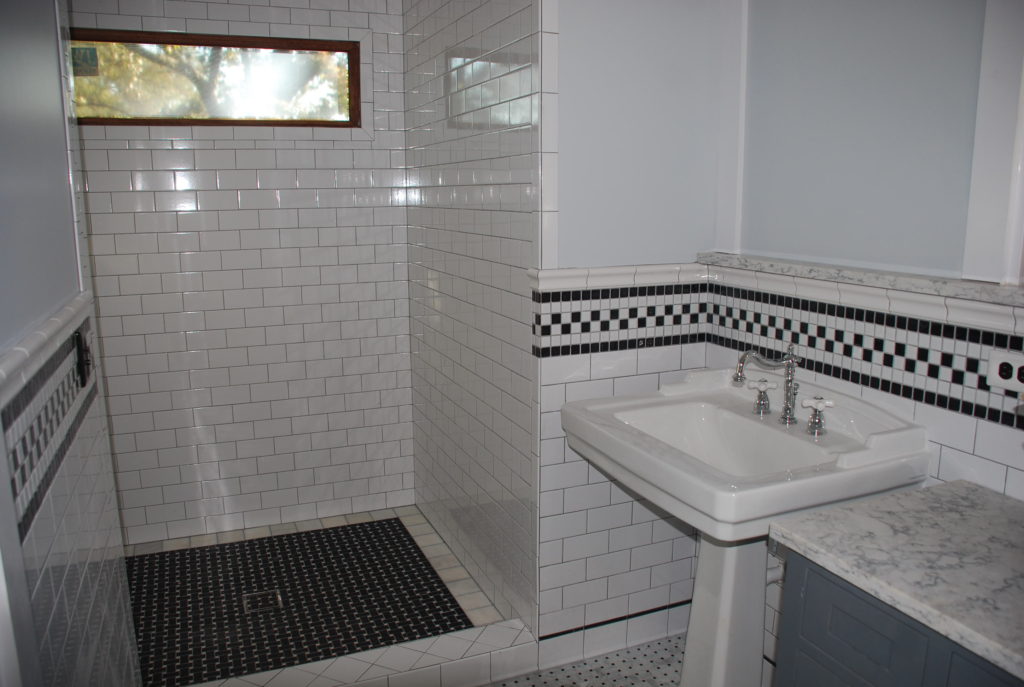 They also installed the pedestal sinks with faucets and we set the vanity cabinet in place between them. The Master Bath is really turning out to be nice.
Lots of different contractors in this week and there’s a lot to show for it. There’re many more details that have to be done before we can call for final inspection – just a matter of getting the right subcontractors here at the right time to wrap them up. Next week should be another busy one as we push to finish line.