We were very excited to see Viktor and his crew back this week to install the new colonnade between the Family and Dining Rooms!
 The colonnade is built of red oak and will be stained along with the fireplace mantle and built-ins.
 The Dining Room side has cabinets where we will store our china and a drawer below for tablecloths and such.
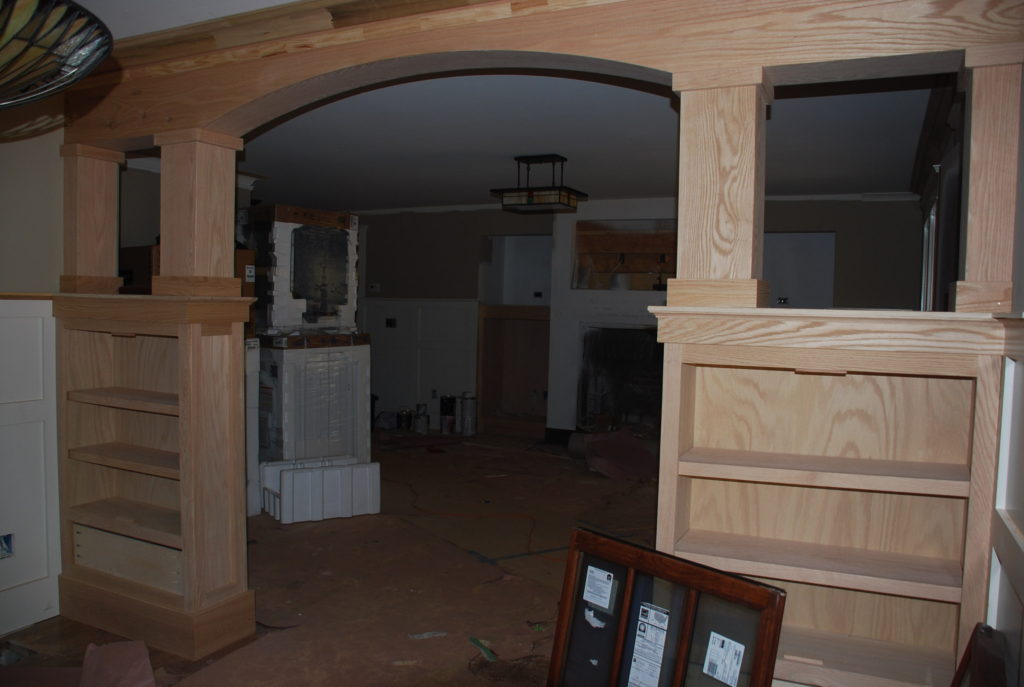
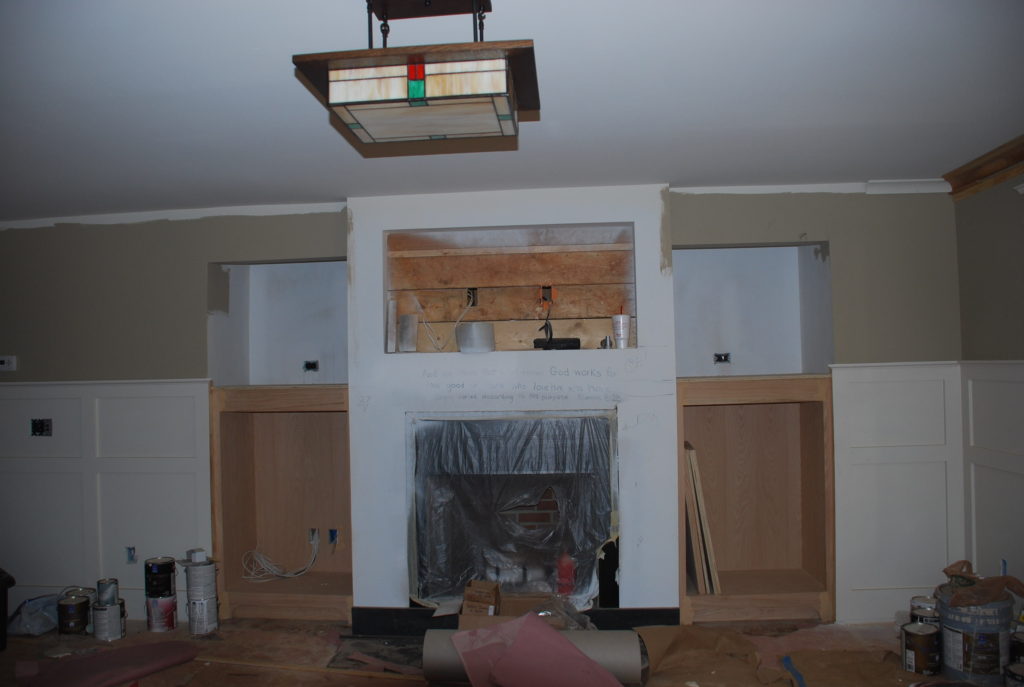 On the other side of the room, they also brought and installed the base cabinets for each side of the fireplace. They are also red oak and will have glass double doors like the Dining cabinets. There is more to come as the mantle and trim around the fireplace will match.
 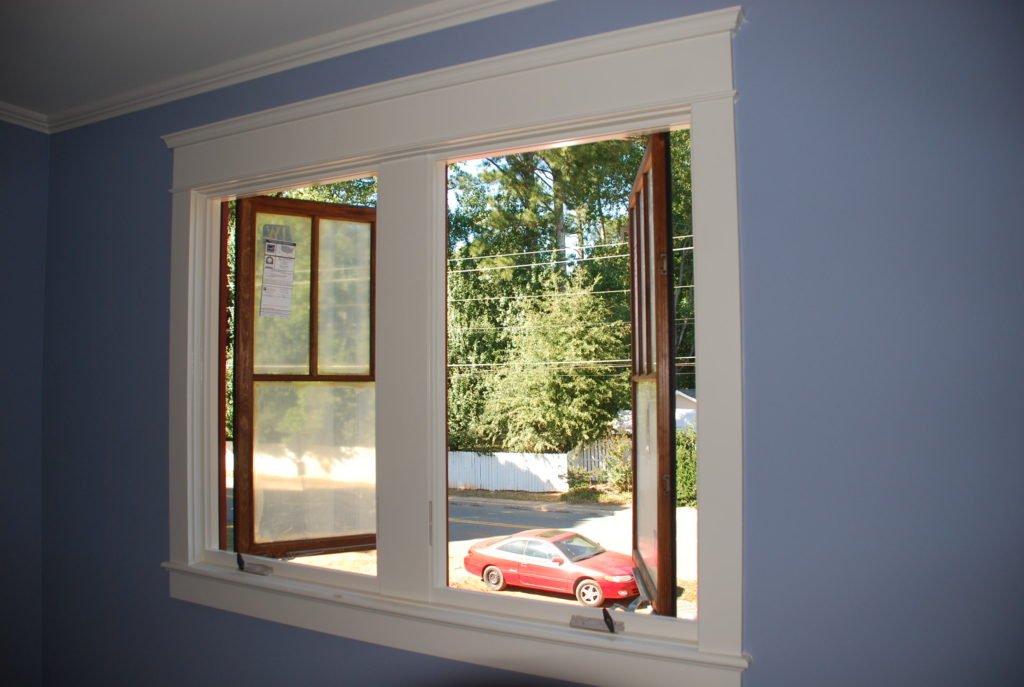 The windows sashes are all getting stained to match the doors, which makes for a great contrast to the cream-colored trim.
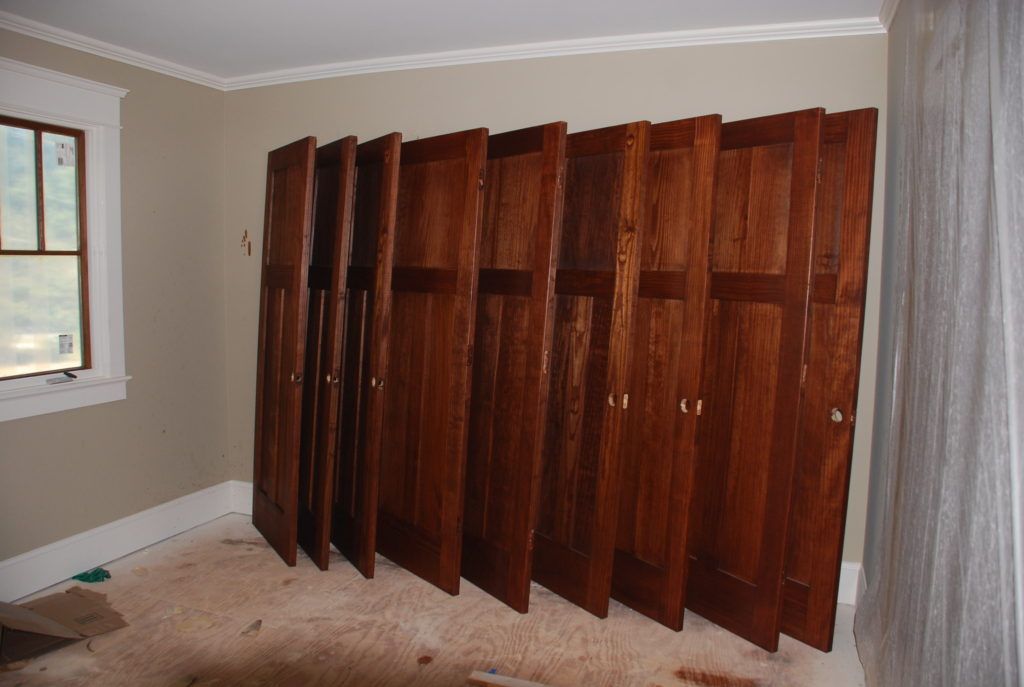 After conditioning, two different colors of stain, and two coats of polyurethane – the doors are almost ready to go back in their frames.
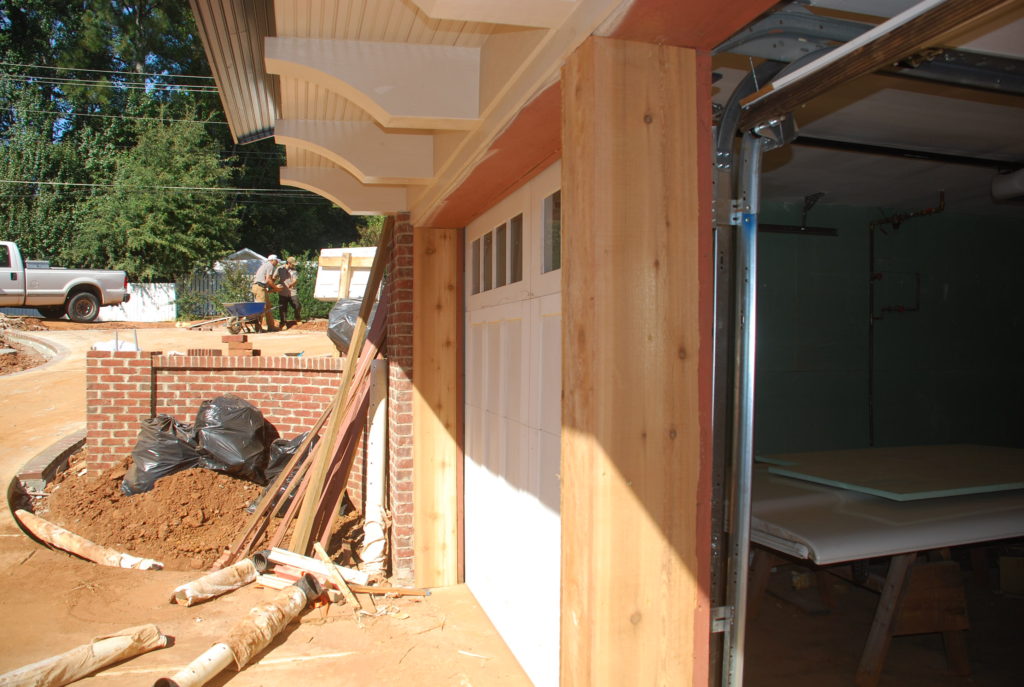 Now that the new Garage doors are in, it was time to replace the trim around them. The jambs were still the original cedar from 35 years ago and were pretty deteriorated. We replace them with new cedar in hope that they will last another 35 years.
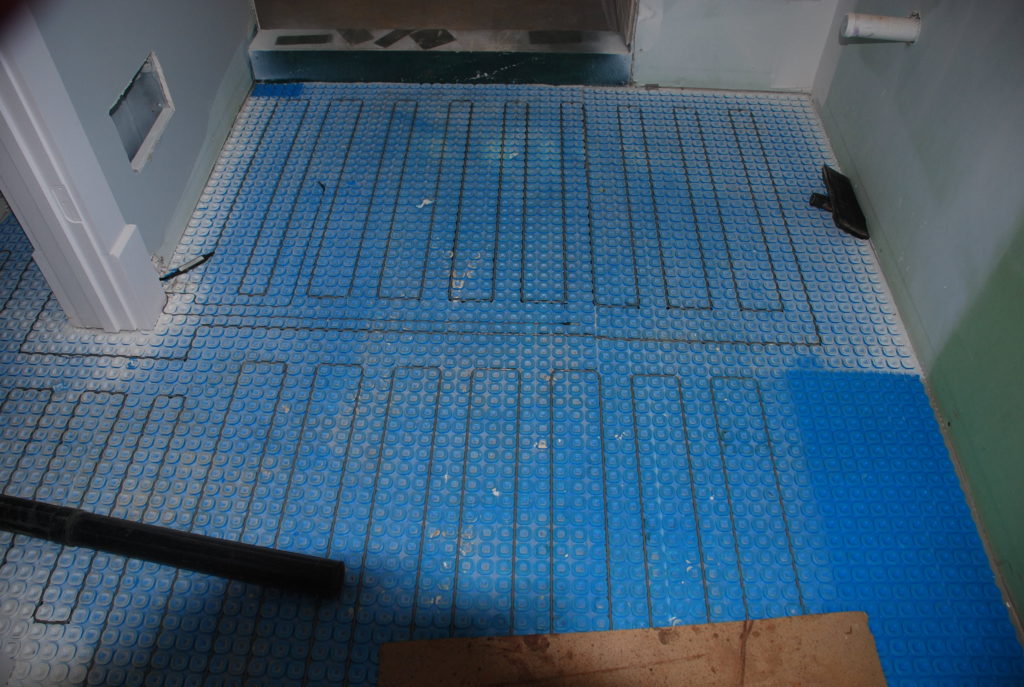 It is almost tile time – so we had to get the wires in for the heated floor in the Master Bath. Once they were in place, it was time to put the mud on top and then we’re ready for the tile.
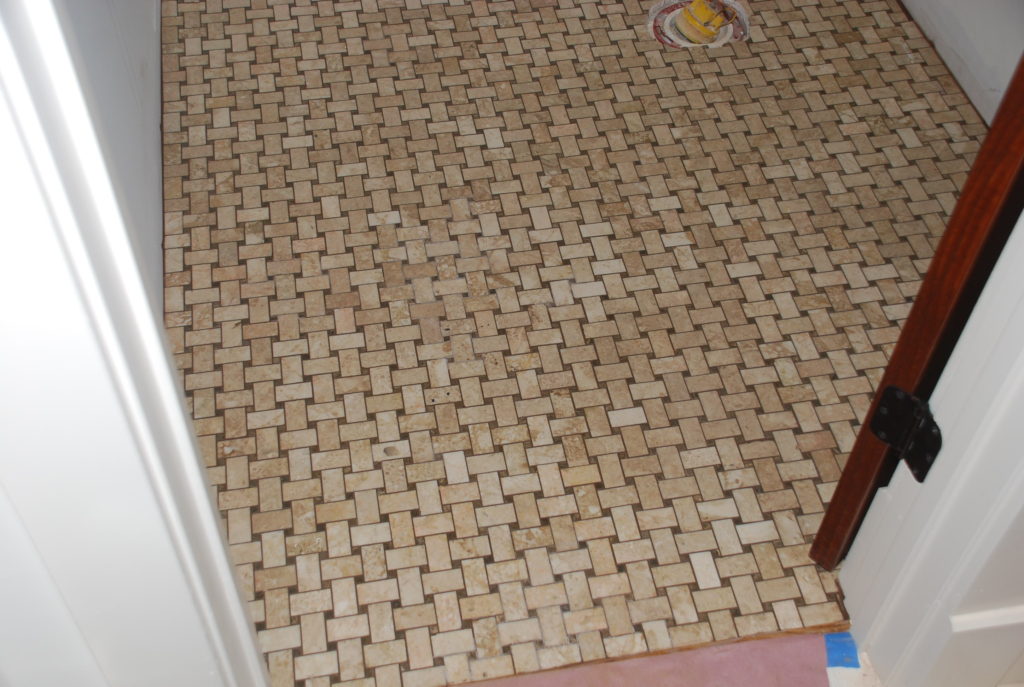
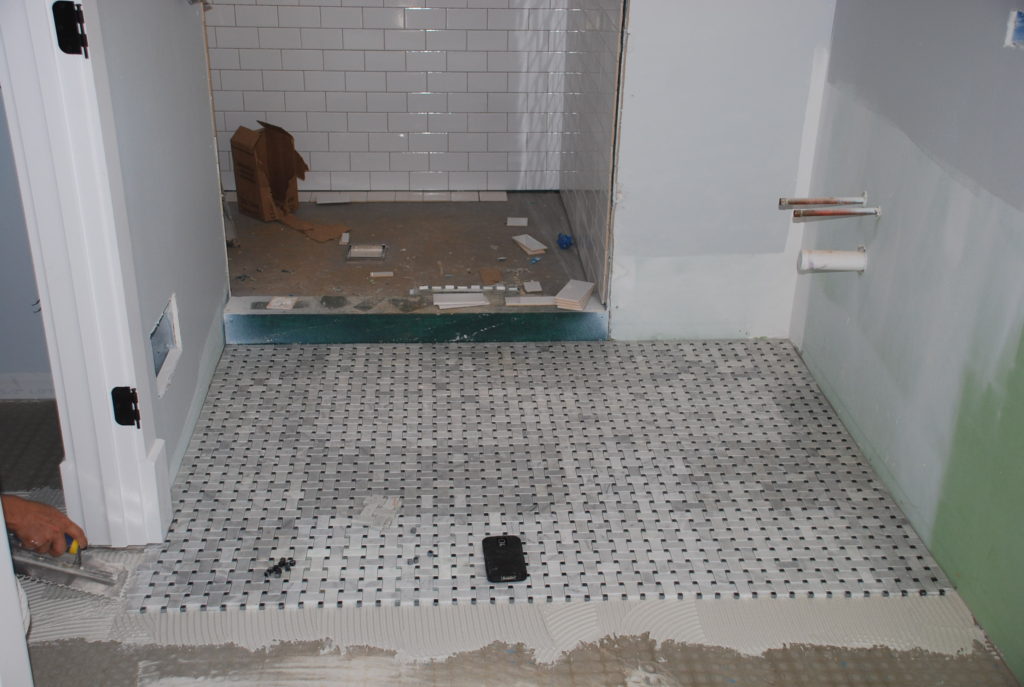 We selected a nice marble basketweave-pattern tile for the floor of the Master Bath and it went in before the wall tile.
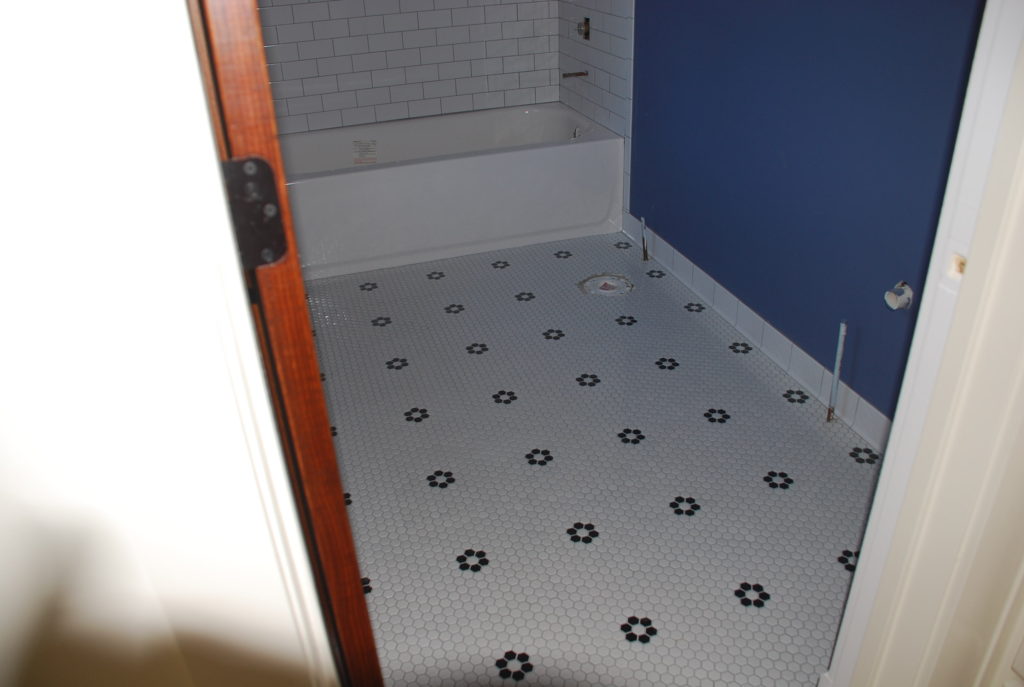 Upstairs the guys were back to put the grout in for the two Bathrooms.
 And then they hit the Powder Room and got the grout in there as well.
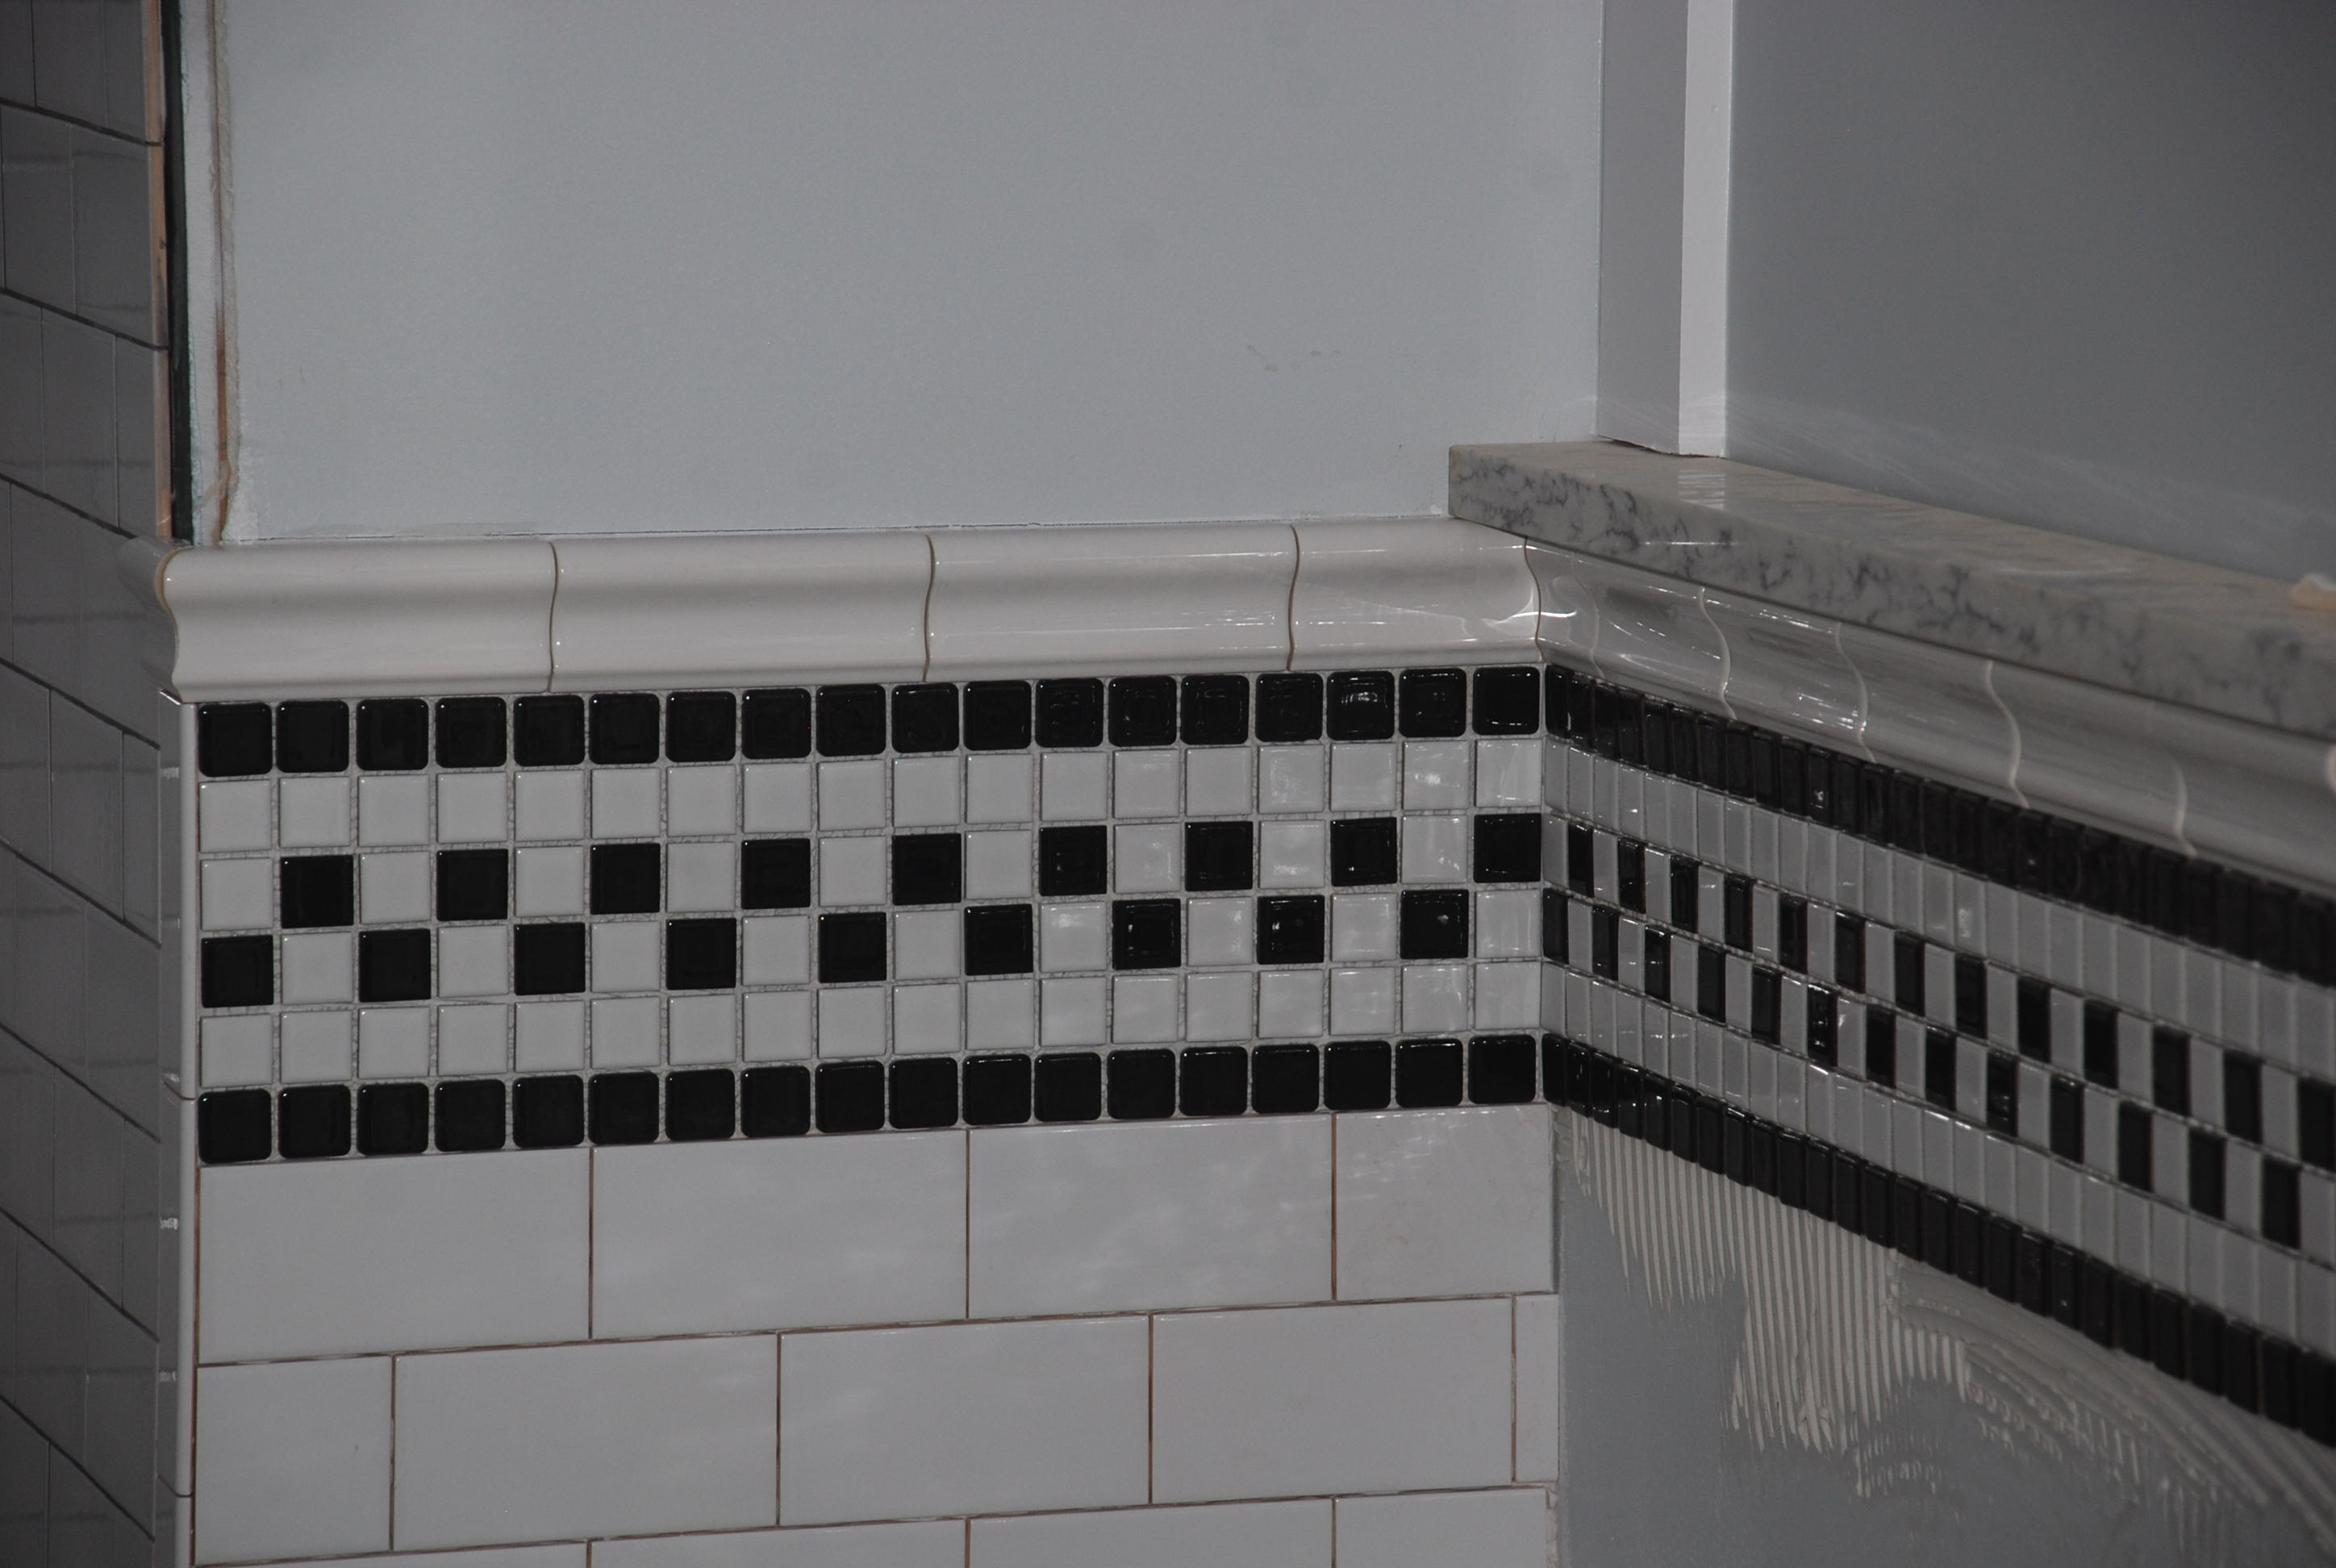
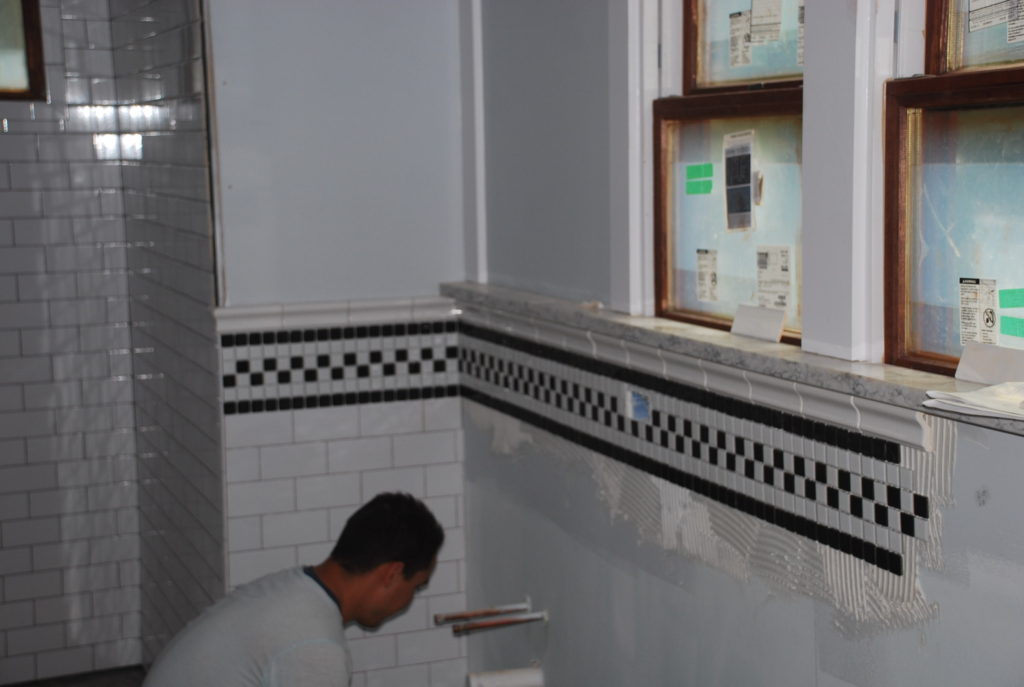 Then it was back to the Master Bath and up with the wall tile. In our research of Arts & Crafts tile we found some great patterns in bathrooms which inspired this band that we designed. Looks pretty simple, but because it isn’t a stock off-the-shelf tile, we ended up having to go to three different sources and waiting for weeks for the tile to come in. The delays were stressful, but it is finally all coming together.
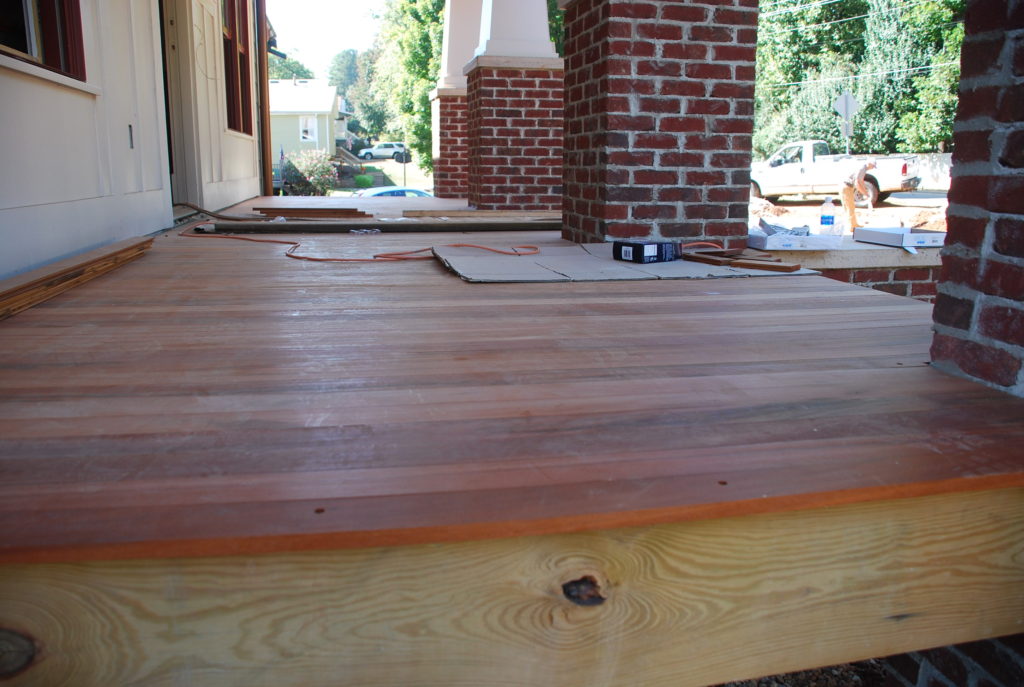 Clint was back this week to continue the work on the tigerwood Front Porch floor decking. It won’t be long before it is done.
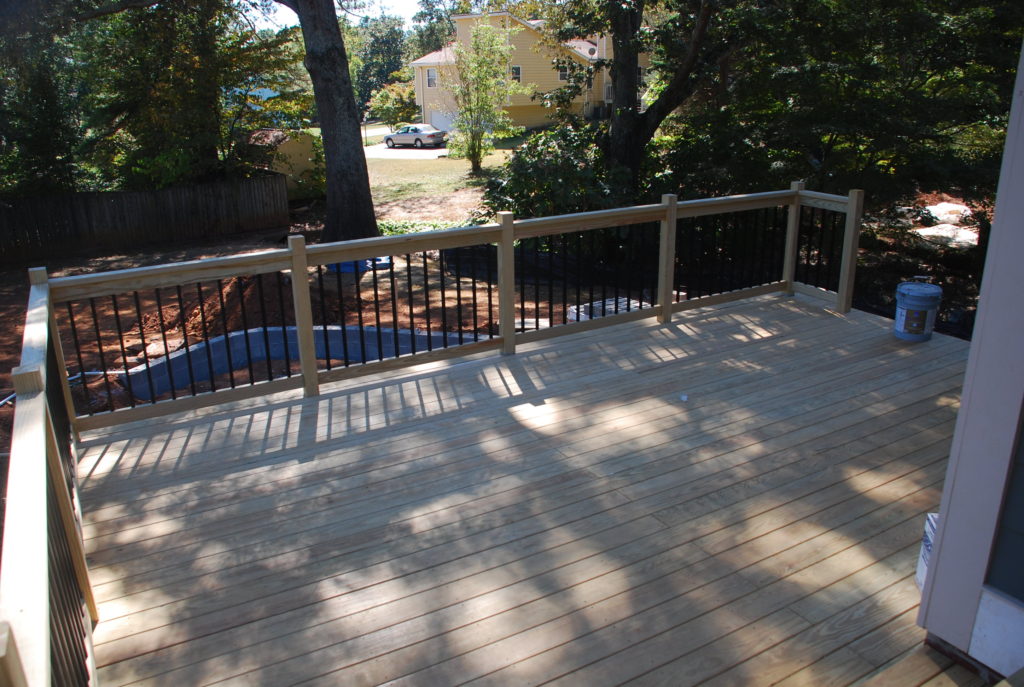 We can now walk out on the deck and get a sense of how it will feel with the other stuff going on in the back. We only lowered it about 18″ from where it was originally – but it really works nicely with the grade below.
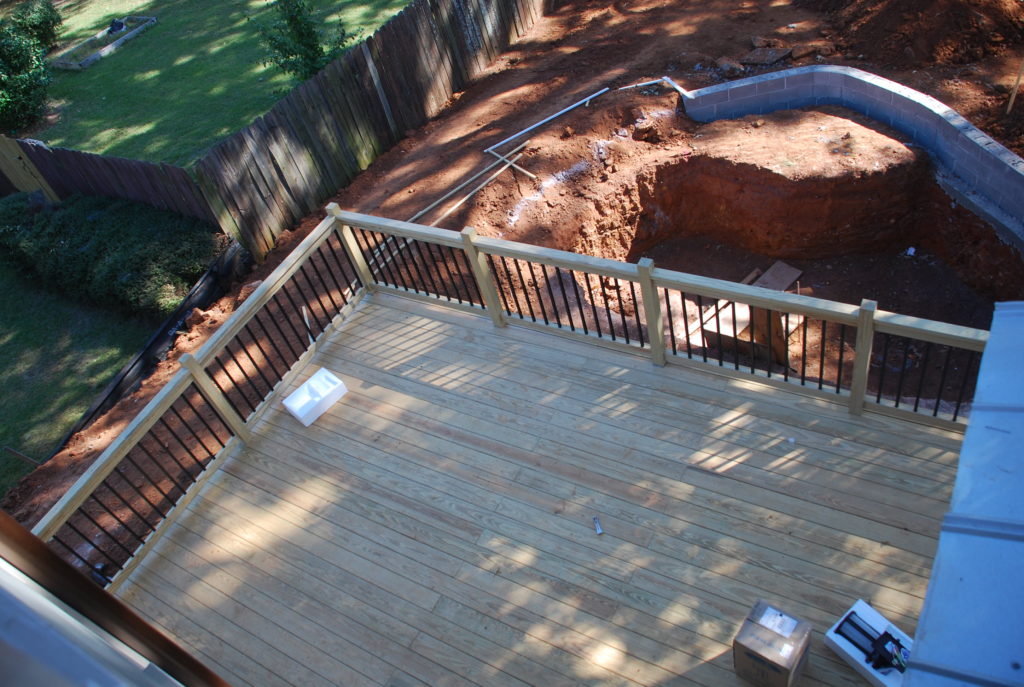 From the Loft window, you can see how close the deck is to the koi pond.
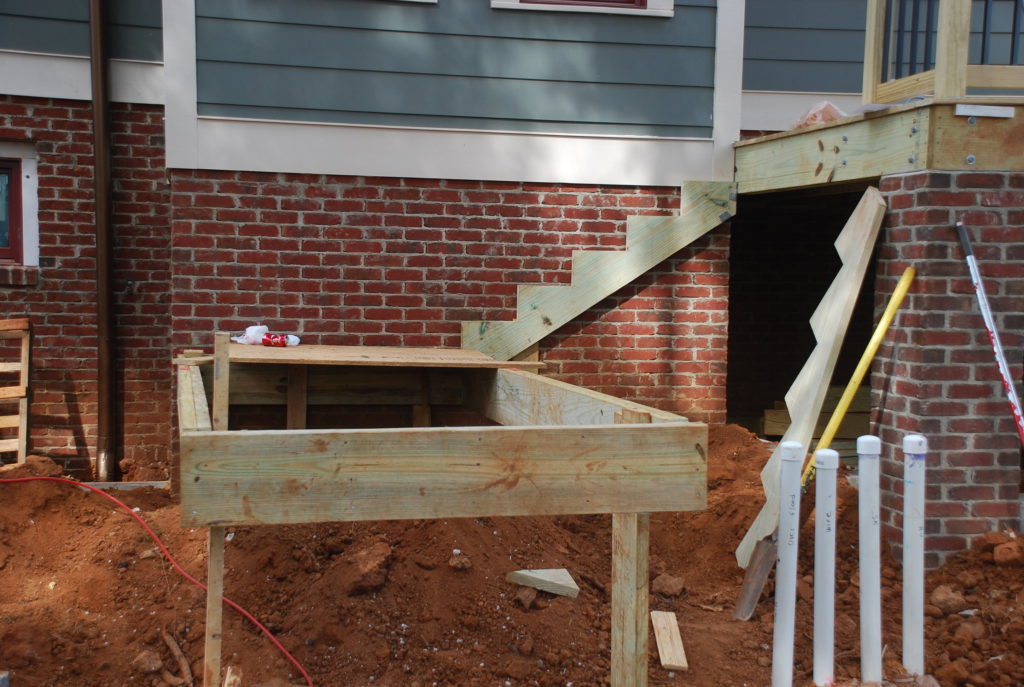 The deck guy was back to start on the steps down from the deck to the ground. We carefully calculated where we want the grade to be at the bottom, and sketched out a landing and step design for him to use. Our concept is for the steps to end on a big rock at the edge of the pond, which will then lead you to stepping stones that go across the water to the other side of the pond!
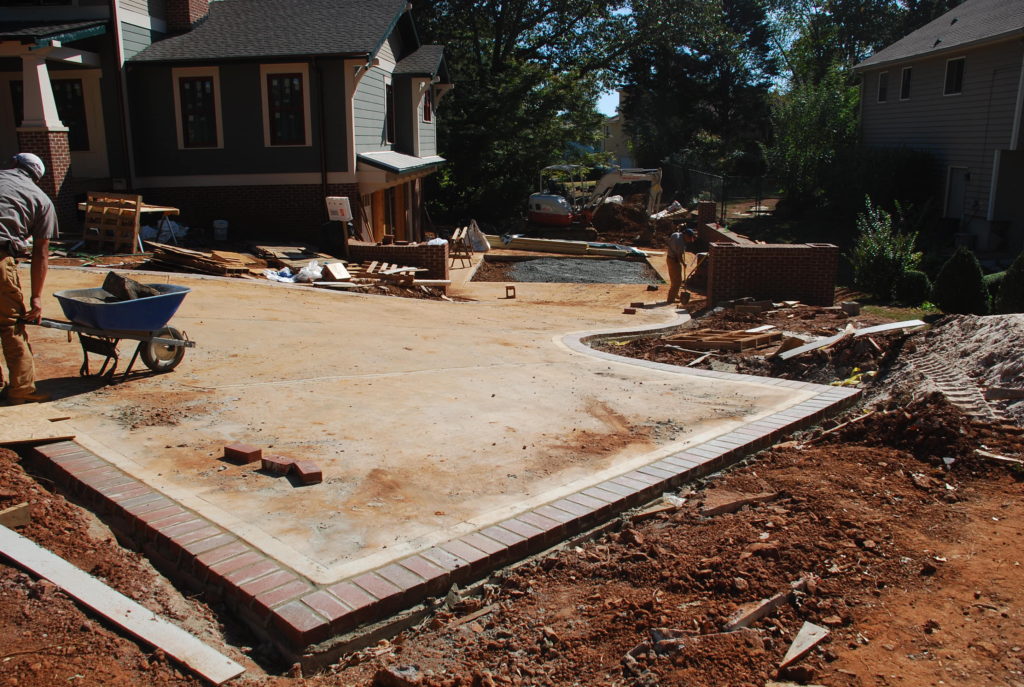 The masons were back this week as well and went to work laying the brick edging at the driveway. It really helps to dress it up and effectively widens the drive to make it a little easier to manipulate the curves.
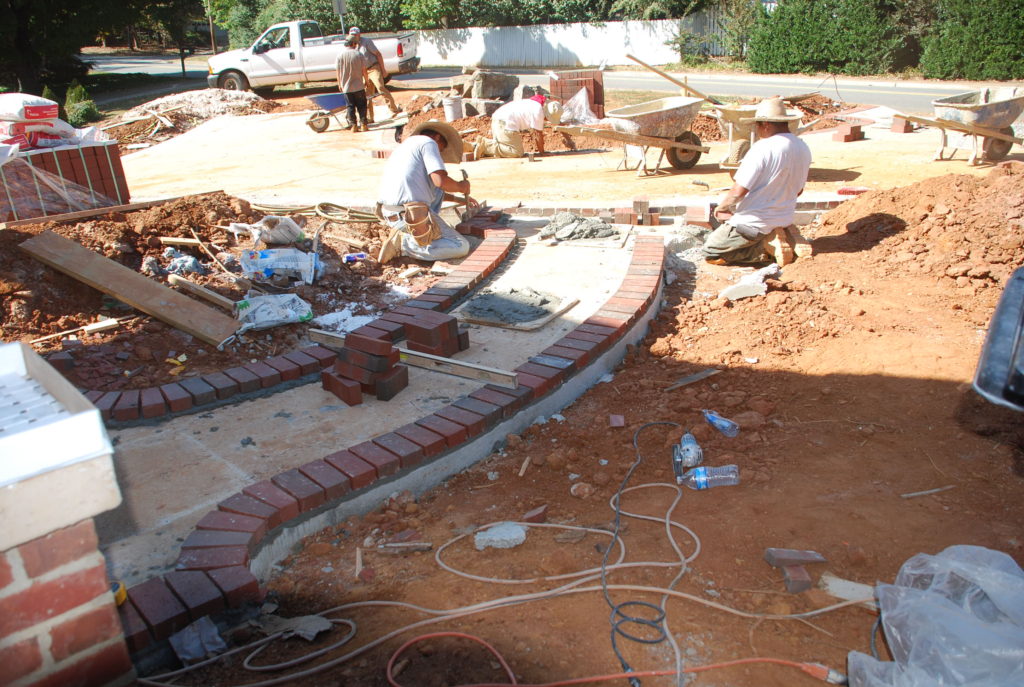 Once the edging was done, then it was time to tackle the front walk. We designed it to have the same edging design as the driveway but with the infill done in a basketweave pattern.
 Here is a view from the front porch as they are beginning to lay the basketweave. The pavers are set in a mortar bed first and then they come back and mortar-in the joints using what looks like a pastry bag.
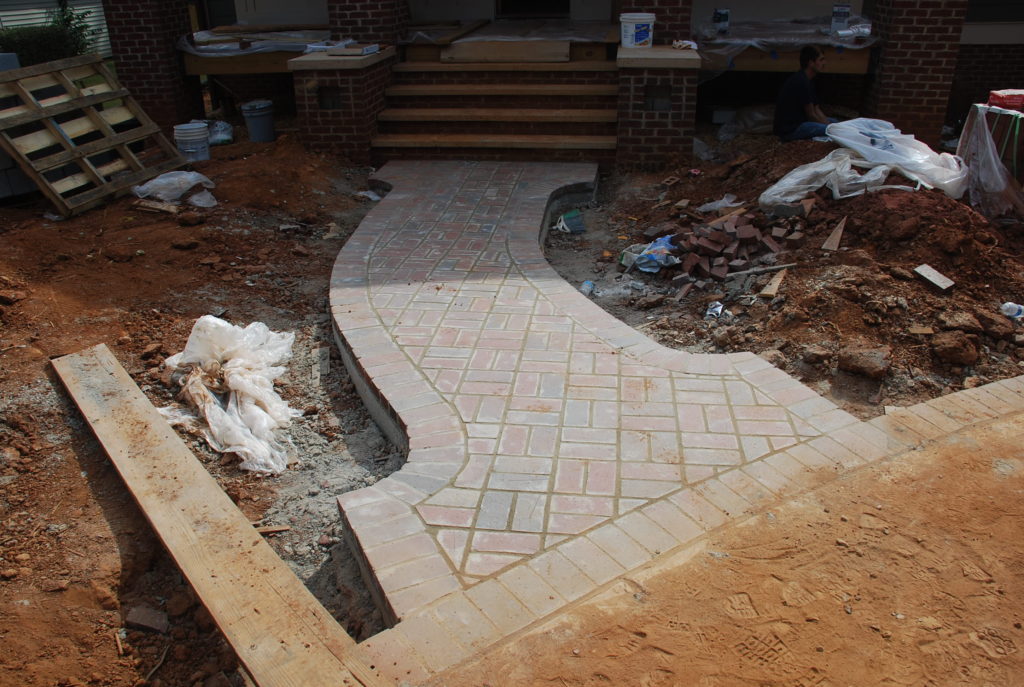 After the joints are filled with mortar, they come back with a trowel and strike off the extra. After it all sets and dries we will clean it with muriatic acid to get all the extra mortar off the surface.
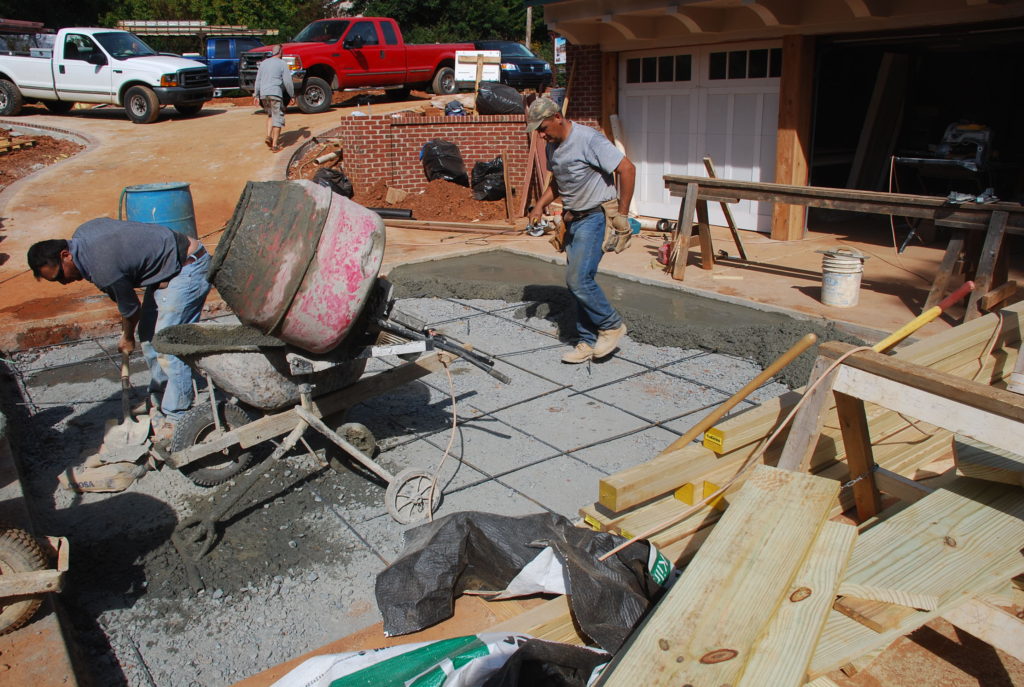 Next they were off to preparing for the pavers in the Motor Court are off the Garage. We’ve decided not to make it pervious and are going to pour a concrete base and then lay the pavers in just like at the walkway.
 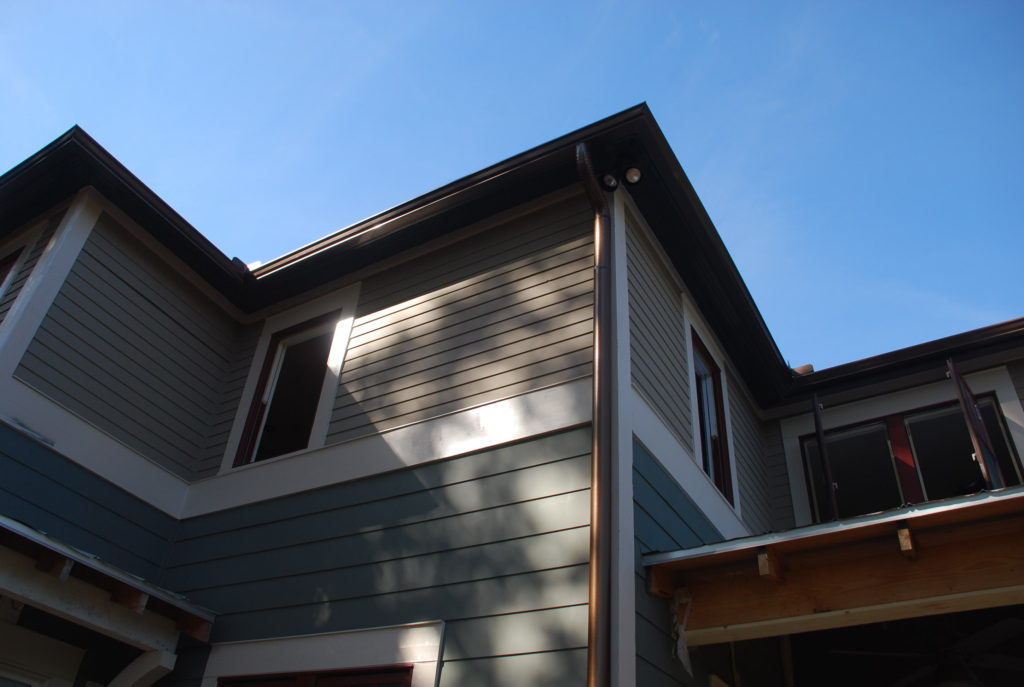 Not to be left out, the gutter sub also showed up this week. A few years ago we at Peek Design Group designed a custom home for a couple in East Cobb and chose a gutter color/finish called ‘Designer Copper Aluminum’. We liked it so much that we chose to use it here as well. It is made of aluminum but has the look of a weathered copper – without the huge cost upgrade that comes with real copper.
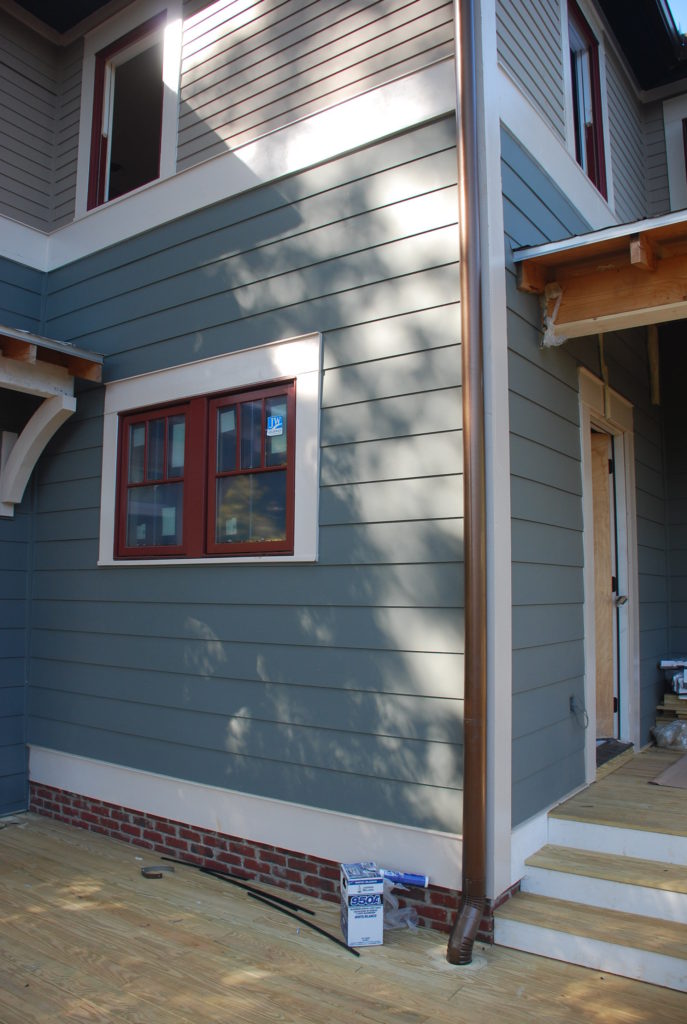 At a small extra expense, we are using round downspouts which are true to what a hundred year old house would have had.
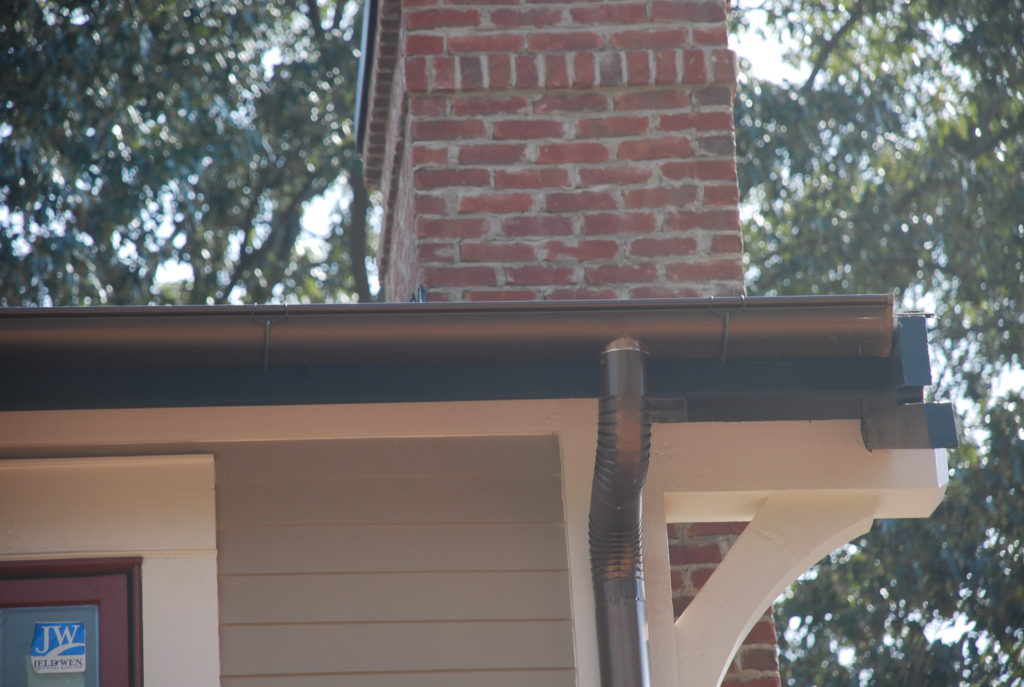 On the front we are spending a little more and using half-round gutters to go along with the round downspouts. The gutters even have exposed brackets to complete the authentic look.
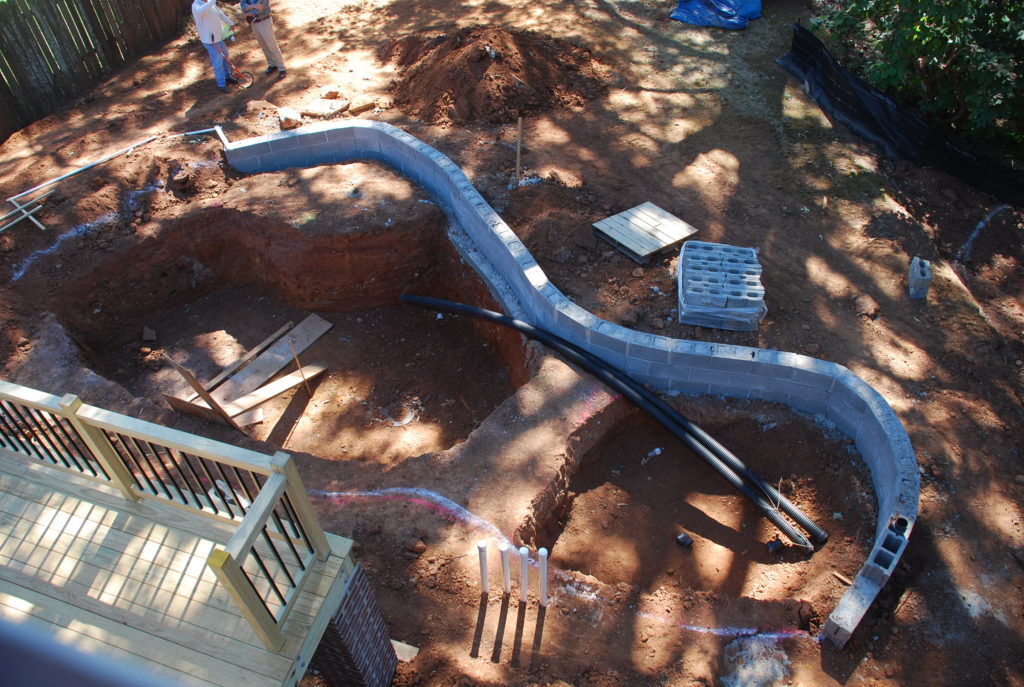 From the window at the top of the stairs we now have a great view of the pond and deck below. Before long we’ll be making that big hole look like a real pond. That’s really going to take some imagination . . .
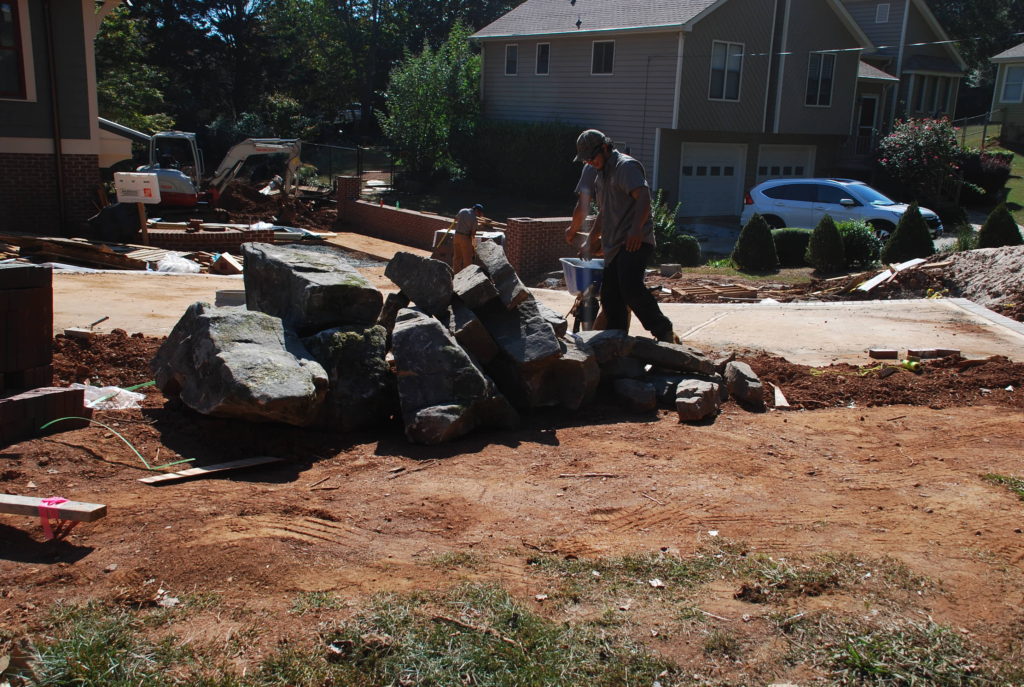 as well as a bunch or rocks – like these boulders!
Wow – a busy week with lots of different things going on. We can’t wait to see what’s in store next week! It’s great to see so much progress being made in a short period of time.