With the Kitchen cabinets out of the way, we are back to our never-ending list of things to demo in the house. While we were still in the plumbing demo mood, we decided to tackle the showers in the bathrooms. It seems the cheap tub/shower material of choice in 1980 was fiberglass, and both bathrooms had units that were showing their age. When you build a house, one of the first things to go in after the framing is the tub, or in this case, the tub/shower combination. They have nailing flanges along the rim, and then the drywall goes on top of that. So the unit is trapped under the drywall and we decided the easiest way to remove them was to cut them into manageable pieces and take out the middle first. So the trusty reciprocating saw came to the rescue again. I have to say the plan worked pretty well and before long we had the tubs out.
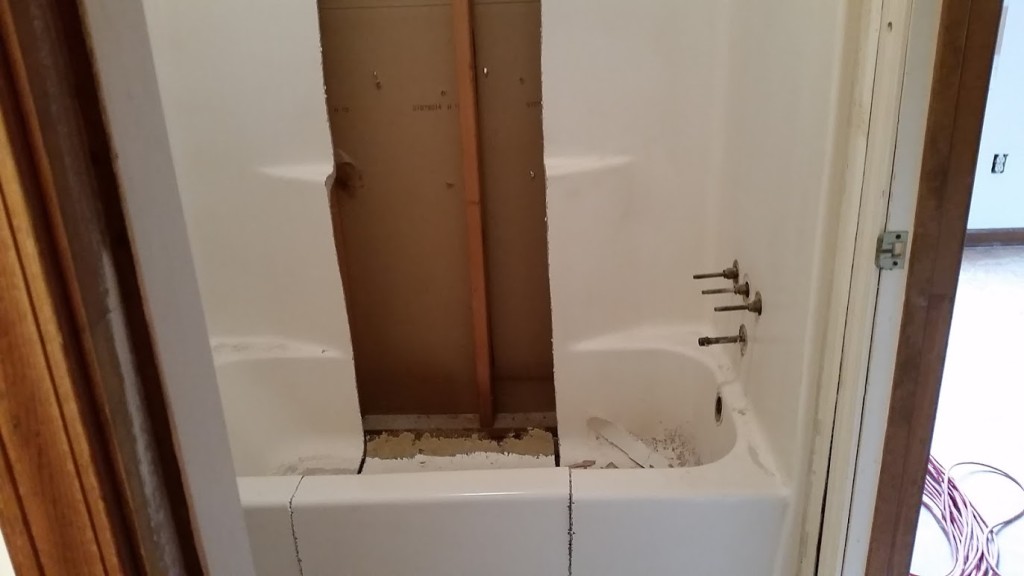
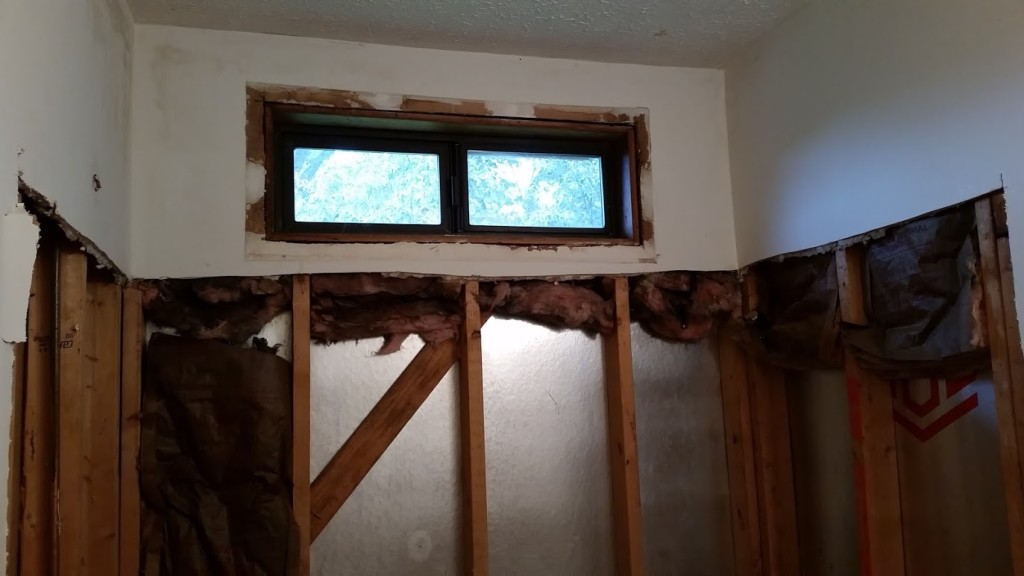
We had previously taken out the vanity/sink and toilet upstairs, but had reserved the shower so we could do both of them at the same time. When we cut into the shower, we were a little surprised to find that the exterior wall behind the tub didn’t have any insulation in it. I’m guessing that’s a pretty common code violation as it is hard to inspect the insulation behind a shower unit that gets installed before the insulation. The boys never complained, but I’m sure some of those winter morning showers started out pretty cold!
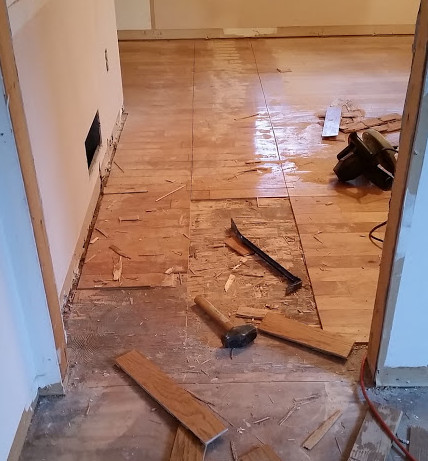
In 1991, when Joshua was a year old and all over the place in his walker, Dale had removed all the original carpet on the main floor and put in a laminated hardwood floor. It was a great improvement and looked great, but had seen its better days and really wasn’t a candidate for sanding and refinishing. So our plan was to remove it and put a new hardwood floor throughout the area. One small problem – we glued down the floor (as per the manufacturer’s instructions) directly to the plywood subfloor, and we did a really good job gluing it. So when we took to removing it, it resisted our efforts with gusto. The main issue was that the glue was stronger than either the plywood or the hardwood, so either the hardwood plank would delaminate, or part of the plywood subfloor would come up with it.
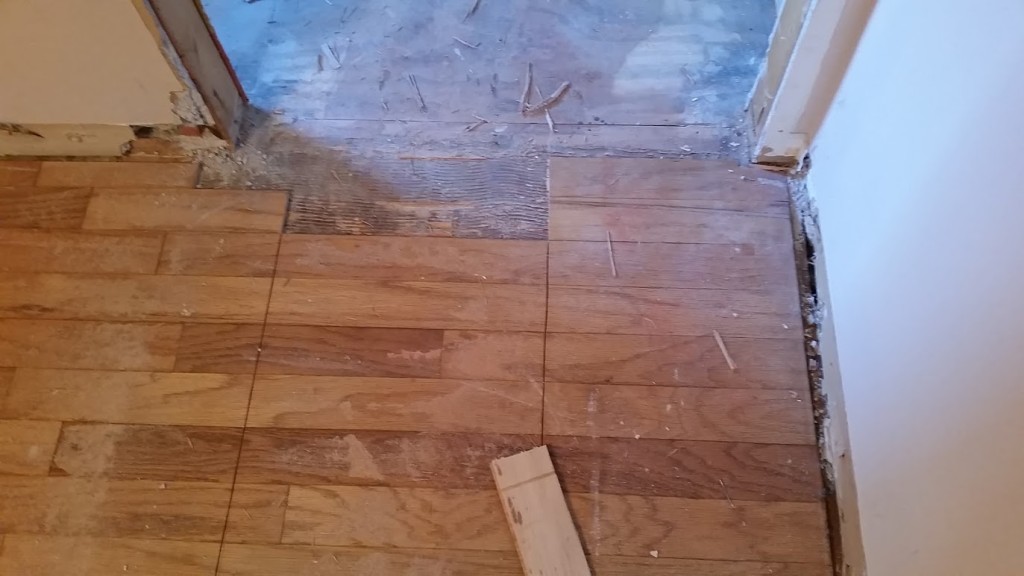
We tried cutting the floor into shorter pieces to make it more manageable, we tried using pry bars or chisels to get between the floor and the subfloor, we tried heat guns to soften the glue, we tried everything that we could think of, but in the end nothing that we tried really was effective. The heat guns actually worked the best, but it took so long to heat up each board that it would have taken approximately forever to remove all the hardwood.
So in the end, we decided that it will be better to just leave the old hardwoods in place and put the new floor on top of it. As for the rest of the floor, we’ll use plywood panels the same thickness as the old hardwoods to level everything up before putting in the new. A little more cost in materials, but a tremendous time savings and we are glad to have resolved what to do.