
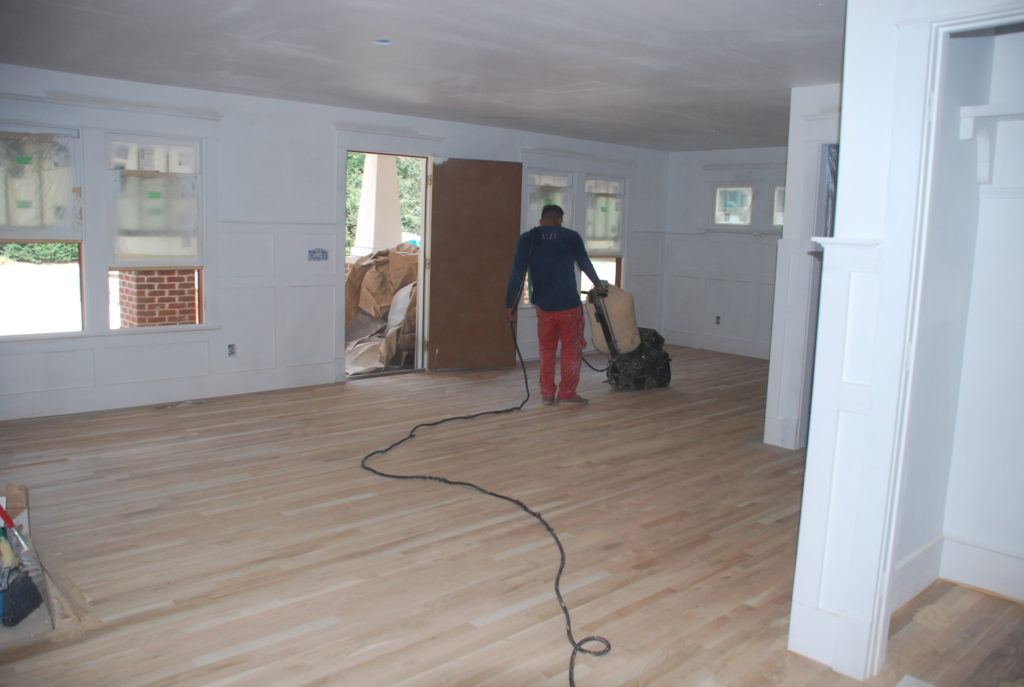
Interior work is about to really start moving forward and with the walls and ceilings primed, we decided to move forward with getting the hardwood floors sanded and get a couple of coats of finish on them to give some protection. When they put the flooring in several weeks ago, they covered them up immediately with heavy paper, so this was the first time that we’ve really seen them uncovered. The wood is white oak, and it smelled great as they sanded. Below is one of the guys with a big belt sander getting it all smooth.
 It was also time to select a stain. We selected a couple of Minwax stains to try out and they stained a section of the Master Bedroom floor for us to see and imagine what it would look like if the whole floor was that color. It was still hard to picture, but a lot better than the little swatches on a sample sheet.
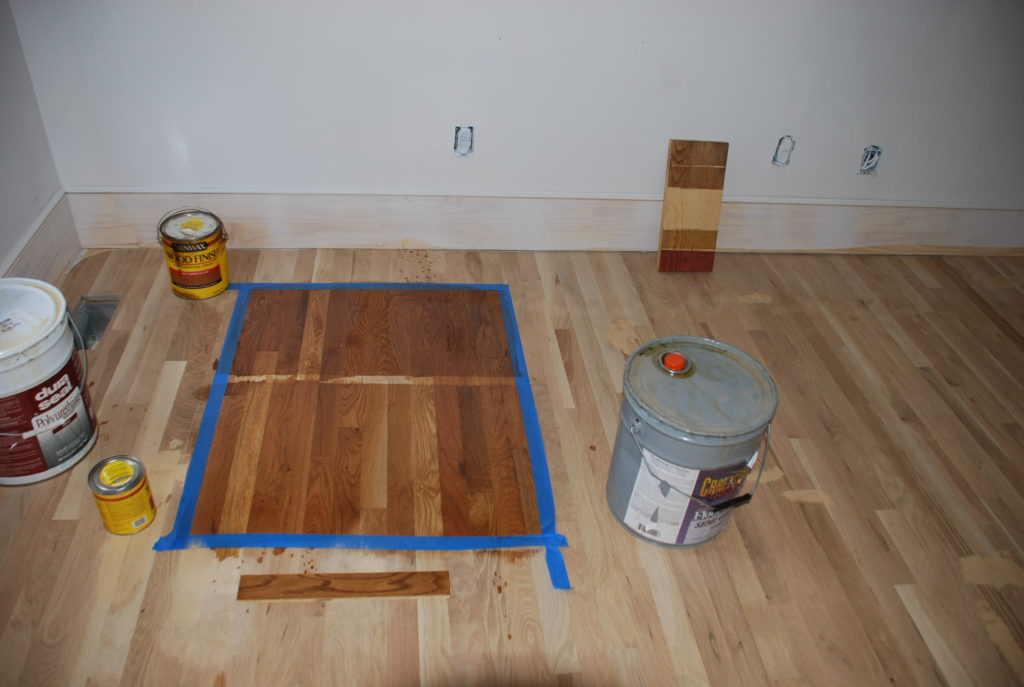 Along the edges and things that stuck out like the stair landing, the big belt sander couldn’t get into those areas, so they used an orbital sander to finish the job. Even with the vacuums built-in to the equipment, there was still a lot of dust stirred up, so masks were necessary.
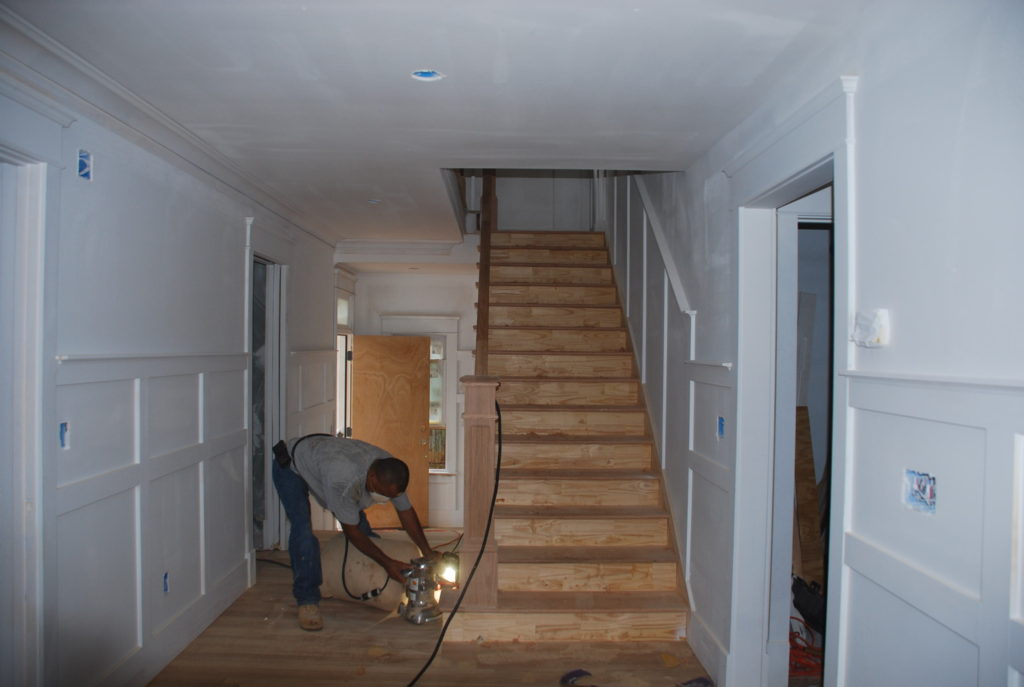
 After pondering for a while, we decided that the lighter stain that is closer to the camera below was just a little too light, so we opted for the darker. The color is Minwax ‘Early American’ and it really makes that white oak look nice.
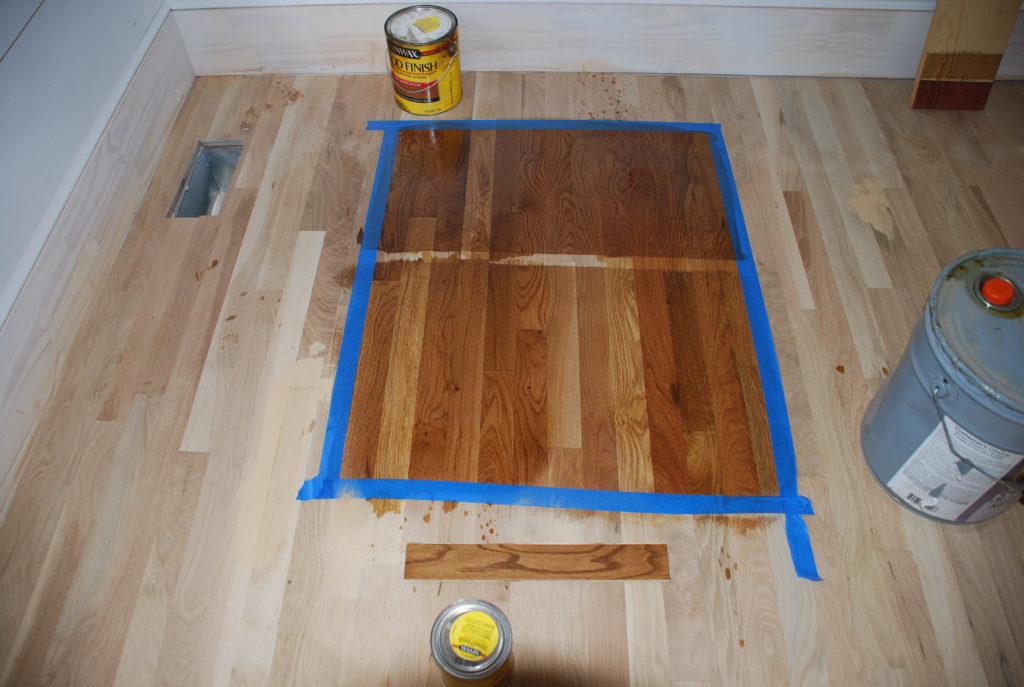 The landscape plan calls for a couple more piers and a retaining wall down by the motor court along the property line, so it was time for more block and sand and mortar . . .
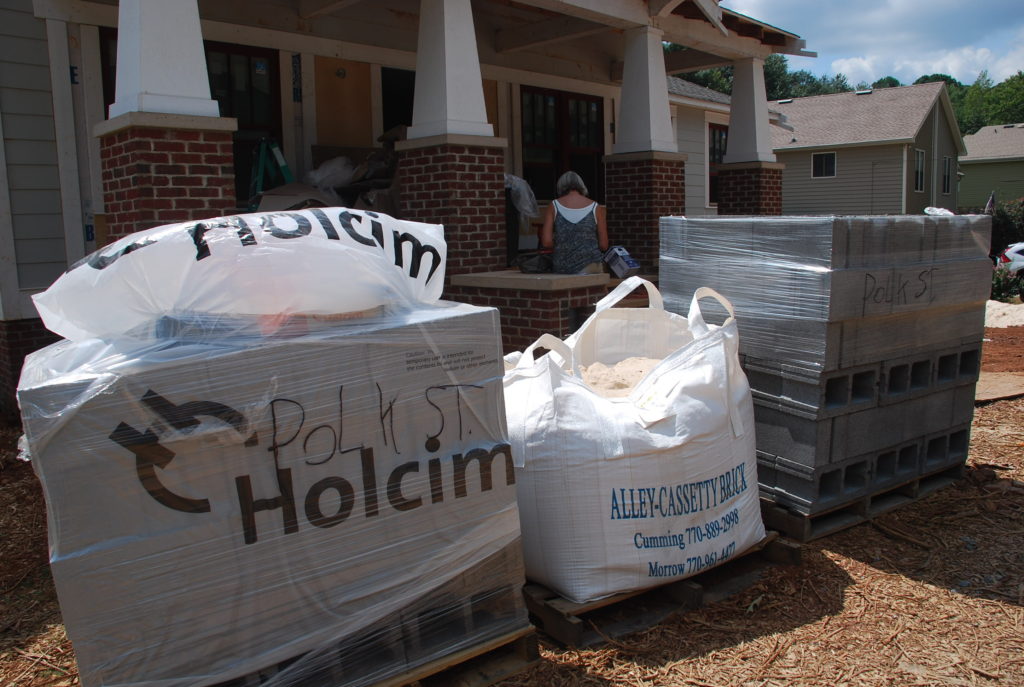 and of course more brick. Perhaps this will be the last order of brick for walls and such. We’re going to need some pavers later, but that is a different animal.
 The ceilings and walls and trim have all received a good prime coat now, so everything is white.
 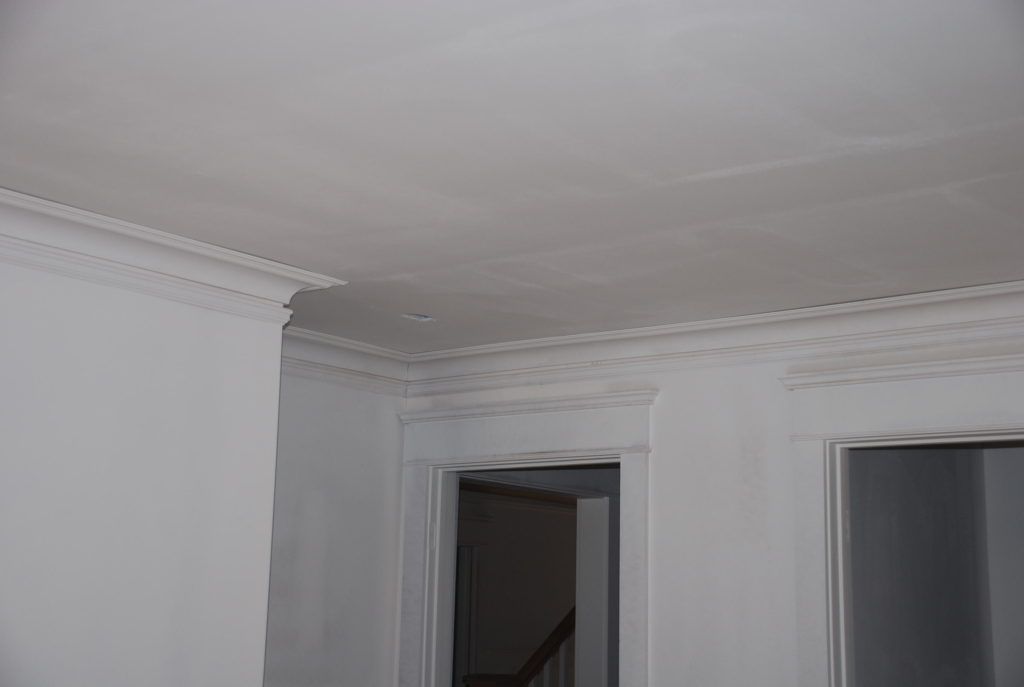 The paint really exposes the rough places in the drywall and the next thing will be to get sanding to smooth everything out.
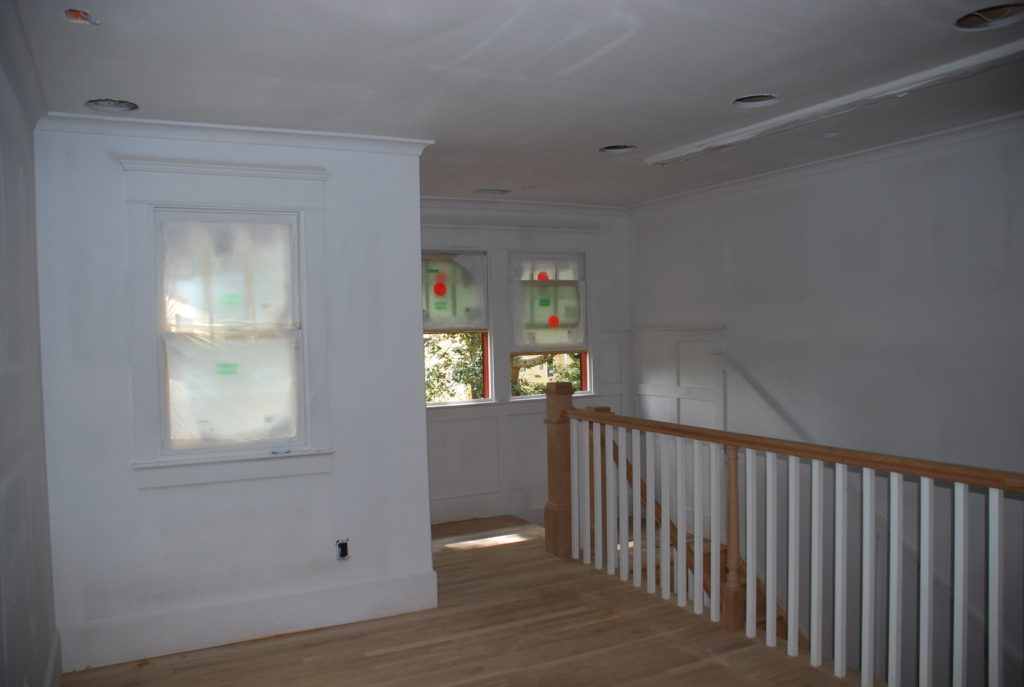 Once the hardwood flooring was stained, they put a couple of coats of polyurethane on them which meant that everyone had to stay off the floors and out of the house for a few days. So the painters headed outside and and began prepping for the exterior paint job.
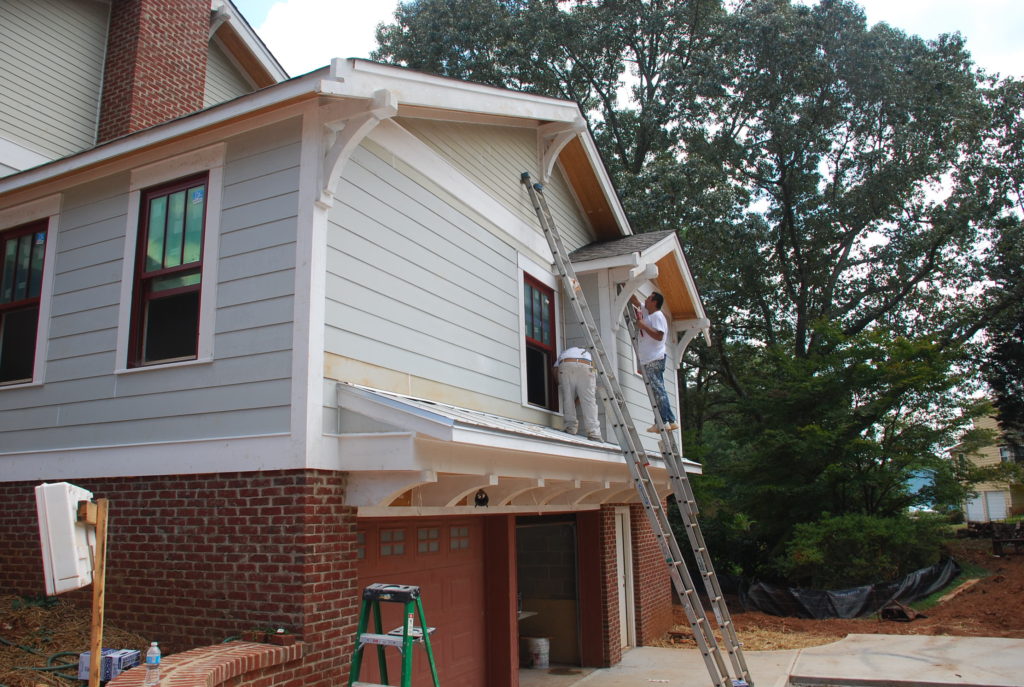 Over the last few months we’ve had several comments from folks that they loved the colors – not understanding that the siding was just the color that it came from the mill and hadn’t been painted yet. Now it was time to get the real paint on and it is going to make a huge difference. Here’s the back with the first coat on the siding and some of the trim. It really makes the red windows pop out.
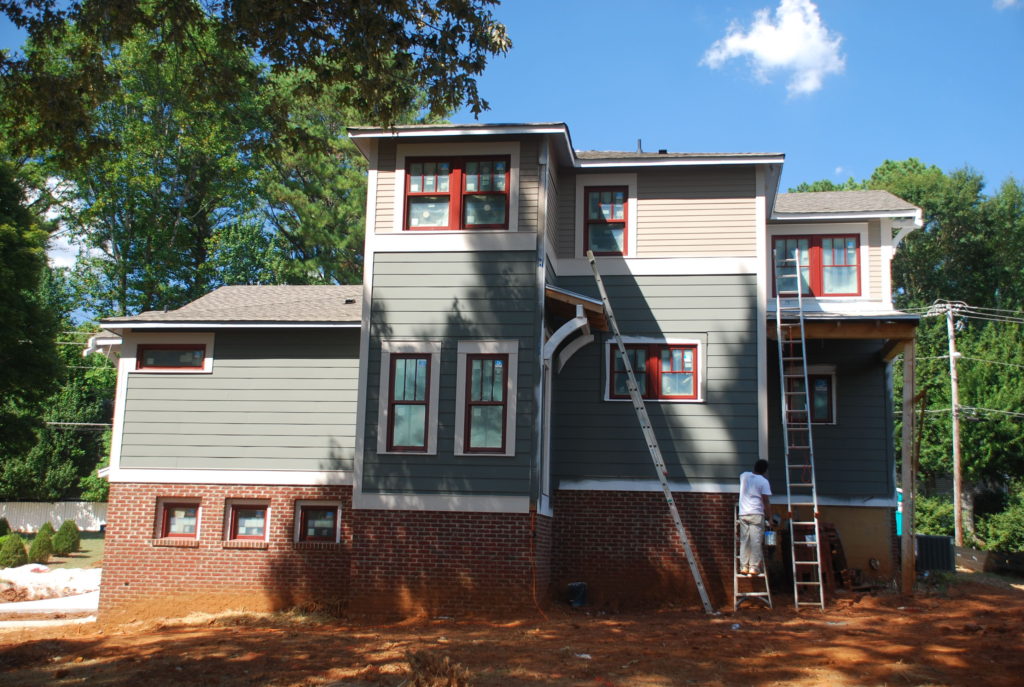 Some architects obsess about minor details, and here is one of those. Take a look at the photo below and you will see an example of one of Dale’s biggest obsessions – that material and/or color changes should always happen at Inside corners, and not Outside corners. Do you see how the face of the trim is painted the creamy trim color, but the side of the trim is painted the same color as the siding?
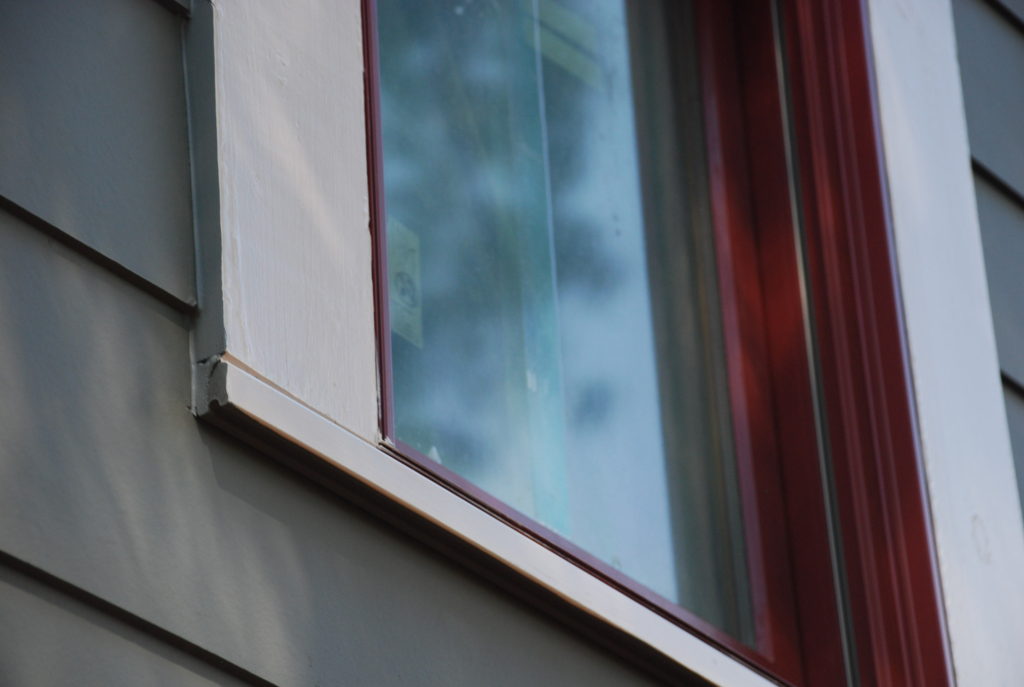 No, no, no!! That’s the easy way to do it, and evidently it is the residential industry standard, but it simply is not right! In general, all faces of an element should be painted the same color as though it was painted before it was put on the house and then just assembled after painting. Below is another example where the top of the drip cap was painted the same color as the siding.
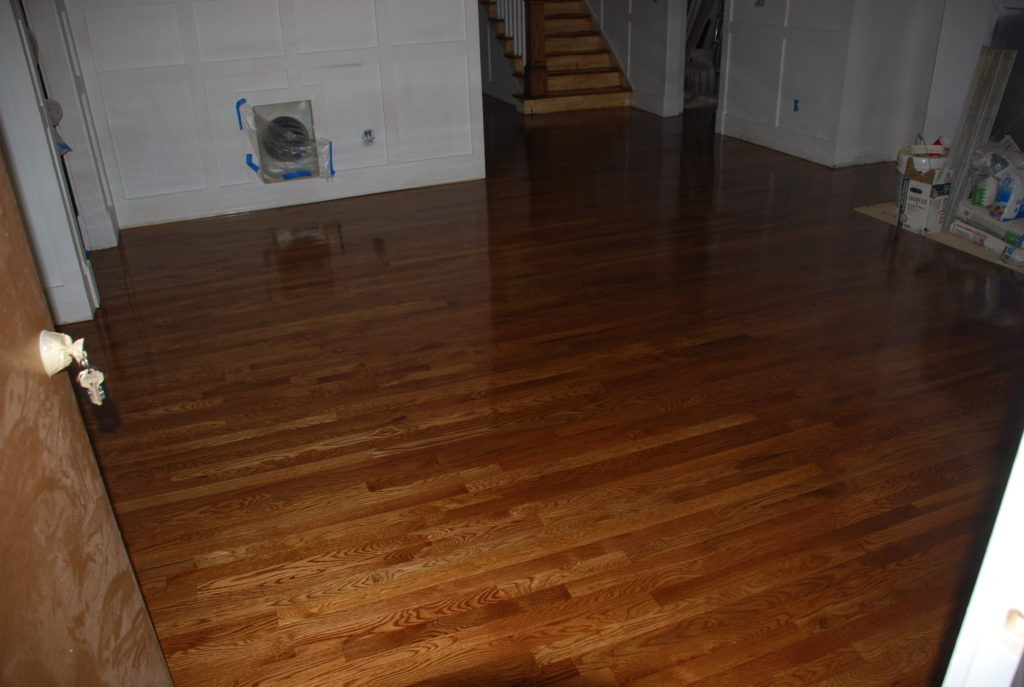
Luckily we caught it early, and after further explanation the painting was back on track and being done the ‘correct’ way.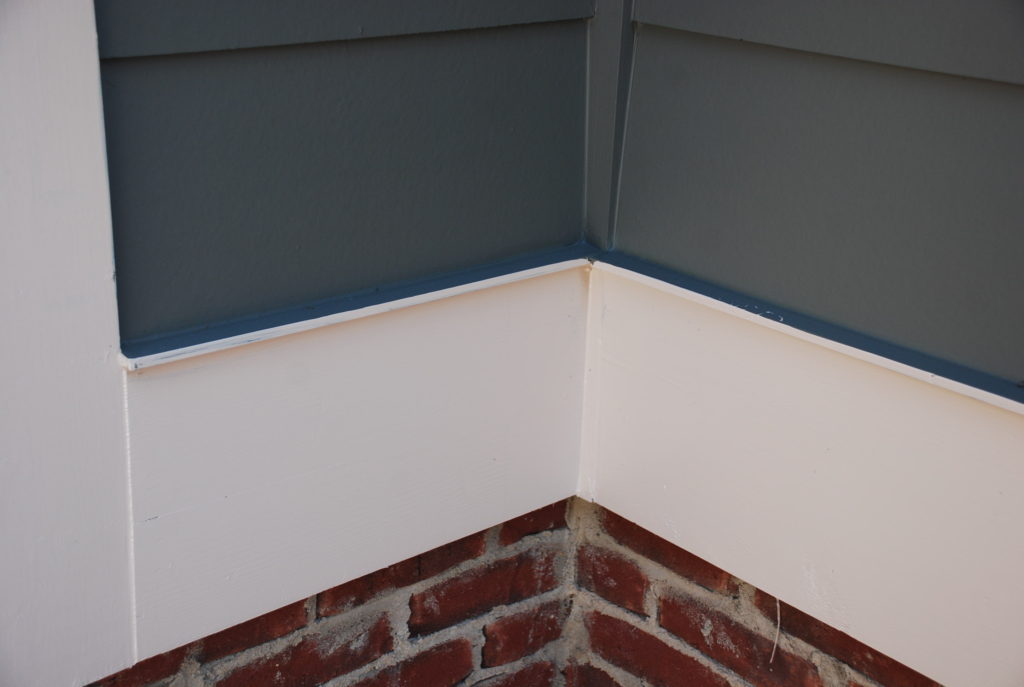 In the meantime the flooring guys put the polyurethane on the floors and Dale had to sneak a peek in the front door. Below is our first glimpse of the finished floor – it looks awfully glossy for a ‘satin’ finish, but Tom explained that it had just been applied not much earlier and was still wet. I’m looking forward to seeing it dry!
 Later in the week the paper went back down on the floor to protect it from all that was about to happen, and everybody was allowed back in to keep working. Here’s a shot of the stairs and newel post and railing using the same finish as the floor. Really looks nice.
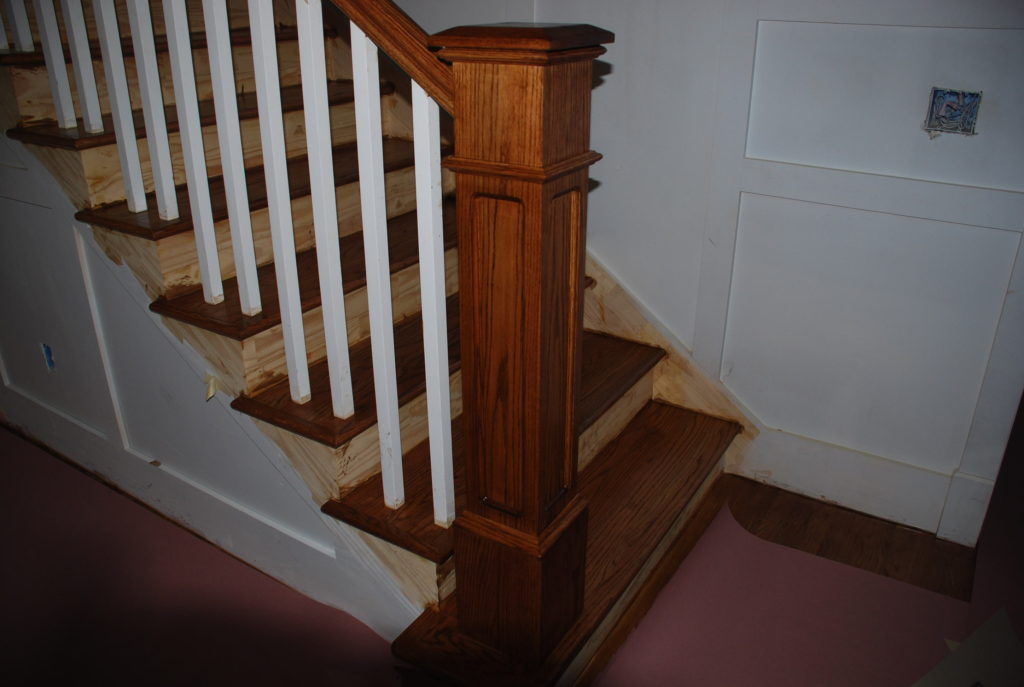 Another shot of the stair – the treads are all stained but the risers will be painted to match the trim.
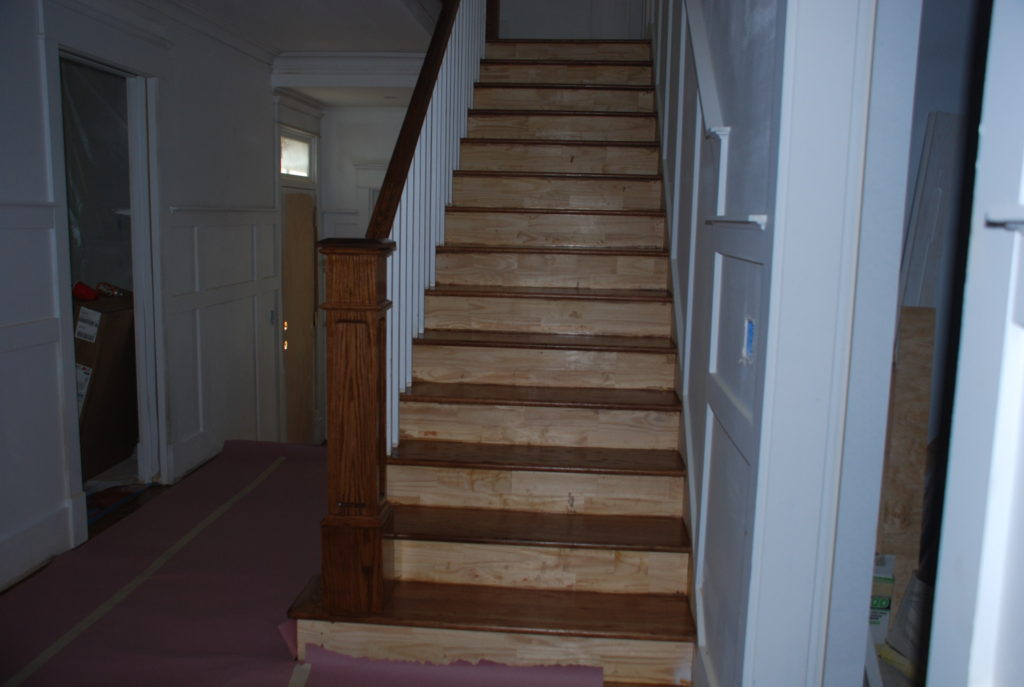 This view from the top looks more finished since you can’t see the unfinished risers.
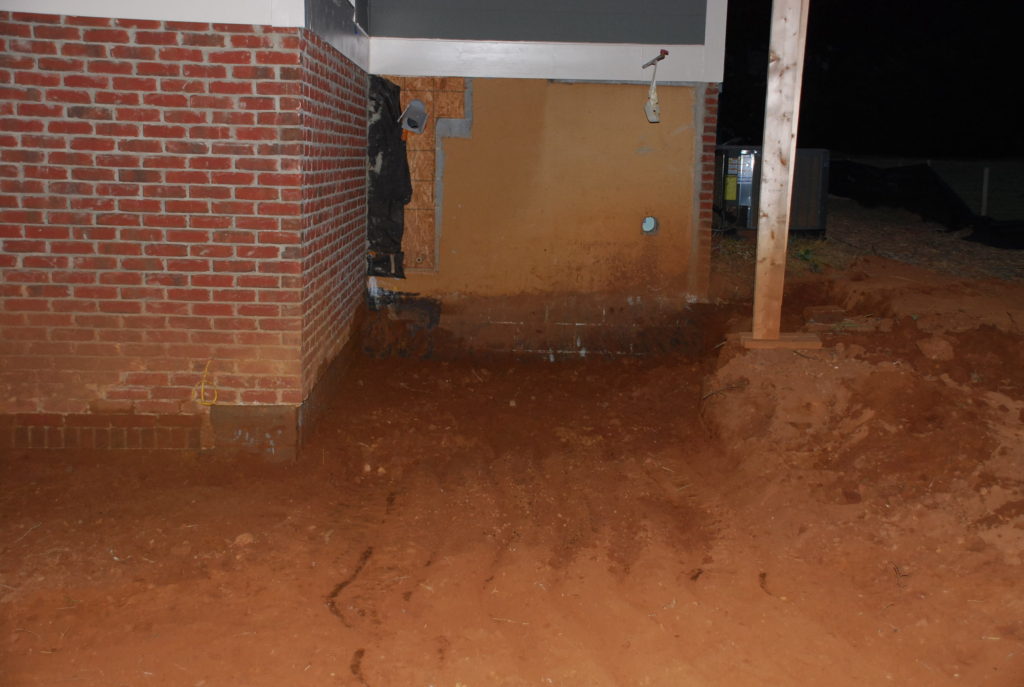
 We couldn’t wrap up a week without some more site work. We’re just about ready for the koi pond to get started and the equipment for it (pump/filter/etc.) is all going to be placed under the deck so we have easy access to it. Dale wants to be able to work under there without stooping, so he’s cutting the grade down some to give a little more headroom.
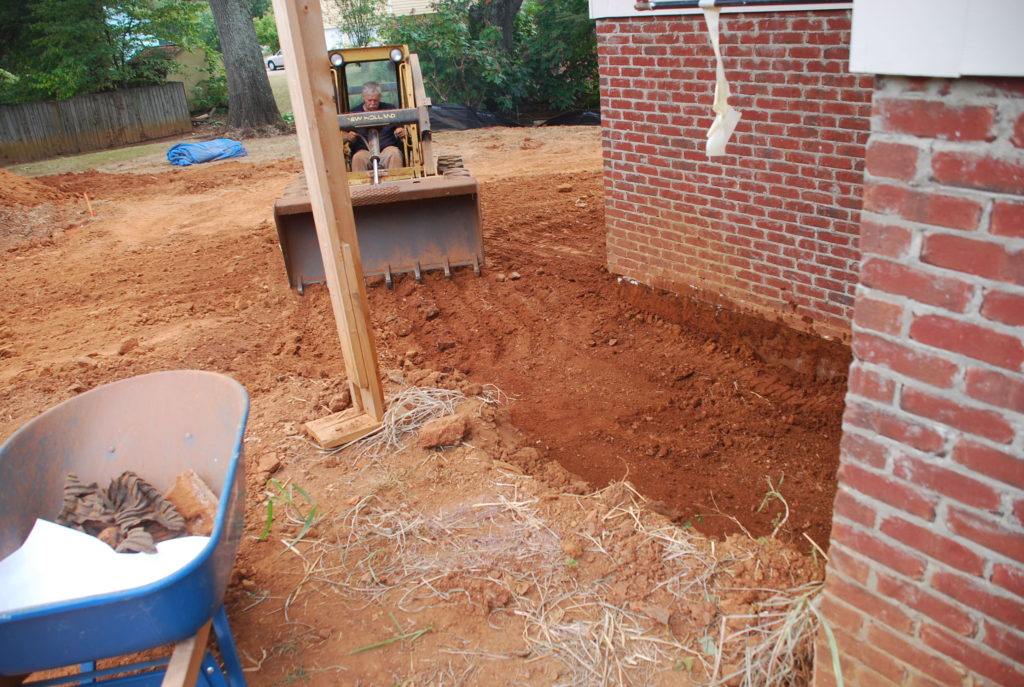 Late Saturday it was pretty close to where it needed to be and next week we should be able to start laying everything out and prepare to pour a slab for the equipment to sit on.
 From this point, I think that most of our physical labor is going to be concentrated on the pond and landscaping. There is still a lot to do to complete the house, but we’ve got to get the sitework moving in order to wrap everything up about the same time. Next week we should be digging a pond (thus the ‘Pond House’) and beginning to work on getting the grading finalized and ready for plants.