Another exciting week with the trim guys busy installing all that trim that we designed for the house. First of the week they started tackling the stairs.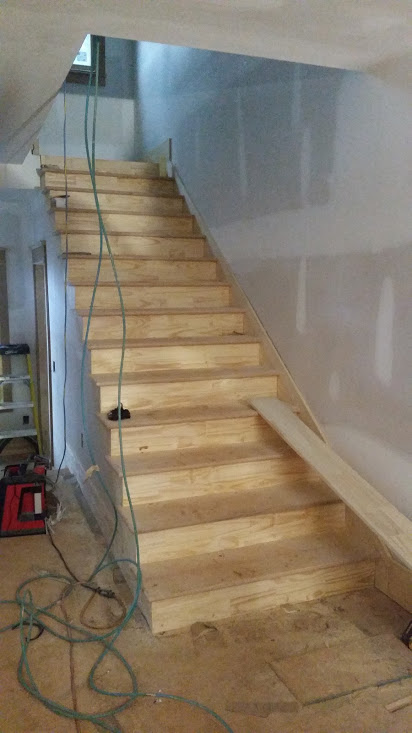 The skirt board along the wall was first, and then the treads and risers. Treads are oak to match the floor, and risers are finger-jointed pine and will be painted to match the wainscot.
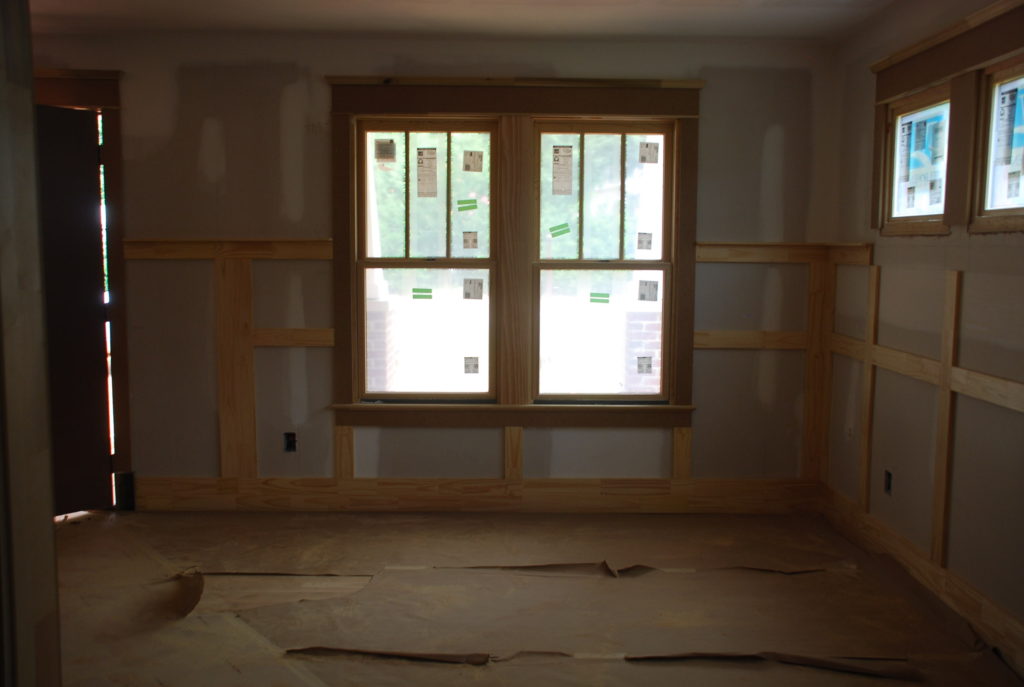
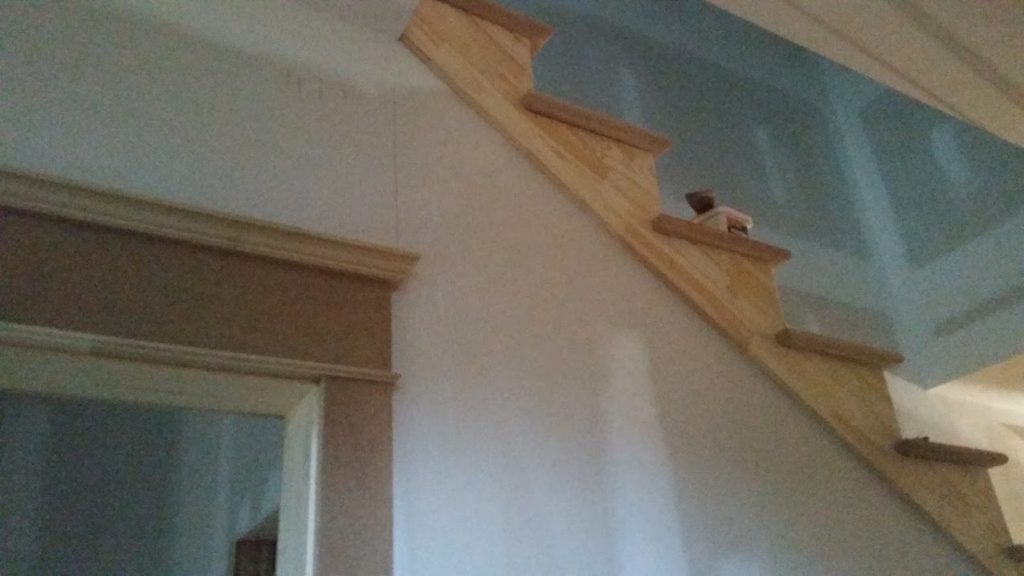 Then it was time to get busy on the crown and base and wainscot (or wainscoting) that we designed to be in the Family and Dining Rooms and the Stair Hall. Below is a photo looking from the Dining Room. The fireplace and adjacent recesses are going to be stained oak, so that’s not ready yet.
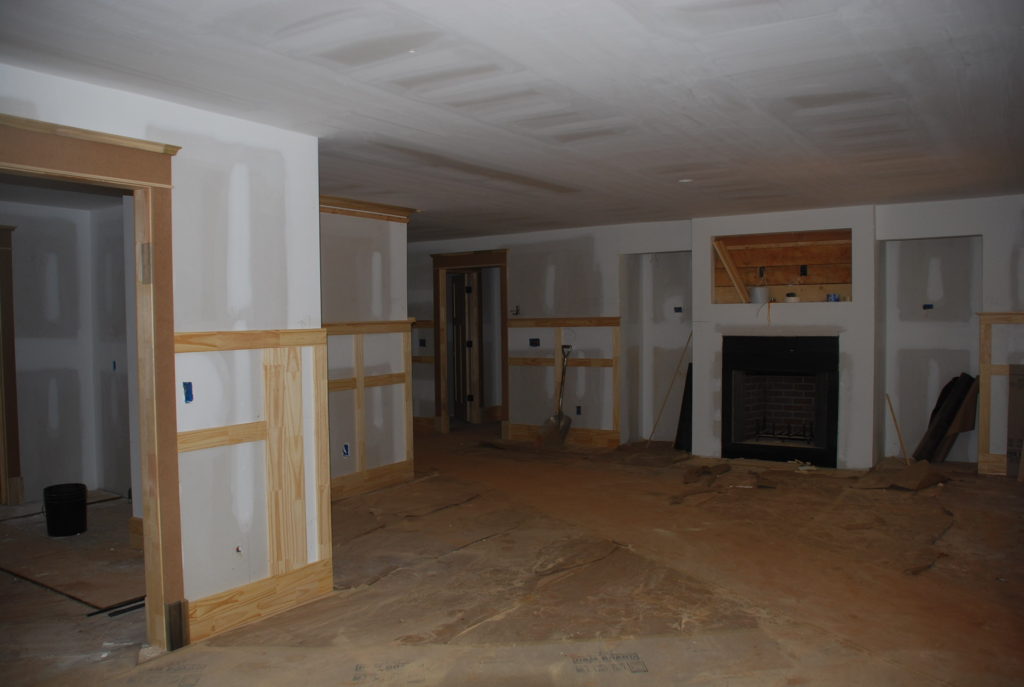 We also designed a wainscot in the Dining Room, but the area under the 3 small windows is going to require some special corbels which we still have to find or make – so that area is not quite done yet.
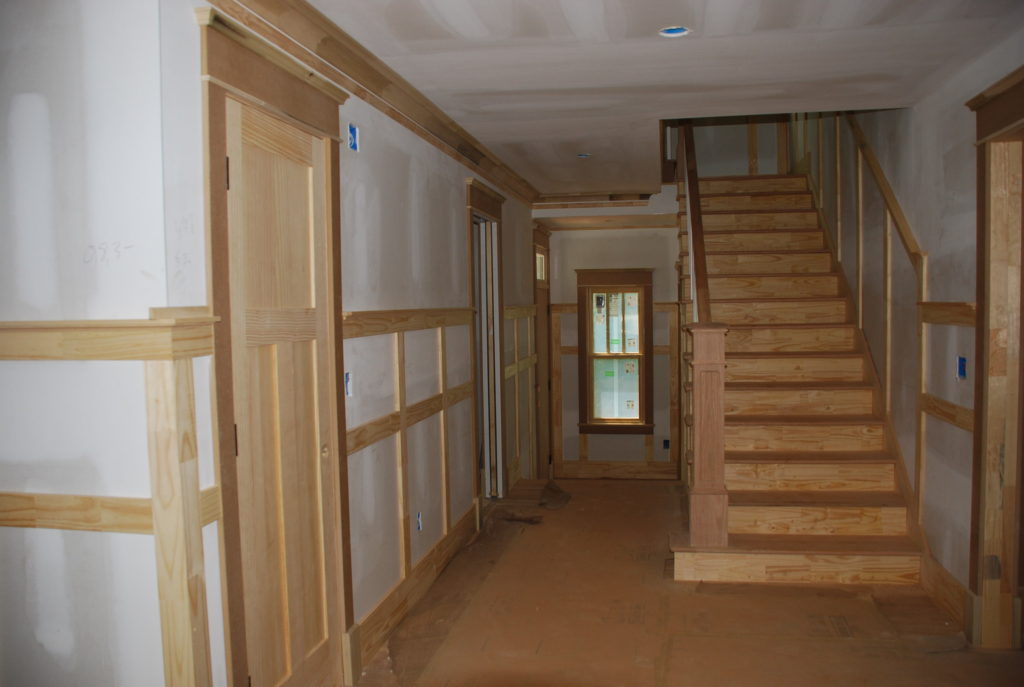
 The Stair Hall is really looking nice with the newel post at the bottom and the railing now in place. You can also see the crown moulding along the left wall with a picture rail below. Picture rail is a special type of trim that was designed long ago to be used to hang pictures from back in the day when walls were plaster and folks didn’t like to drive nails into the wall. We plan to use the rail in some places to hang framed art as it was designed to do.
 Below you can see a better photo of the stair and railing going up to the Second Floor.
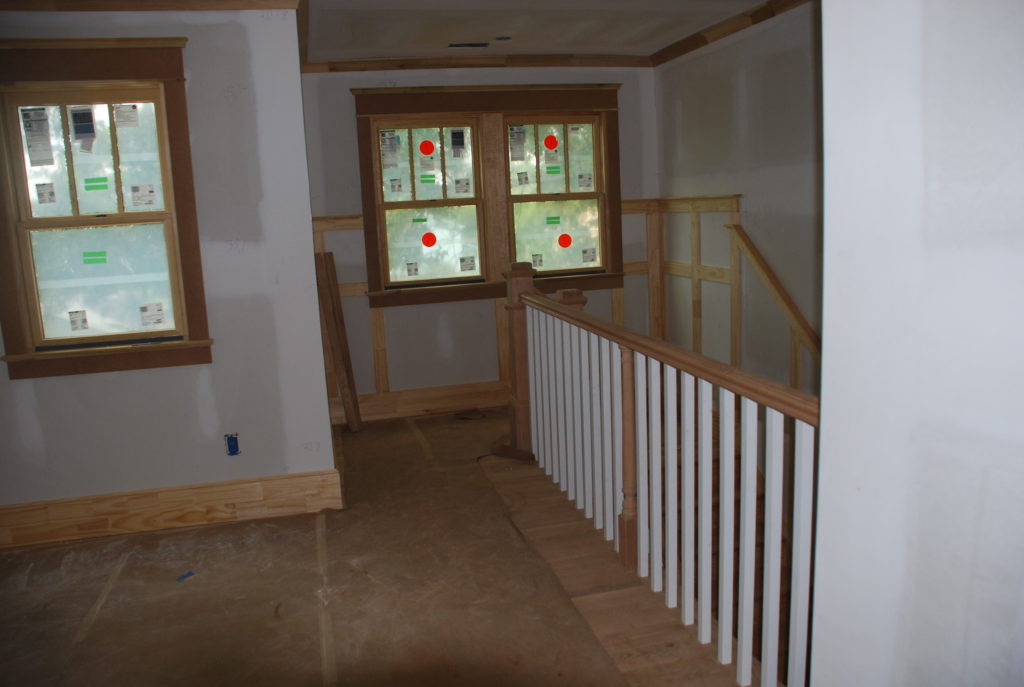
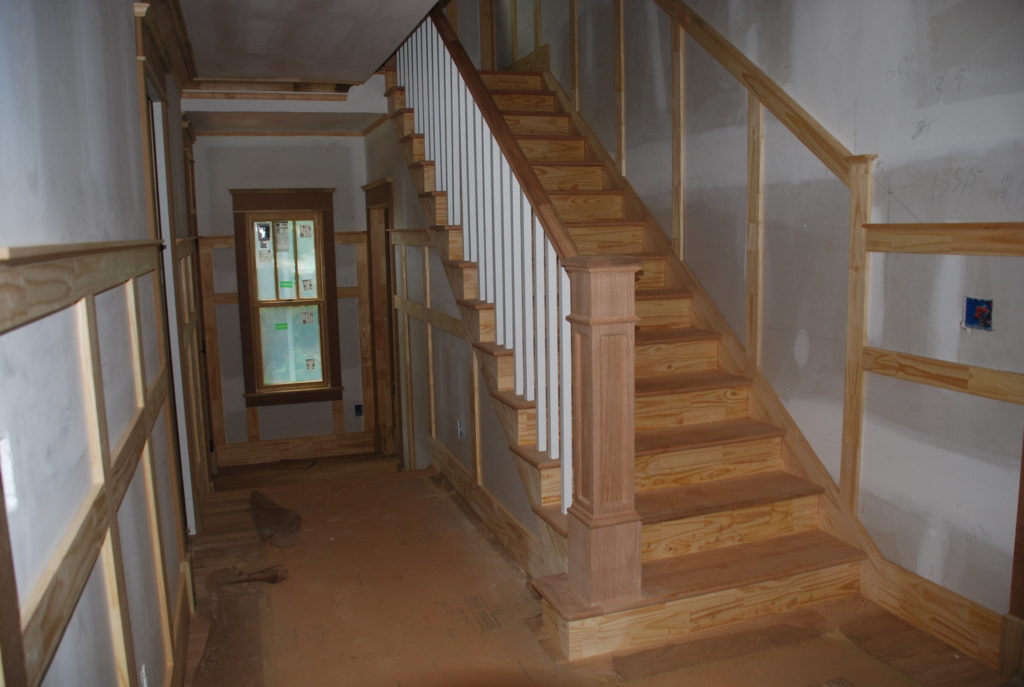 We continued the wainscot to the top of the stairs and terminated it at the left end of the back wall. The upper guard railing is all in place and we can breathe easier knowing we don’t have to worry about accidental falls.
 Also this week our electrician came by and continued his work. Part of the job for him is to install the recessed lighting at the eyebrow roof over the Garage doors. We had selected can lights and designed them to be centered between each of the corbels. It should wash the wall /doors with light very nicely.
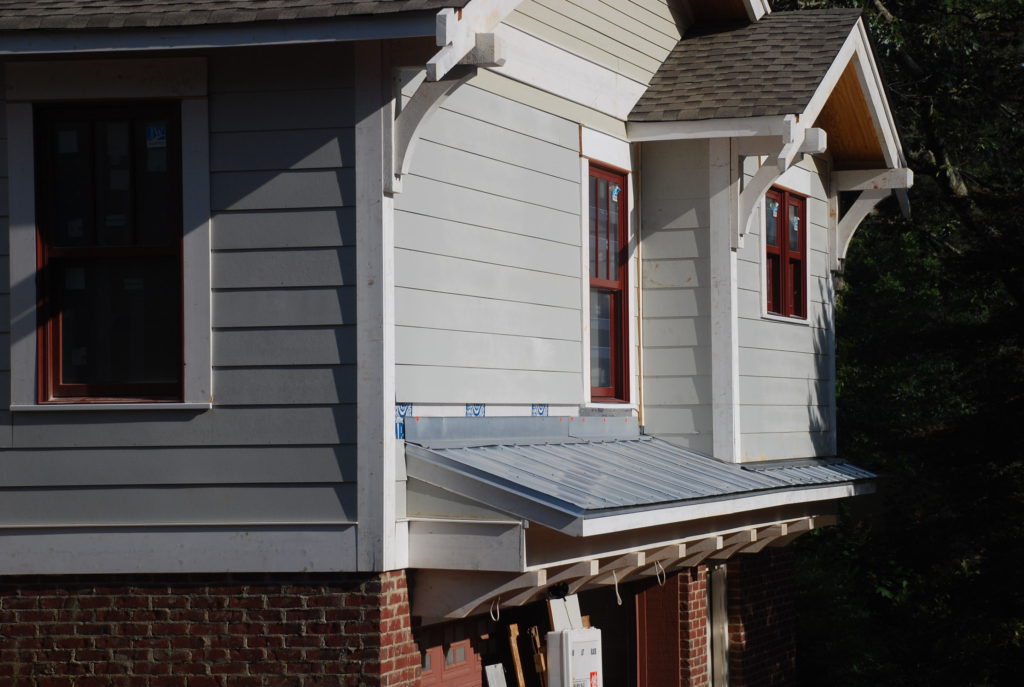
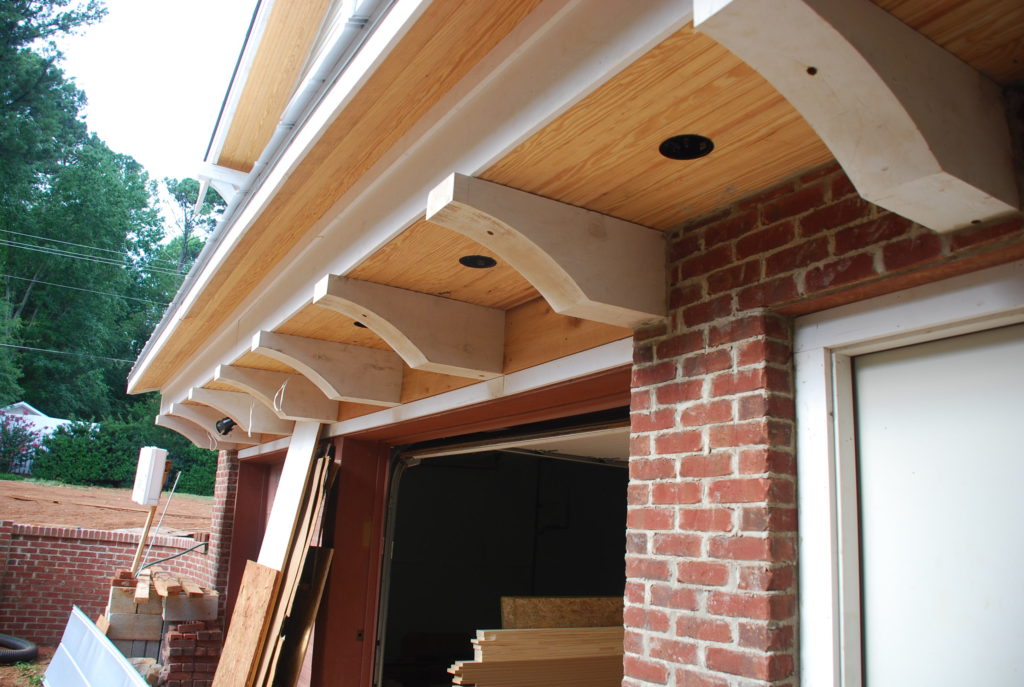 The roofer came back this week and finished up the metal roofing at the eyebrow as well. He had to remove the bottom piece of siding to get the flashing up the wall, so that will have to be replaced before painting.
 And on Saturday we finally got that mountain of dirt in the back knocked down so that it doesn’t obscure the view of the house. All we have left to build on the outside of the house now is the porch/deck on the back. The landscape design for the back (hopefully including the Pond) is still in a bit of flux, and that may affect the deck – so we’re holding off on building it as yet.
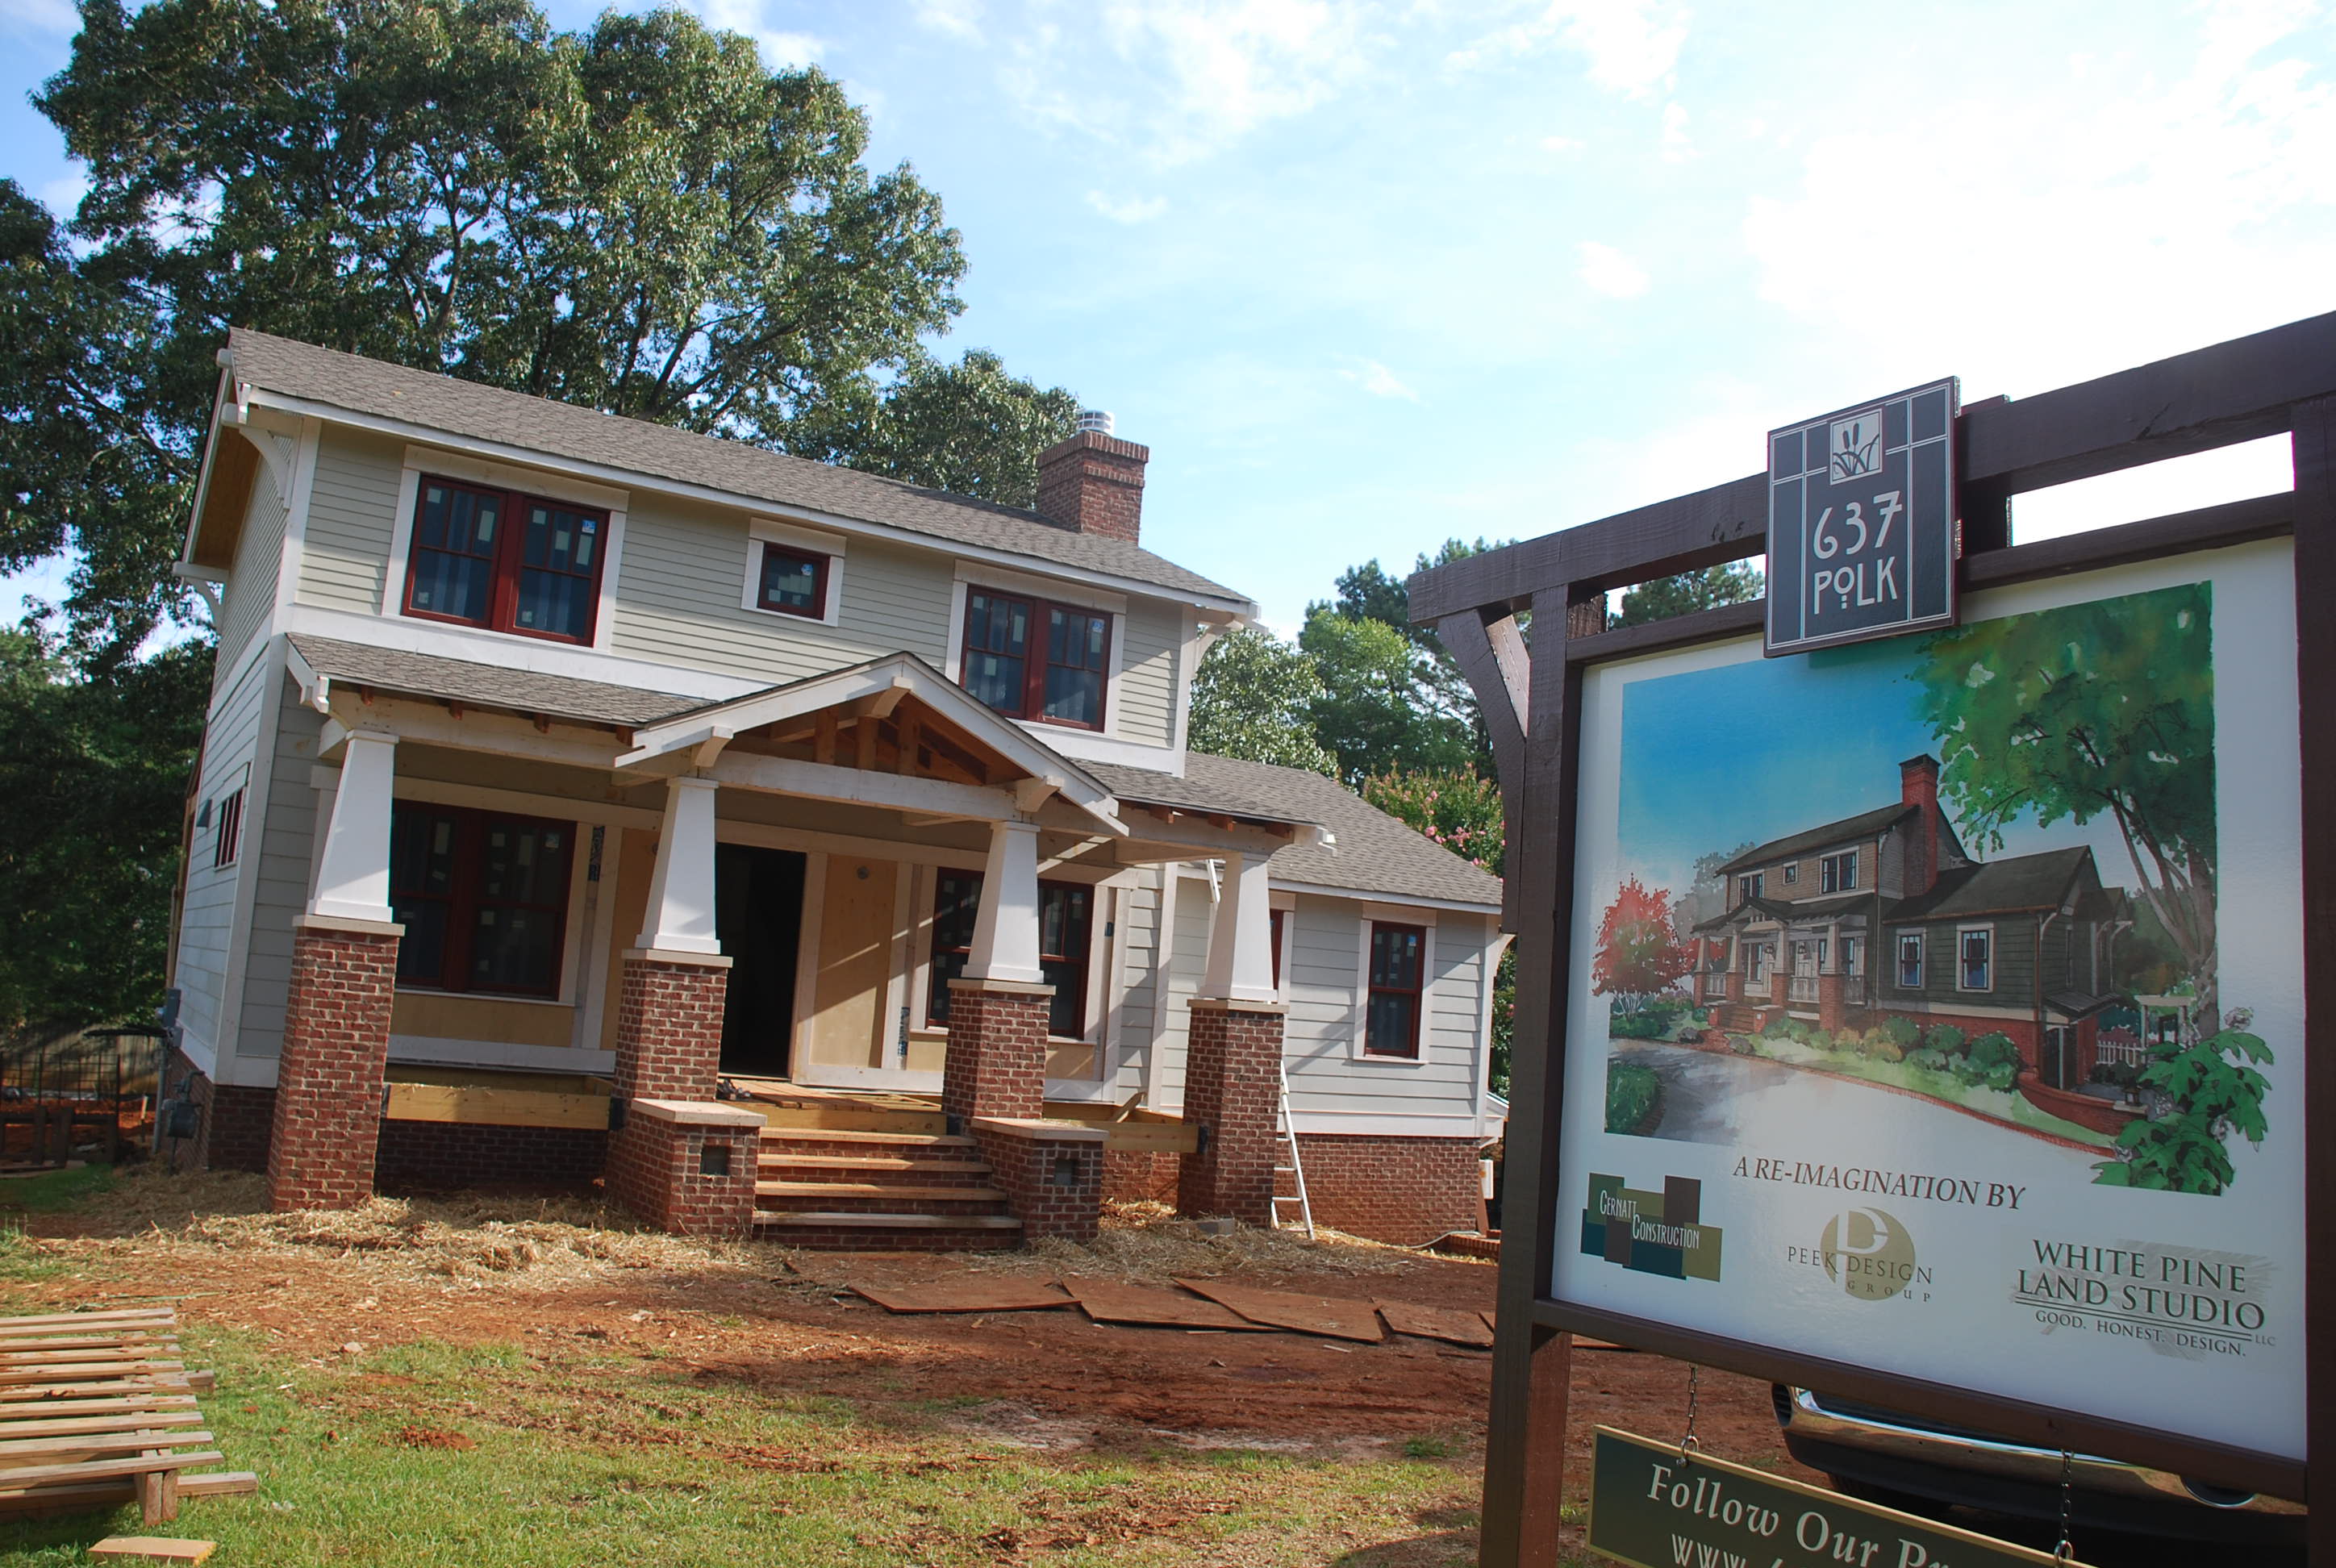
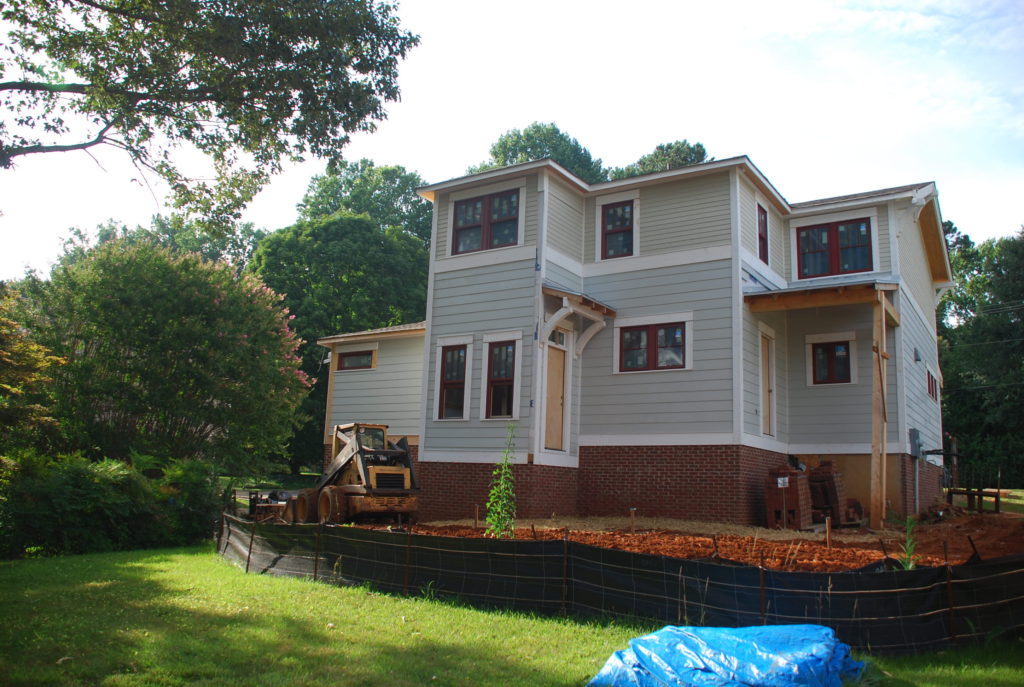 Since the gutters are not installed yet, every time we get a rainstorm (and some of the afternoon thunderstorms have been pretty severe lately) all that rain pours off the roof and hits the dirt about a foot away from our new brick foundation. The dirt turns to mud and splashes up on the brick and we are starting to see a Georgia red clay stain around the perimeter of the house. So we pulled out the pressure washer and gave the brick a light washing, and then bought some wheat straw and placed it around the perimeter to eliminate the splashing. We hope that will hold up until we can get the gutters in place and the downspouts draining away from the house.
 Another productive week – let’s see if we can keep the momentum going!
July – Week 1 – interior trim, stairs, eyebrow roof, and more grading
July 9, 2016