We’re not quite ready for permitting yet – still working on getting subcontractors lined up and the budget all in place. But that’s not going to keep us from getting serious about demo!
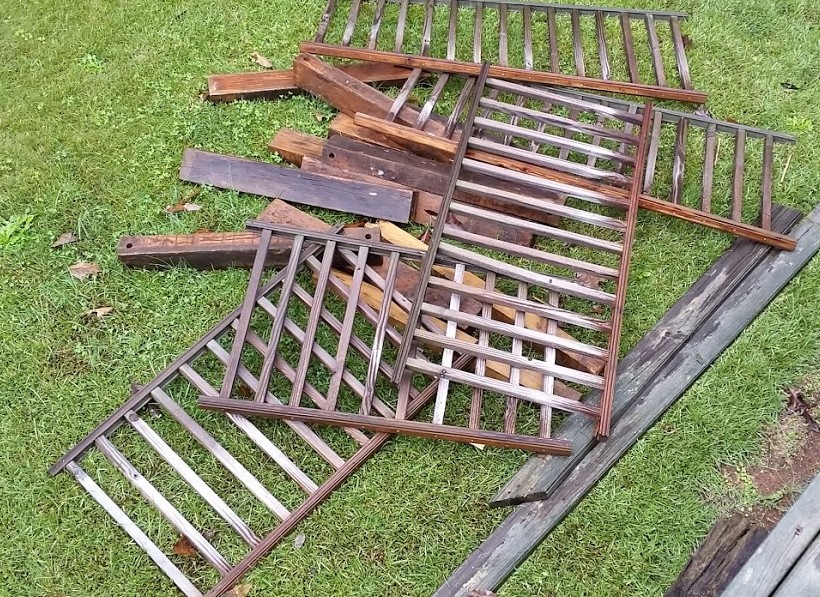
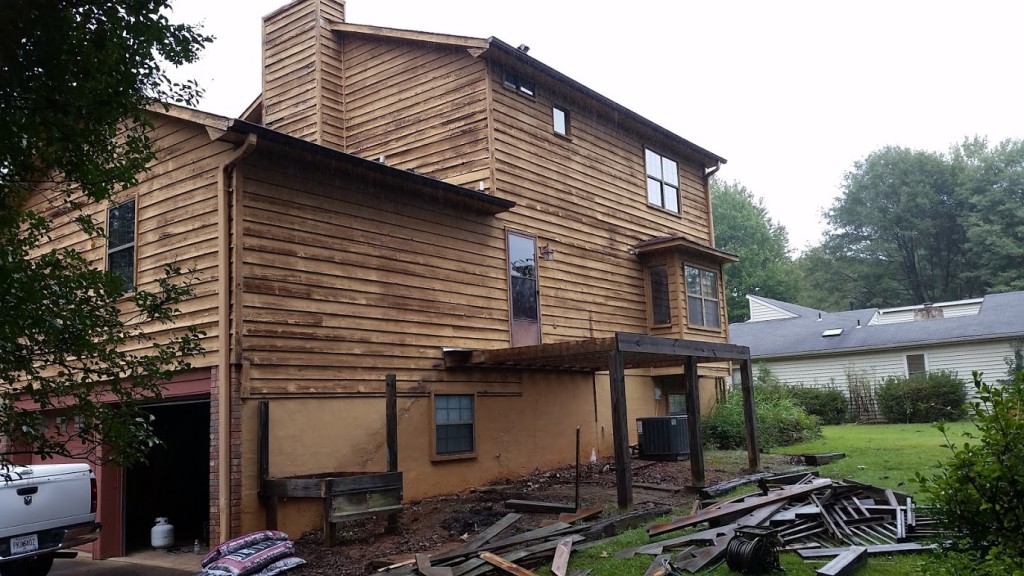
Once we get a permit, the first item of construction will be to dig out for the footings and walls for the addition on the back. So we need to get the deck down and out of the way before then. Jonathan actually helped build this deck maybe 12 years ago, and the builder who put it in went the extra mile to make sure it was going to last. Every board was screwed down which made the process of demo pretty easy with a screw gun, but a little more tedious than it would have been with a sledgehammer if they had used nails instead of screws.
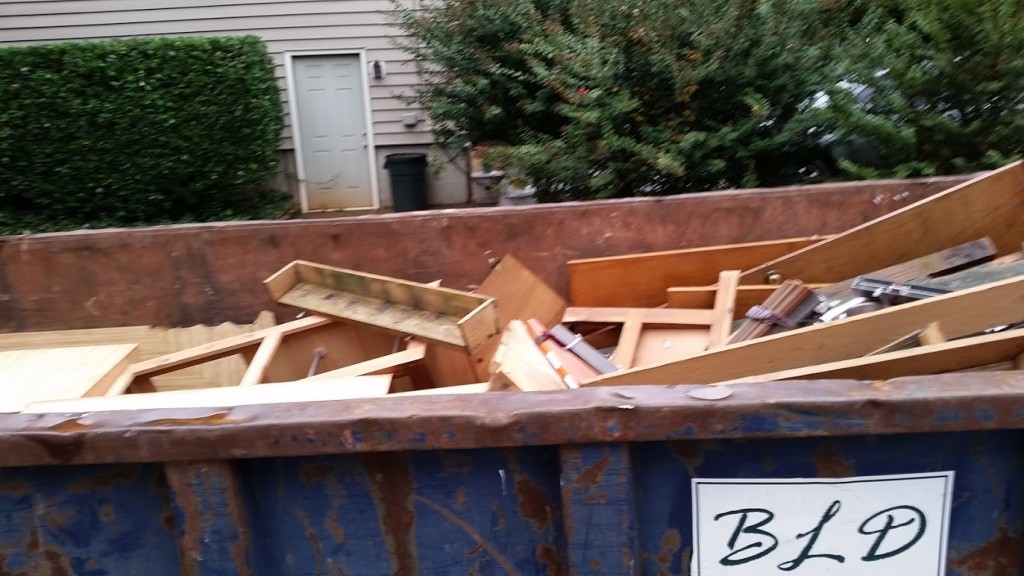
We’re quickly learning that once the demo is done, that’s only about half the job. The other half is clean-up and getting everything sorted and stacked if we think it can be re-used or in the dumpster if not. In addition, Jonathan has been through some OSHA training and is a bit more of a stickler of safety on the job than we are. So for safety sake, we are bending down nails to prevent puncture wounds in hands and arms and feet. I’m not saying that they ALL meet OSHA criteria, but I’d say we are more diligent than most demo crews.
It rained off and on all day on Saturday, so we worked outside on the deck between showers and inside on the kitchen when it was raining. So you’ve watched all the HGTV shows where folks take to the walls and cabinets with sledgehammers and vent their frustrations on their ‘fixer upper’. What they don’t show is that the more you demolish things with sledgehammers, the more little pieces you have to clean up in the end. So we’ve decided that it is easier in the long run to be a bit more meticulous and to ‘disassemble’ things rather than ‘destroy’ them. Don’t get me wrong, a sledgehammer and crowbar are our friends too, but we typically start with screw-guns and the reciprocating saw to try to keep thinks intact and in larger chunks to tote to the dumpster.
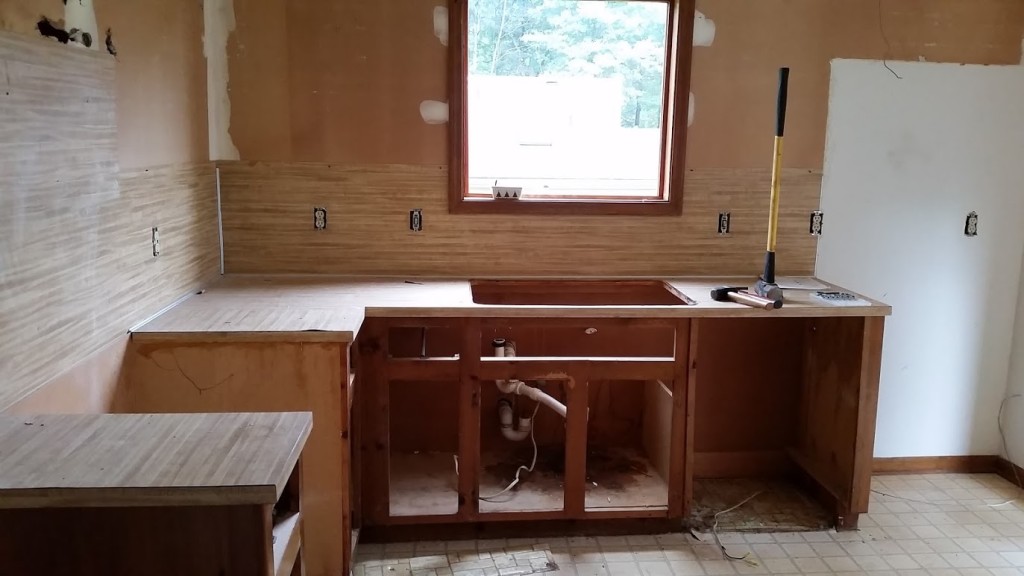
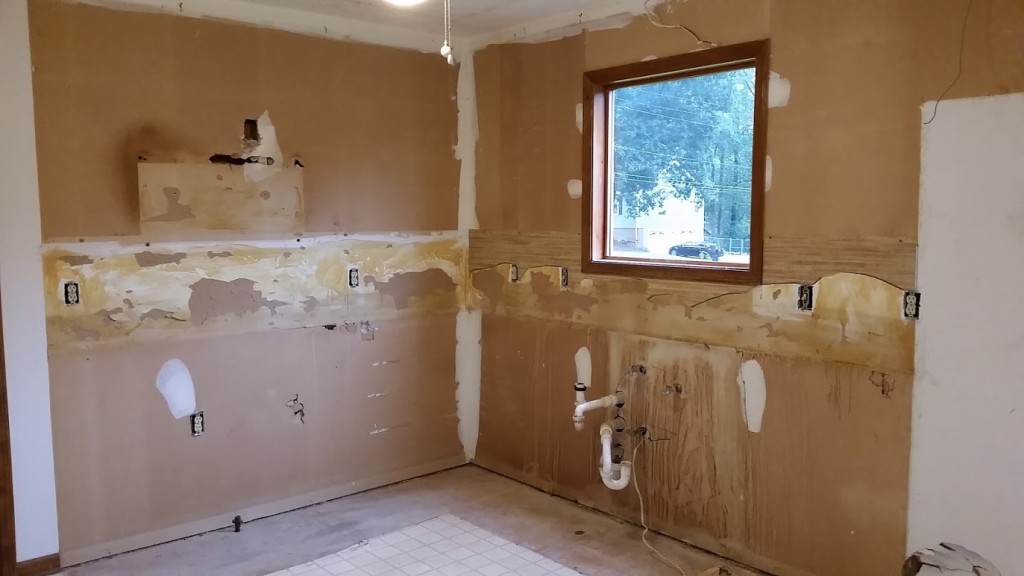
The appliances – most of which were in pretty good shape were taken to the Basement for future donation to some worthy cause. Then the sink/plumbing, using the wisdom we learned from the bathroom demo last month. The wall cabinets were next – removed the doors and hardware and then figured out how to disconnect the cabinets from the wall. They were well installed – using 16d (penny) nails to fasten them to the studs/blocking instead of screws, but they couldn’t stand up to the sheer determination of the Peek wrecking crew. Before long they were down and it was time for the base cabinets. Again doors and drawers were first to jump in the dumpster, then the deluxe ‘butcherblock’ plastic laminate countertop and backsplash, and finally the cabinets themselves. Tom, our builder suggested that we should break down the cabinets so they were flat in order to save room in the dumpster, so once we got them off the wall, they were flattened and made their final journey. Tip to learn – the dumpster fee is a set amount and is not based on weight but just when it is ‘full’. So it is better to sort and stack and compact everything as much as you can than to just randomly throw things in.
That’s all we had time for this week. As with all Blog Posts, there are more photos of the progress that we made for you to check out in the Gallery.