As I predicted last week, here we are outside and working on some of the ‘hardscape’ items. This is a new footing for the retaining wall and piers that go along the right side of the driveway down by the Garage doors. The black pipe will be connected to a yard drain on the neighbor’s side of the wall to carry any water from that side of the wall to the ditch.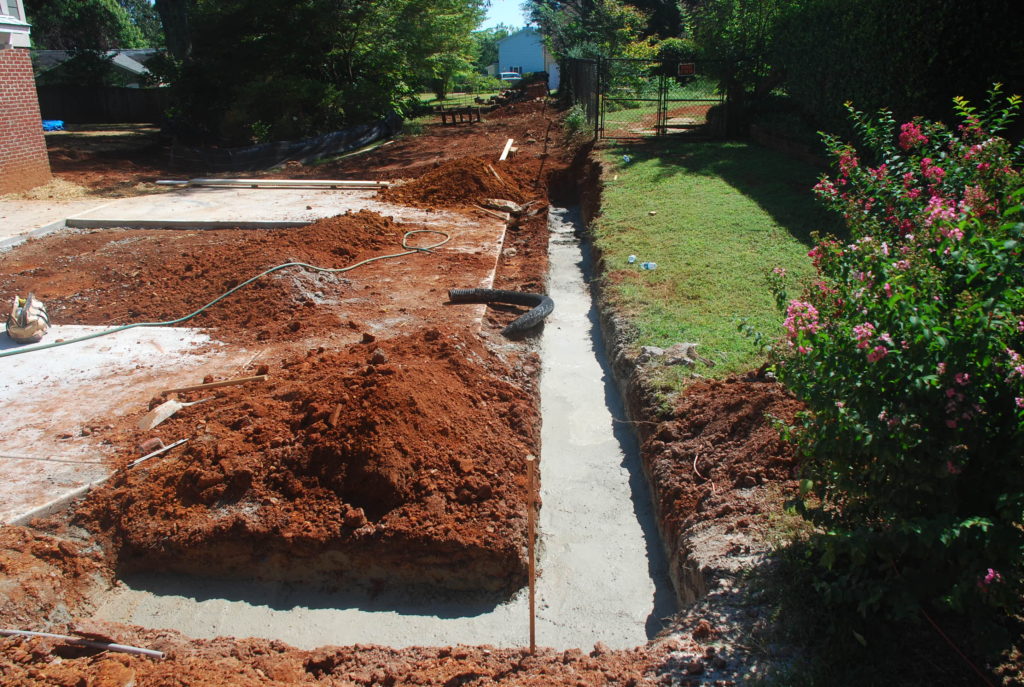 In the back yard, we are about to get the deck started and that all starts with footings for the posts that will hold it up. Now that the dirt has been cut back down to about the original grade, they dug the footings for the deck and prepared them for concrete.
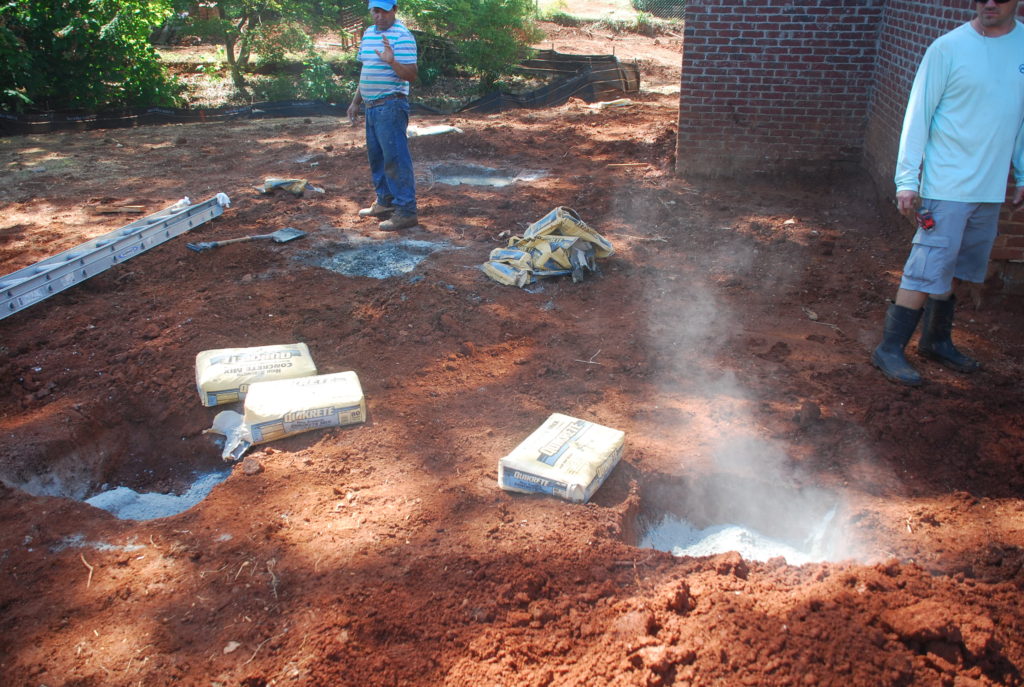
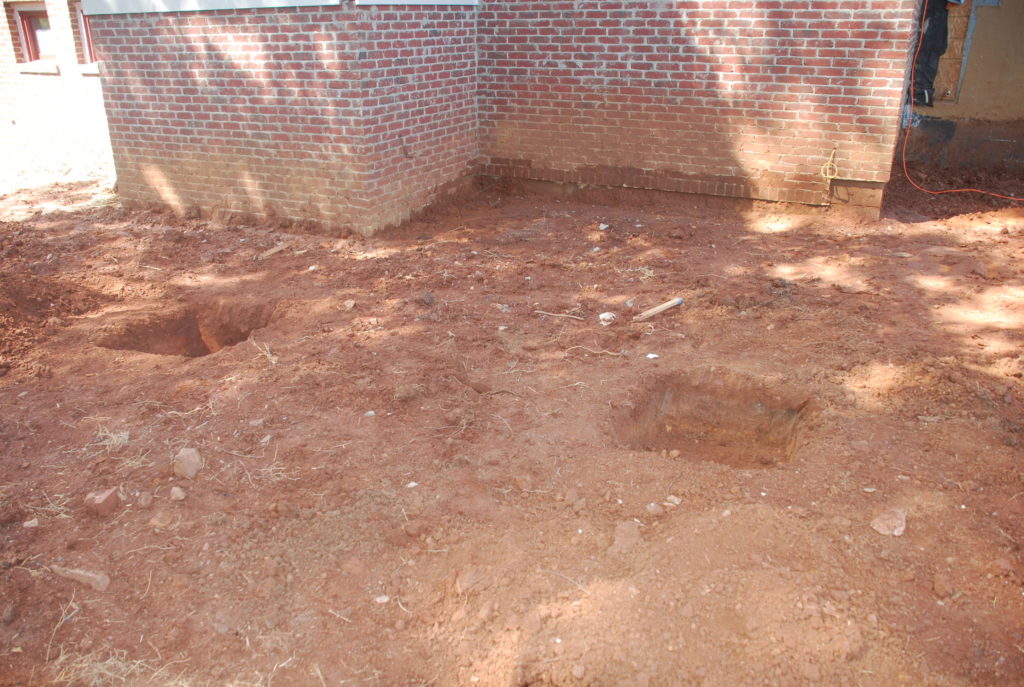 Keeping it simple, they dumped the dry concrete mix in the holes and then added the water. After a little mixing – they had concrete.
 With the footings in place we are ready to get started with the koi pond! Dale worked with the landscape architect, Kristian to size and locate the pond directly behind the deck so it could be enjoyed from there as well as the rest of the back yard. The first thing we had to do was to take the plan that is on paper and translate it to the ground.
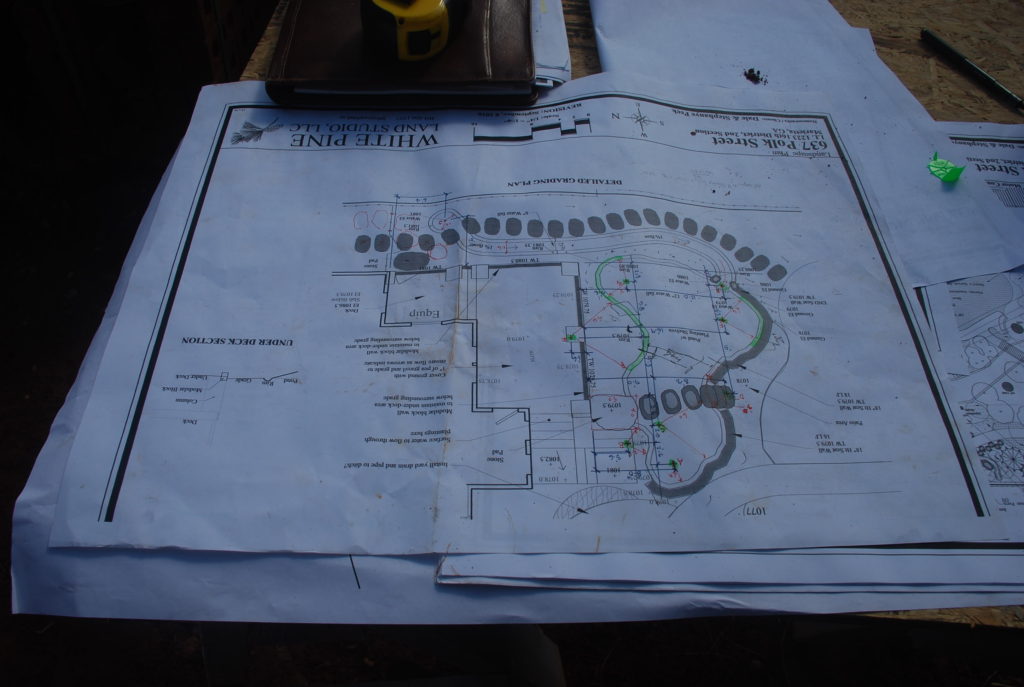 First we took careful measurements from the design and began staking out the critical axis points on the ground. Here Dale is working with Doug O’Dell and Metro North Landscapes to lay out the edges of the pond so that they can excavate the big hole.
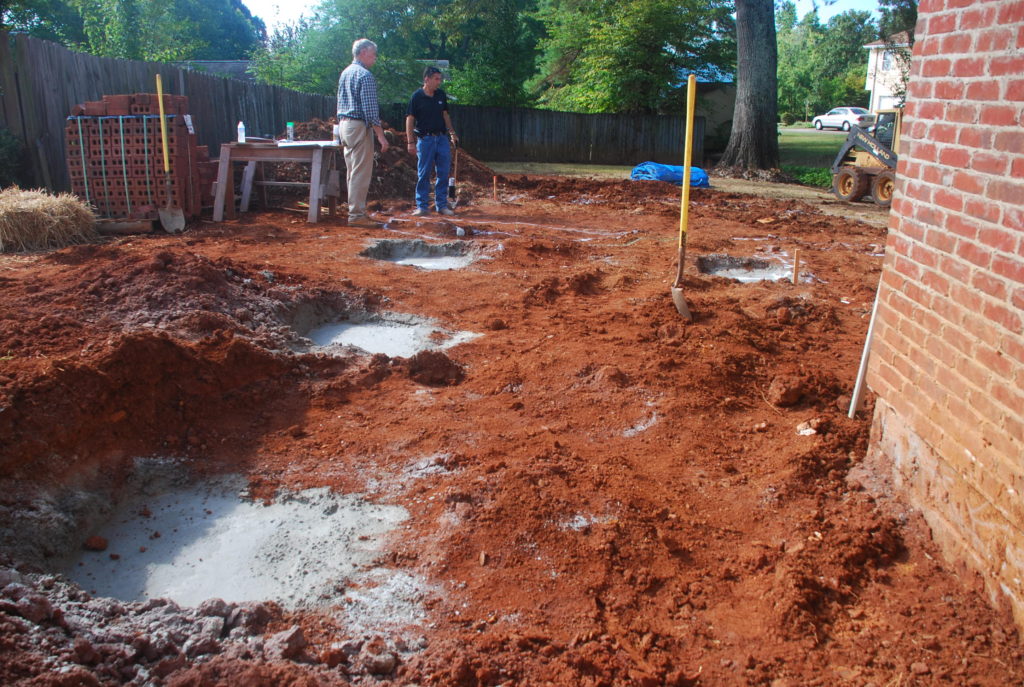 They pulled a lot of measurements and then double-checked them before starting the excavation.
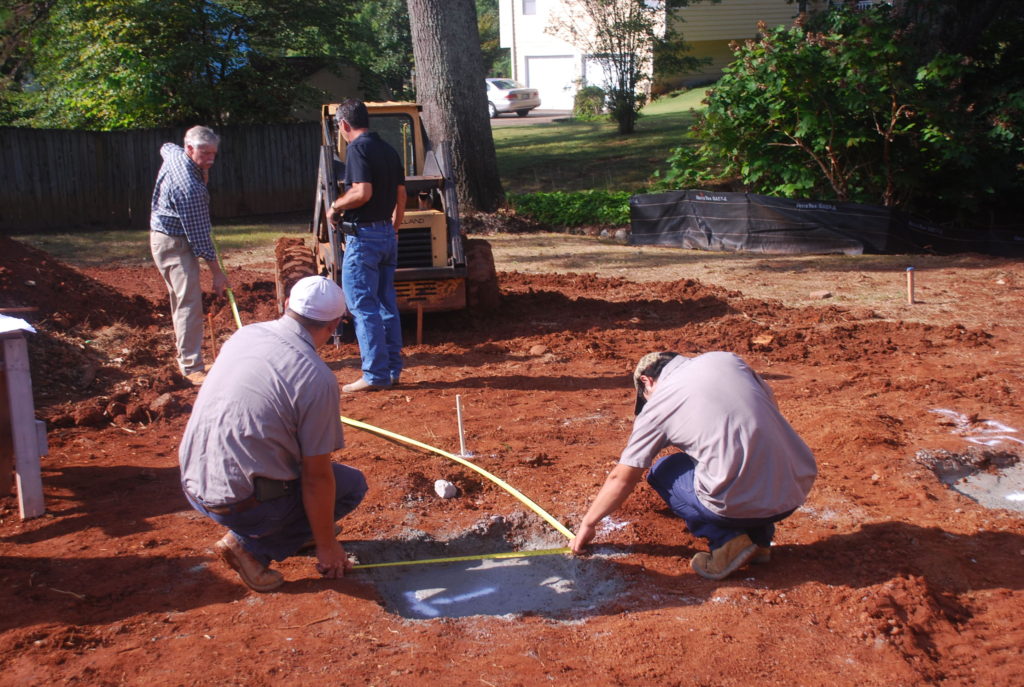 Working from center points they drew out the curves of the pond’s edge.
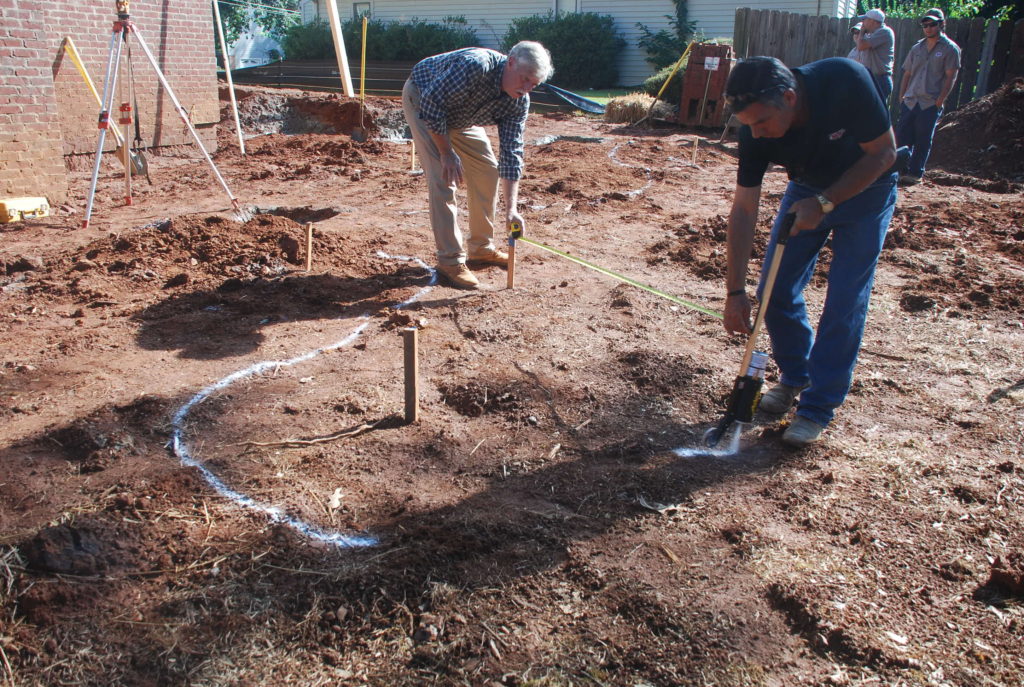 Once all the lines were drawn it was time to bring in the big equipment. First they dug the entire shape down about a foot deep which helped us get a better feel for it.
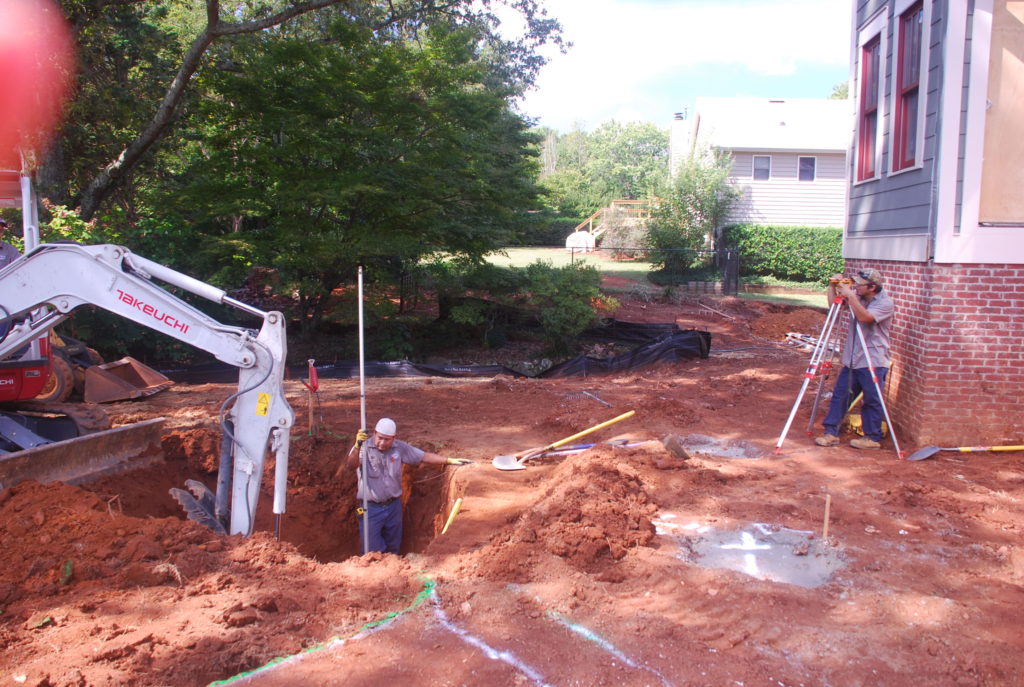
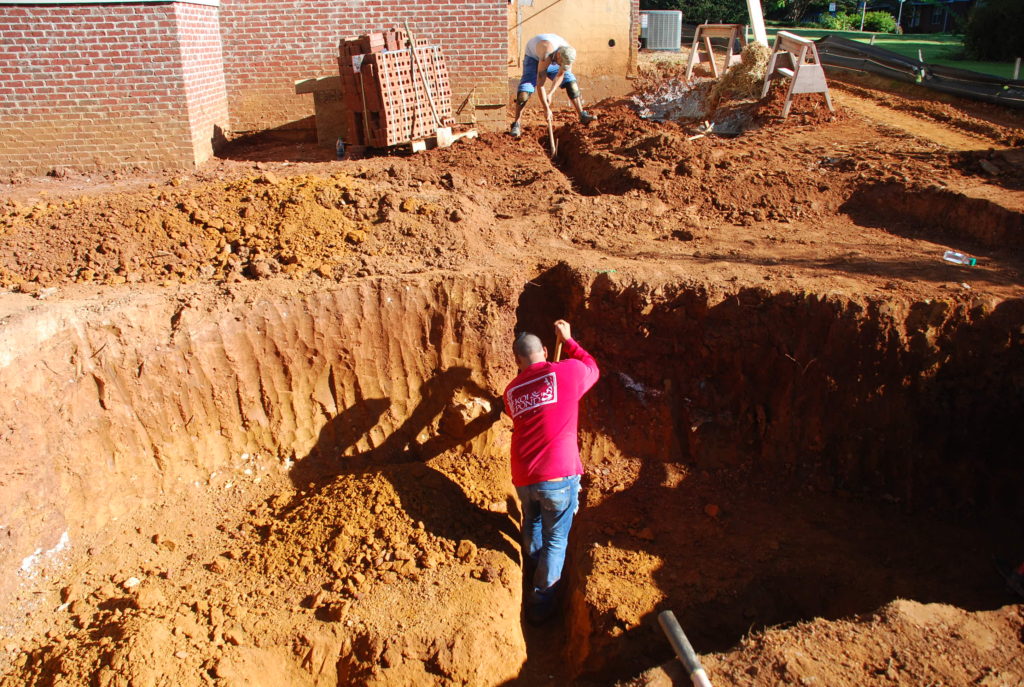
 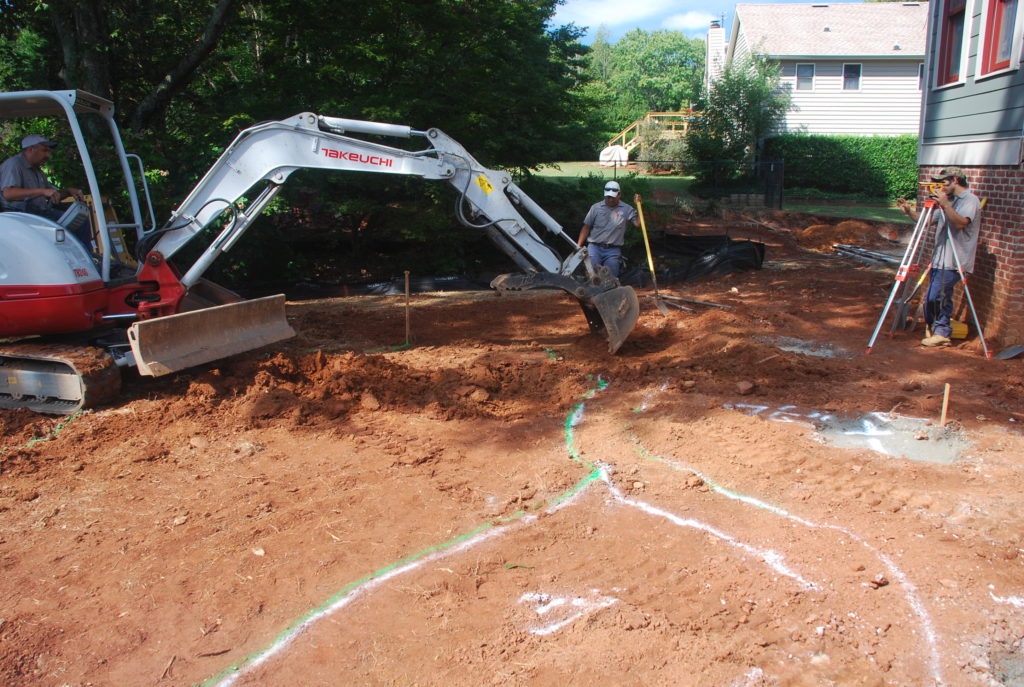 Then it was time to start digging on down. One common mistake when building a koi pond is to make it too shallow. Even in north Georgia the blue heron is a common predator of koi and other fish. If they can find a place to land and wade in shallow water, they will stand there and dine – and then come back tomorrow for another meal.
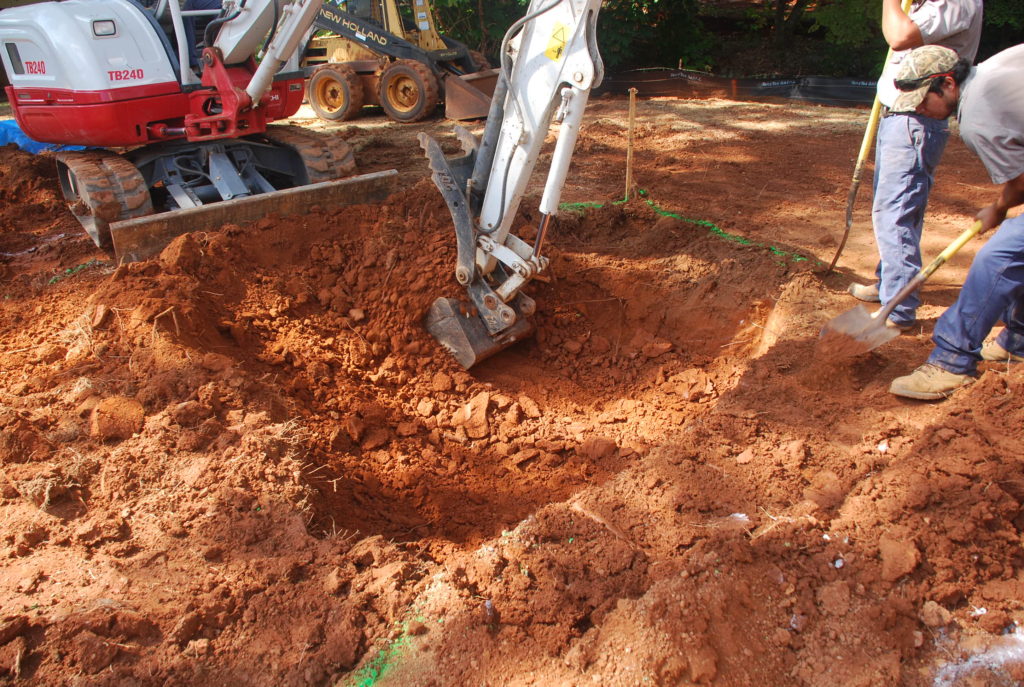 We will have some planting shelf areas around part of the pond, but are going to take the main part of the pond on down another 5 feet deeper to give the fish a place to get away from predators.
Omar ran the excavator and began creating another pile of dirt as the hole grew. We regularly checked the depth with a level to see where we were.
 Before too long we had a big hole in the back yard. Below is a view looking toward the back of the house. You can see part of the dig is still only a foot deep, but the main part is a good bit deeper.
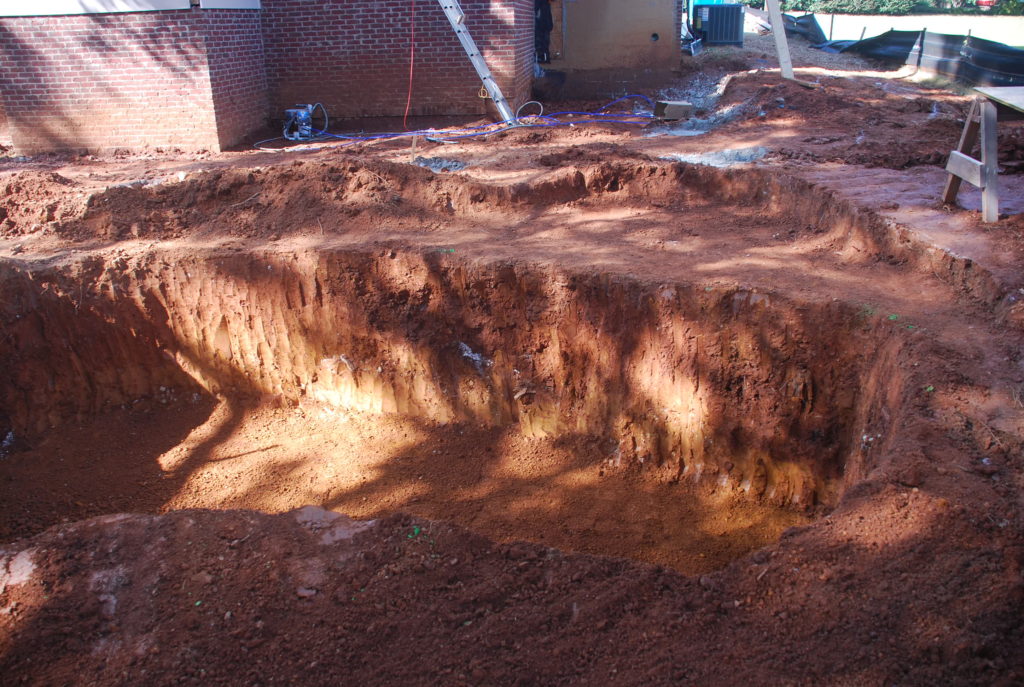 When we were exploring the possibility of putting in a pond we contacted Chuck Crisp who owns Splendor Koi and Ponds to get more information. After visiting the shop on Marietta we were convinced that it was something that we wanted to pursue. So even though Metro North is doing the digging and landscaping, Chuck’s crew will actually be installing all the pond equipment and providing the expertise that we need to put it all together.
The next step was to get them to install all the plumbing. The hardest part was putting in the drains which required lots of digging and trenching.
 Once the trenches were all dug they carefully measured and cut the pipe to fit. The main drains and pipes were all pre-assembled and then fit into the trenches.
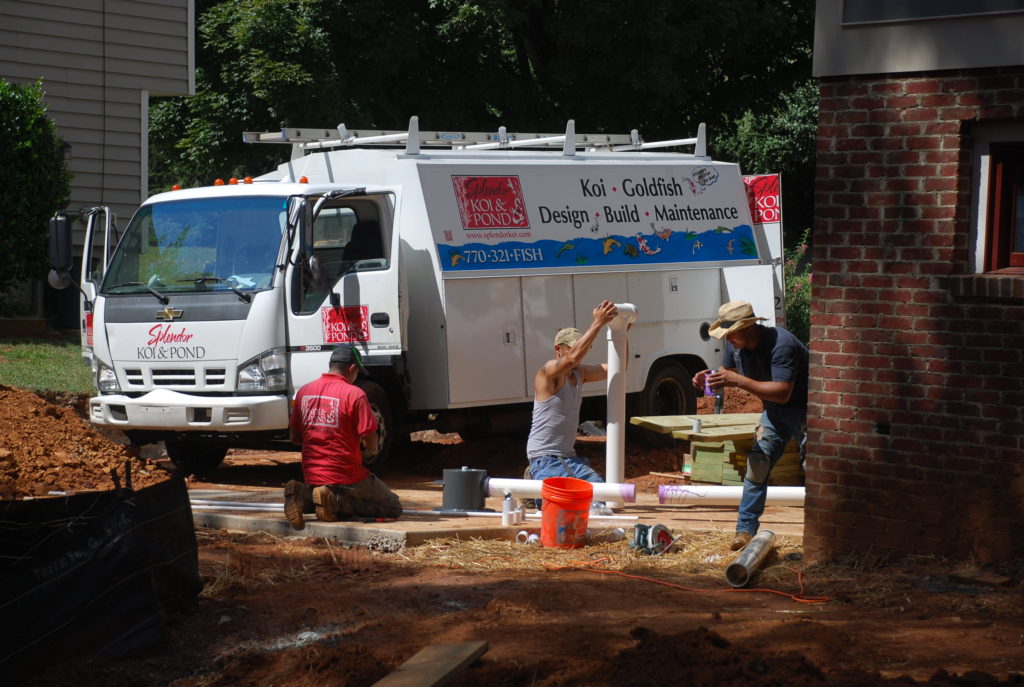 The main drains were put in place and then it was time to extend the piping up to where the equipment will go – under the deck.
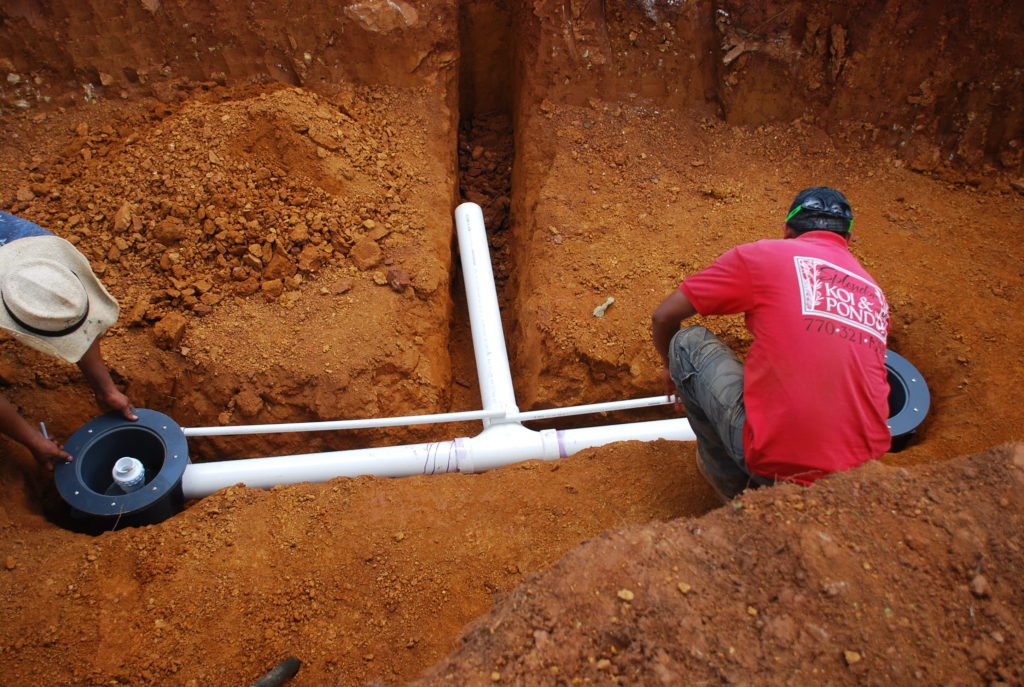 One piece at a time they measured and cut and glued, and then moved on to the next one. Before long the pipes were all in place and the trenches were backfilled.
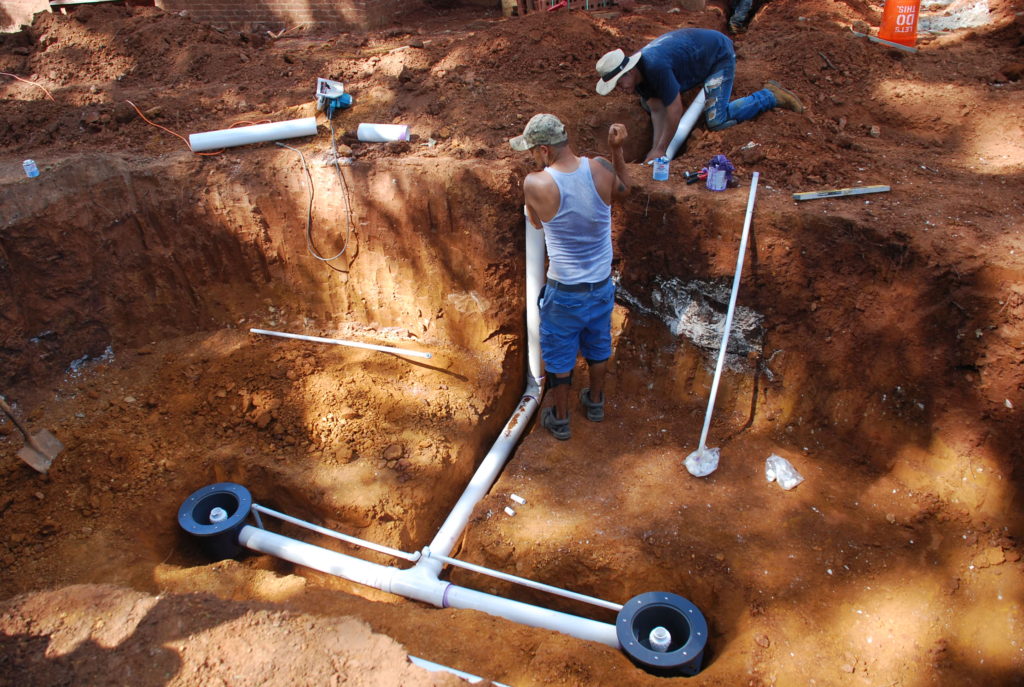 It is now looking a lot like a pond – with drains in the bottom and now awaiting some more site preparation before the liner goes in.
 But before we get that done, the equipment will need to be put into place and we’ve decided to place it under the deck so they will be out of sight. We had already cut the grade down pretty close to where it needed to be with the loader so it was just a matter of a little shovel work to get it finished up. The next step will be to pour a slab in that corner for the pump and filters and valves and pipes to sit on.
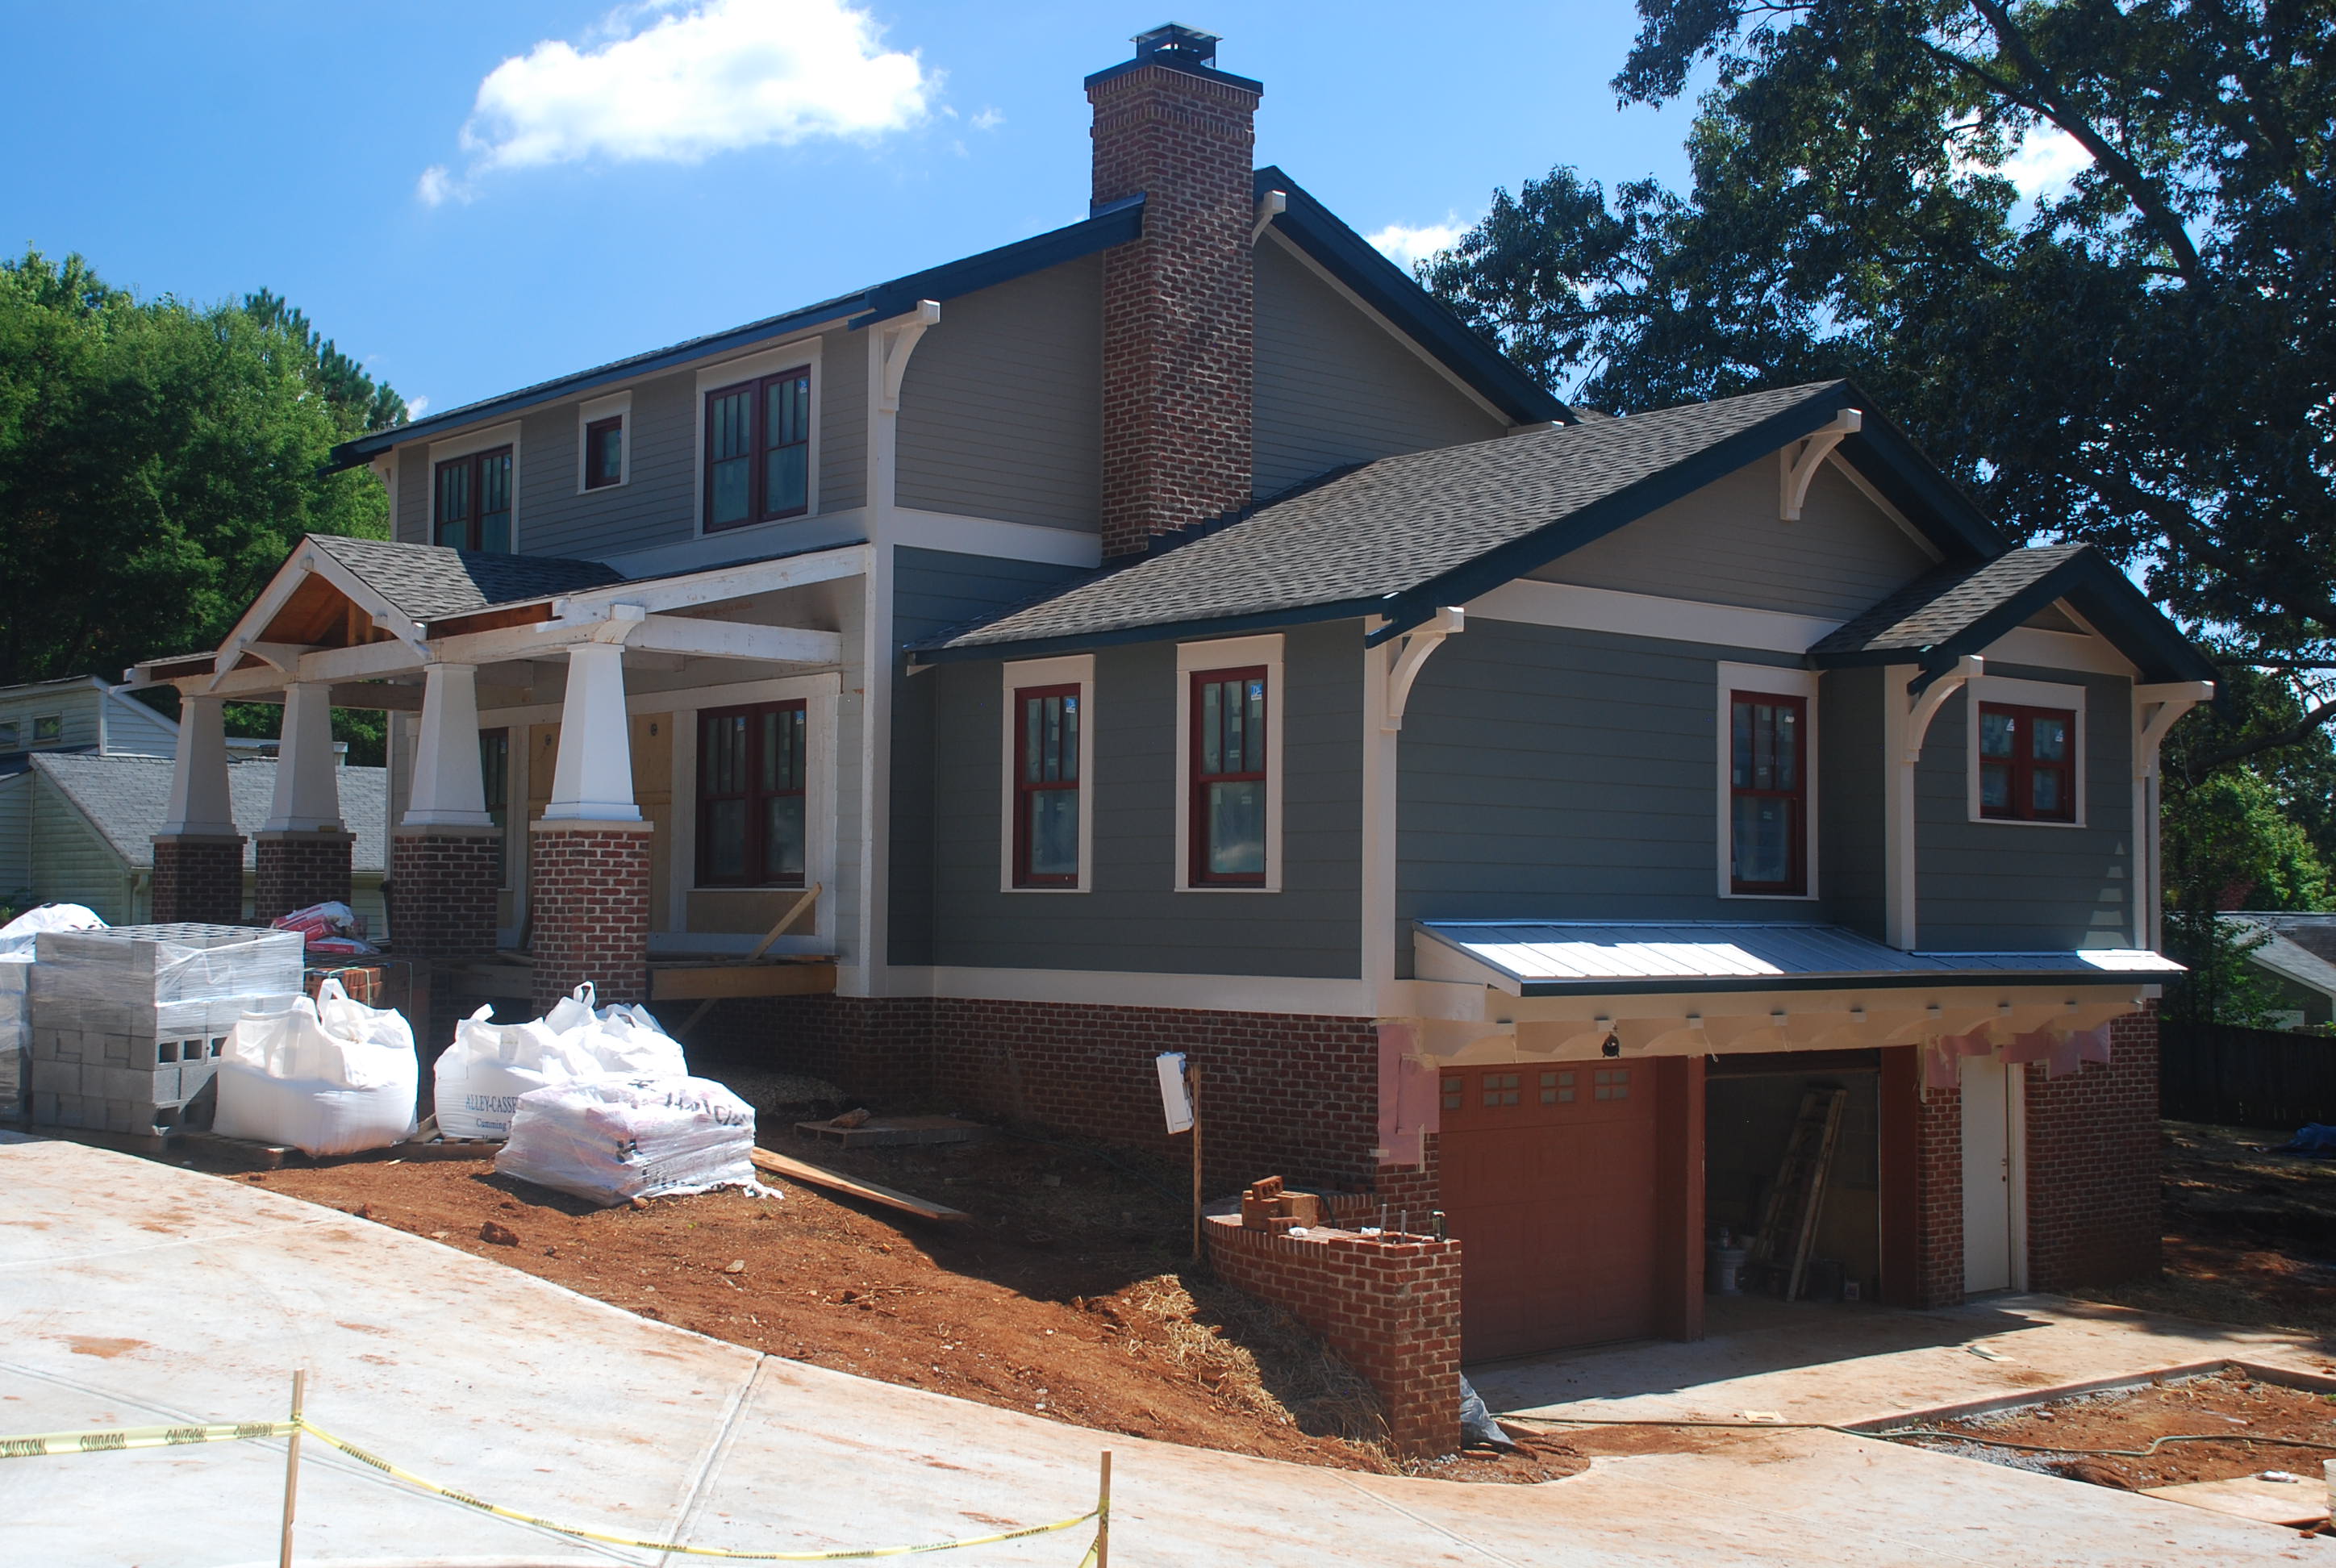
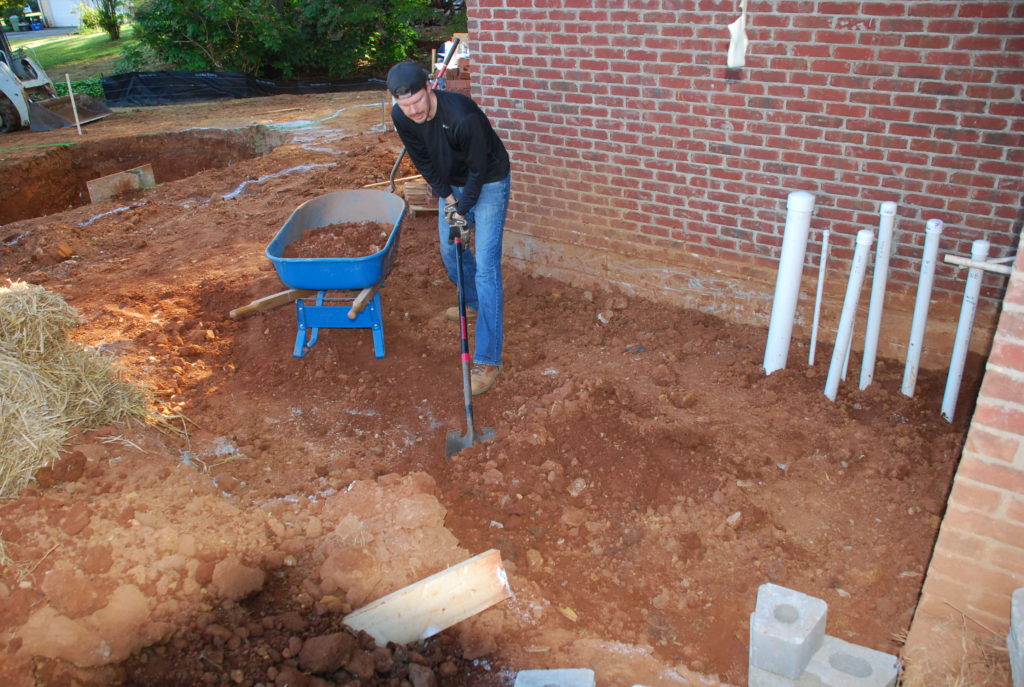 Also during the week the painters were back outside working on the trim. The contrast between the dark green of the bargeboards and the cream color of the brackets is really nice.
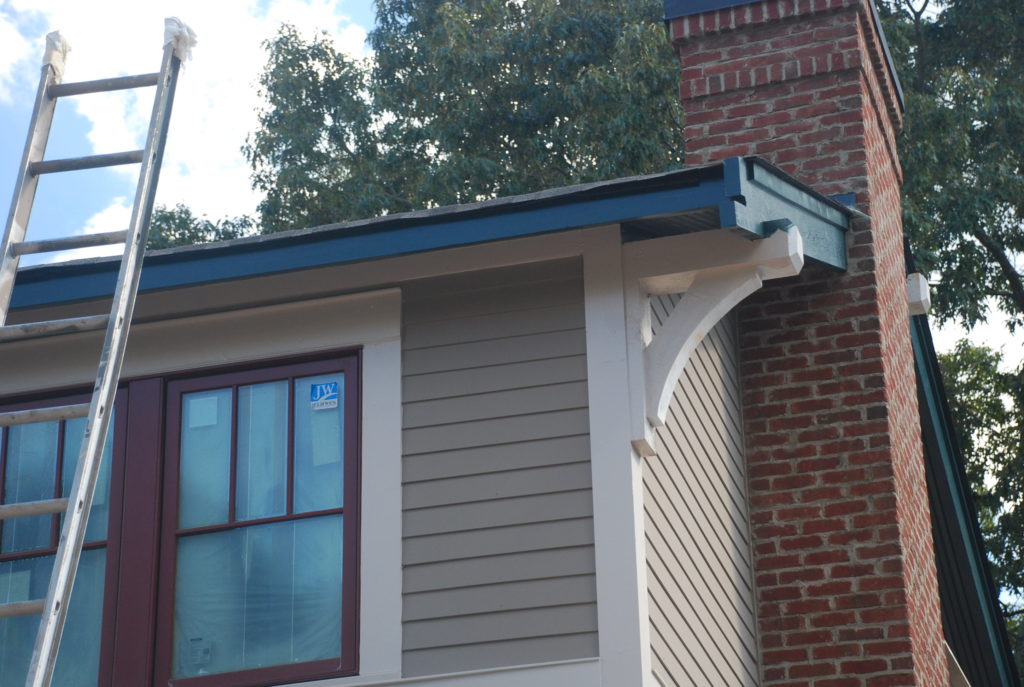 The soffits are also painted the dark green color. This photo shows almost all the exterior colors.
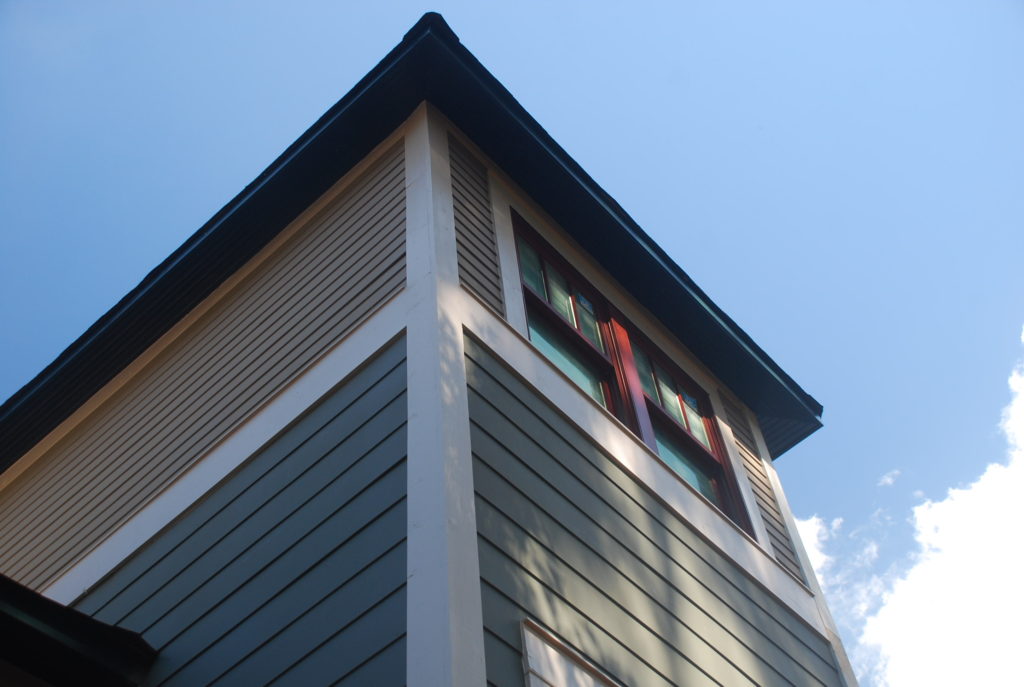 We’ve discovered that the dark green is a chameleon color. When viewed against a deep blue sky it takes on more of a blue color than the green that it actually consists of.
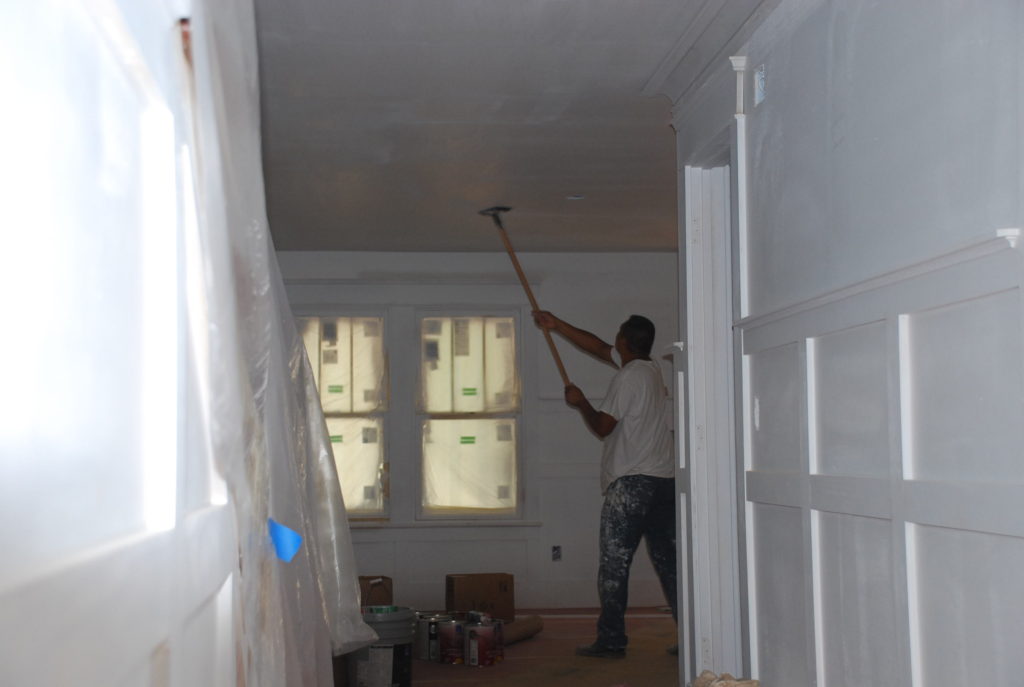
 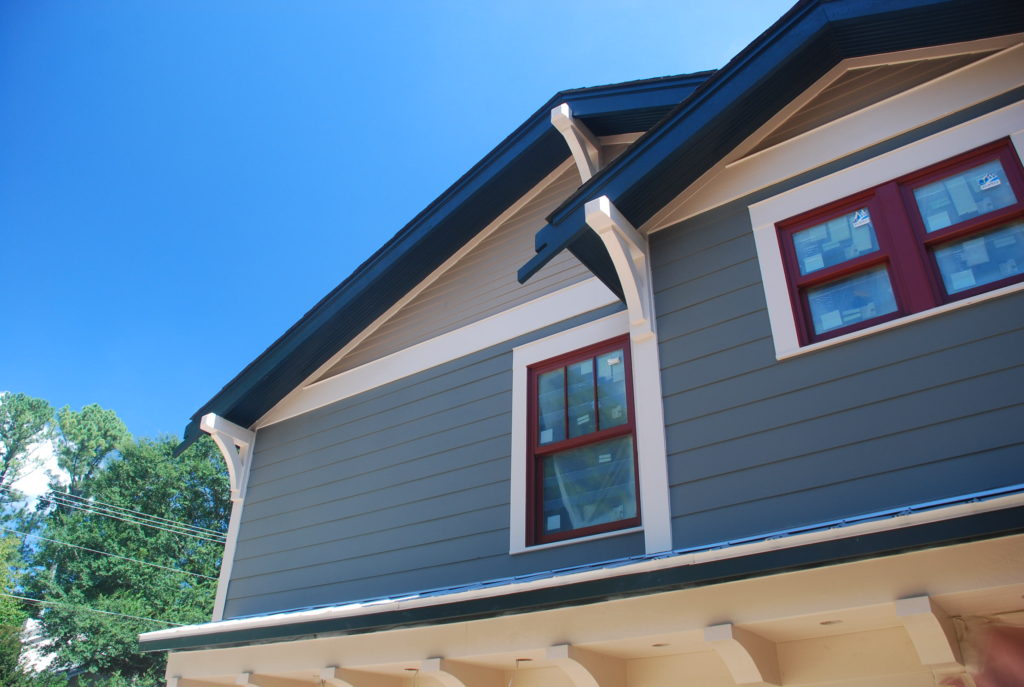 On the inside, the drywall ceilings and walls had been primed and now showed the flaws more clearly than before. The painters went to work sanding the ceilings so the texture would be smooth and consistent. A pole with a sandpaper block on the end did most of the work.
 Then it was time to start with the trim. Their preferred painting method is to spray primer on everything, and then spray the trim with gloss paint. Afterwards they spray the walls with flat and then roll them. Here are a couple of bedroom windows upstairs with the trim all painted.
 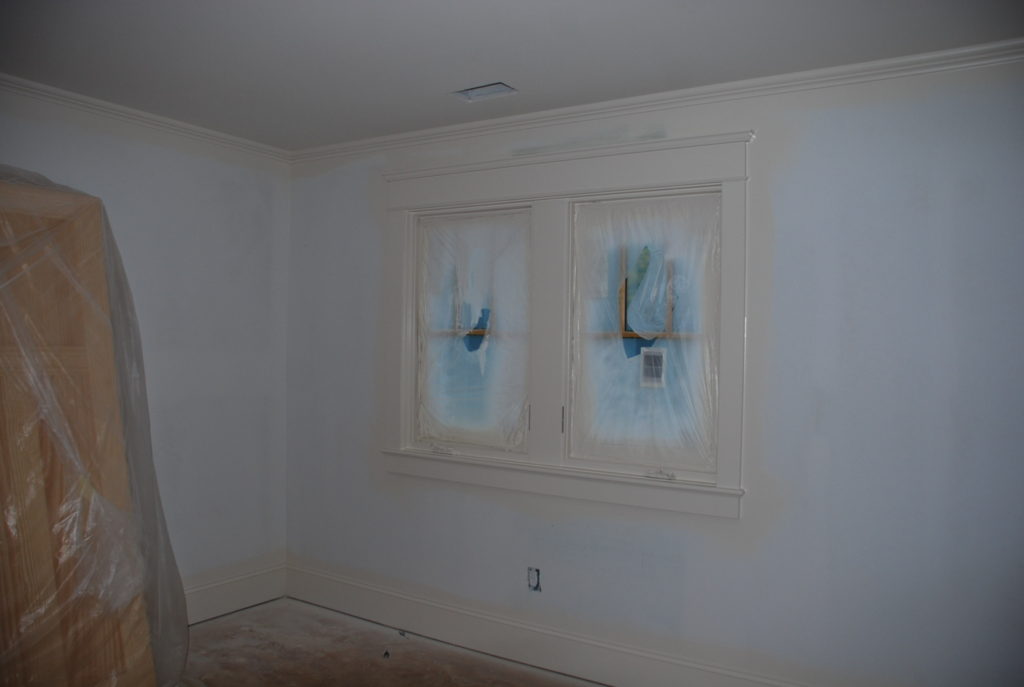 And here is part of the wainscot with trim paint applied. The panels are actually just drywall, but because they are painted with gloss paint they look like they are wood panels.
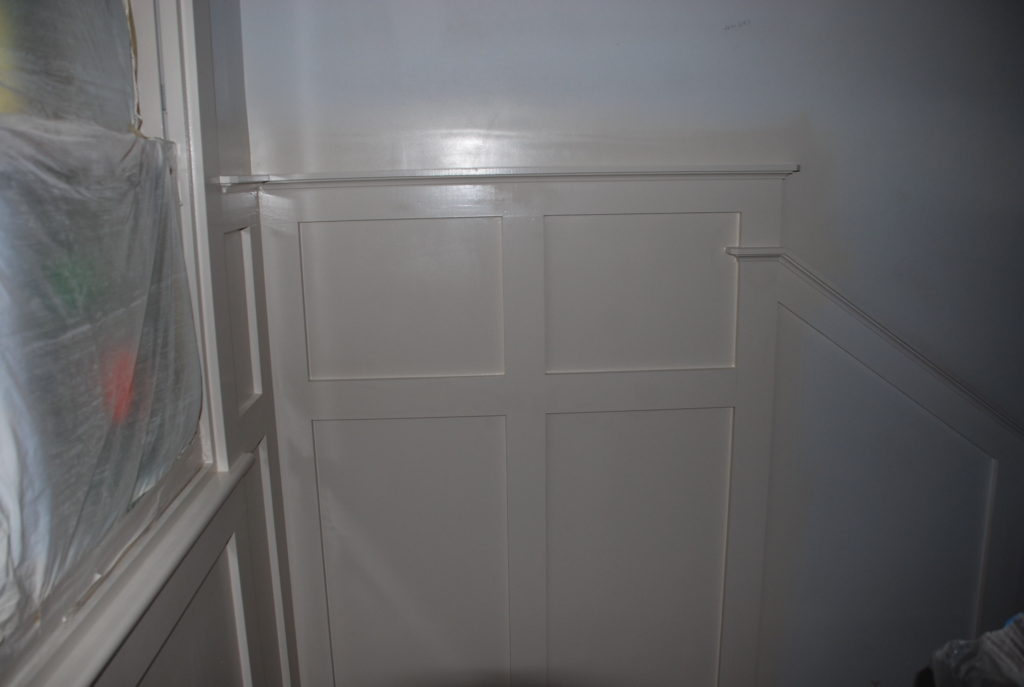 Next week promises to be full of activity with several subcontractors on the schedule. We’re starting to feel like the end is near, but there is still an awful lot to do.