Back inside, the painter has been busy putting some color on the walls. We selected a main wall color that will go throughout the house, but each of the bedrooms are going to have their own personality – which will be reflected by the wall color. 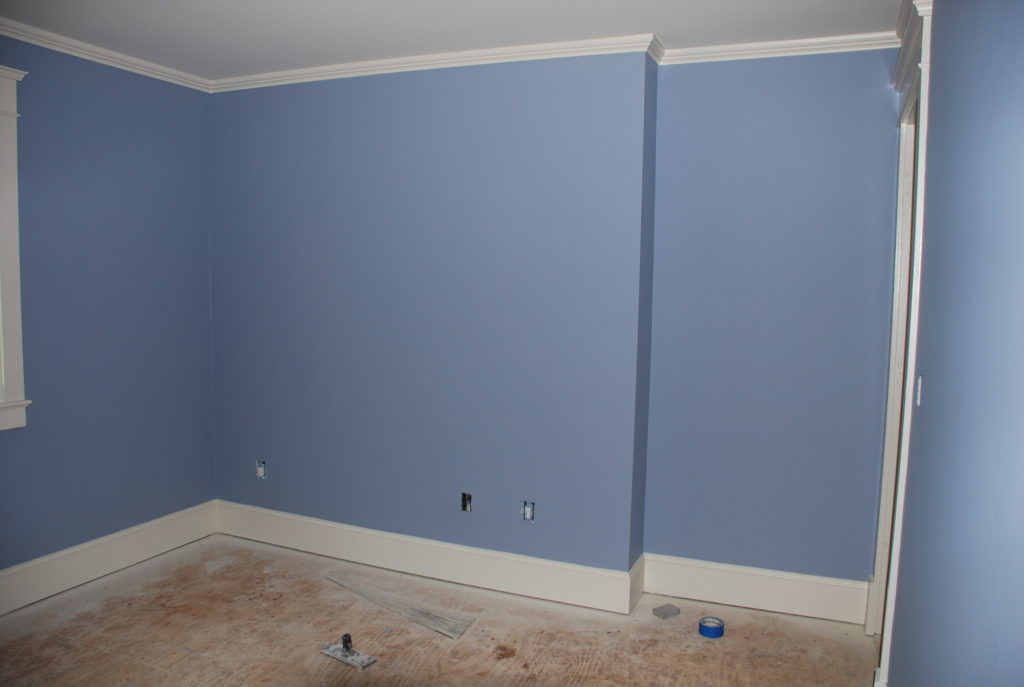 Bedroom 4 is designed around a beautiful quilt which is made of squares that Dale’s Mom stitched over several years. An avid gardener and flower arranger, she stitched each of the State Flowers on 50 panels which Stephanye later quilted. We’ll use her favorite brass bed frame in that room along with a dresser and bedside table that she liked.
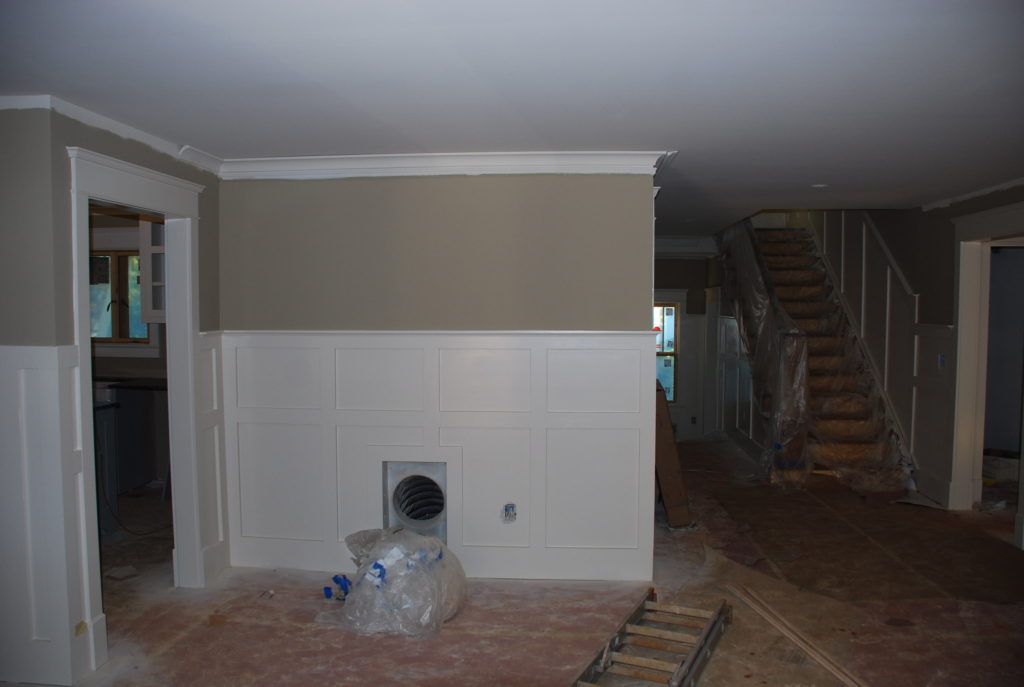 The wainscot throughout the main level will be painted the main trim color with a darker ‘Khaki’ color above it.
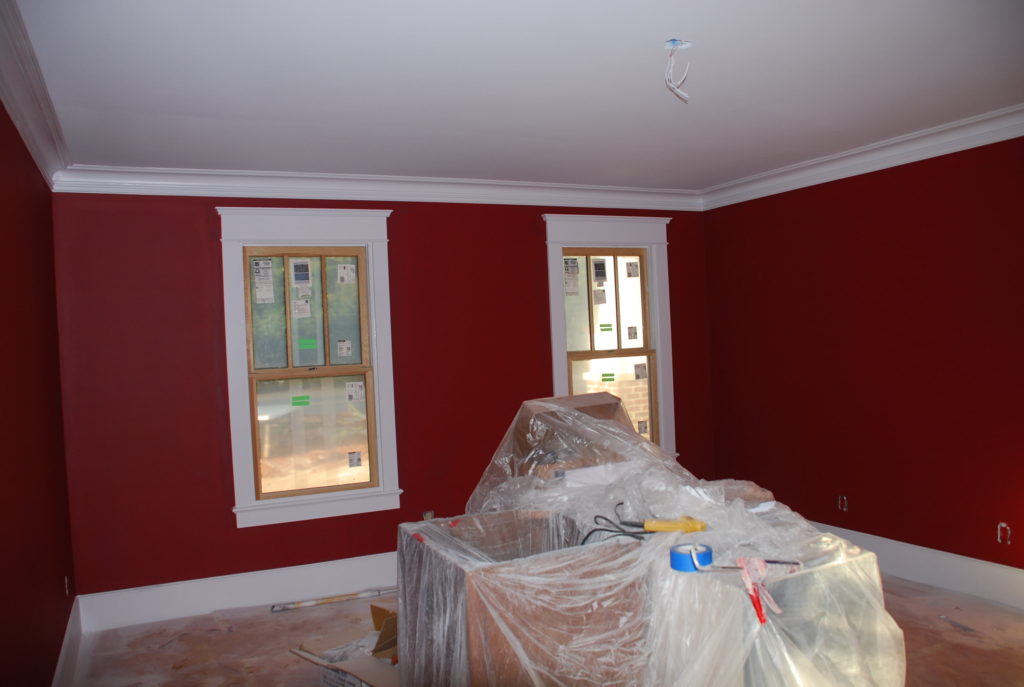 In the Master Bedroom we are going to be a bit daring with this deep red color – we were a little wary if it when we selected it, but now that it is on the walls we really like it.
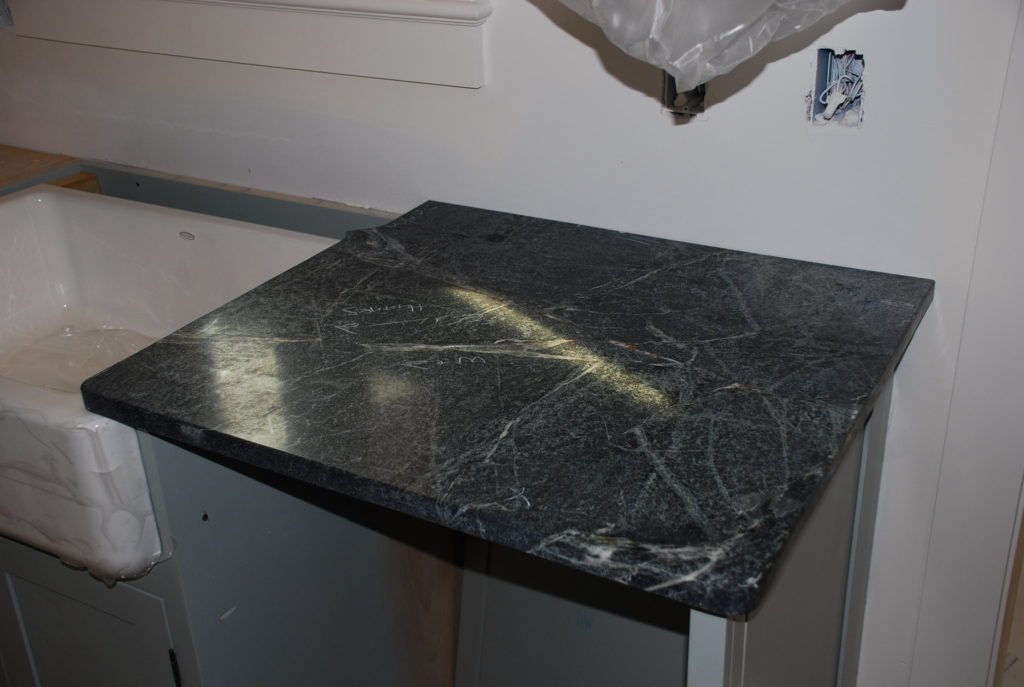 Very excited event – the countertops arrived this week! As we’d told you earlier, the Kitchen and Pantry tops are made of soapstone. We really had to search to find a local source that could obtain the verde soapstone that we were looking for. All soapstones are a gray color with veining until they are oiled. Once you put some mineral oil or a special wax on them, they take on their true color. In this case – they will be a dark green which will work perfectly with the paint colors we’ve selected.
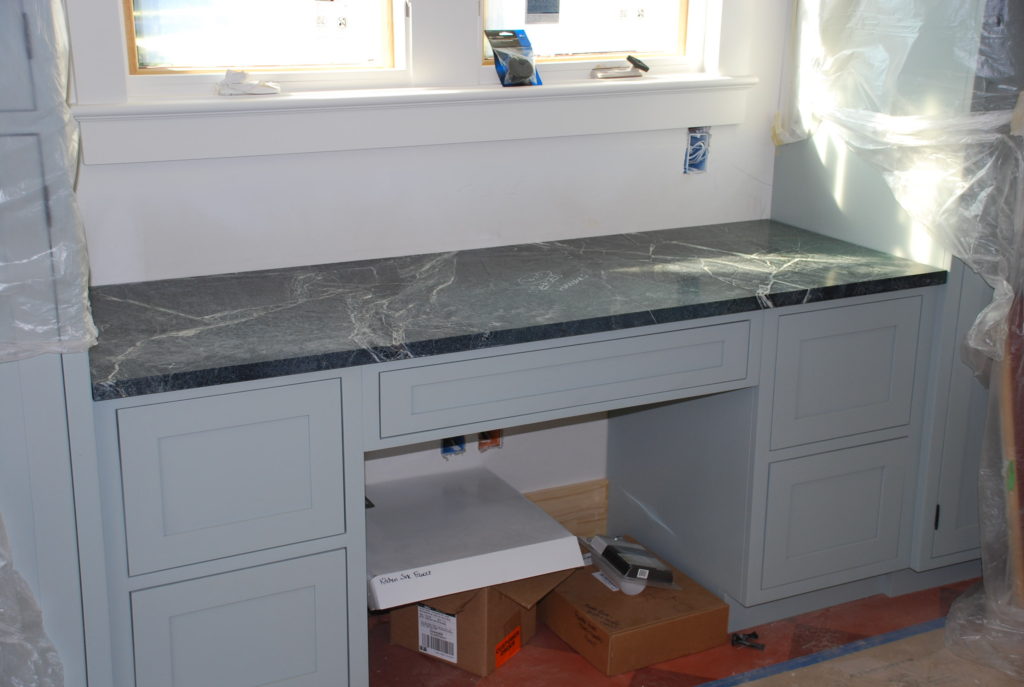 The Pantry desk is a very nice slab and it fit perfectly.
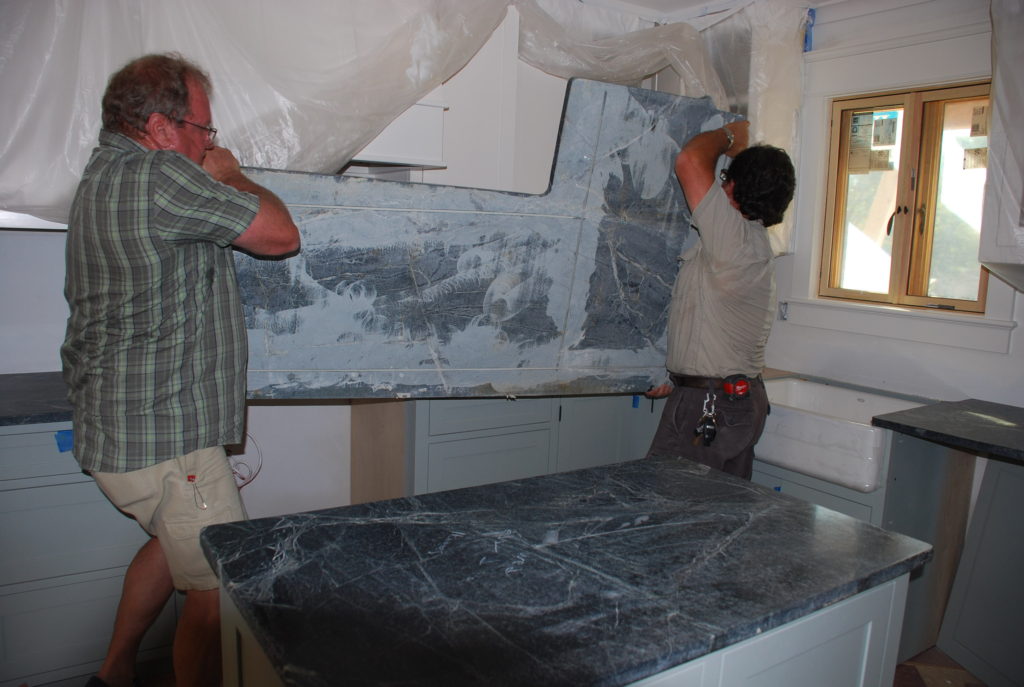 The slab for the inside corner of Kitchen was the largest – and heaviest. You can see the soapstone counter on the island in the foreground.
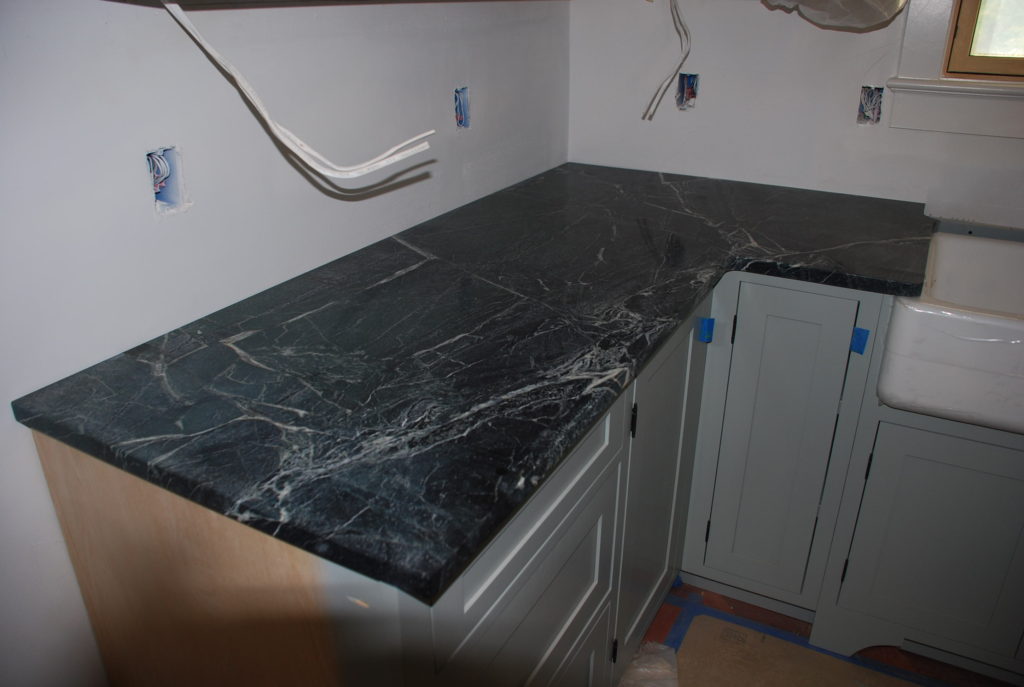 Here’s the inside corner slab in place. The range goes in the opening to the left of it.
 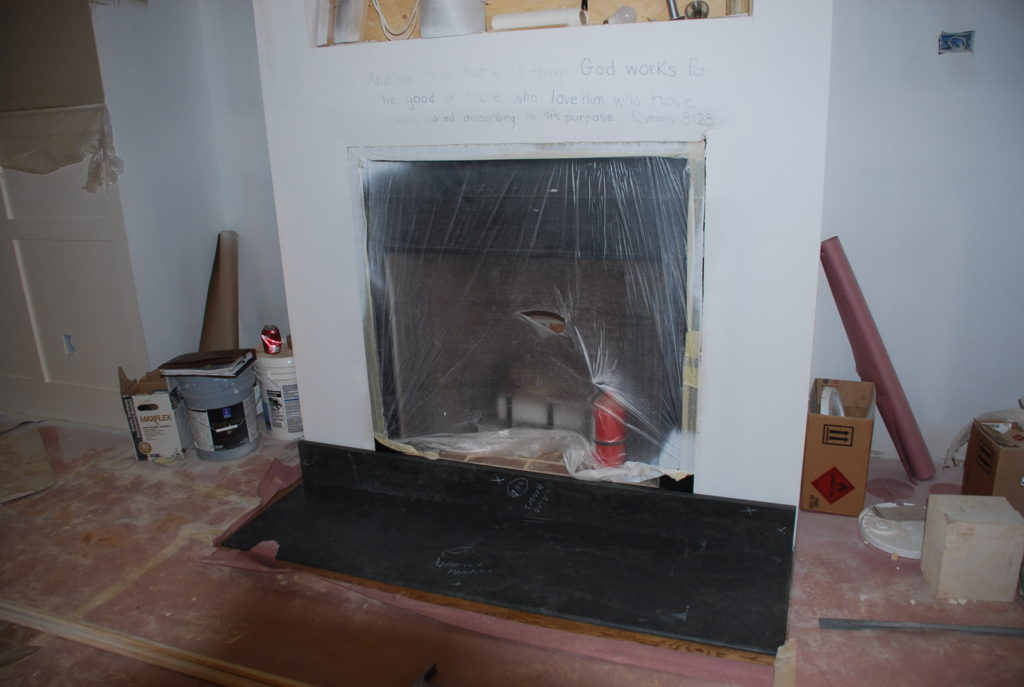 We also selected a marble slab for the hearth and had them apply a honed finish on it so it has more of a matte look.
Another exciting development – our son Joshua who is stationed in Guam with the Air Force, is home for about 4 weeks to attend the wedding of a close friend, and to hang out with his buddies and hopefully his family some. So we were able to get him to participate a bit in our little renovation project.
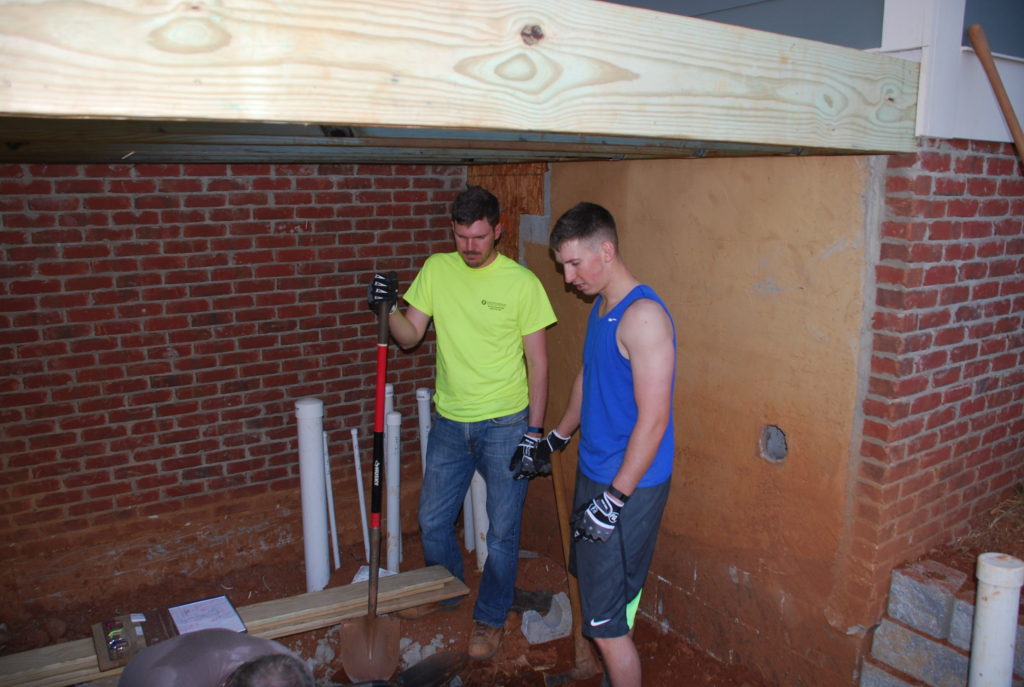 He and Jonathan spent part of a day helping out with hauling block and building a short retaining wall that goes under the deck.
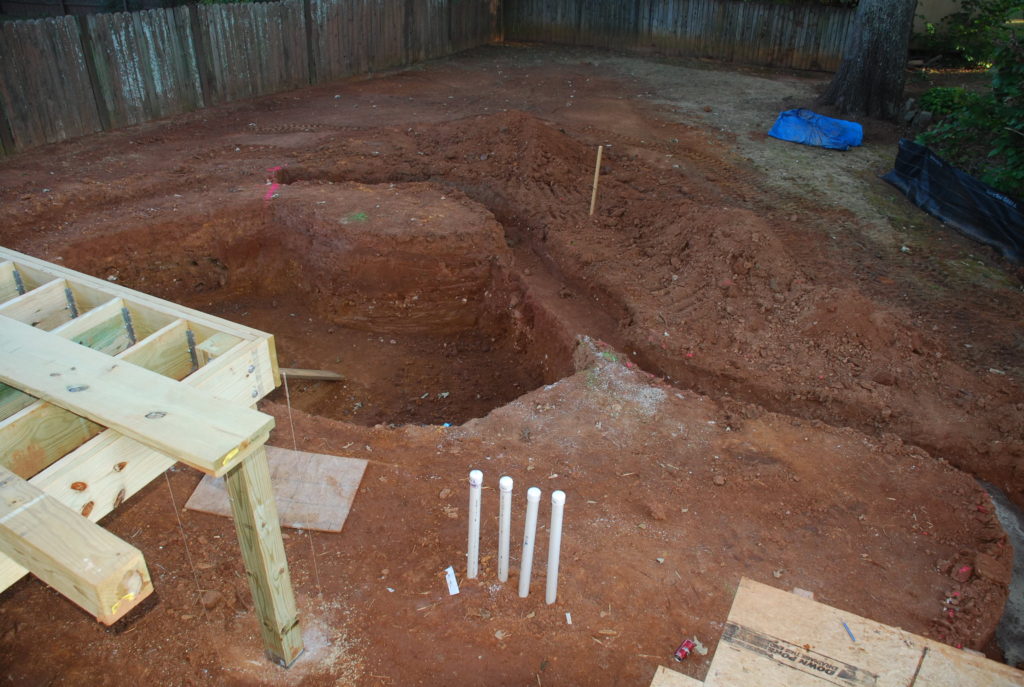
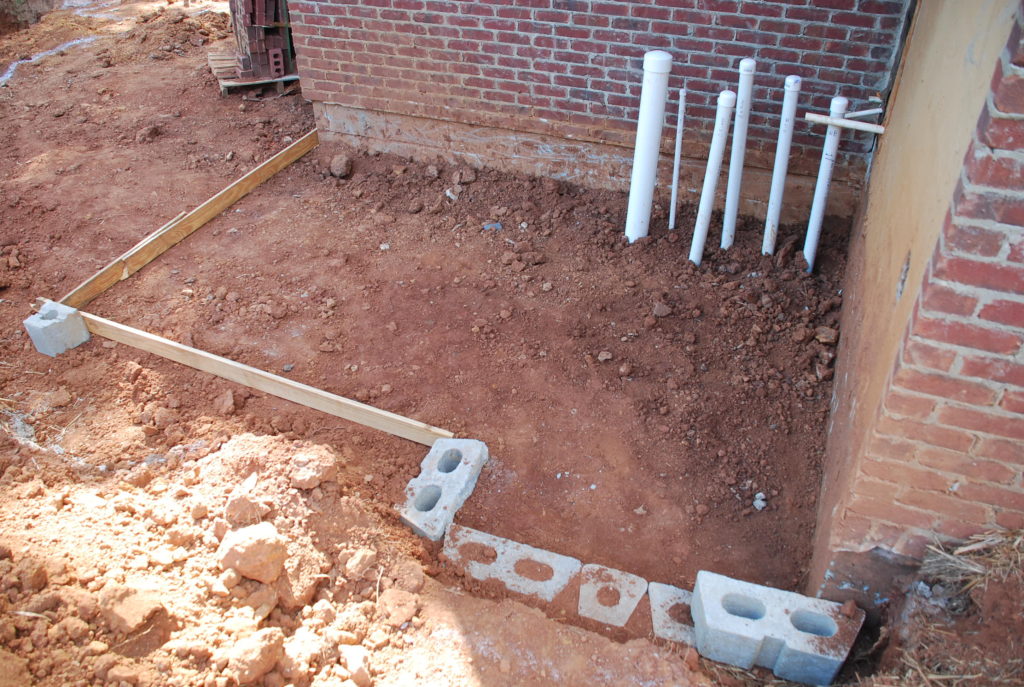 Here is the area we were working on. The pipes in the corner go underground to the pond. We are going to pour a slab inside the area where the boards are and the pond equipment will sit on the slab. There will be steps down to the slab and a gate/door that encloses the space.
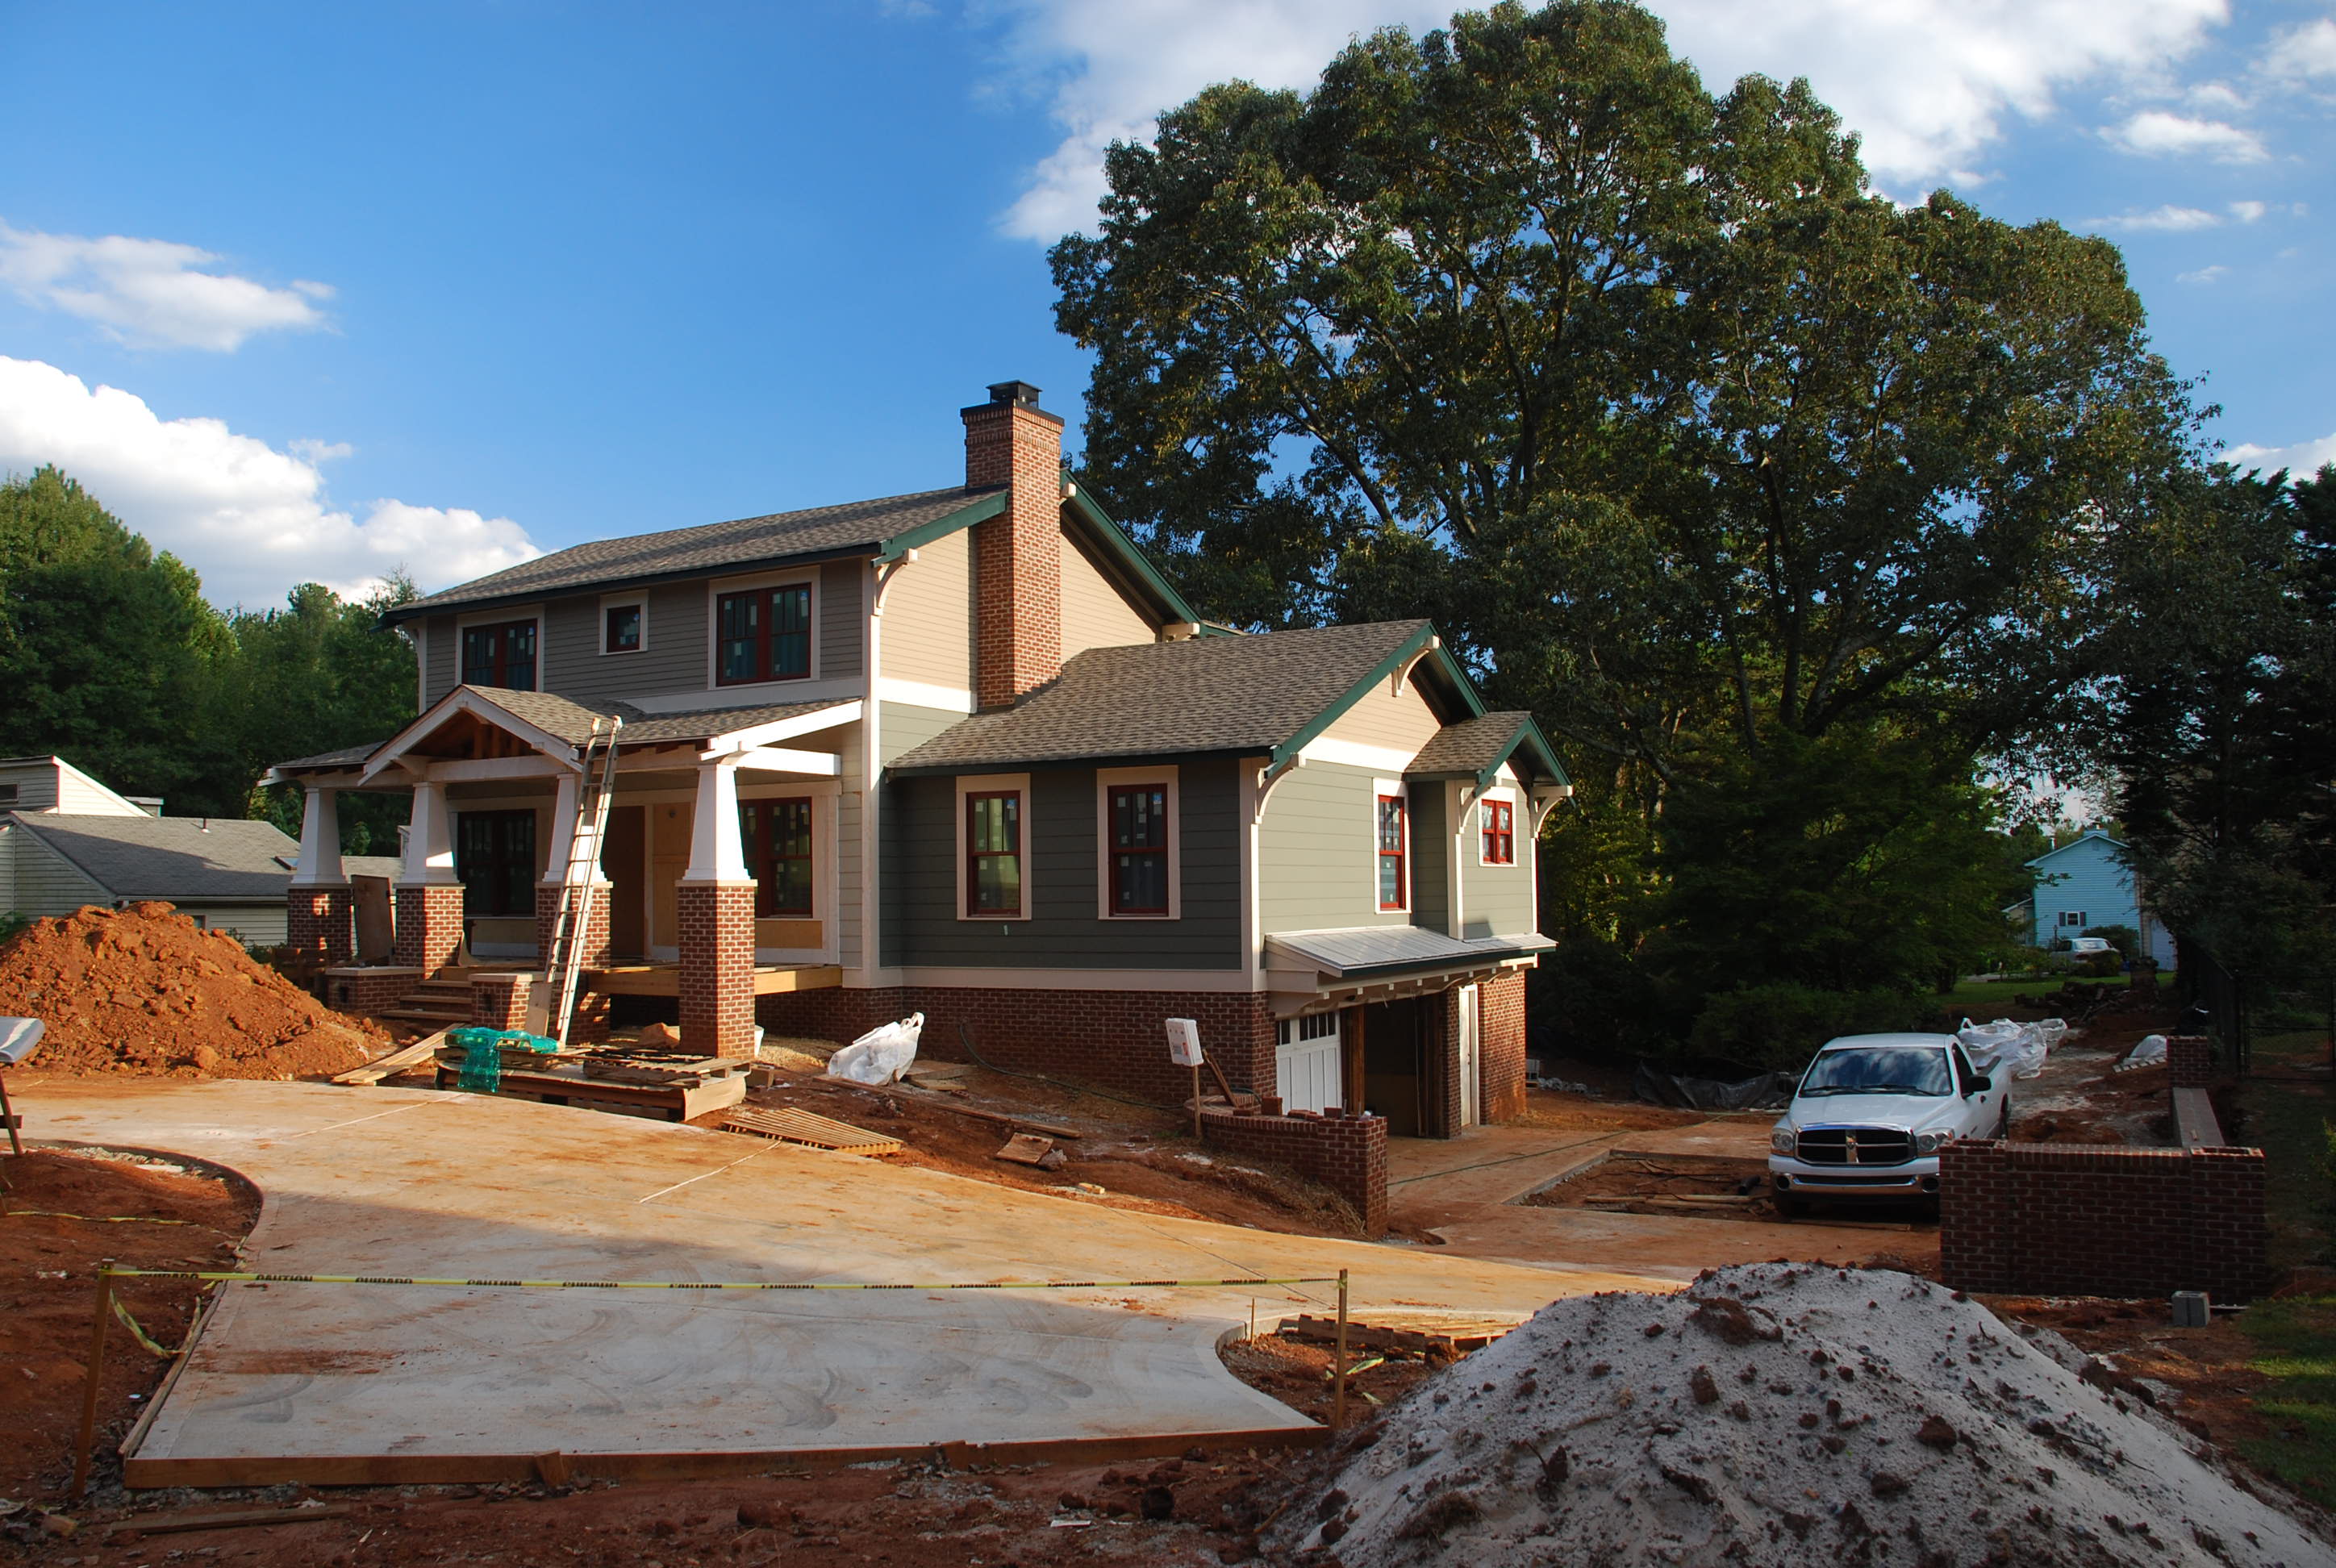
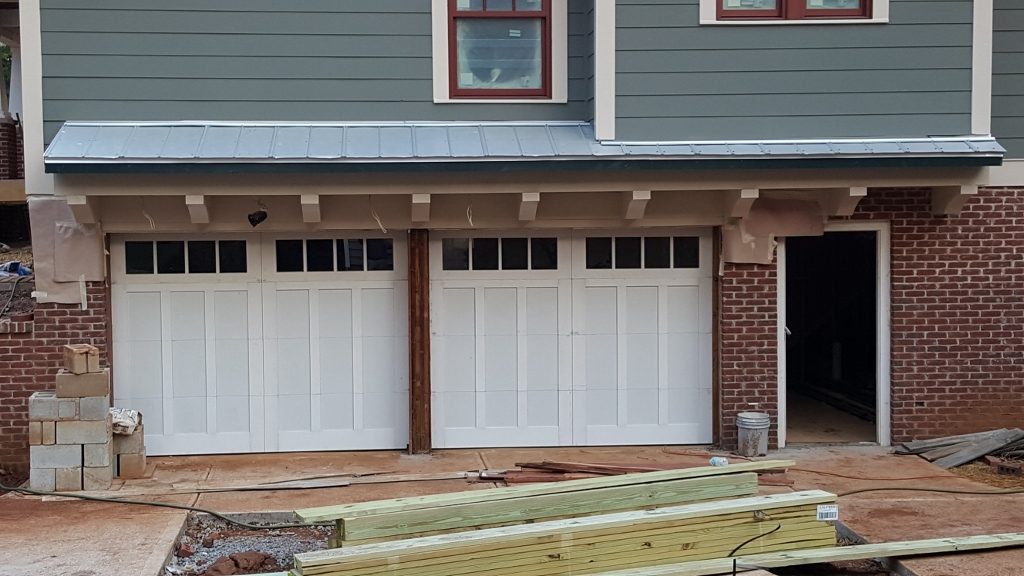 Also this week – the garage doors were installed. We worked hard to find an authentic carriage door style that looks like what would have been used 100 years ago. We’re going to minimize the hardware and paint them a brown color as well as the ‘people door’ next to them that goes into the Garden Room.
 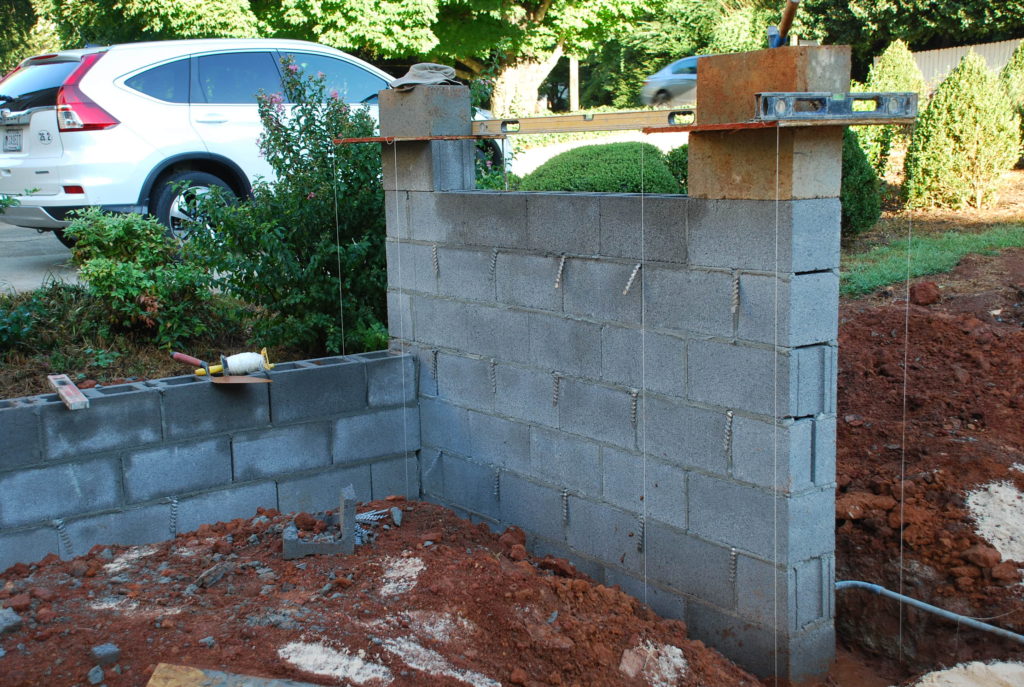 Just outside the Garage the block is all done for the retaining wall along the right side property line. Now it is time for the brick veneer to go on and the masons put vertical string lines along the corners to align their brick.
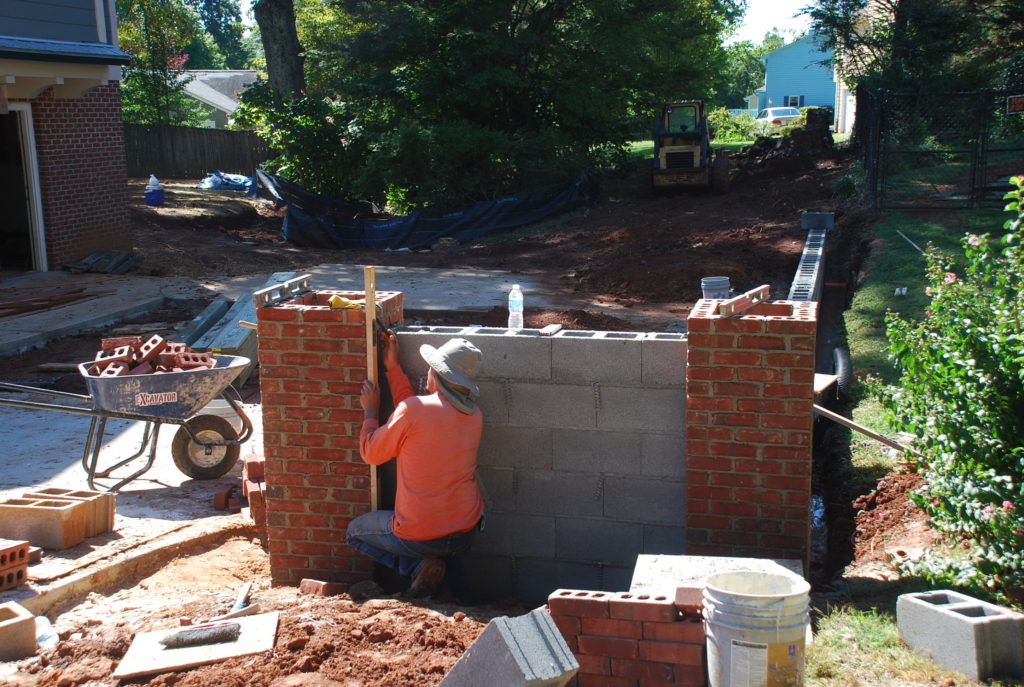 First they laid the brick piers to match the one on the other side of the driveway.
 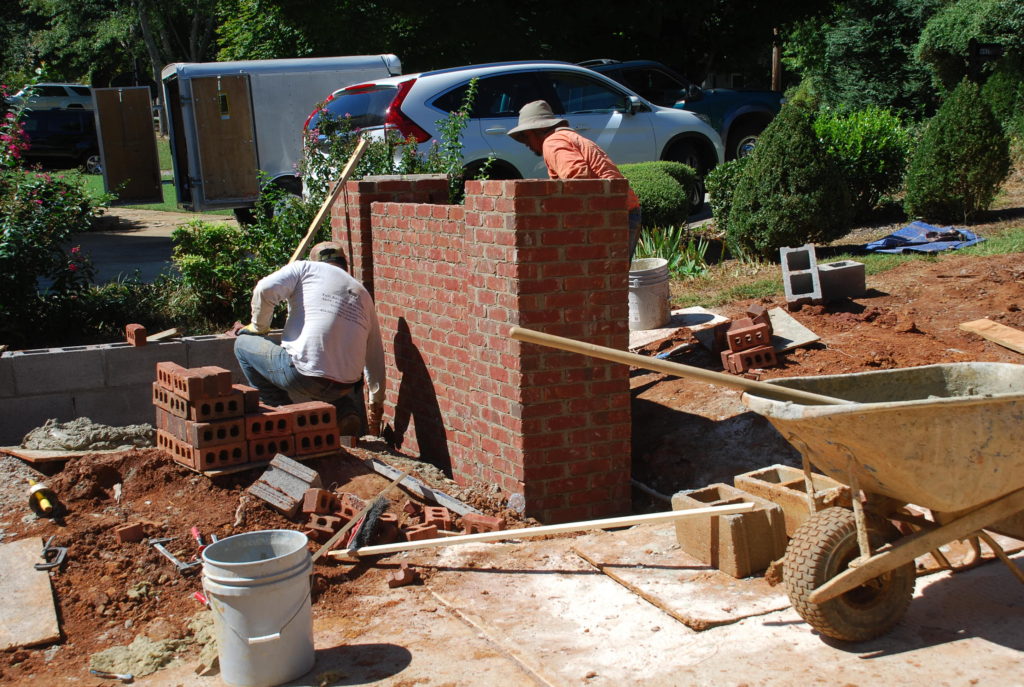 Then it was just a matter of filling in between them with the veneer on the block so that it looks like the curved wall over by the house.
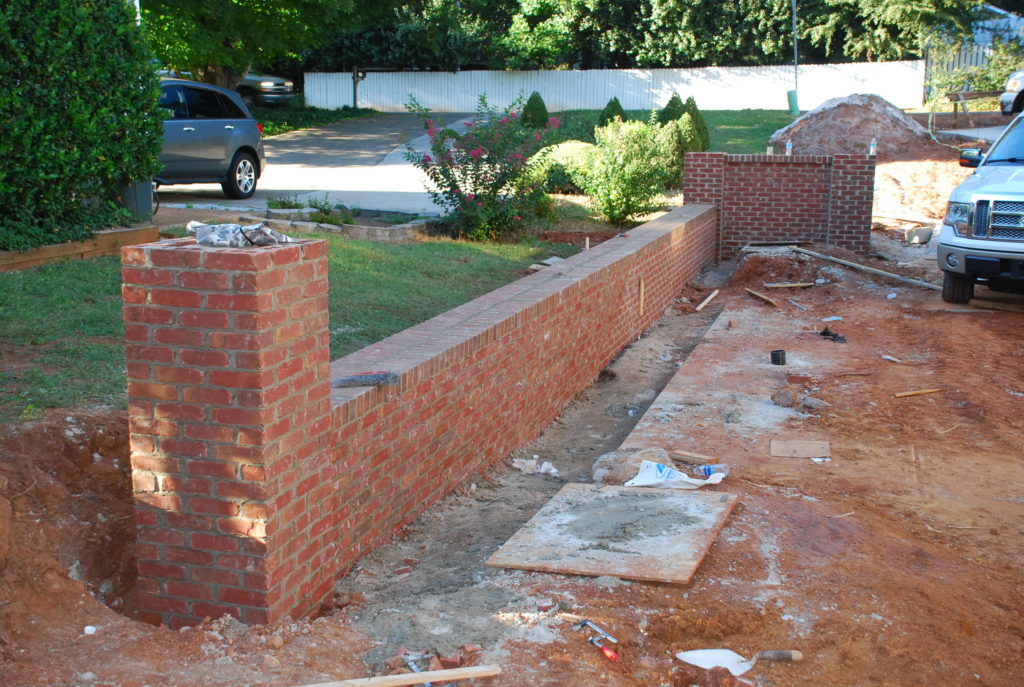 Then they worked their way down the wall to the back where there is another pier. We’re going to put a short fence on top of the wall to finish it off.
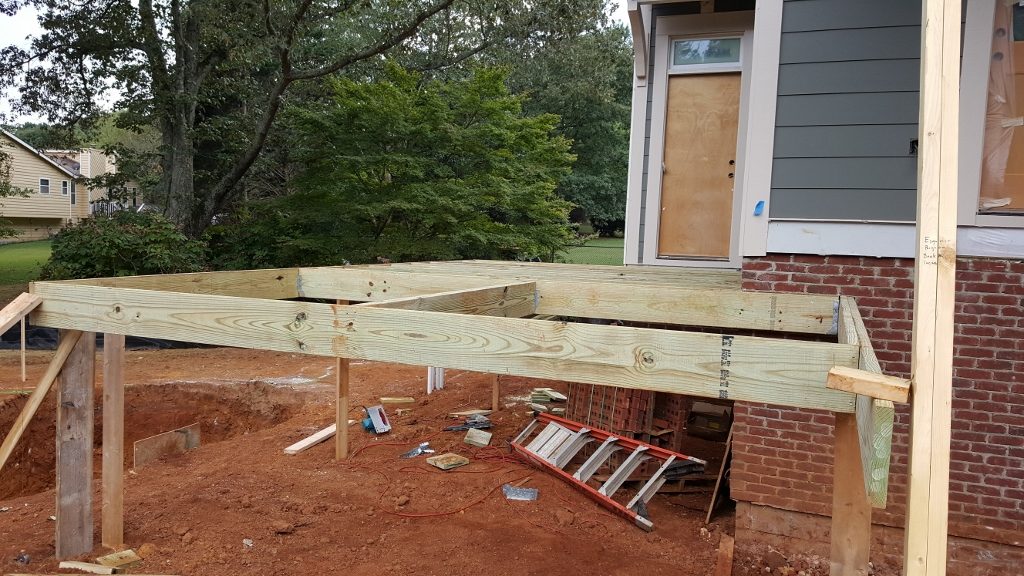 While the masons worked around the other side of the house, the deck guys were here to start framing the deck for the back of the house. The main deck is accessed off the lower area of the Stair Hall and that makes it about 18″ lower than the main floor level of the First Floor.
 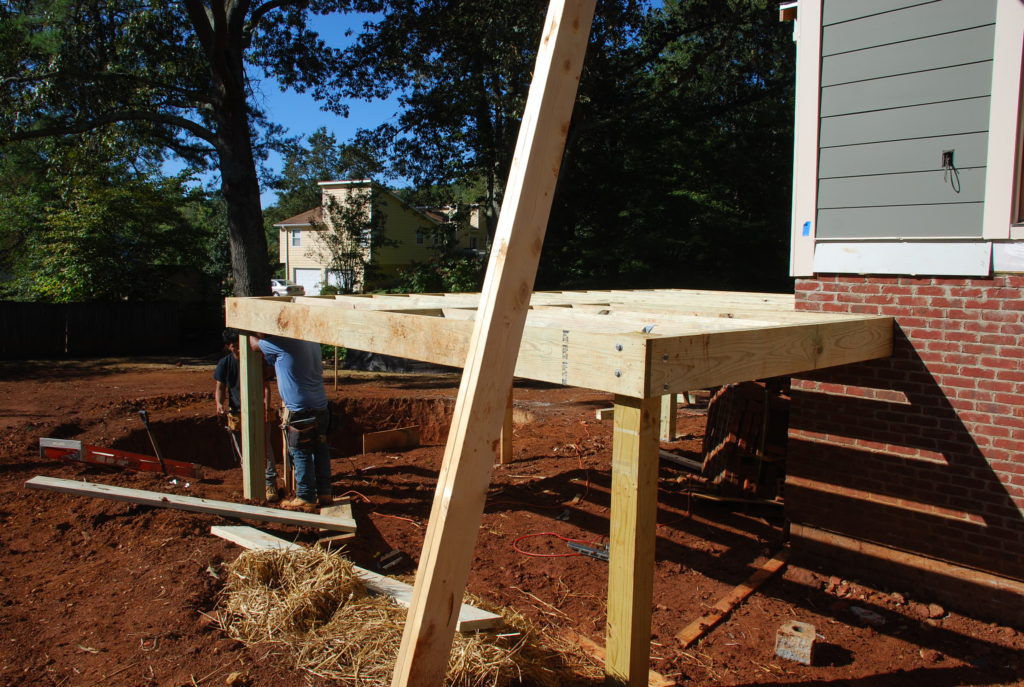 After it was boxed out they added pressure-treated 6×6 posts to support it which later will be wrapped with brick to give the appearance that the brick piers are supporting the deck.
 Here’s a view from the back showing the overall size of the deck. You can just see a bit of the pond that will be just behind the deck.
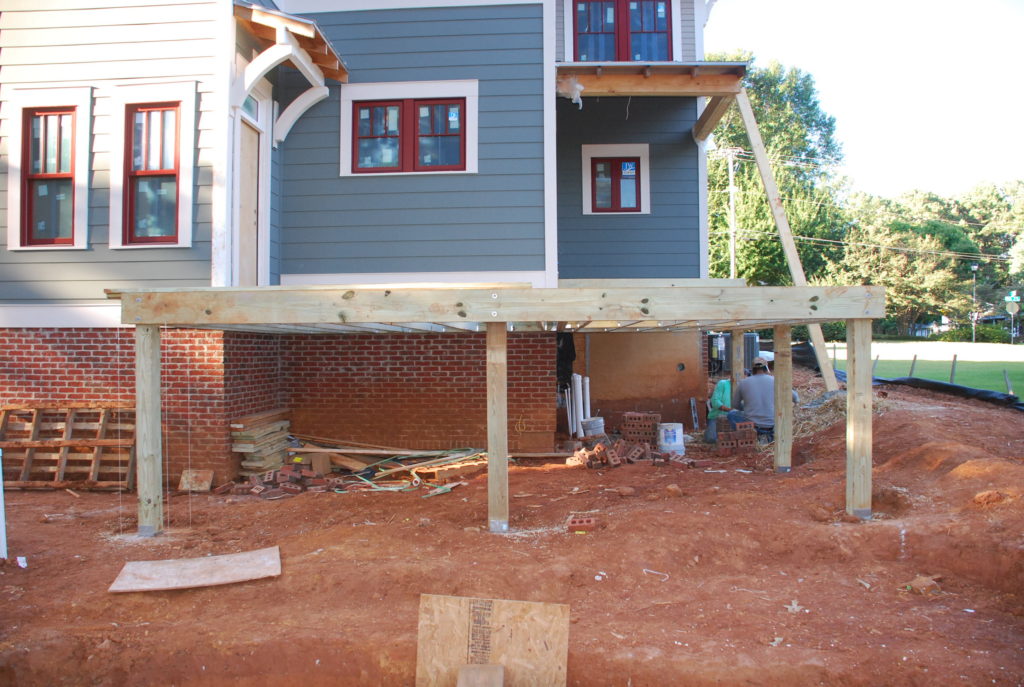
 Once the lower deck was framed they added the framing for the upper deck which will be accessed from the Pantry, just behind the Kitchen.
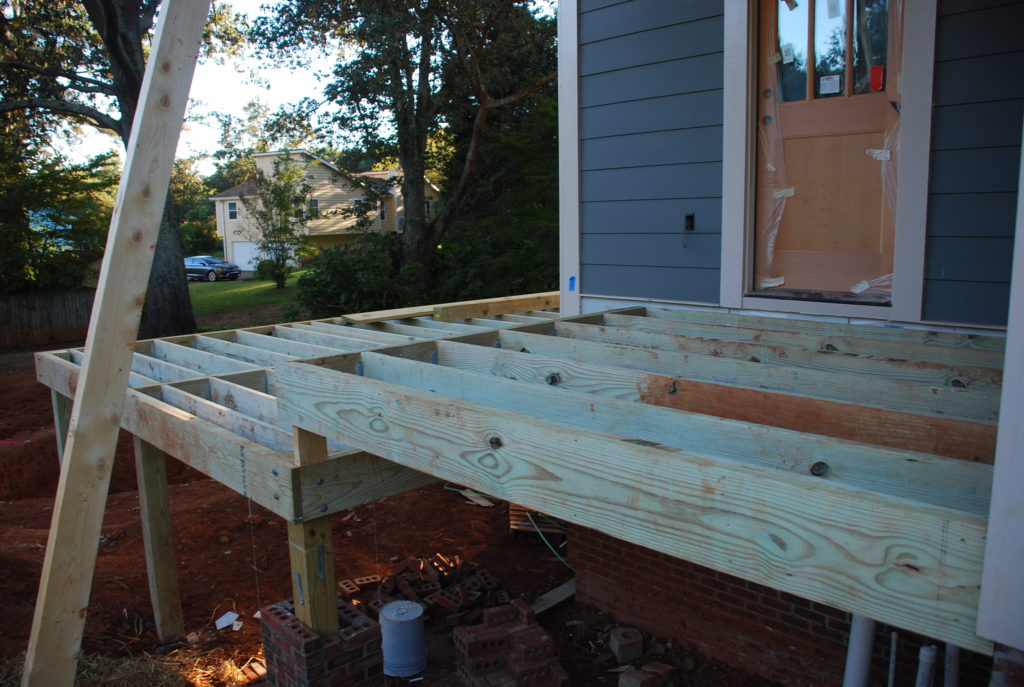
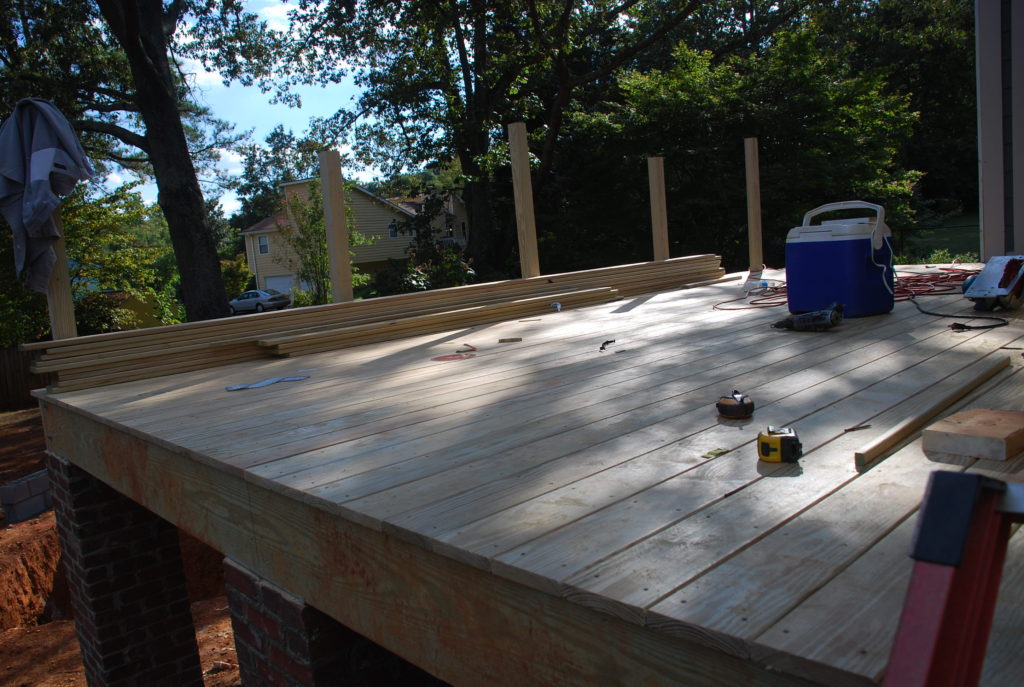 Once the decks were framed, it was time for the decking. We decided to use a fairly new product – KDAT – which stands for Kiln Dried After Treatment. It is a top grade pine with no knots that has been pressure treated and then kiln dried to take out most of the moisture. It is very stable and is ready for staining as soon as it is installed.
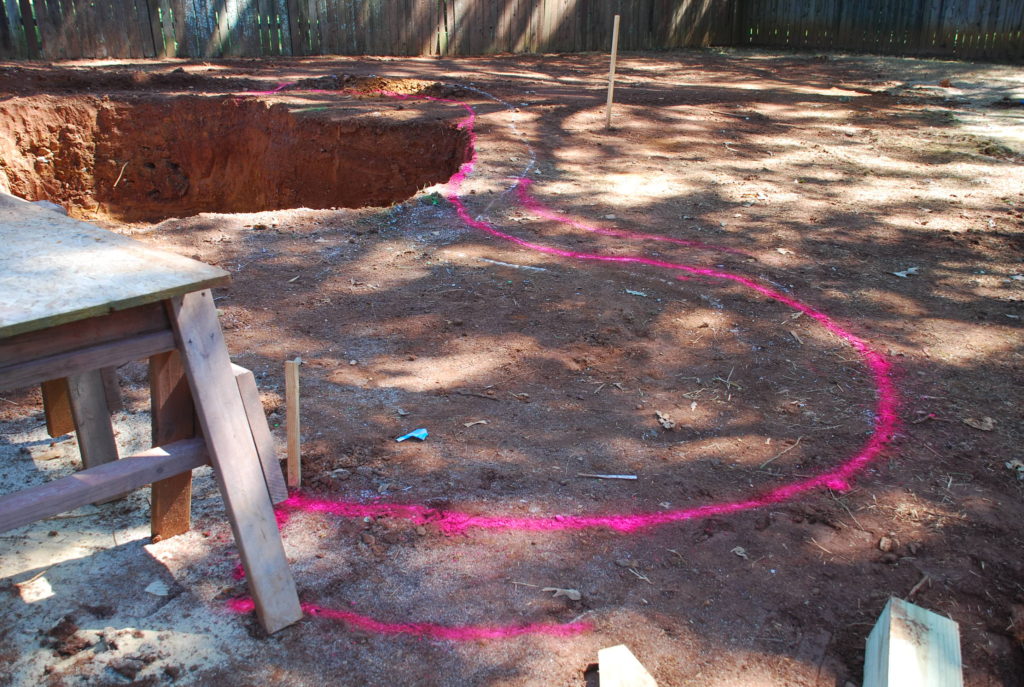 And just to add a little more to the week’s activities, we also spent some time figuring out exactly how we are going to lay out the lower side of the pond. Most of that side will be a short wall – about 18″ high.
 Once we got it marked out on the ground, we dug out for a footing for the wall to sit on.
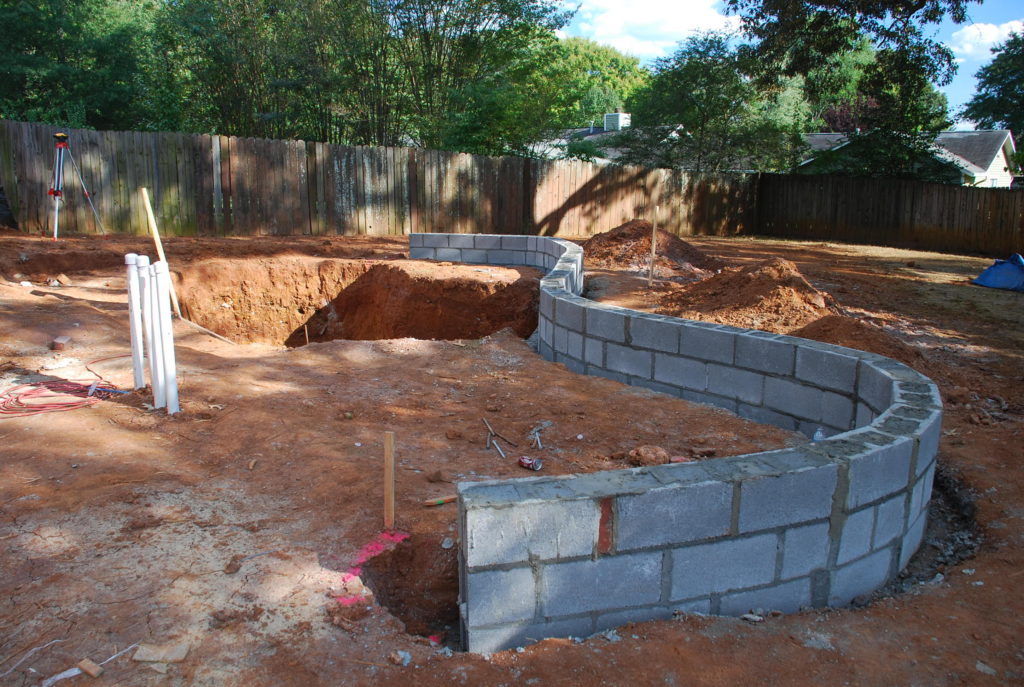 There’s going to be a good bit of water pressure on the wall so we reinforced it with steel to tie it all together with the footing and filled all the cells with concrete as it was built.
 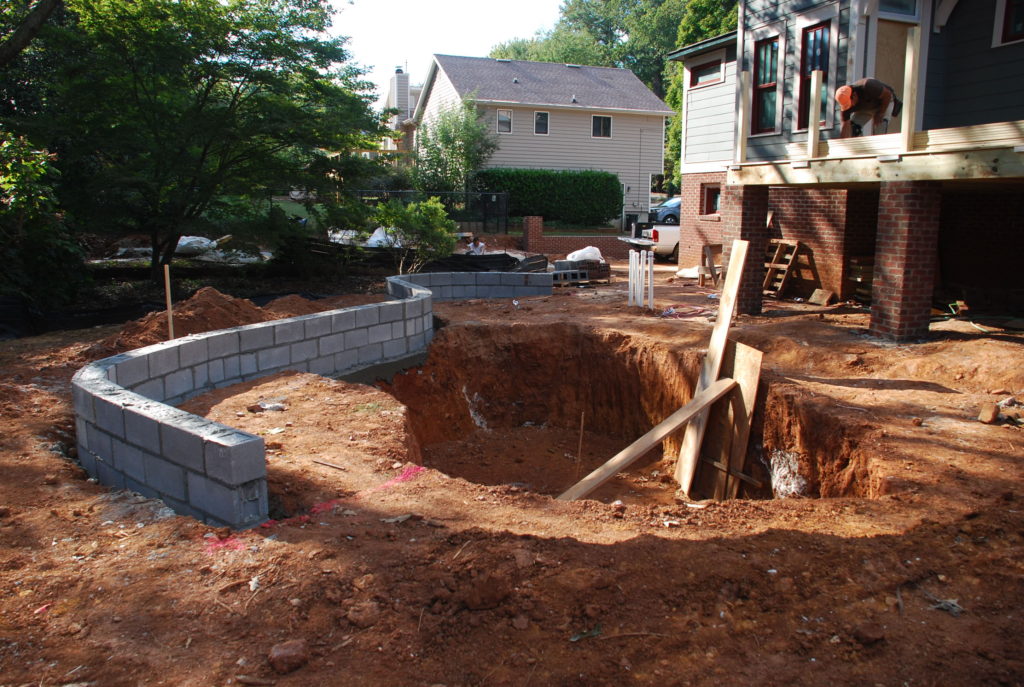 Now that it is built we have a better sense of the size of the pond and the exactly where the water level will be – about an inch or two below the top of the wall.
All that made for a pretty busy week with a lot accomplished. Still much to do, but making steps in the right direction. We’re hoping to keep the momentum going next week.