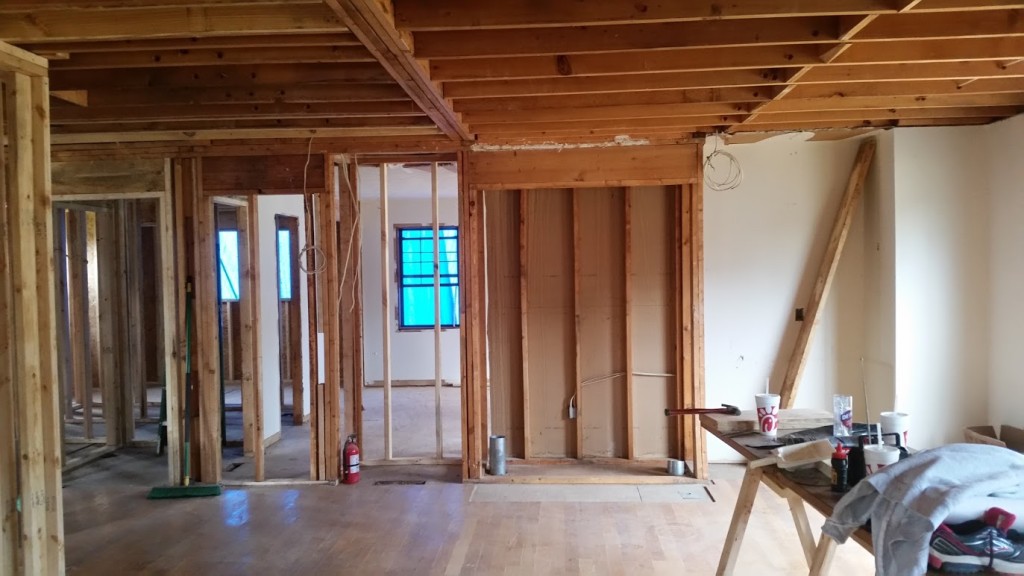
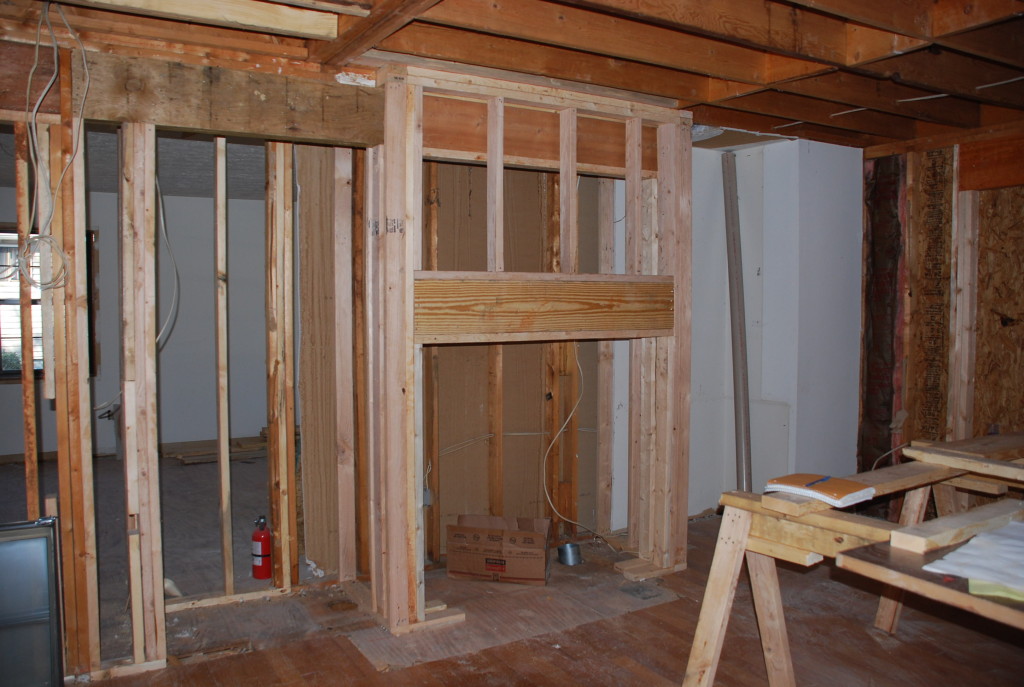
Happy New Year! Now that the Addition is mostly framed, the crews are busy handling the details that have to be done, mostly on the inside. Like new interior walls, and door openings, and moving some door openings, etc. Meantime we are still busy doing demo – like the fireplace. The framers had removed the flue when they rebuilt the chimney, but the firebox was still in place. We were able to disconnect it and pull it out into the Family Room, but it was too heavy for a couple of us to haul it out. So we took it apart piece by piece until it was reduced to a pile of sheet-metal and insulation and screws and screws and more screws and a big chunk of some sort of heavy cementitious material that served as the back of the firebox. When we finished, all the parts were manageable enough that we were able to get them in the dumpster.
Another detail that we plan to fix is the brick. There’s not a lot of brick on the existing house, but the style and coloration and mortar are very 1980’s looking. Besides the fact that it is no longer available, it really wouldn’t look right on a ‘Craftsman’. We considered painting it, but resolved that we really wanted a natural brick look and were willing to splurge a little to make that happen. So, that means all the brick above grade has to come off – and guess who gets to take it off! We were surprised to find that the brick was placed with no brick ties, but that all the holes in the brick were completely filled with mortar. Our demo tool of choice is a sledgehammer and a hammer/chisel to clean up the joints, but the mortar is harder than the brick, so what we end up with is a big pile of shattered brick which then has to be shoveled into a wheelbarrow and then dumped in the dumpster. After this section we are going to take a break and see if we can find a better method to the madness.
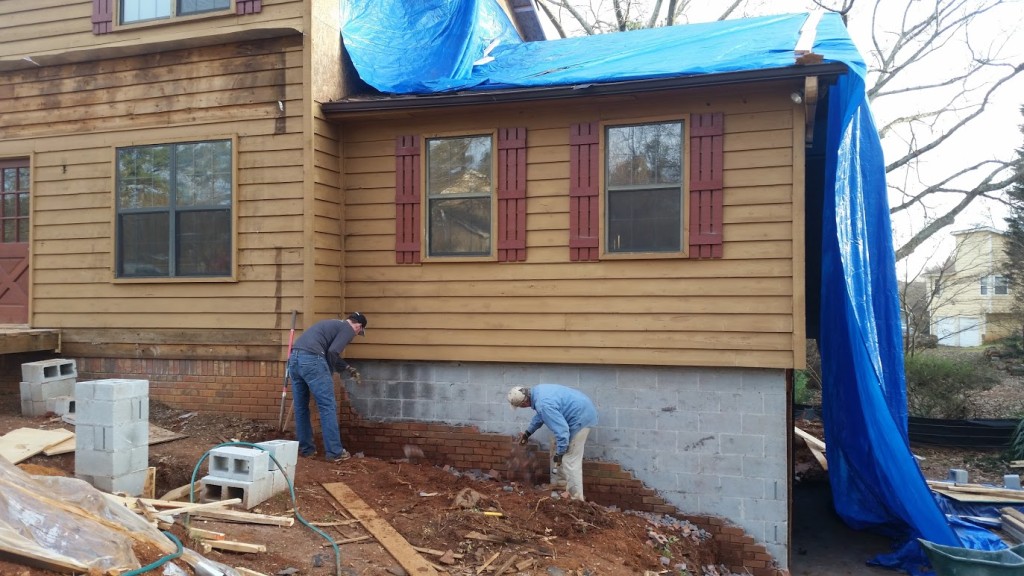
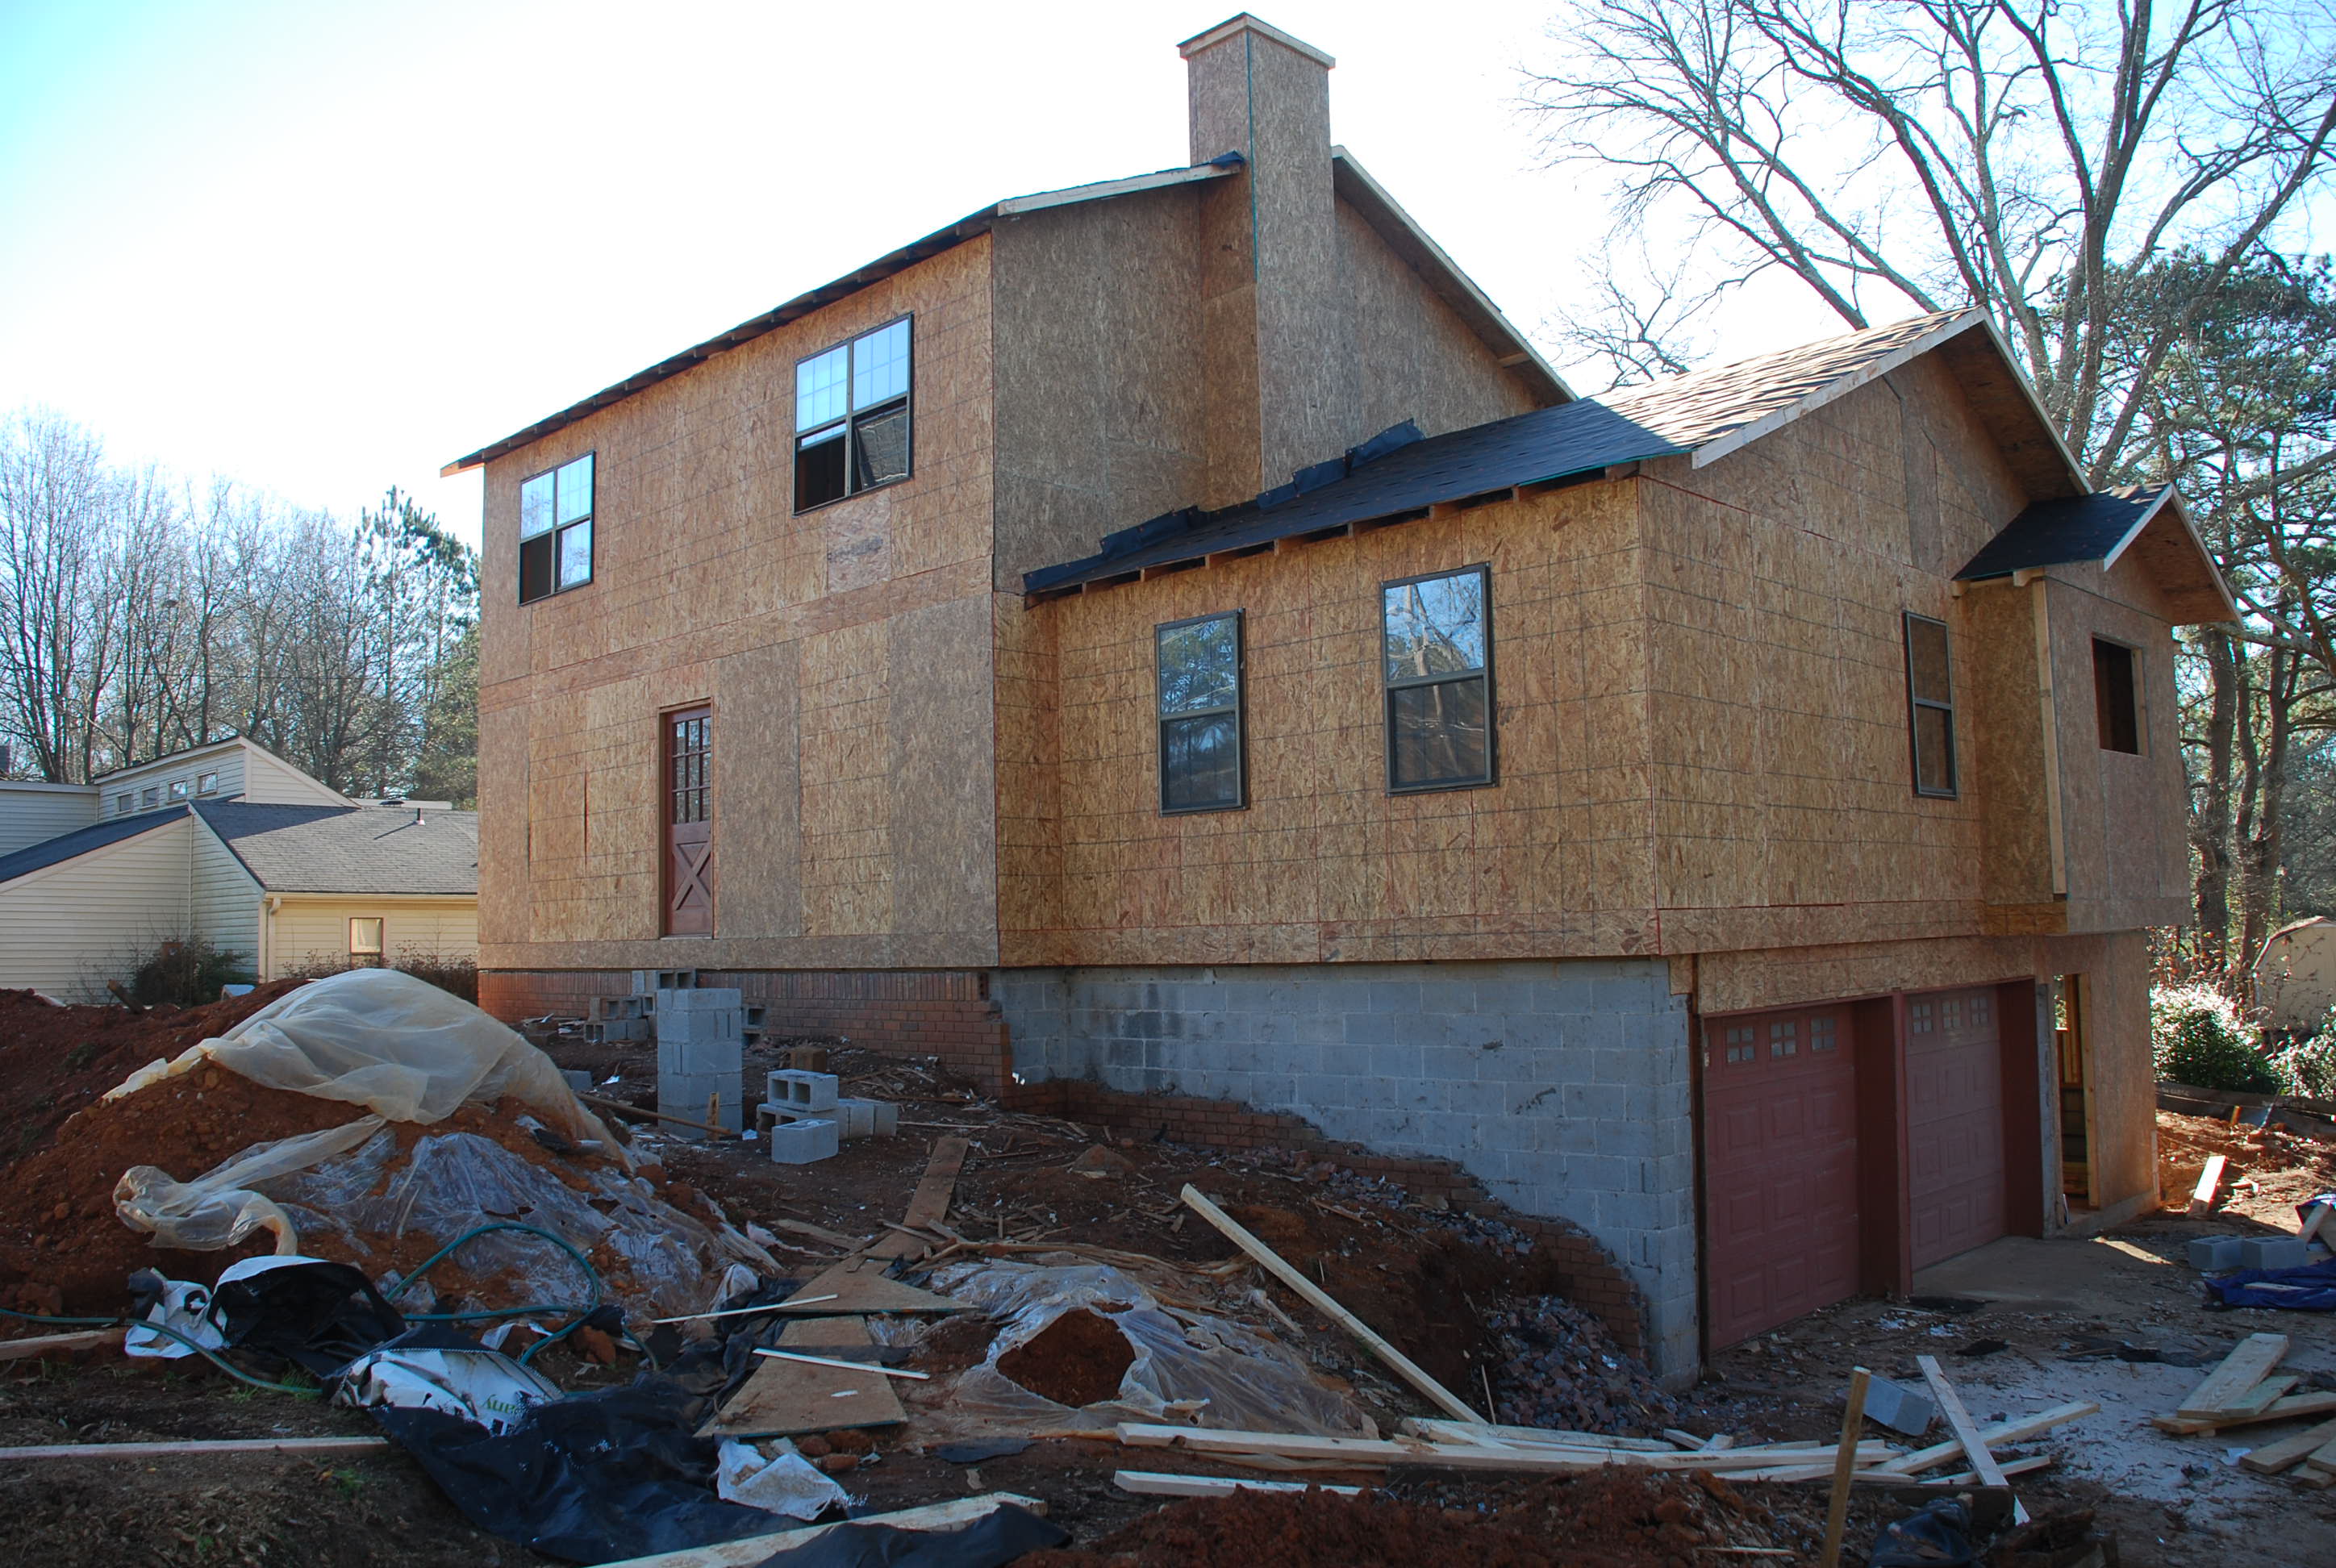
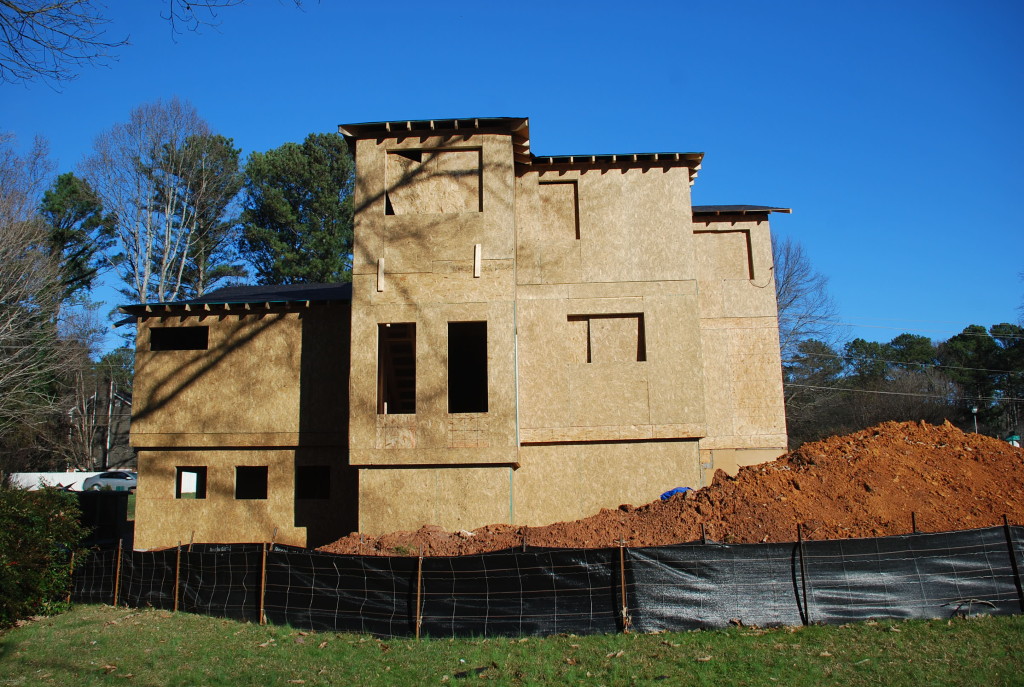
The framing crew is now working on replacing the Thermo-ply sheathing with OSB (Oriented Strand Board) which will provide better lateral bracing for the exterior walls as well as a better backing for the new siding. In the photo below you can see where the roof for the front porch used to be, the original cedar siding was protected all these years and was still in it’s original unstained/unpainted condition. When we bought the house, the siding was natural cedar with a clear stain on it, as were all the houses in the neighborhood. It was strikingly handsome in its day, even though it would be considered dated today. After a few years we stained it a darker color, and then because the stain didn’t last very long, eventually used a semi-transparent stain, and then a solid stain (pretty much a paint at that point). Pretty high maintenance – and most of the neighboring houses have either covered up their cedar with vinyl or replaced it with new painted siding just for that reason.

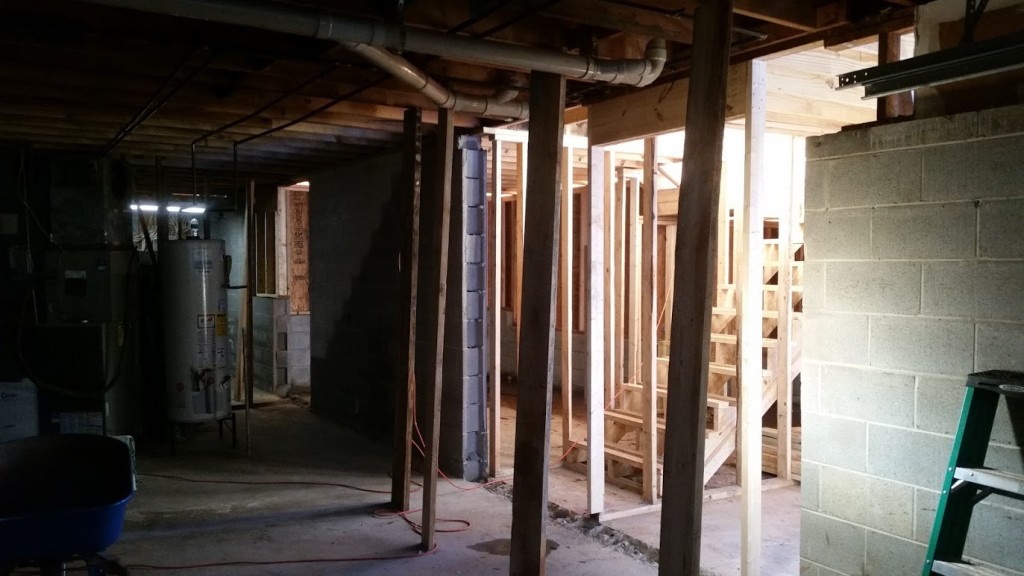
Tom (our builder) brought his concrete saw and cut the block in the back wall of the Basement and finally we had a connection on that level between the old and the new spaces. We were all anxious to see how level the new concrete slab was to the old, and it was pretty good. He chipped out the old block from between the slabs and poured some new concrete in the gap to connect the two.
By the end of the week, the whole house was re-sheathed with holes cut out where the new windows will go. The new shape and form are a lot more interesting than before, but a bit barren with no detail yet in place.
We’ve decided on a new fireplace and gave the framers the dimensions so that they can build out the wall with the new dimensions. We’ve designed in a built-in cabinet on both sides – a very traditional Craftsman feature.
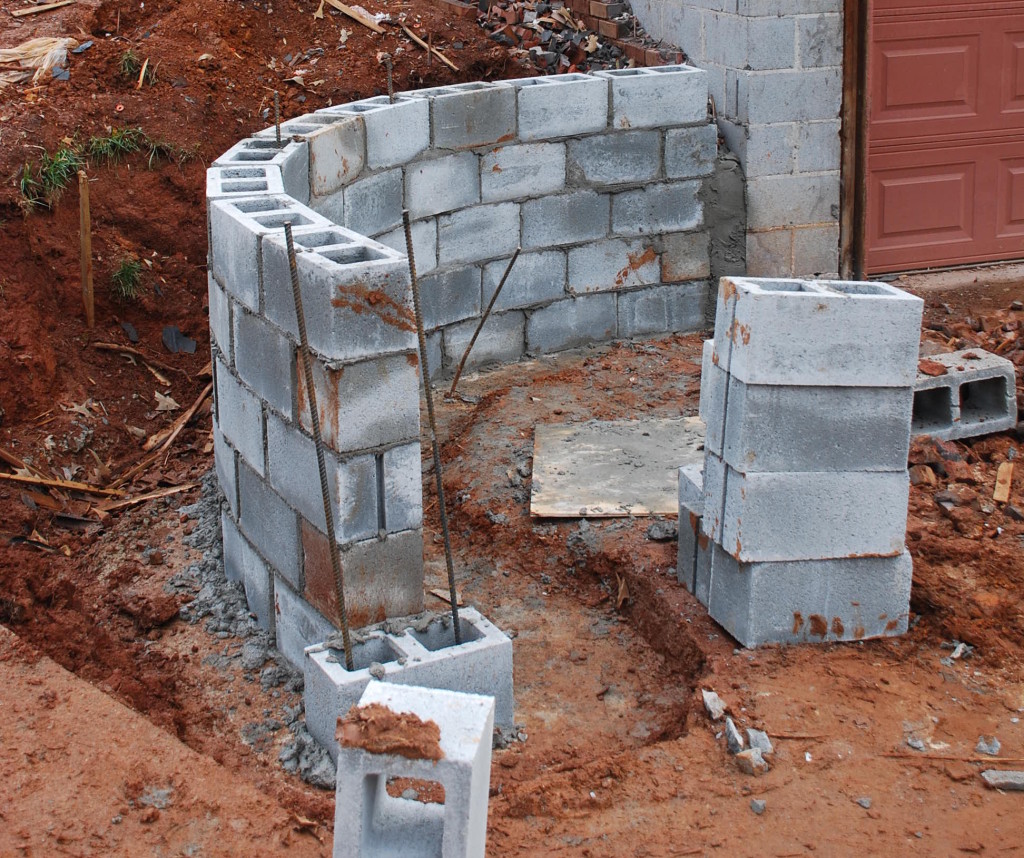
In the meantime, the mason has been back and put in block for a new retaining wall coming off the corner by the garage door. It will form the entrance to a small ‘Motor Court’ outside the Garage. Hopefully it will look a bit nicer once the brick veneer goes on. He also built up the block for the front porch piers and columns, so we can get a glimpse of how they will look.
So the sheathing is all on, the old windows are still in place just to keep it dry, and the bottom windows have been removed because the openings had to be re-sized for the new larger windows.
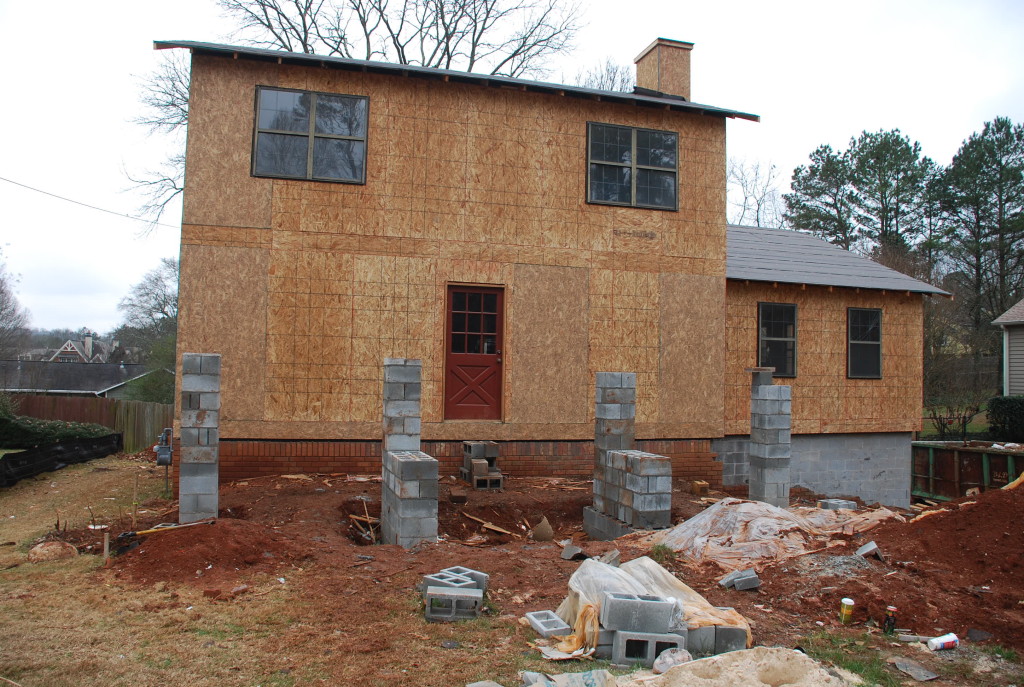
At least temporarily the house has a face, and it seems to be saying, “Ooooooo”. I’m not sure if it is because he is cold without any siding, or because he is excited to see what is to come – from the rendering in the sign in the front yard.