Knowing that the drywall was coming on Wednesday – we set off to complete some little things to prepare for its arrival. Andrew finished up some final blocking in the walls for towel bars and the such and they started looking at how to get the drywall into the house. It would be a nightmare to try to get it up the stairs from the Basement (4′ by 16′ boards) – and the windows are too small to take it through those openings, so the only way to get it in is the front door. So Andrew finished up the framing for the center part of the front porch and then used some of the old boards from our original back deck and put them on top to create a temporary front porch floor.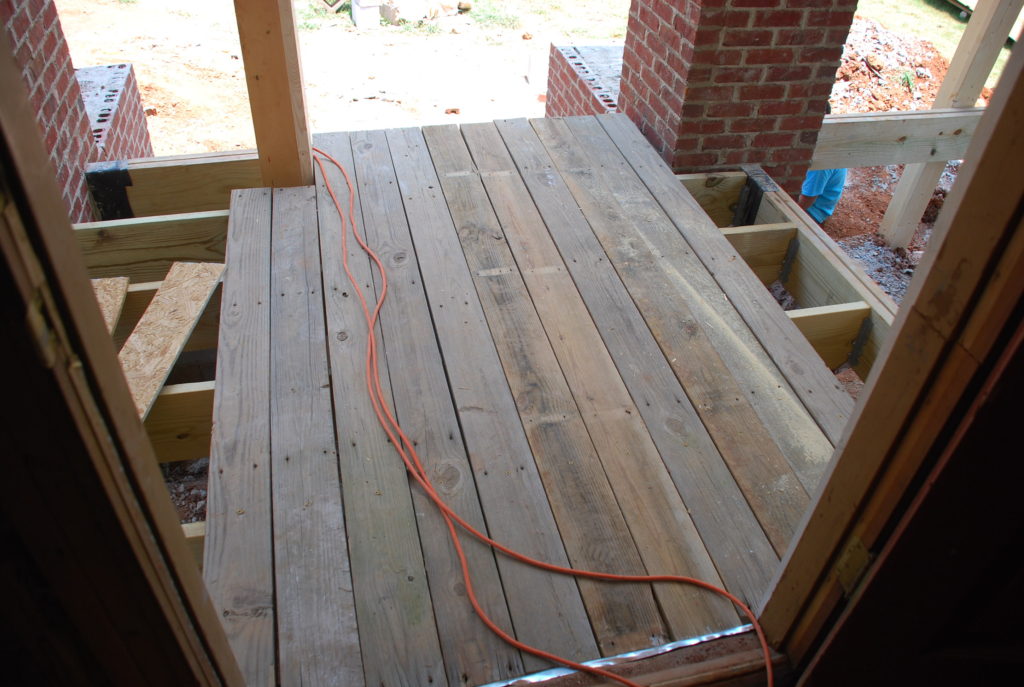 About the time it was done, here came the big truck delivering the drywall. After scoping out the situation, they pulled the truck up in the front yard and put out the boom arms to stabilize it.
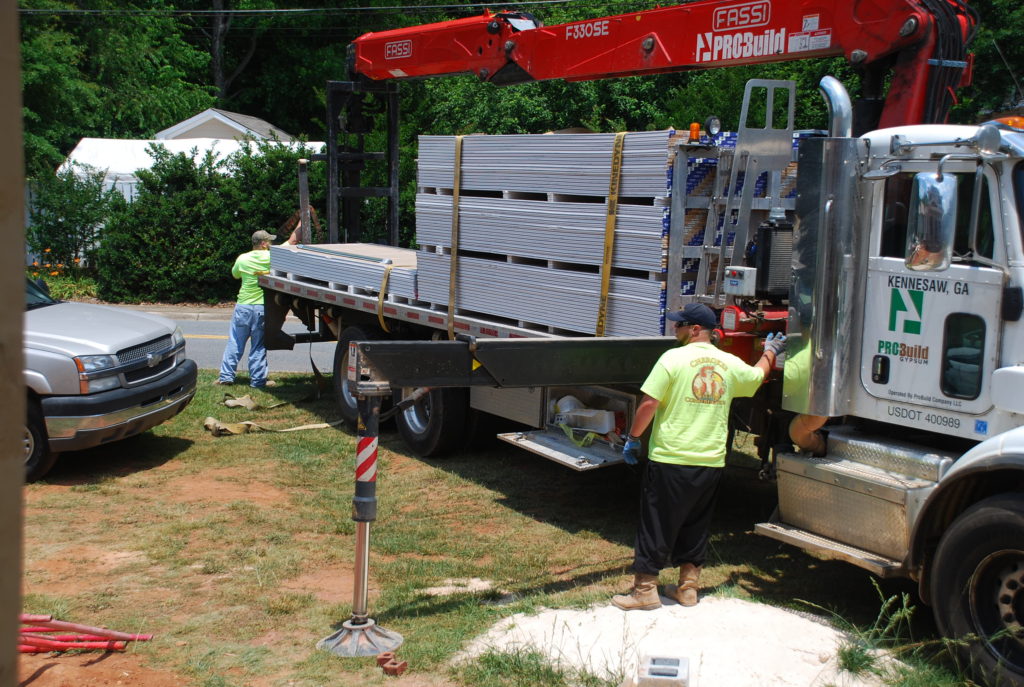 Then it was just a matter of picking up the drywall with the boom and transporting it over to the front porch. They got it as close as they could, but then it was a matter of brute force to get it inside.
 They had a dolly that would take about 10 sheets at a time and they rolled it as far as they could – then pick them up and set them against a wall. It didn’t take long before it was all loaded into the house.
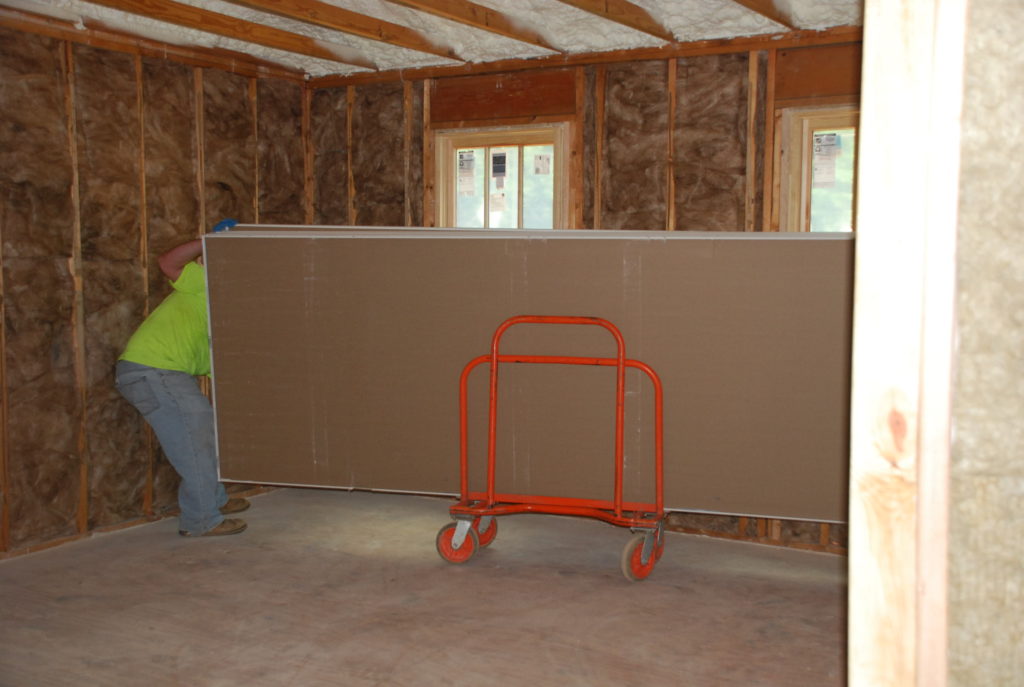 In the meantime, the masons had finished up the front porch piers and steps and were starting on the retaining wall. They decided that the original block work was so far off from where it was supposed to be that they would just start over. Before long the wall was beginning to take shape again – this time to match the design.
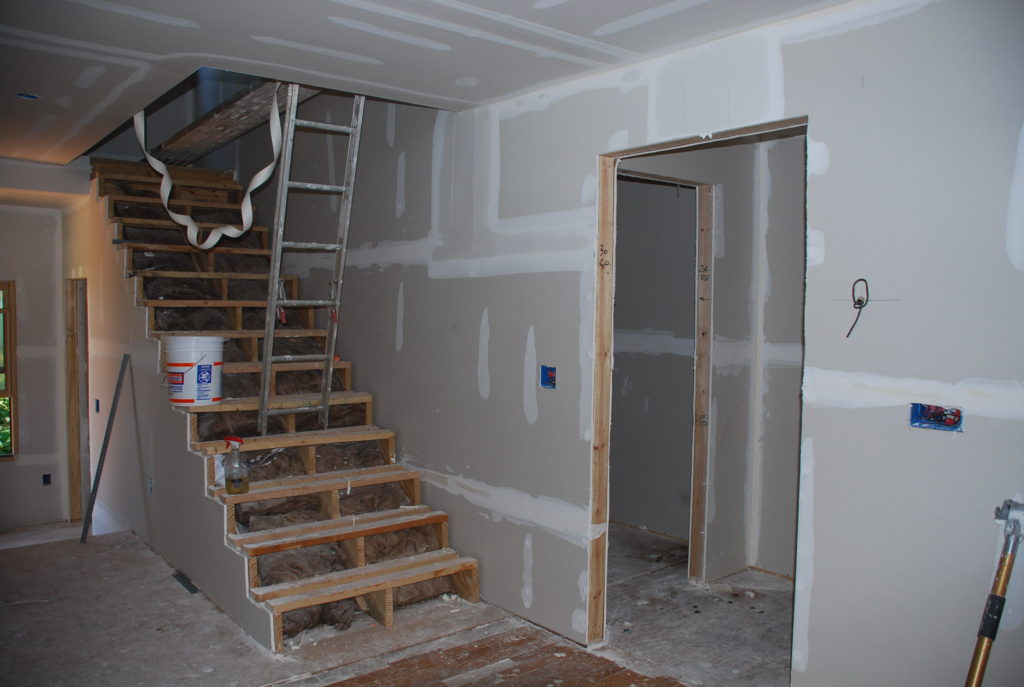
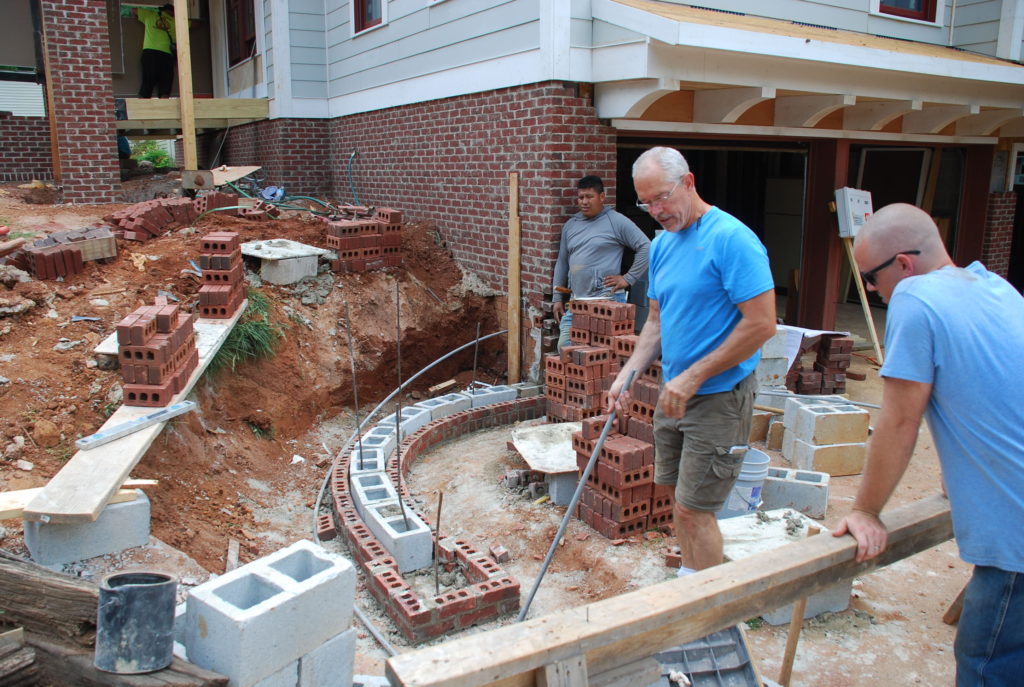 The next day the drywall hangers were on site and went right to work. They started upstairs and worked their way down from there.
 Before long they had hung just about all the drywall. Lots of measuring and cutting and breaking and nailing.
 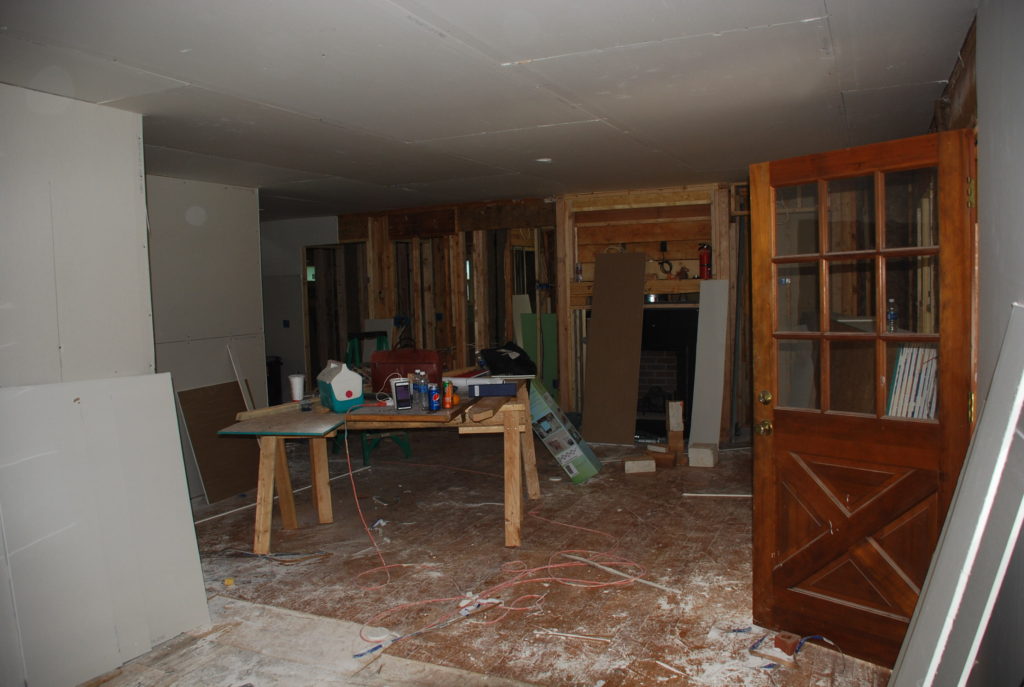 Soon all the studs and insulation and wiring and plumbing and ductwork were all covered up. Over his years as a builder, Tom has learned that there are times that you wish you could see what’s behind the drywall – because there is no way to remember exactly where pipes or wires are after they are covered up. So, last week he took his video camera and filmed all the walls so that if we ever needed to, we could go back and figure out where things are without destroying the walls.
 Hanging drywall makes a big mess – but the crew was great about cleaning up and putting scraps in the dumpster. There were a few places in the original walls where the old drywall was still there, but had been butchered up by the mechanicals. In those cases it was just a matter of some patchwork.
 In the Bathrooms they use moisture resistant drywall – which is green. The shower/tub area is going to be tiled, so no drywall there – it will get cement board to serve as a backer for the tile.
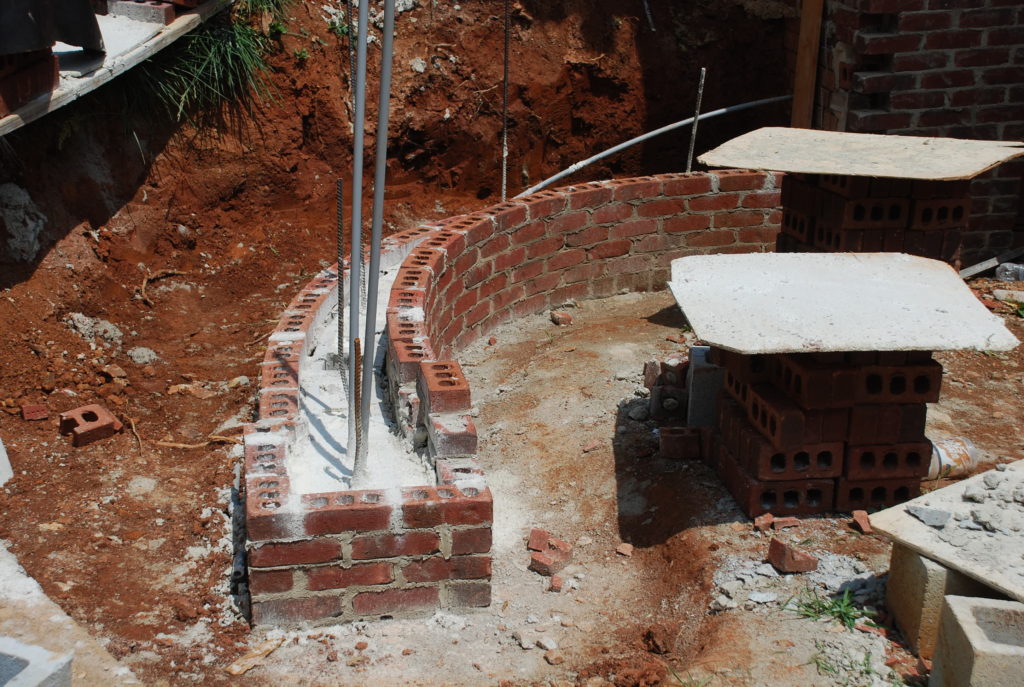
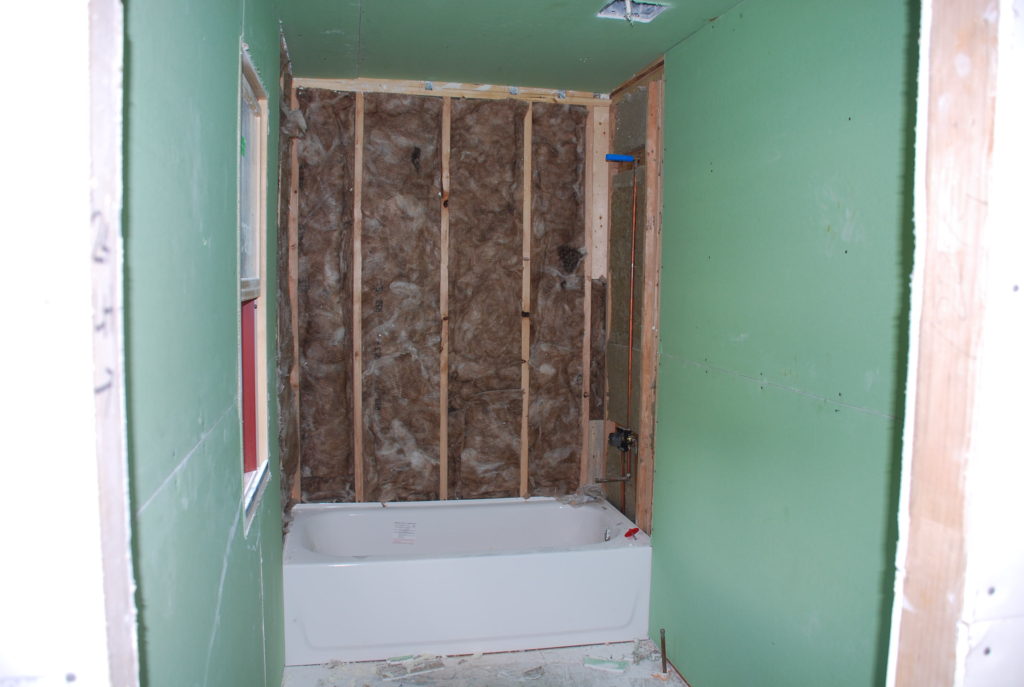 The masons had left early on Wednesday to help the rest of their crew with some emergency brick work on another job, and left the wall at this level – but with promise that they would be back on Friday to finish everything up. Notice in the photo below the conduit sticking out of the front of the house in the background. It goes into the retaining wall and sticks up to carry a wire to the lantern that will eventually go on the top of the pier. And then another conduit goes down beside it and will take a wire to the other side of the driveway to another lantern.
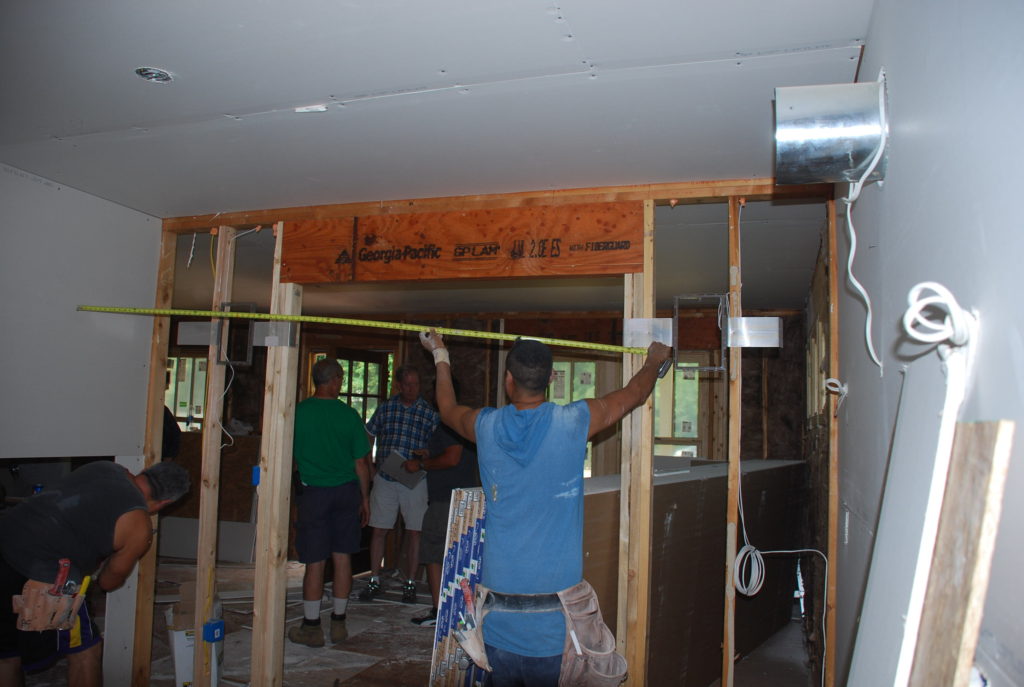
 On Friday the drywall finishers were there in full force. First thing to do was to put on the corner-beads at all the corners. It is a metal piece that creates a clean edge wherever there is an outside corner. Without them it would almost be impossible to create a clean straight corner.
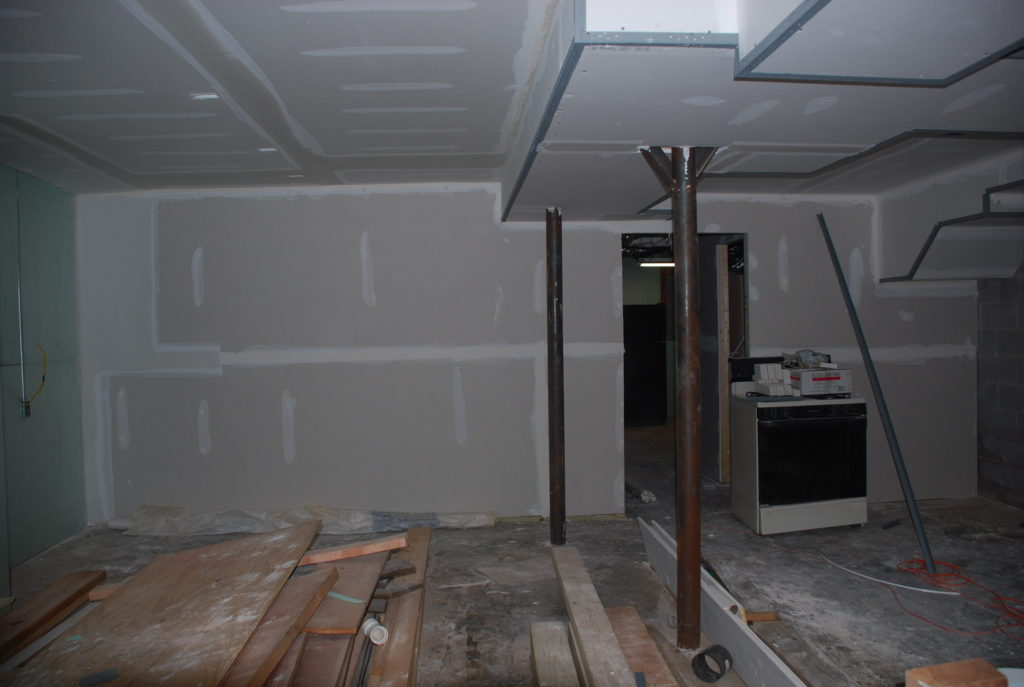 Then it was a matter of applying the spackle (commonly called drywall mud) over all the joints and nails and screws and corners. This is a two or three step process with drying time between each application.
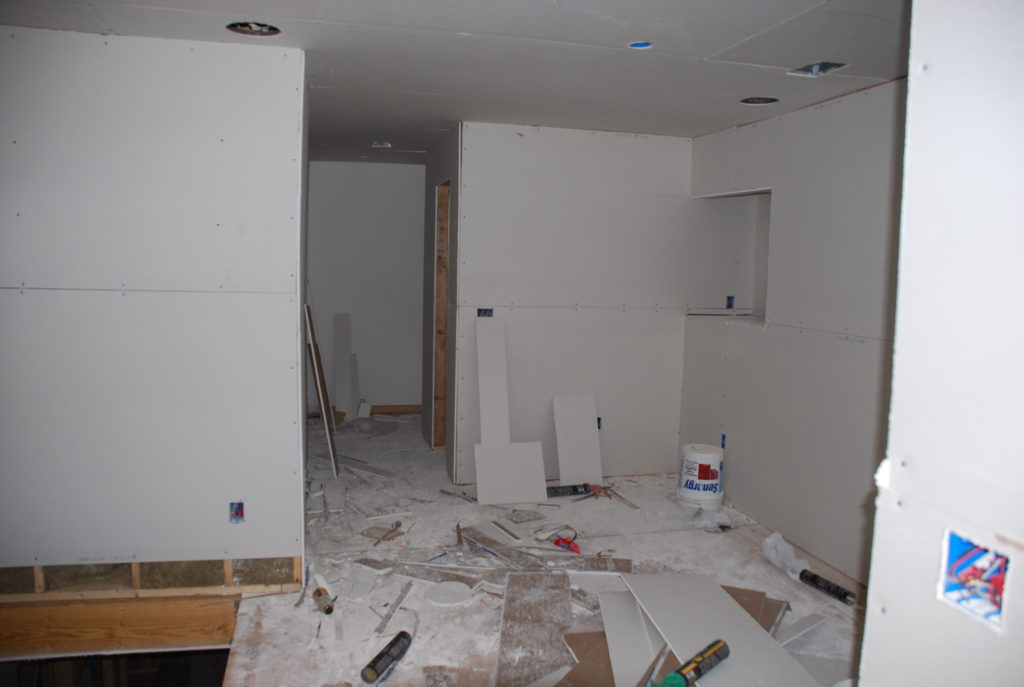
 Here’s the Family room with everything covered up – no more studs or floor joists or insulation or wires or pipes to be seen.
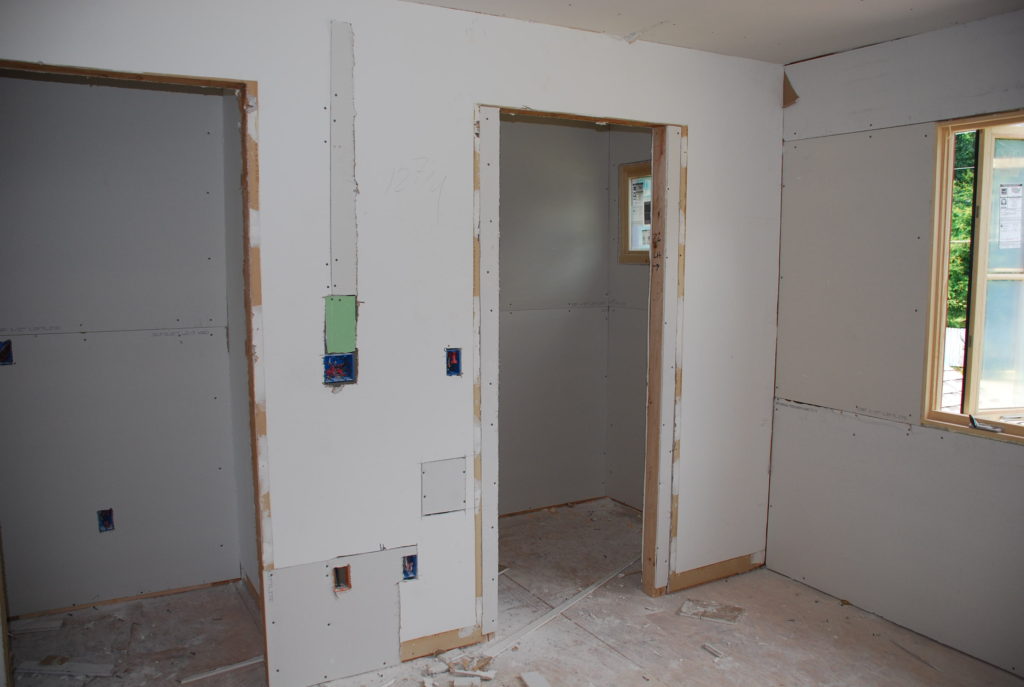
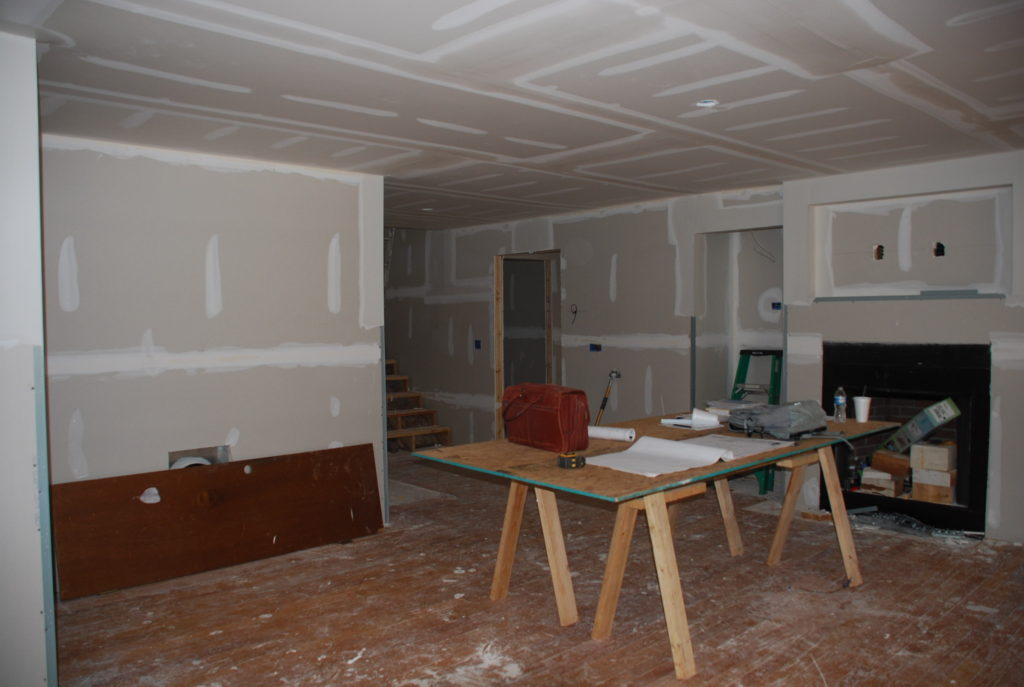 The only studs left in sight are at the doorways which will soon be covered up by the doors and trim.
 The Master Bath below has all green board and gets ‘mudded’ just like everywhere else. The shower in the back will get cement board and tile like at the showers upstairs.
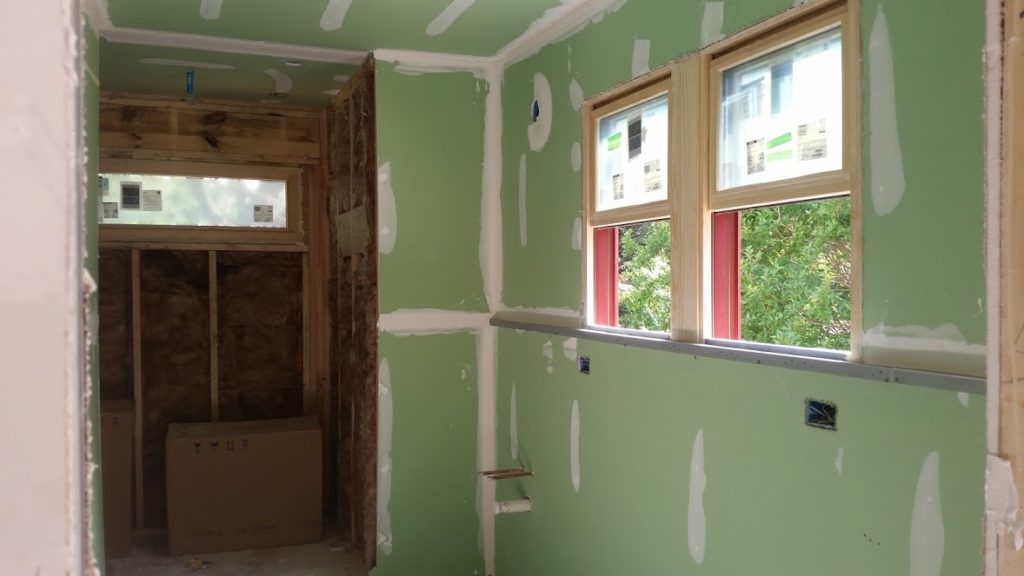 At the Loft you can now better see the holes in the ceiling where the projection screen and speakers will be mounted. That’s joint tape in the photo hanging down from an electrical box – I have no idea why.
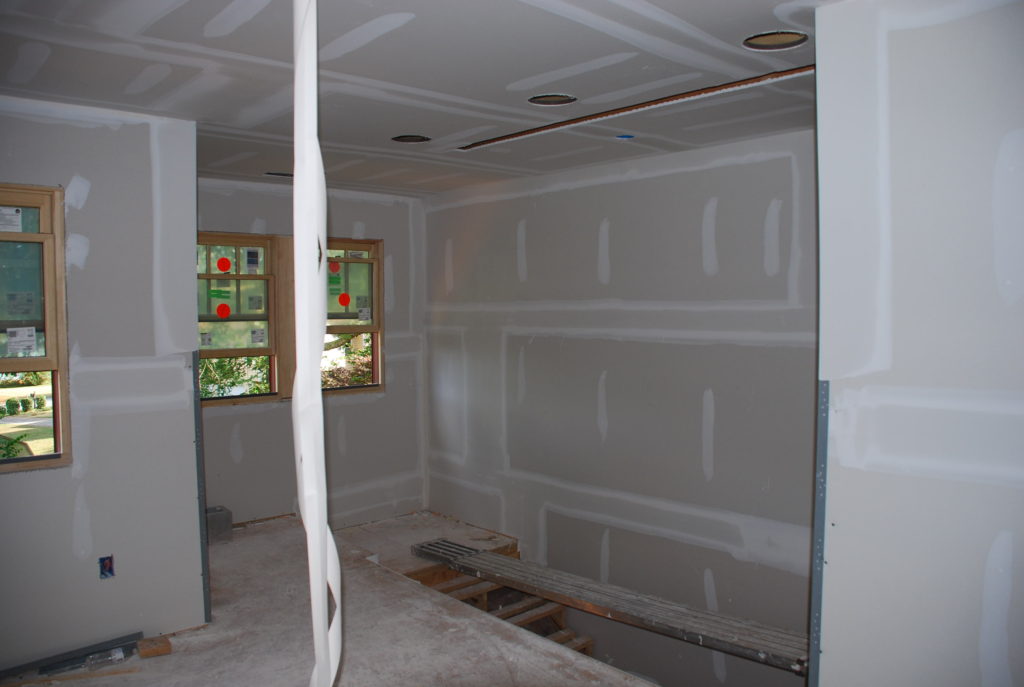 Meanwhile the masons are back and by the time we got to the house they had pretty much finished up the retaining wall. Below is a view from the Master Bedroom window.
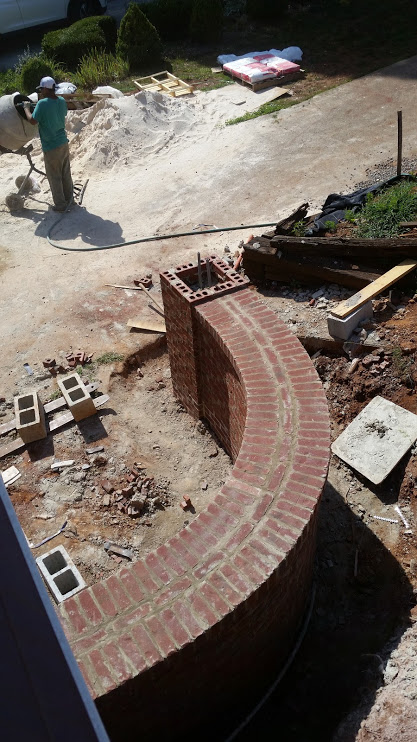 The dirt will be graded soon to slowly transition down and around the wall.
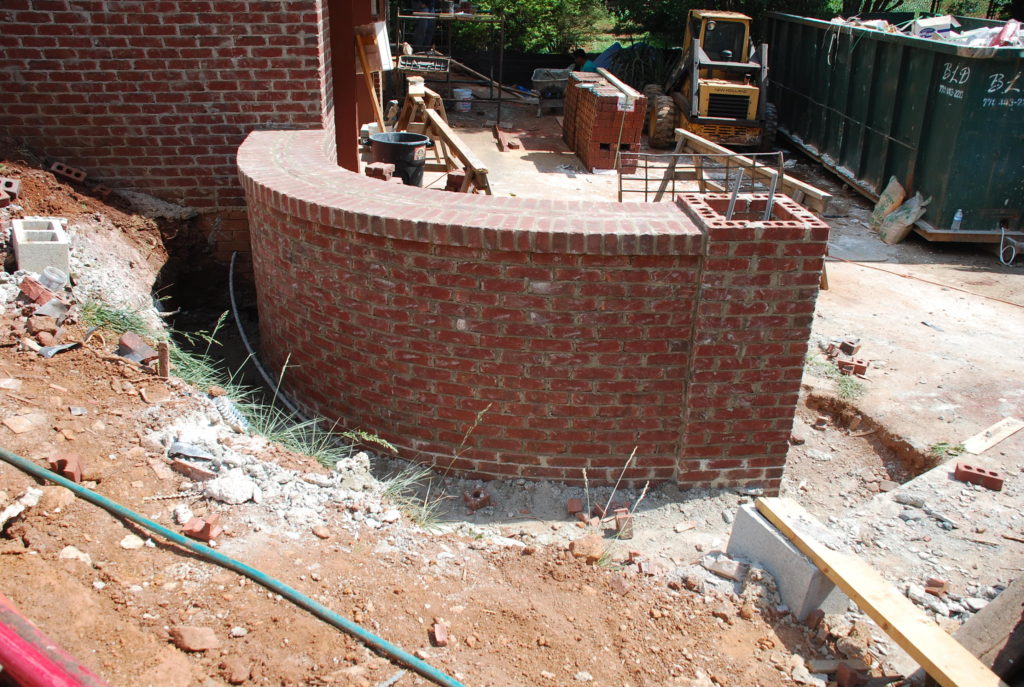 From the driveway side, there will be a planter on the low side between the wall and the Motor Court outside the Garage doors. It’s going to take some real cultivating to get that soil back to where it will grow anything.
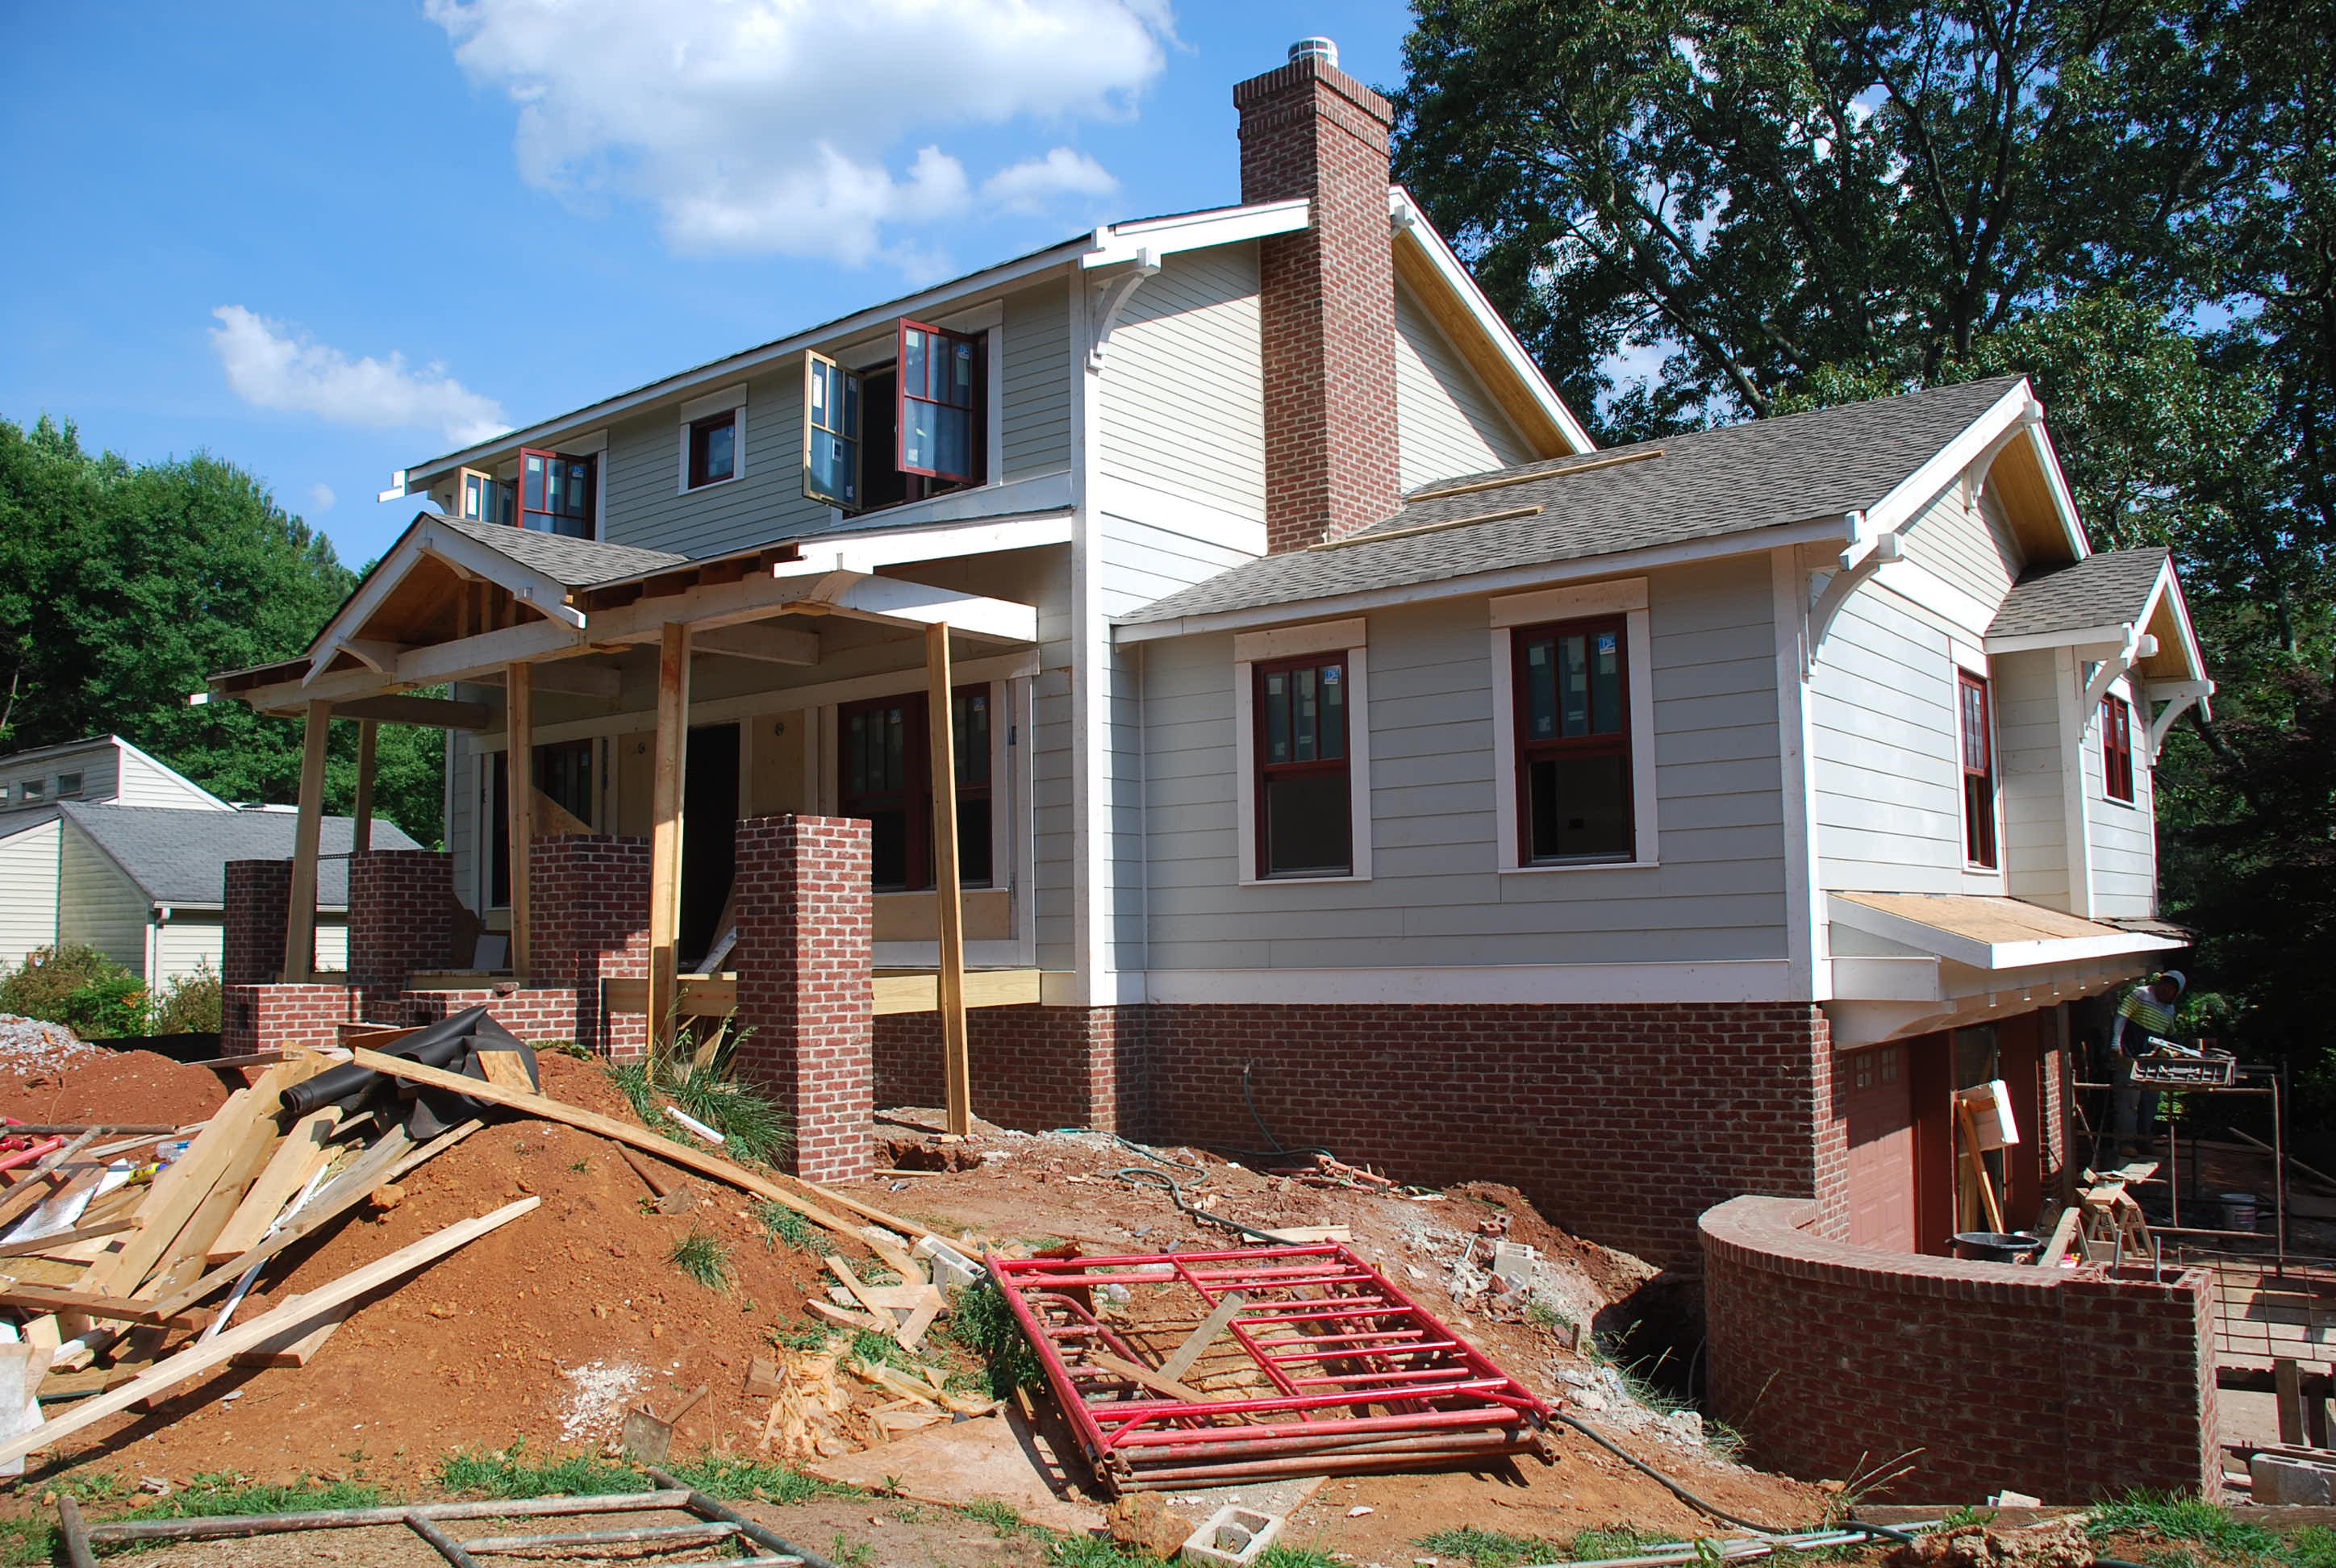
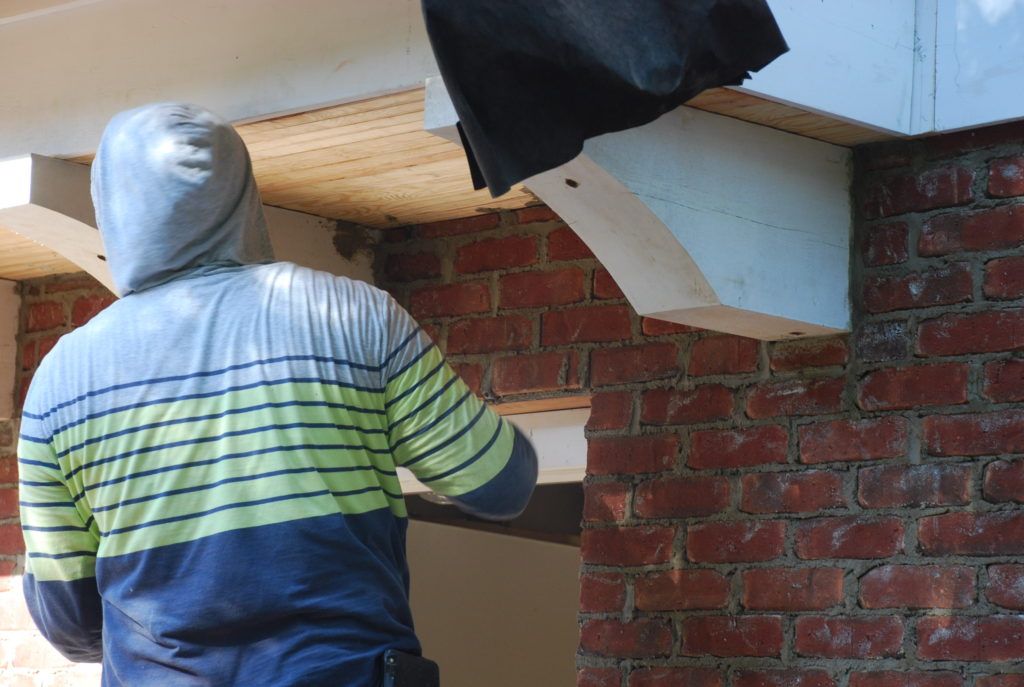
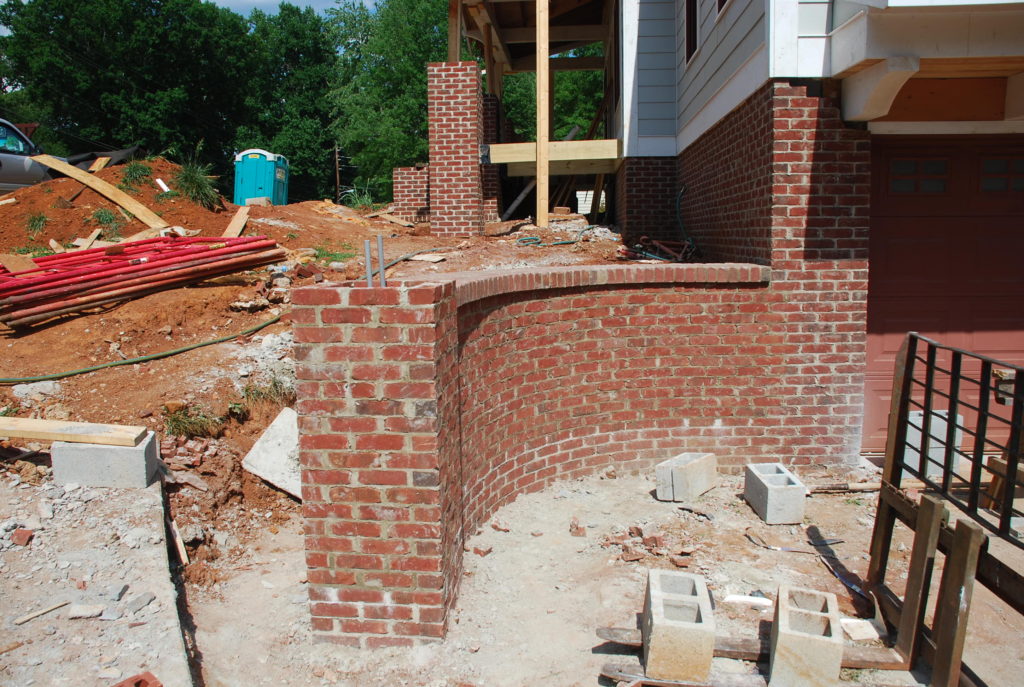 Once they finished with the retaining wall, they moved to the last remaining part of the house that had not been completed as yet. They bricked around the corbel at the front right corner of the house and it creates a nice detail.
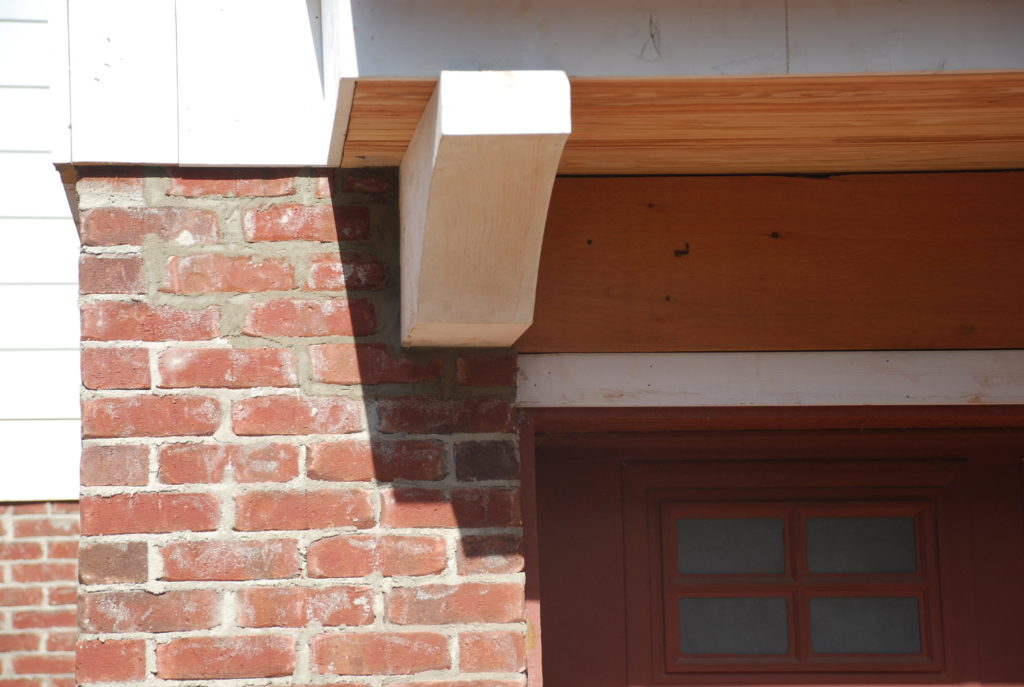 At the back side of the garage doors, we decided to vary from the original design slightly and brick in the corbels there to match the front side.
 Now that it is done, the corbels look like they are bearing the weight of the Master Bath and the eyebrow roof above.
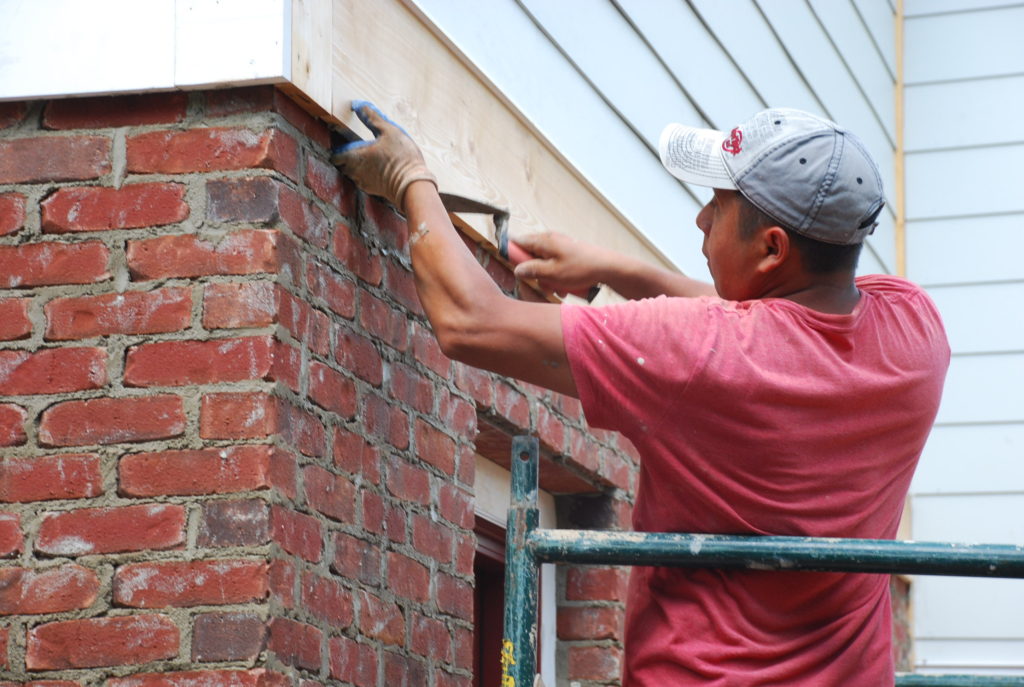
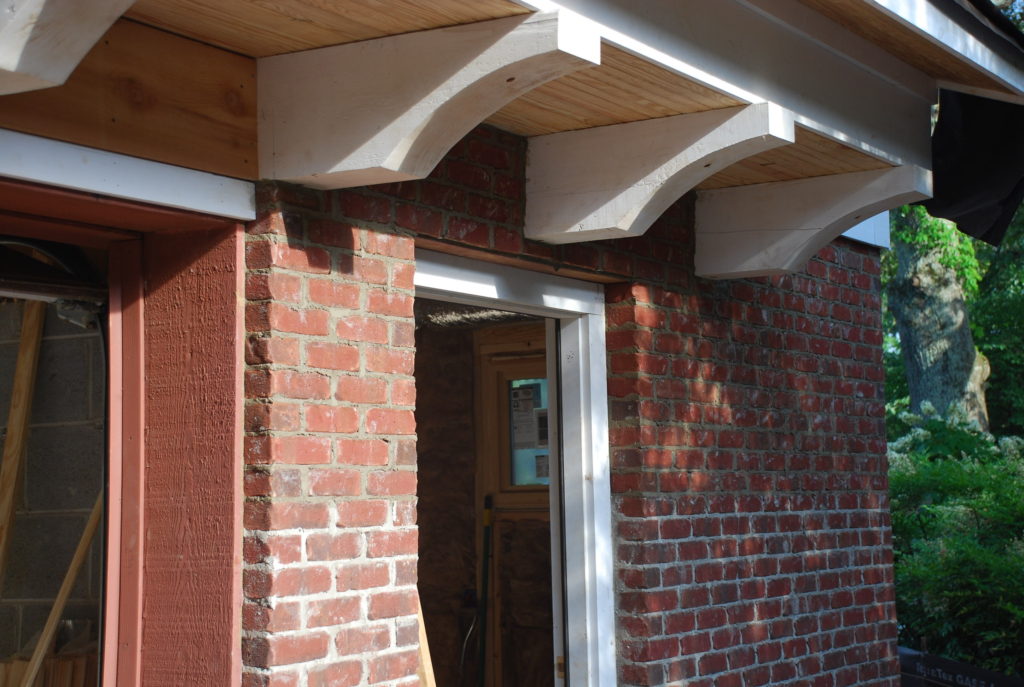 Around back they finished up the brick around the 3 windows in the Garden Room. It was a little tricky getting the brick up behind the trim band and putting mortar around and under those last couple of bricks.
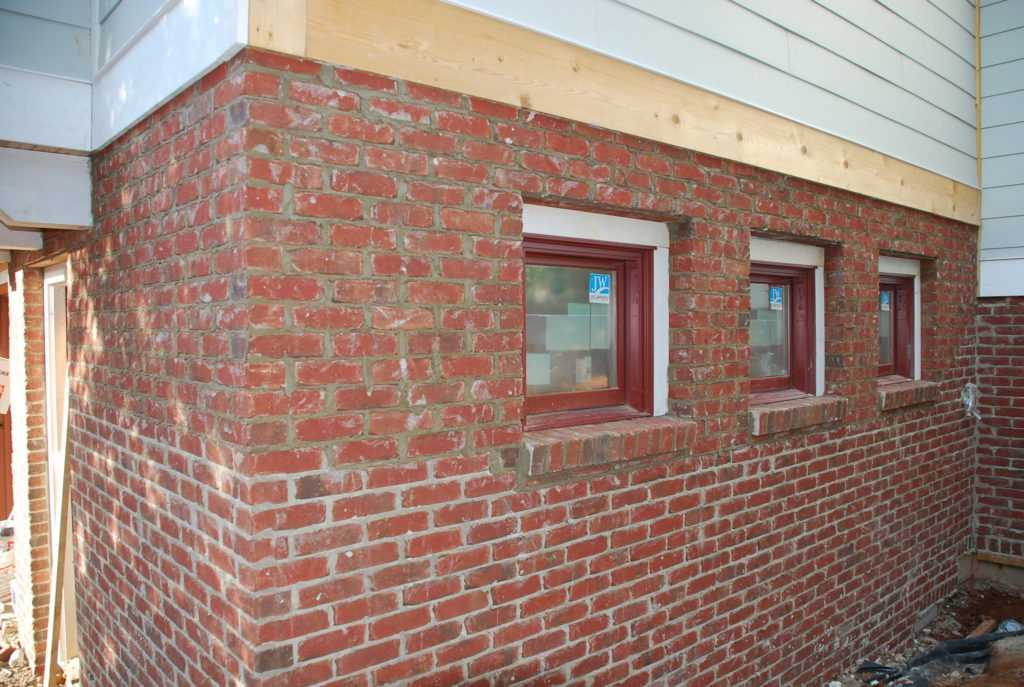
 Finally done – windows bricked in, rowlock sills in place . . . once the mortar dries it will all look fabulous.
 Another busy week – and a lot to show for it.
June – Week 1 – Drywall installed and finishing up final brick details
June 4, 2016