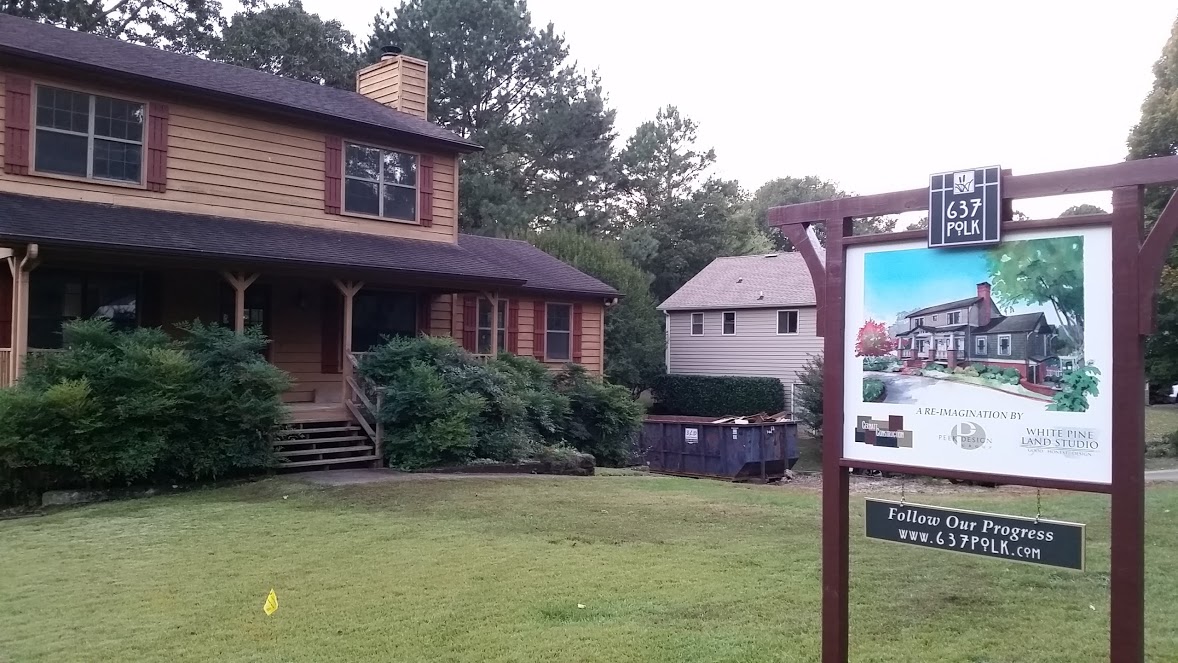
The sign is ready! All you folks that have been wondering what in the world is going on at 637 Polk Street can now get the scoop from the website – now that you know that there is one. The first thing we did after Dale finished assembling and painting was for Tom to call the utility locator service who came out and located the electrical and cable and gas lines going along the front of the house. Once we knew where the underground stuff was, we measured back 10′ off the property line as directed by the city, and dug us some post holes.
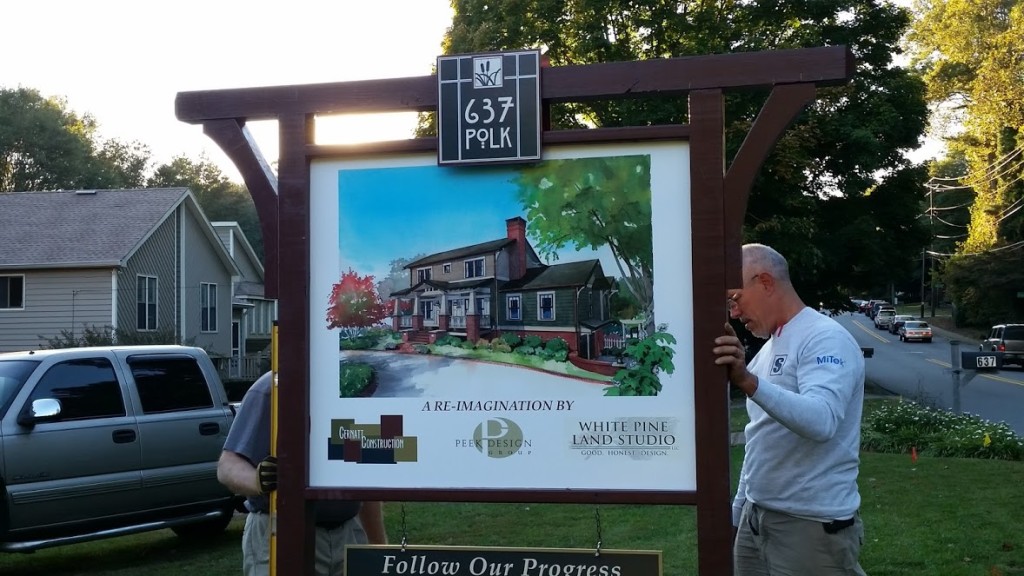
After carefully leveling and plumbing, the holes were backfilled and we had ourselves a sign. Now all the folks that drive very slowly down Polk Street during the two rush hours every weekday will have an inspirational image to look at and compare to the progress of the renovation.

With the big excitement done for the day, it was back to demo. We first identified all the walls that were going to either be removed or modified so drastically that we would need to remove the drywall to expose the studs. After marking these on the Demolition Plans, we started on the Second Floor and began working our way from room to room and then down to the First Floor.
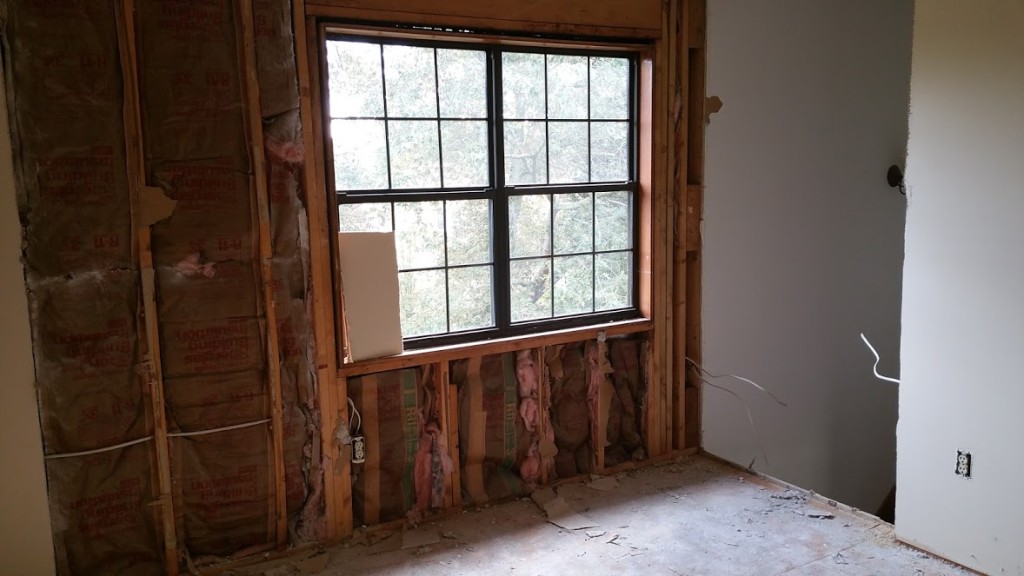
We left the existing insulation in the exterior walls, but it will probably be replaced as the current Building Code requires more insulation value than it did in 1980. Our plan is to use batt insulation in the walls, and to use spray foam for the roof rafters rather than the blown-in insulation that is laying between the ceiling joists there now.
At some point we are going to have to figure out how to remove the existing attic insulation, but that may be a moot point. One of the details that we really want to correct is the ceiling finish. The original ceiling has a ‘stippled’ finish which was made using a soft brush dipped in drywall mud and smushed up on the ceiling in a random pattern. There are several different styles of textured ceilings dating back to the asbestos versions back in the 1950’s but most of them have fallen into disfavor in the last 20 or so years. The main reason they were so popular with builders was that the texture would effectively hide imperfections in the drywall job. So the drywall sub could get in and out quickly without nearly so much sanding and finishing as it would take with a smooth ceiling.
However, you would never see a textured ceiling in an original Craftsman home, and we knew from the beginning that this was a detail that was going to have to be changed. What we haven’t decided yet is whether it will be easier to remove the stipple from the drywall ceilings by wetting and scraping – and then finish them to be smooth, or to just remove all the ceilings and have the drywall contractor start from scratch. We suspect that the latter will be easier, but no decision yet. If the ceilings come down, then so will the insulation and that will be some kind of a mess to clean up!
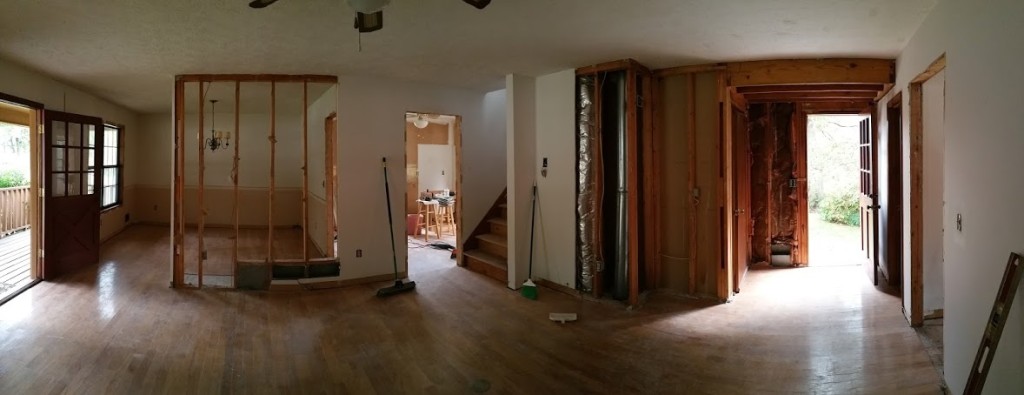
For the first floor, we really needed to take down a majority of the ceiling to expose the structure and decide which walls are bearing the weight of the floor above, and which ones are non-bearing. Once we got started exploring what was what, we decided to just take it all down so the drywall contractor didn’t have to deal with a patch job. There was no insulation in the ceiling/floor, and we didn’t expect any, but the mess we made by removing the drywall was plentiful.
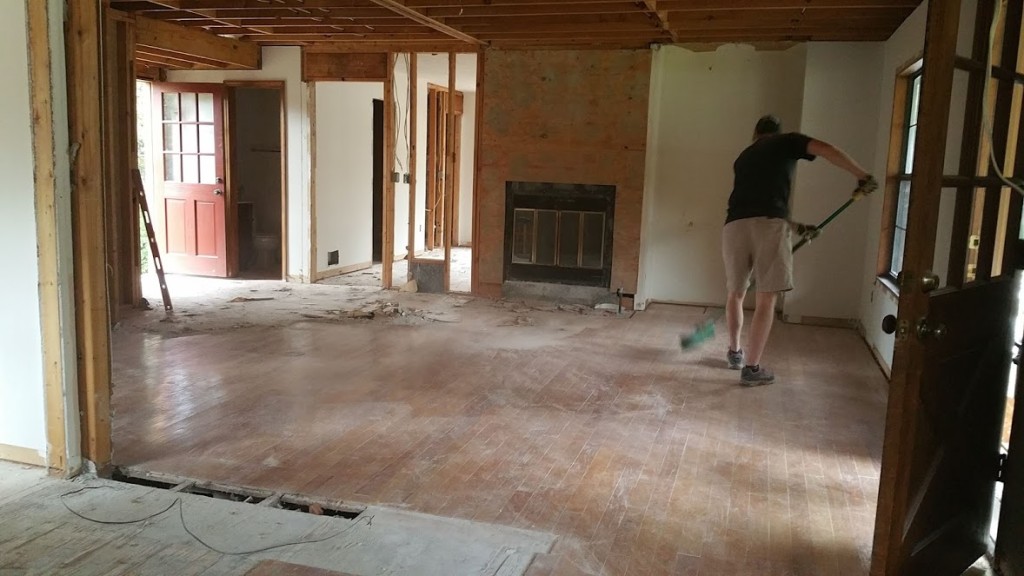
Once the drywall is down, then we haul it to the dumpster and then there’s the sweeping and sweeping and, well you get the idea.