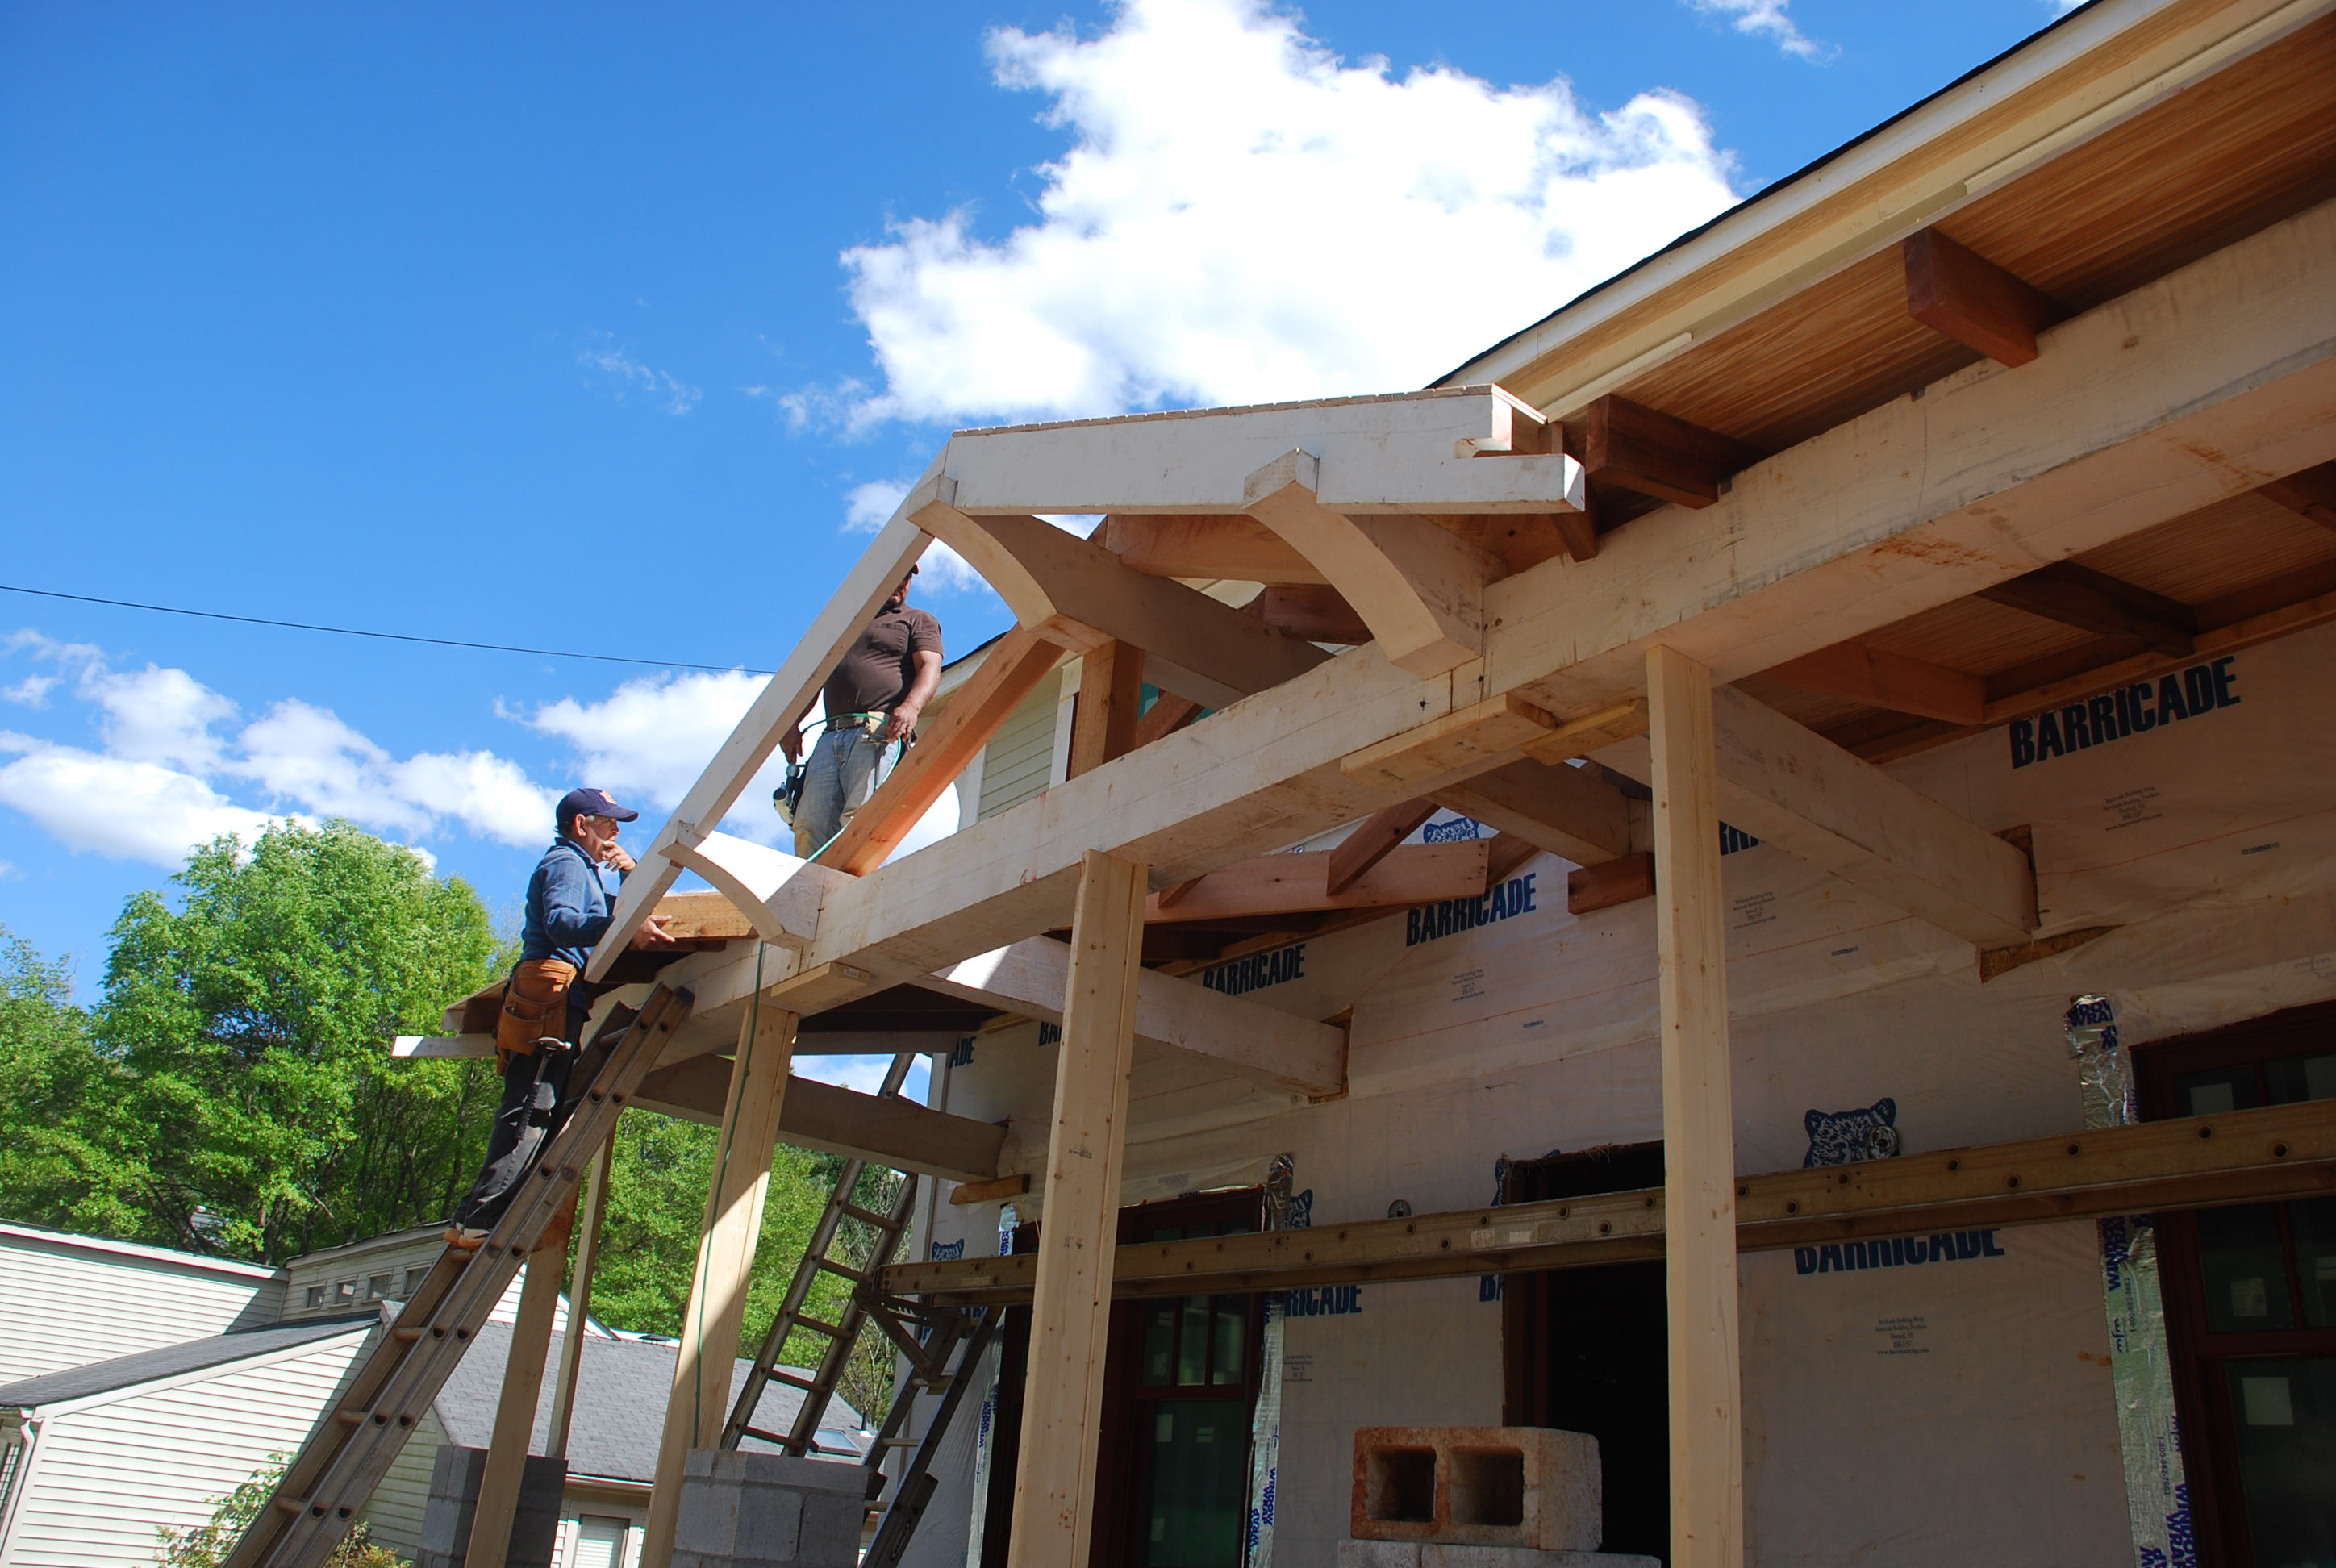
A lot to recap for this week – starting with the roof framing for the Front Porch. Early in the week we arrived at the house as the crew was setting the roof rafters and trying to figure out how to frame the front gable.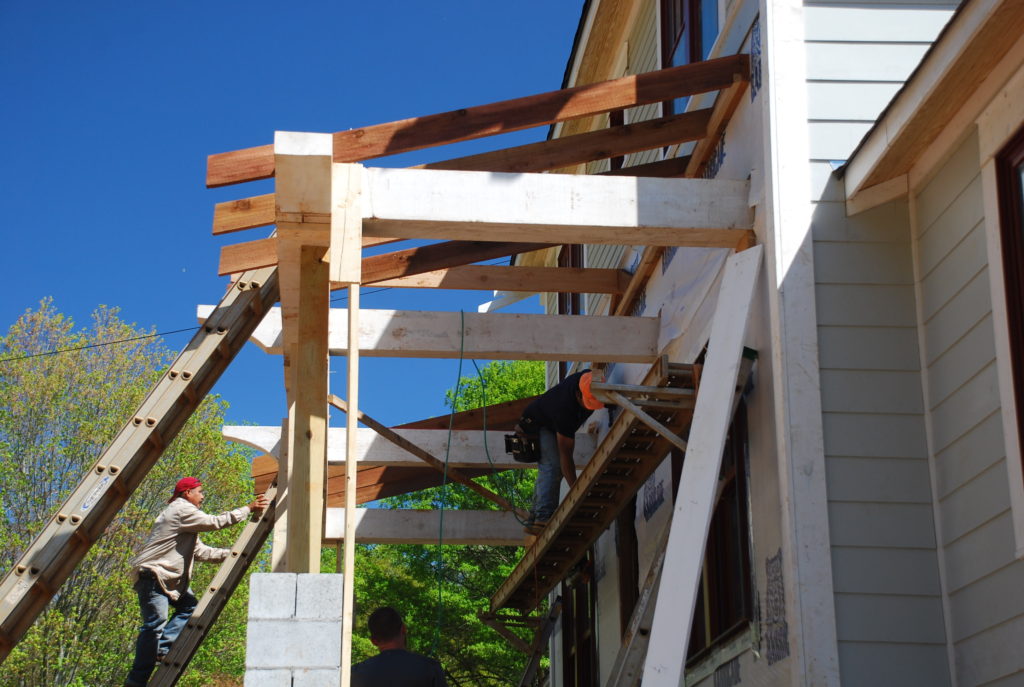 By the time we got there, they had already taken a stab at a ridge board and rafters framing it up in place.
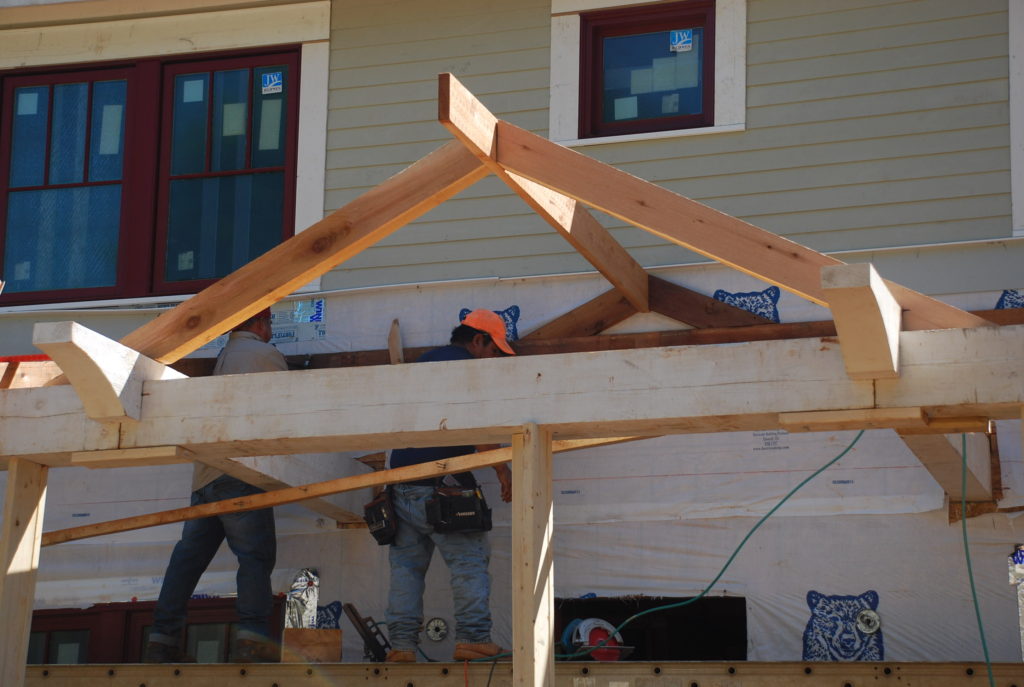 What they didn’t understand was that there was one more 6×10 corbelled beam that was to serve as the gable rafter! So the 2x cedar came down and we explained how the roof was supposed to be framed.
 Once the ridge beam was in place, then we worked on how the rafters sit on the beam and form the gable over the front steps and porch.
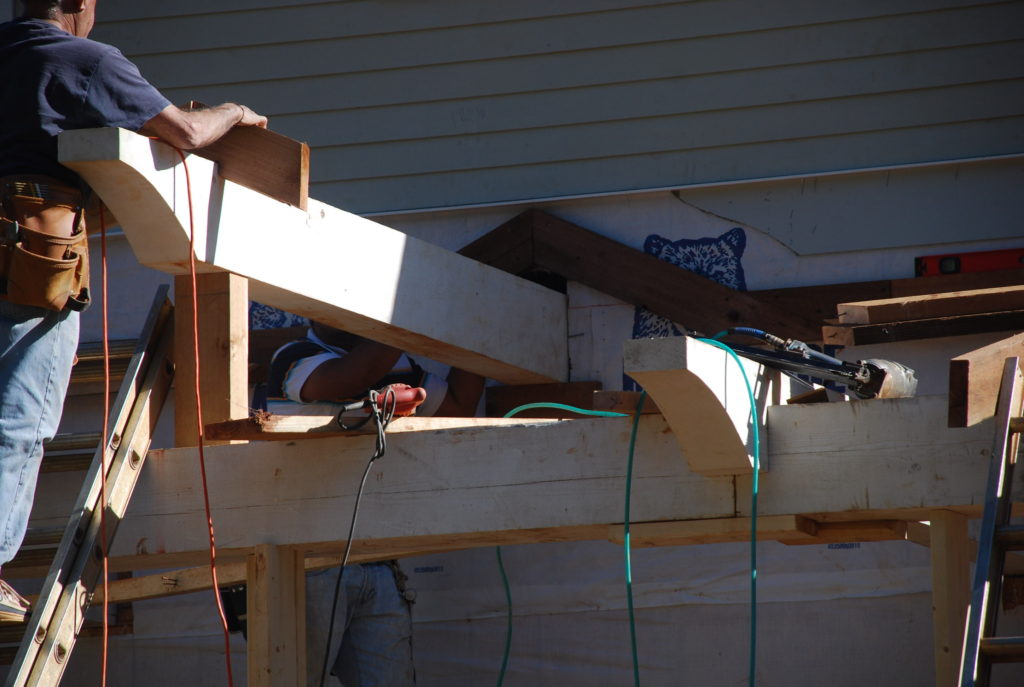 It was a bit tricky to get the rafters and the bargeboards all situated so that the overhangs were right and the roof edges would line up even though the two roof pitches were different.
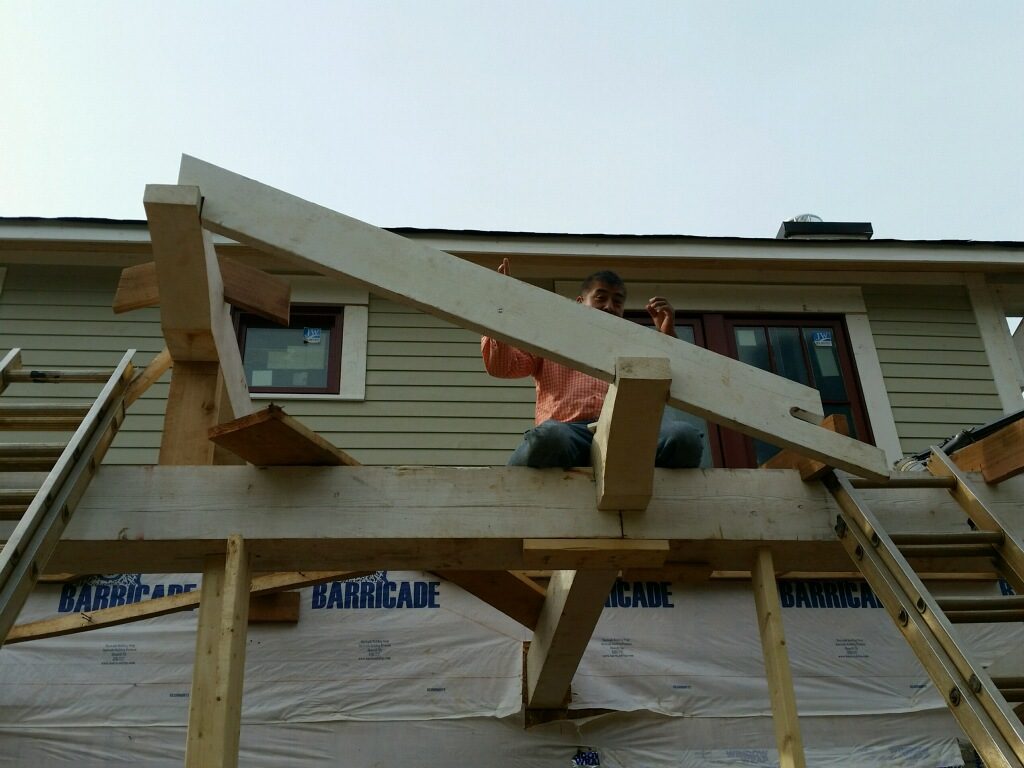 Once all the lengths and pitches and angles were figured out, they made quick work of getting the rafters in place and started with the roof decking.
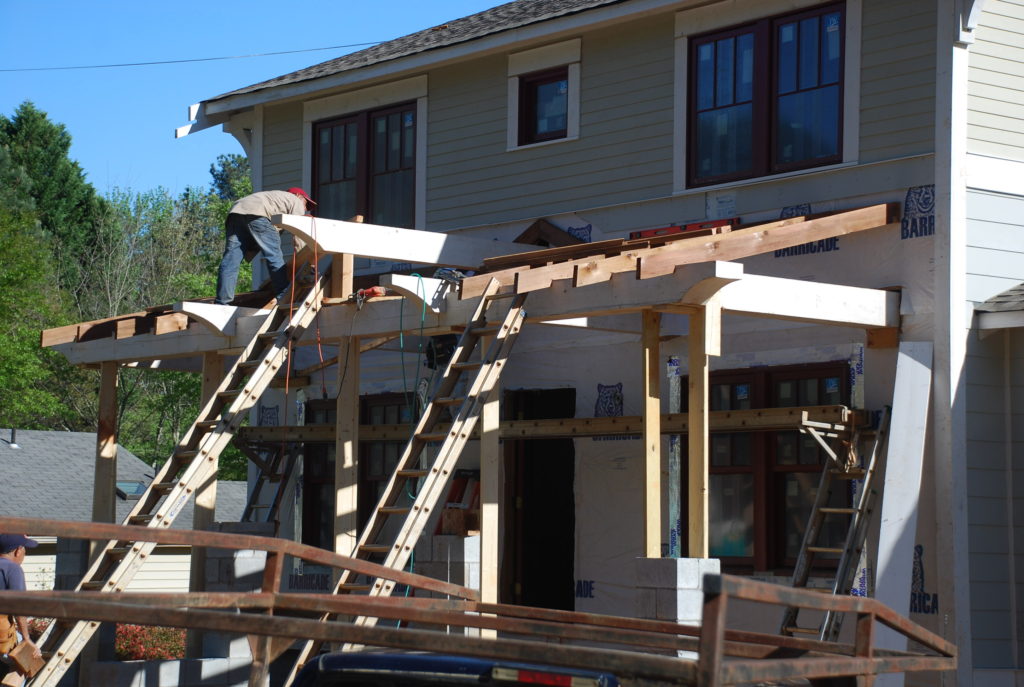
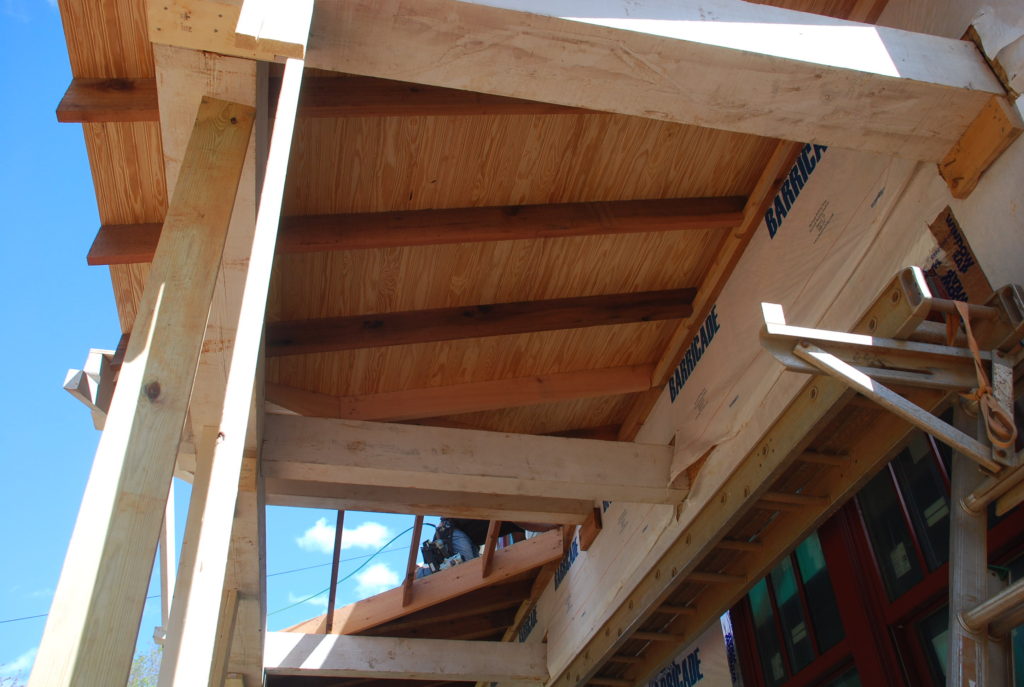 A day later we came back and found the roof nearly done with all the rafters in place and a good start on the decking. We are using 3/4″ tongue-and-groove beadboard decking to give the look that we want below.
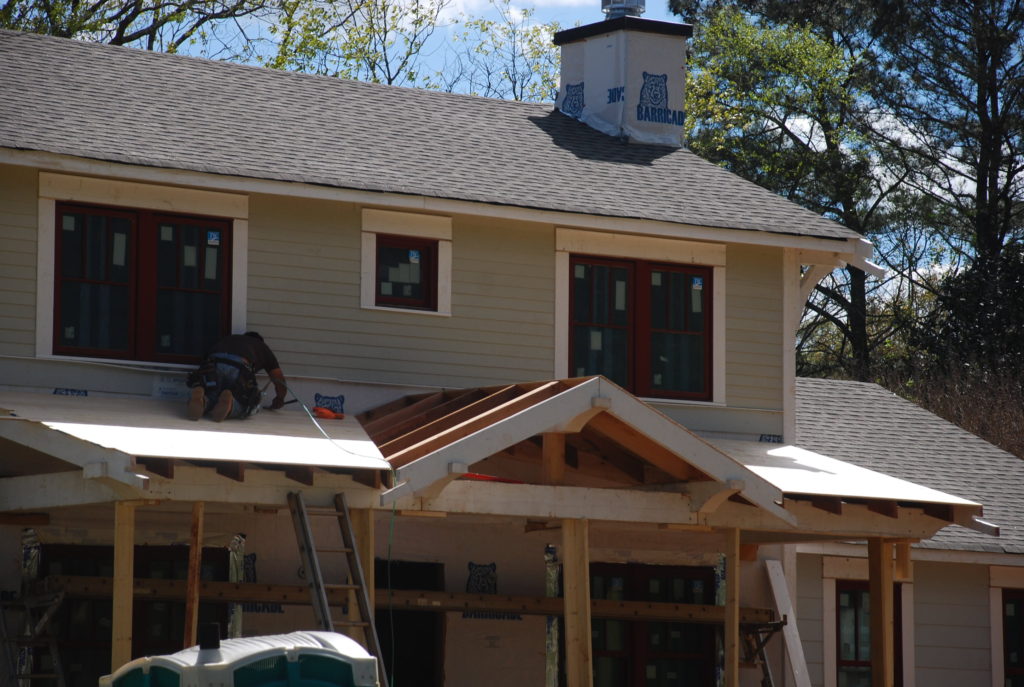 Knowing that the rafters were going to be exposed below, they took great care to make sure there were no nails exposed where they fastened the decking into the rafters. The deck boards are installed with random lengths and then all cut at one time to give a smooth end to the roof deck.
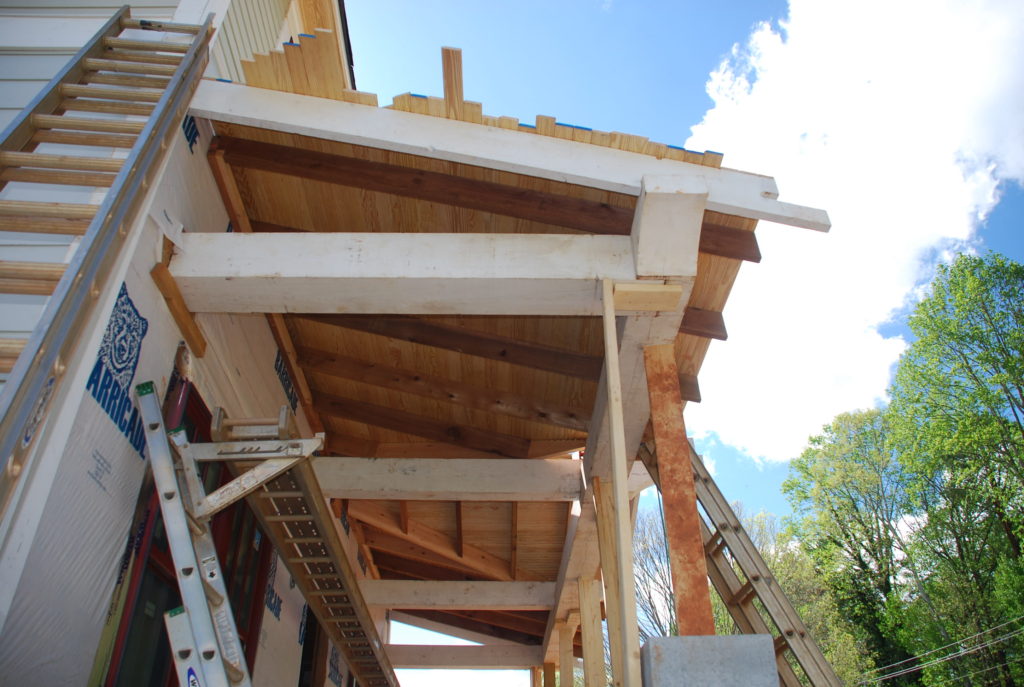 Regino challenged me to find a nail exposed below – and I could only find one that had missed the rafter. It was quickly removed and all was clean underneath.
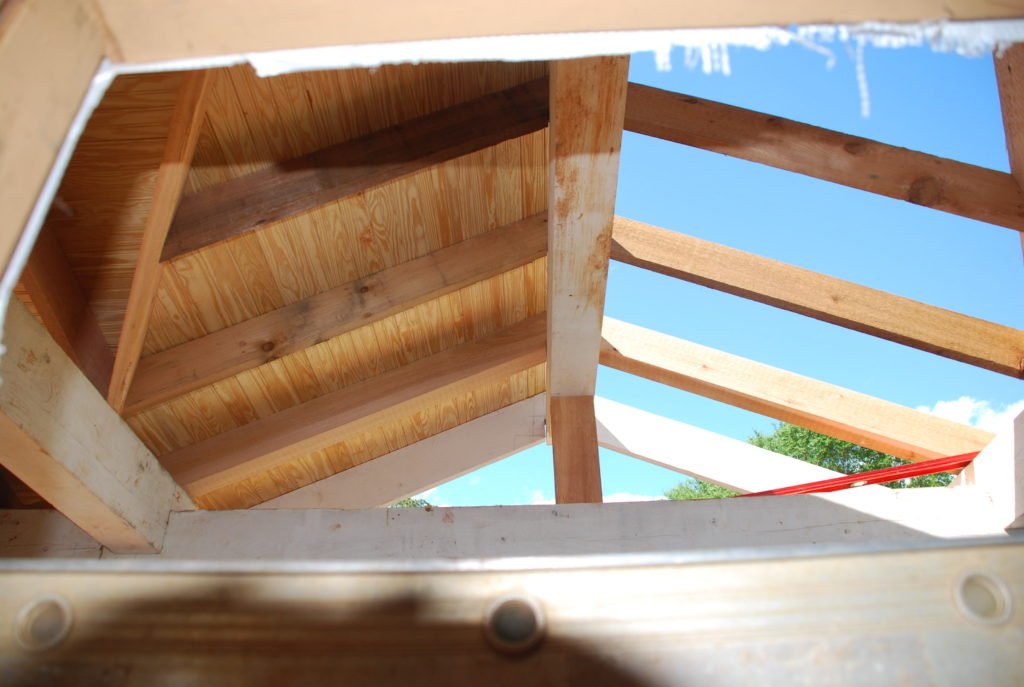 Below you can the beadboard deck viewed from the window above the porch.
 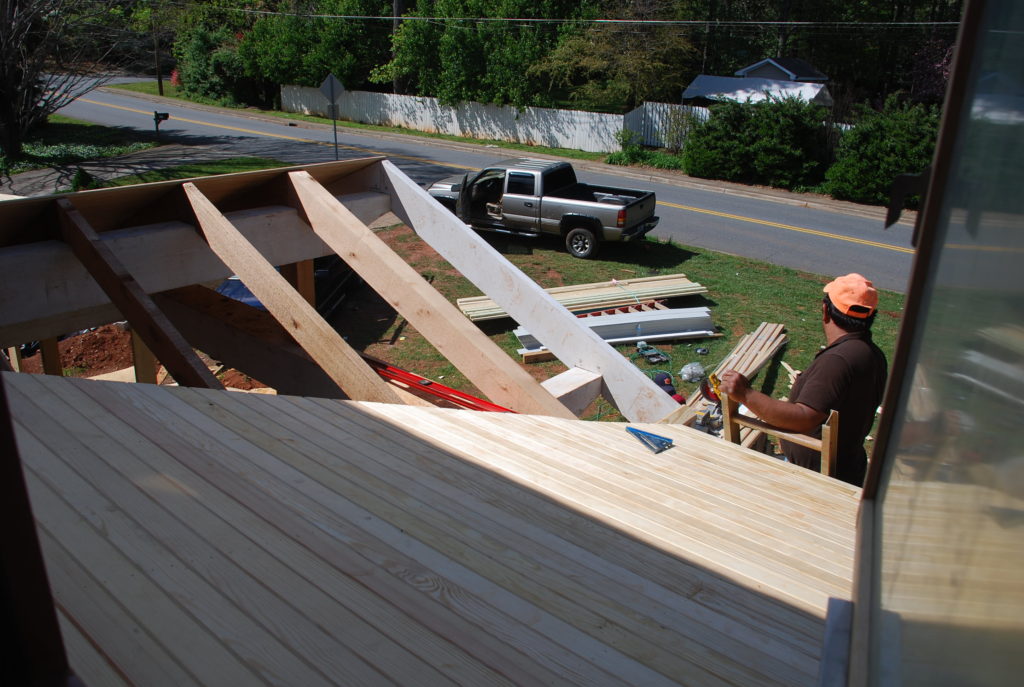 Once the beadboard was all in place they added a layer of 1/2″ decking on top to make sure that the roofing nails/staples wouldn’t penetrate the decking when the shingles went on.
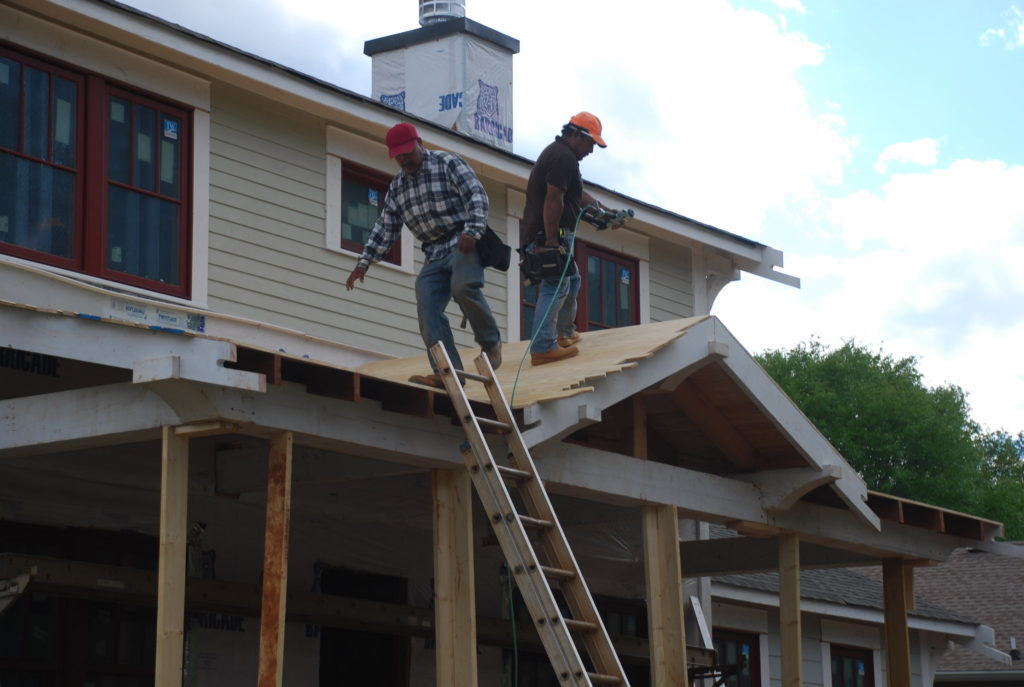 After the decking went the roofing felt to protect the deck from the elements and to serve as a base for the shingles.
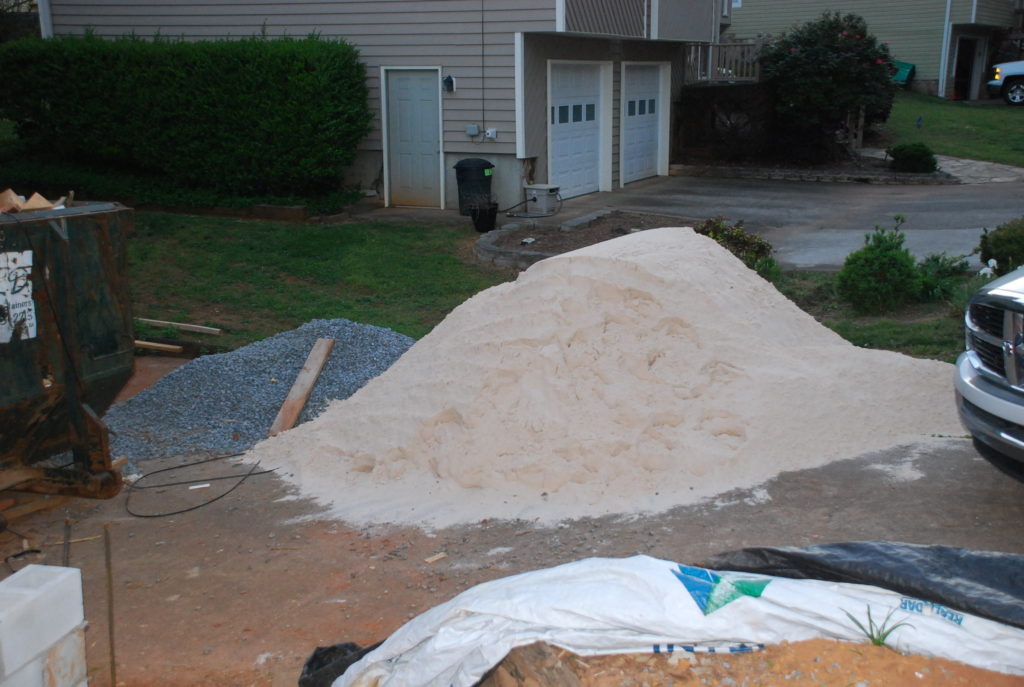
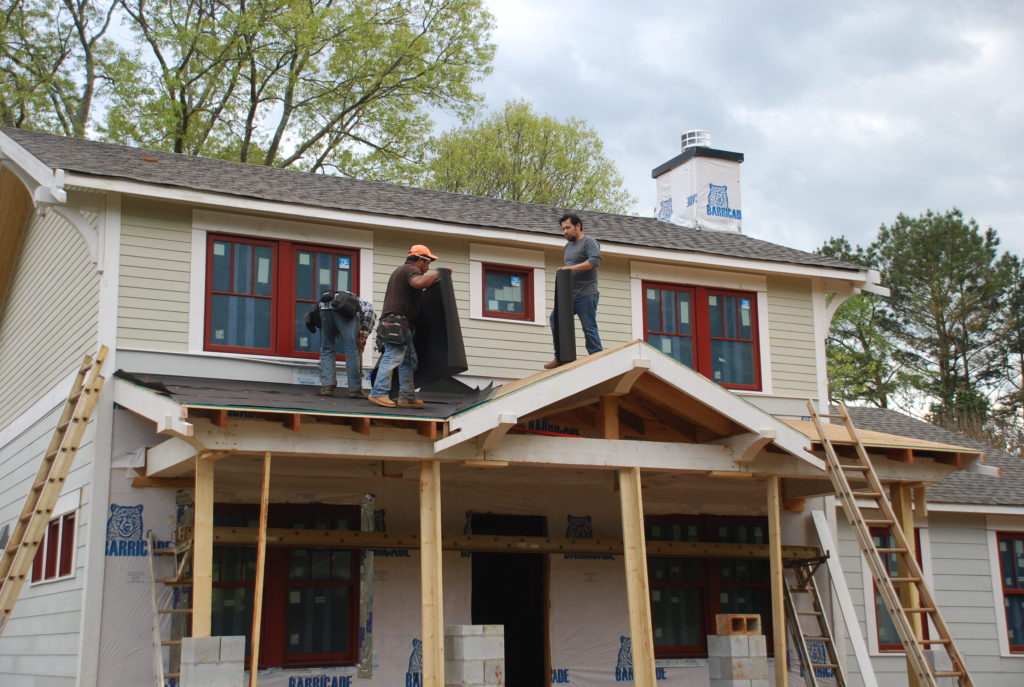 In the meantime, we had selected our brick (finally!) and scheduled delivery for this week. First thing to show up was the sand (11 tons) along with 80 bags of mortar mix.
 And of course the most important item – 10,000 bricks in cubes including about 460 bricks per cube. We ended up selecting the St. Louis brick after much deliberation, to be laid with Shelby Tan mortar in a flush mortar pattern (not raked). Tom said that the brick contractor was going to come by on Saturday to make sure all was ready to go and then bring the crew on Monday.
So we showed up on Saturday morning and were surprised to find 3 trucks full of folks all rearing to go! This was by far the most organized contractor that we’ve seen in action on our house. Everybody seemed to have a job and went right to work. There were guys tagged to mix the mortar and keep it flowing – and before long they had the mixer going and were making mortar.
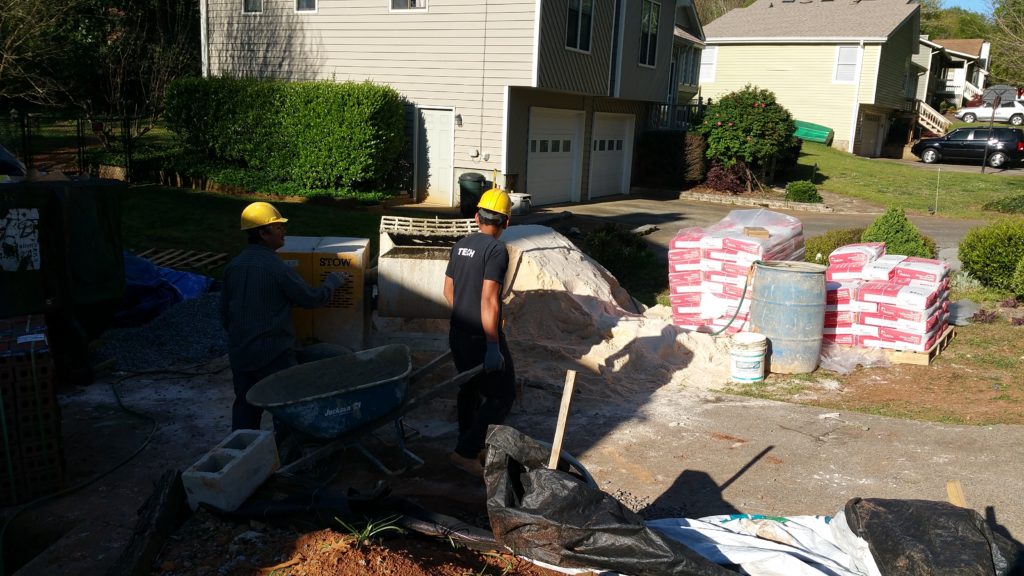 Then there was a guy with a shovel smoothing out the dirt all the around the house to make a smooth trail for the wheelbarrows to travel. And then there was a guy with a special hand-truck that could pick up 100 bricks at a time and he went to work spreading them out to where they were going to be needed.
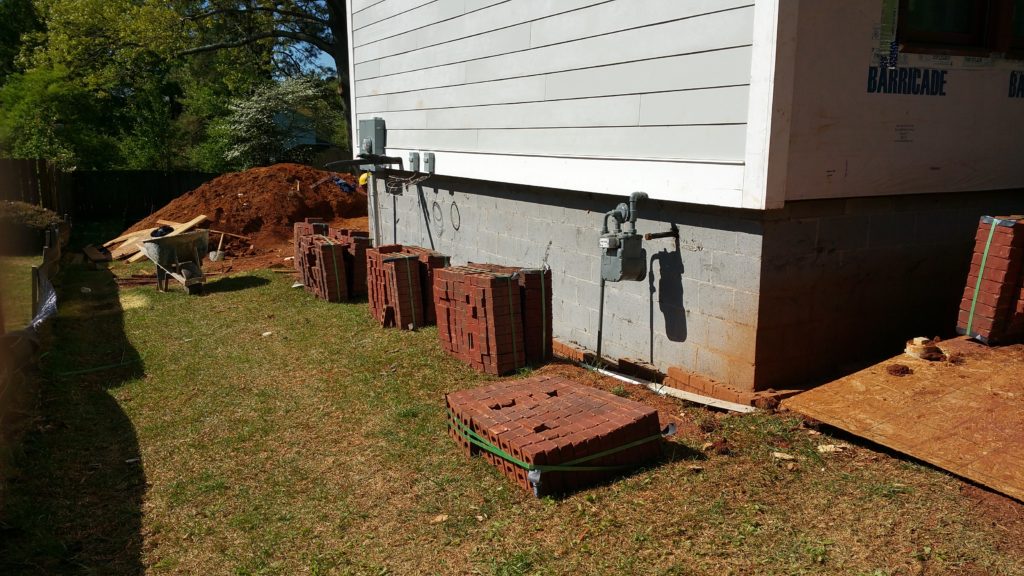 Once the mortar started flowing, most of the other folks got busy laying brick. There were several kids included in the entourage and we wondered if they were just there to hang out while their parents were working.
  But we soon found that they were great helpers – stacking the bricks or laying beds of mortar down or whatever else needed to be done, short of actually laying the brick.
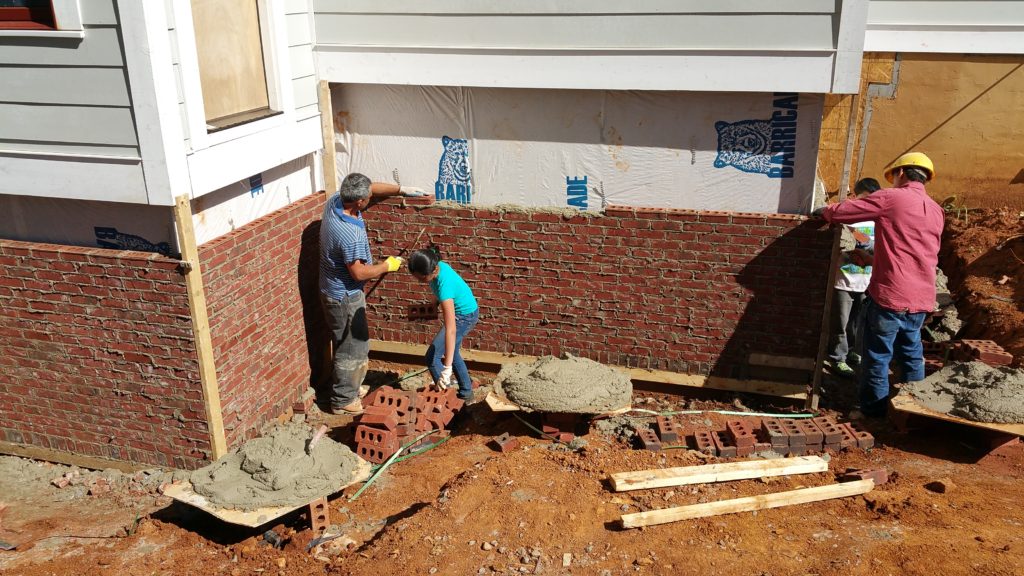 Before long the brick began rising up the wall. Where there was brick there before, we had left the old brick down low where it would not be seen when the dirt was backfilled. In the photo below you can see the remnants of the old brick under the new. I had forgotten how orange it had looked. It will really make a difference with this new color.
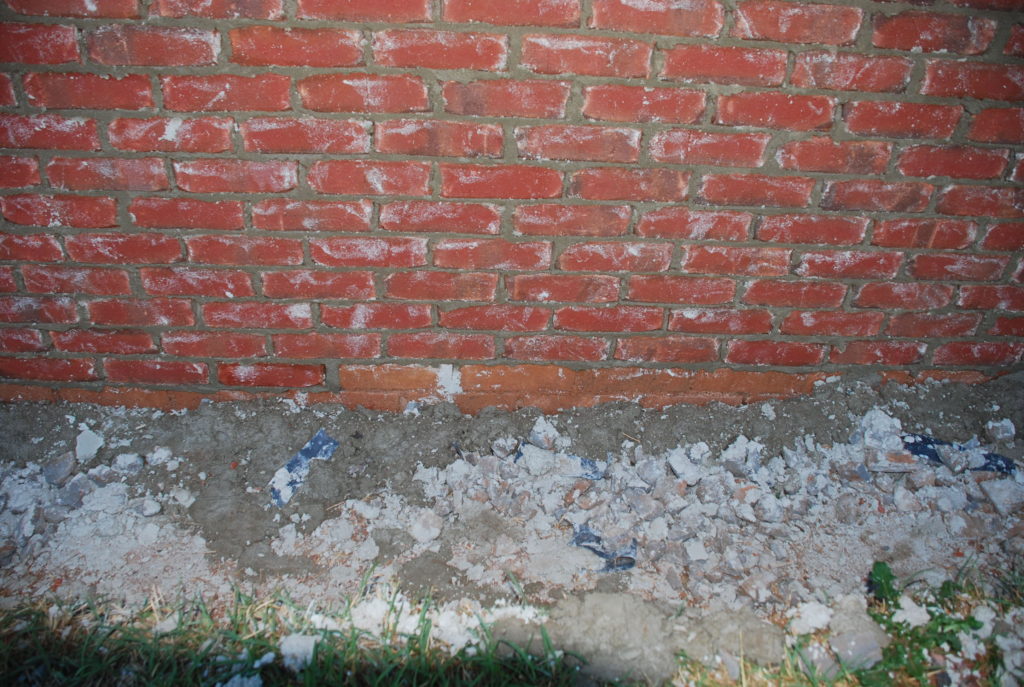 The flush mortar really makes it look like old brick – which is exactly the impact that we are trying to achieve.
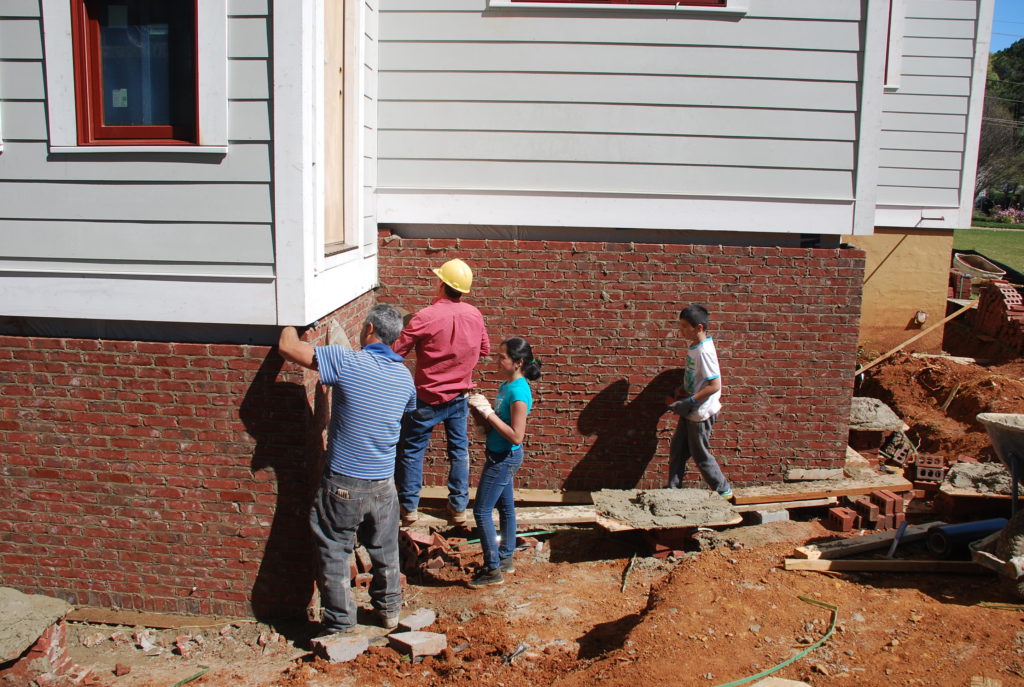 Before long they were around the corner and coming down the front of the house.
 It really made a difference in the look of the house – nicely coordinating with the window color and it will be great with the paint colors we have selected . . . someday.
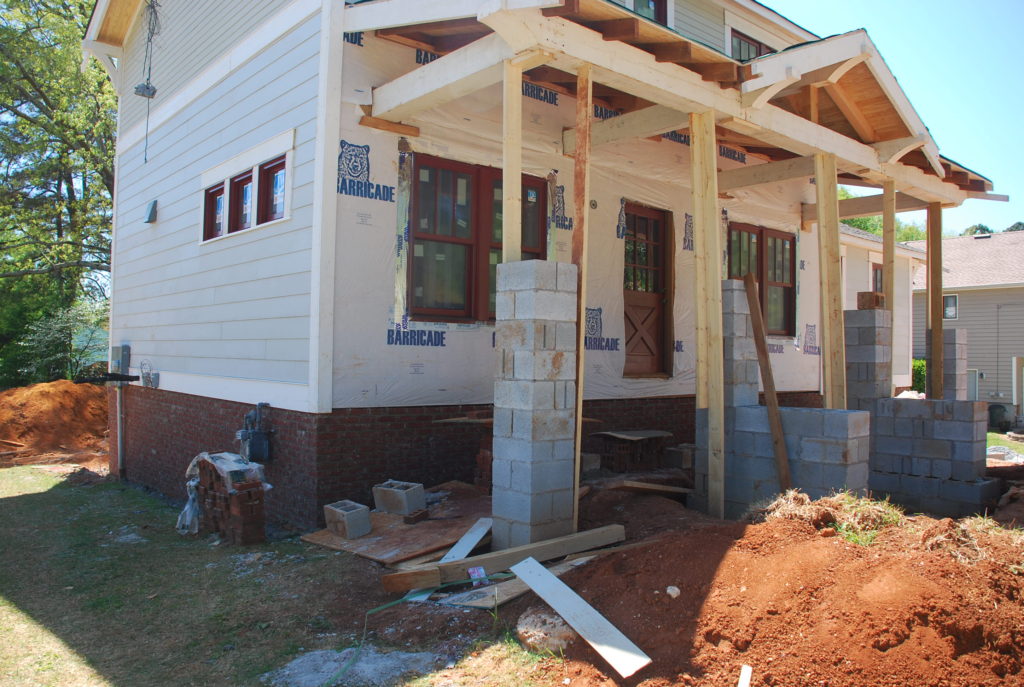 Also on Saturday, Poncho joined us and began working on some Basement walls and ceiling furring that the inspector tells us we will need to meet code. More about that later. He also started working on the ‘Eyebrow Roof’ that we designed to go over the garage doors.
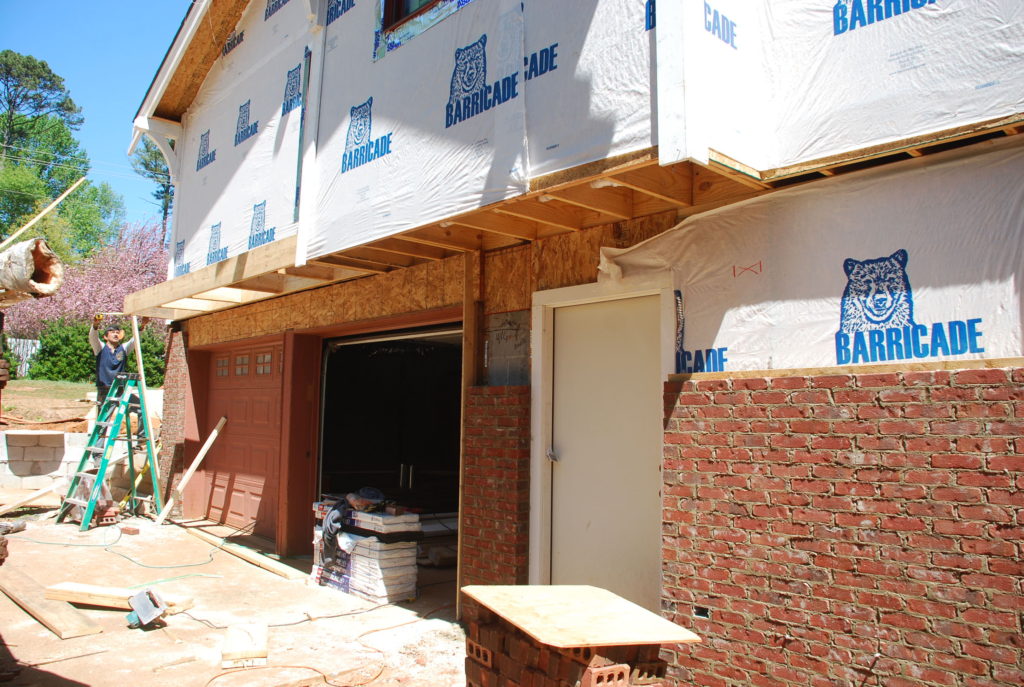 The roof is a continuation of the bottom of the cantilevered wall where the Master Bathroom sticks out, and will have a metal roof on it to give a little bit of cover down there.
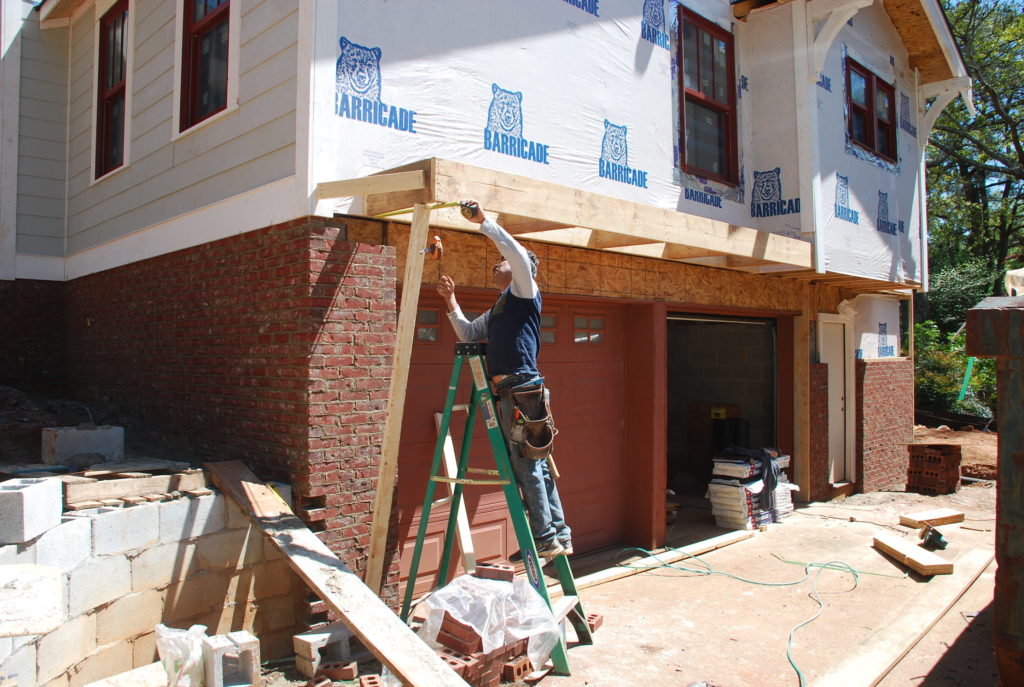 The Basement was always open before – with the cars parked in on one side and the other side just open for storage or whatever. However, the inspector has informed us that we will have to separate the ‘Garage’ part of the house from the rest of the house for fire protection reasons. So we decided where the separation should be, and had Pablo frame in a wall that will be drywalled to provide the protection required by the code.
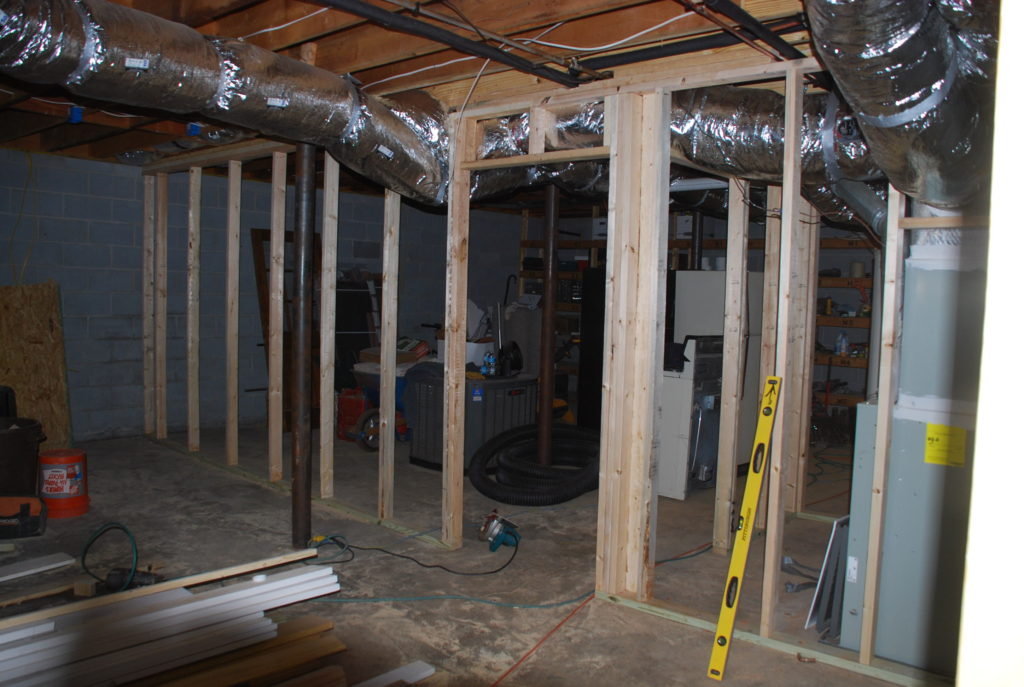 All that made for a full Saturday and a very full week. It was great to see so much progress and we are anxious to try to keep the momentum going.