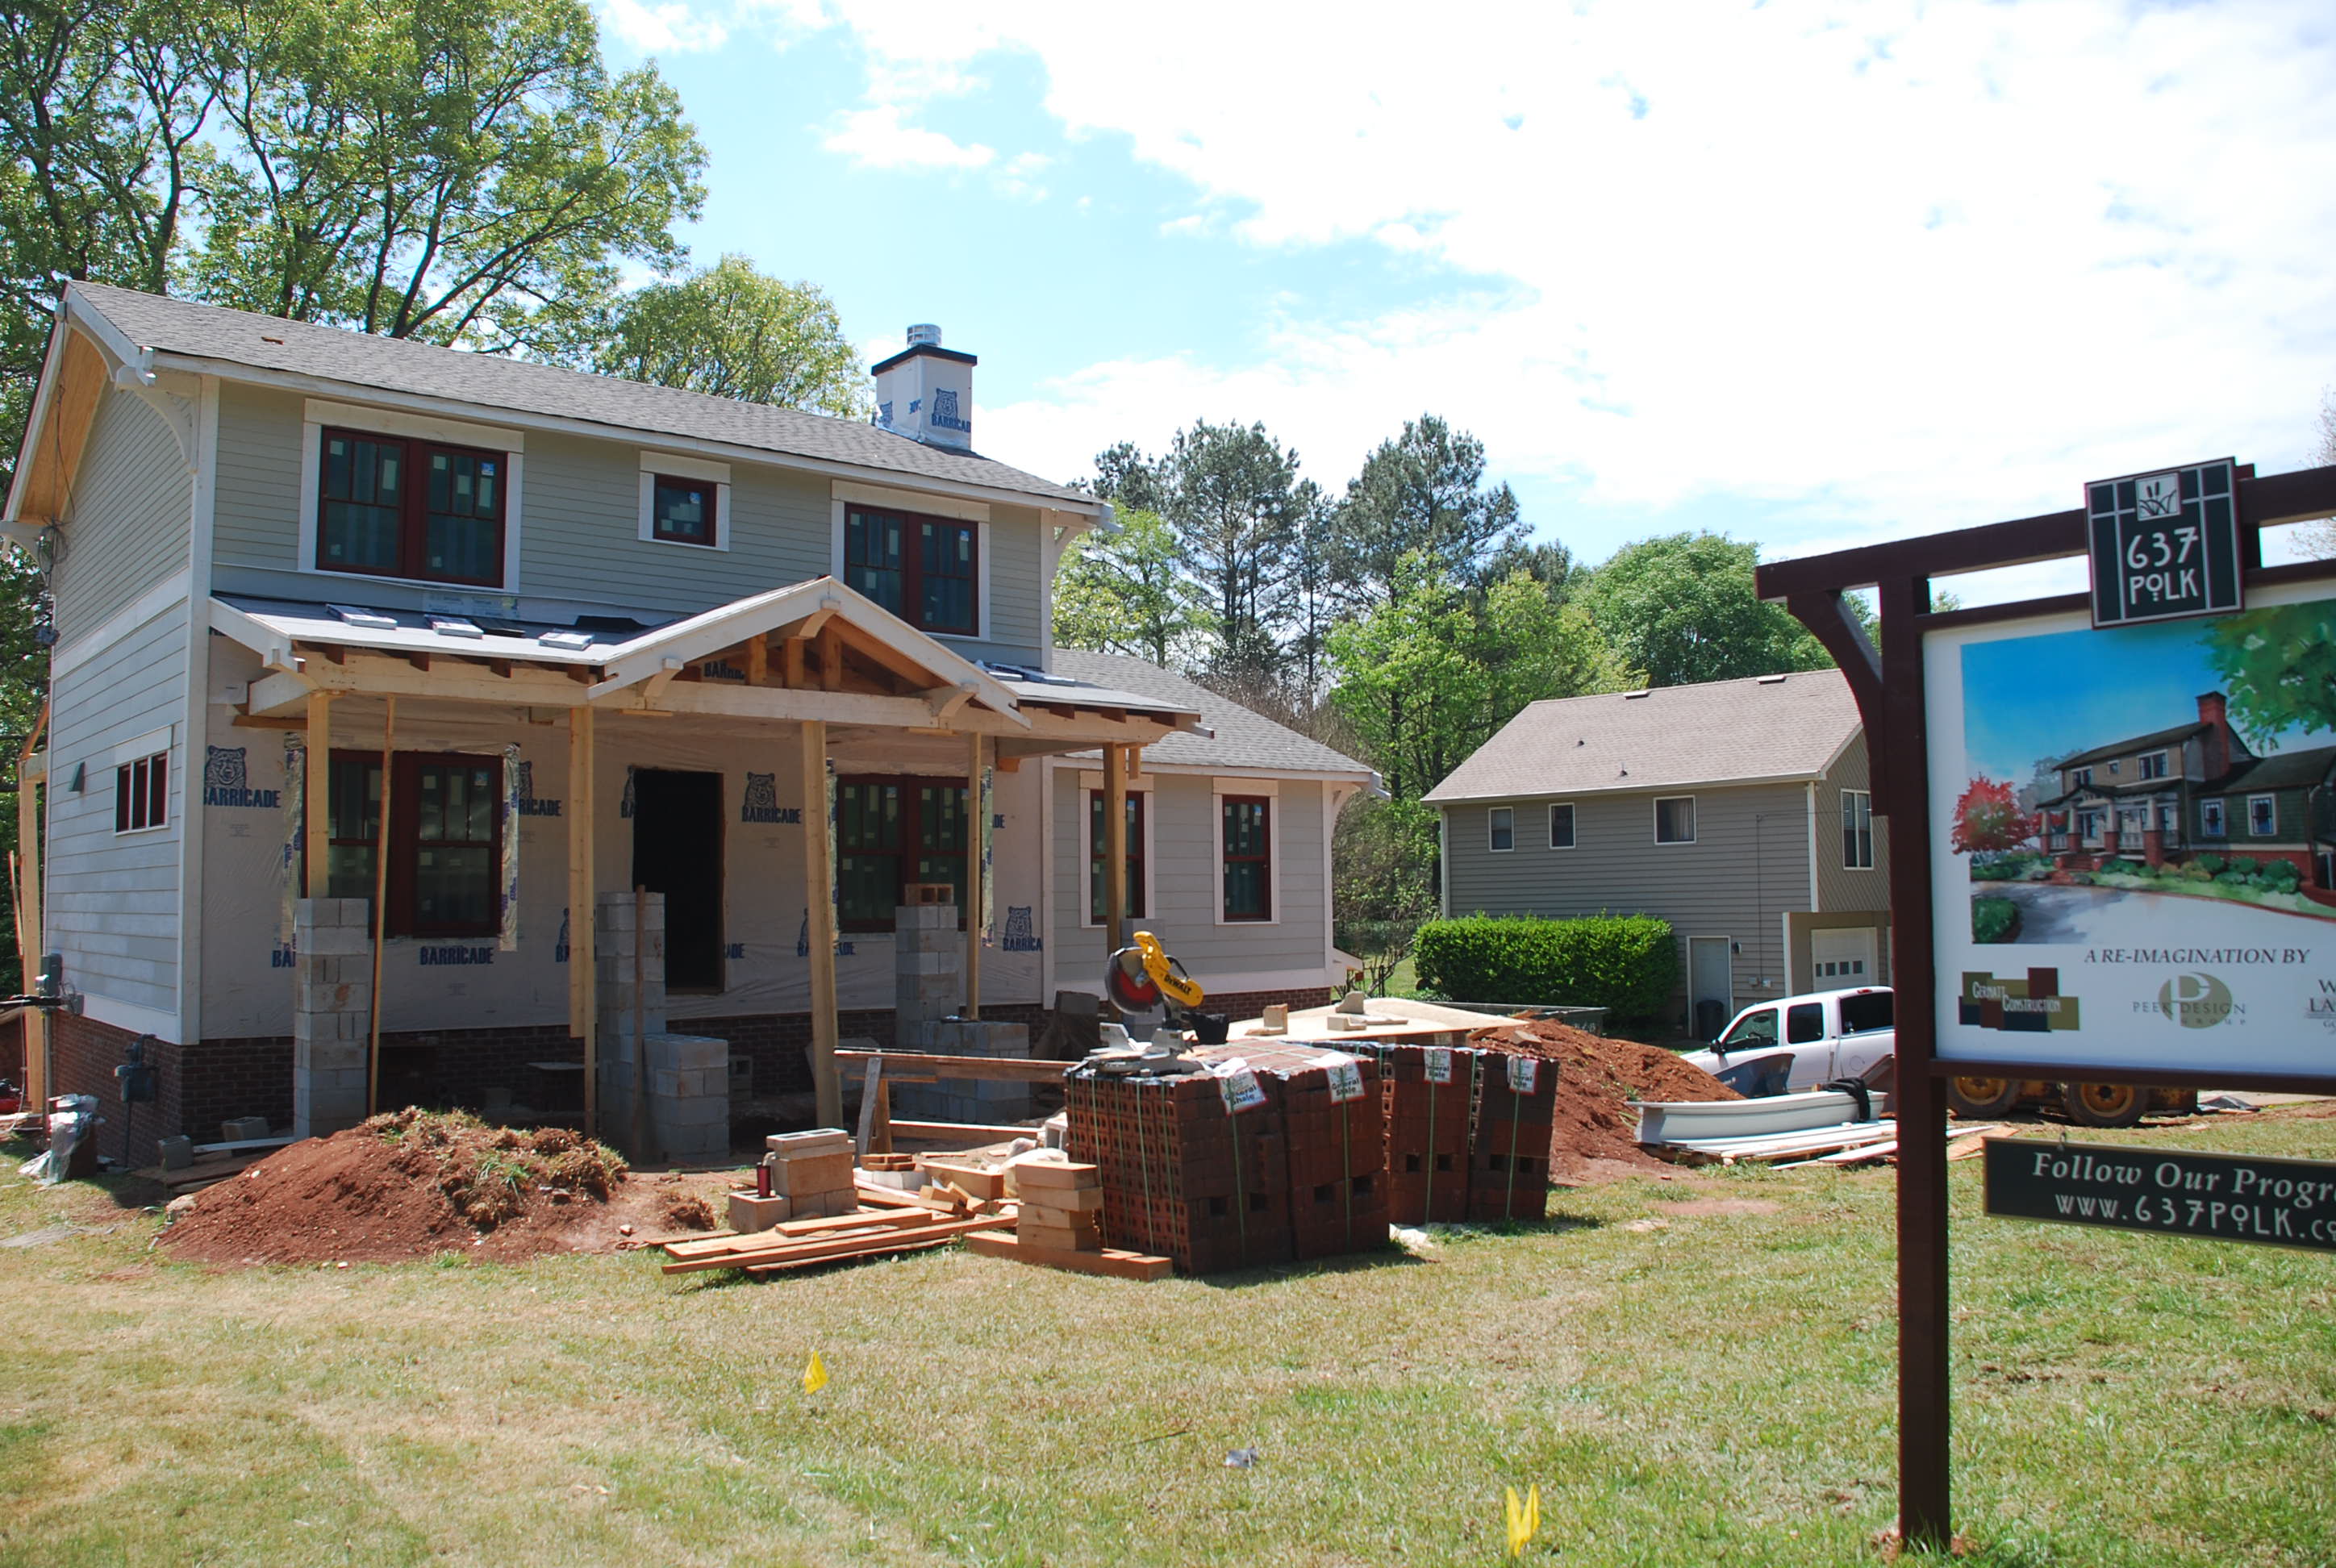
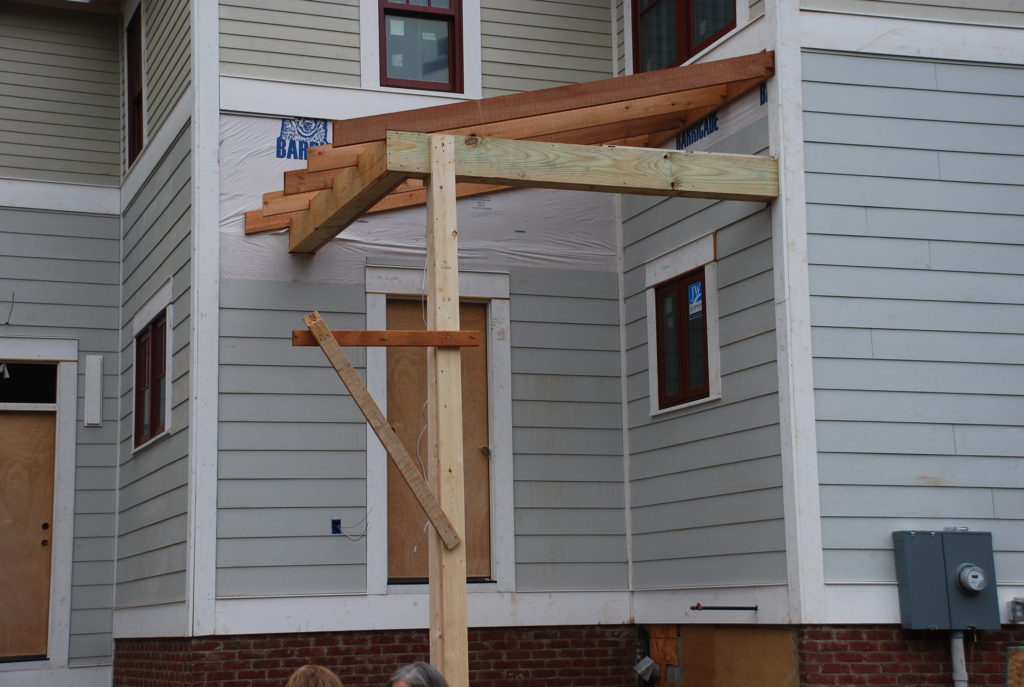
The framing crew that put up the Front Porch was back this week to work on the other porch structures. First they tackled the ‘Eyebrow’ roof that we designed to go over the Garage Doors. It is always best to have some sort of covering to protect doors and the people that go in and out of them. When we added the cantilevered section of the house at the Master Bathroom, it created a natural protection for the door into the Garden Room, so we decided to take that all the way across the Garage doors and add a nice element to the design.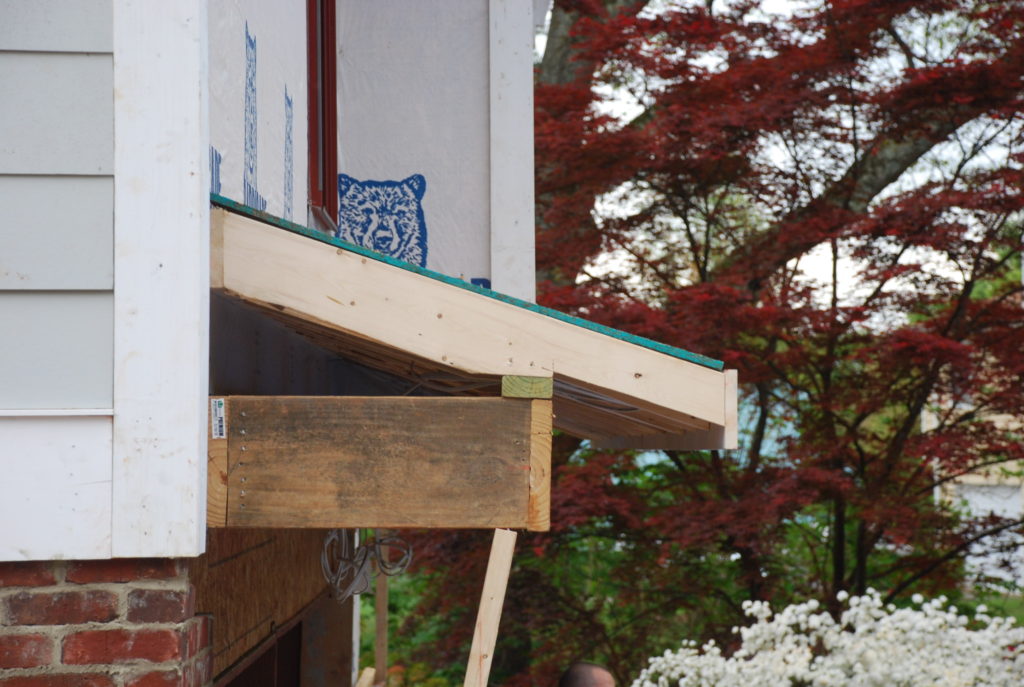 Poncho had already framed out the bottom section, so the framing guys added the roof rafters and tied it all together.
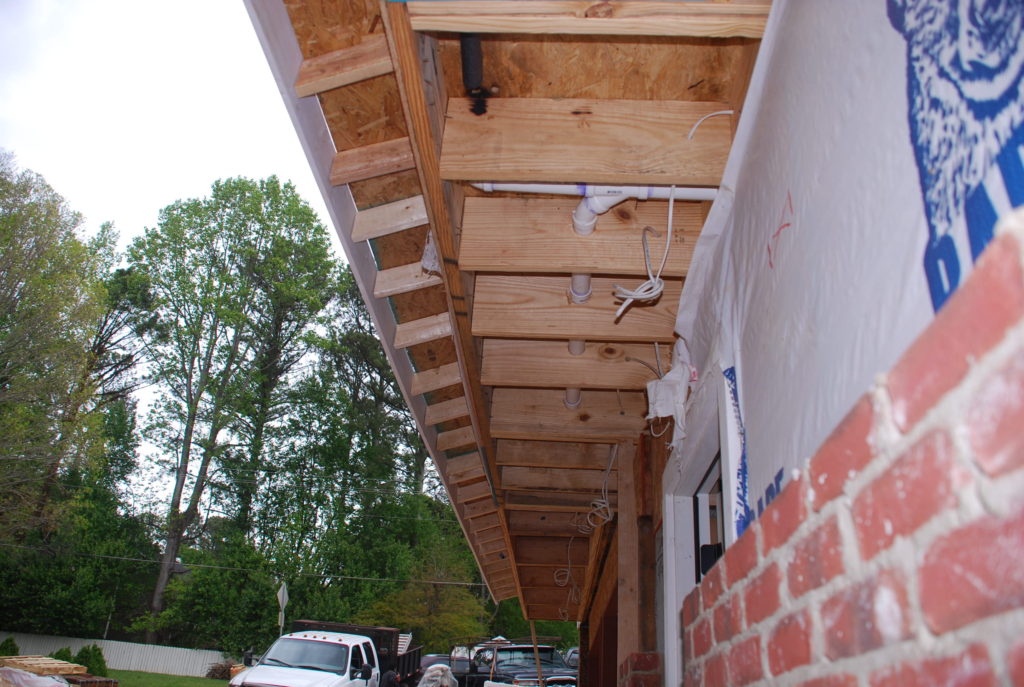 You can see how it forms a continuous roof line along the right side of the house.
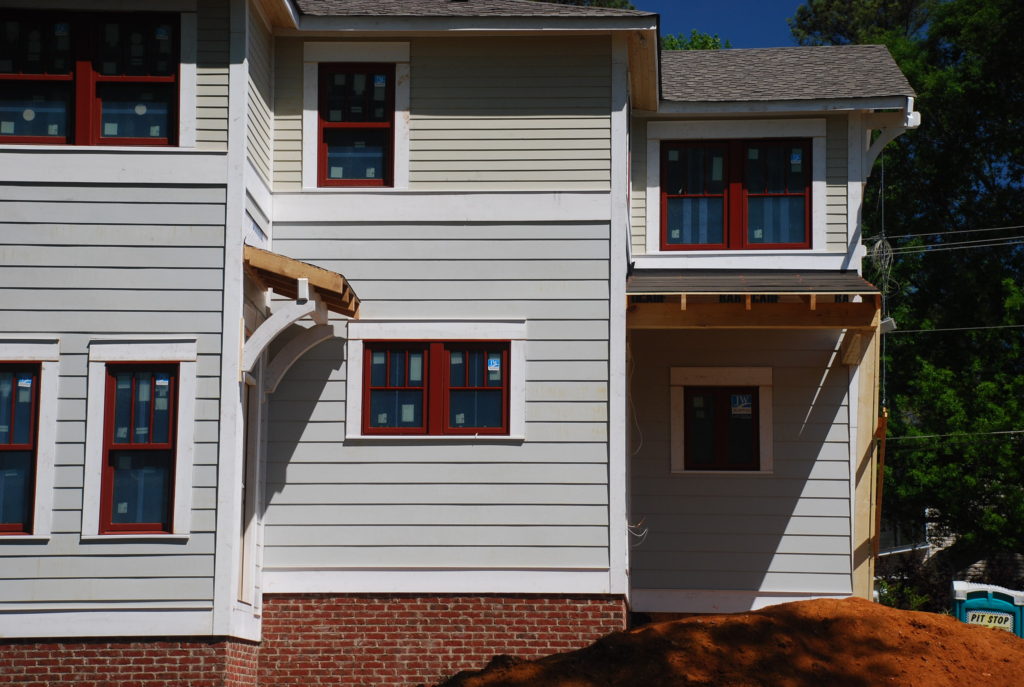
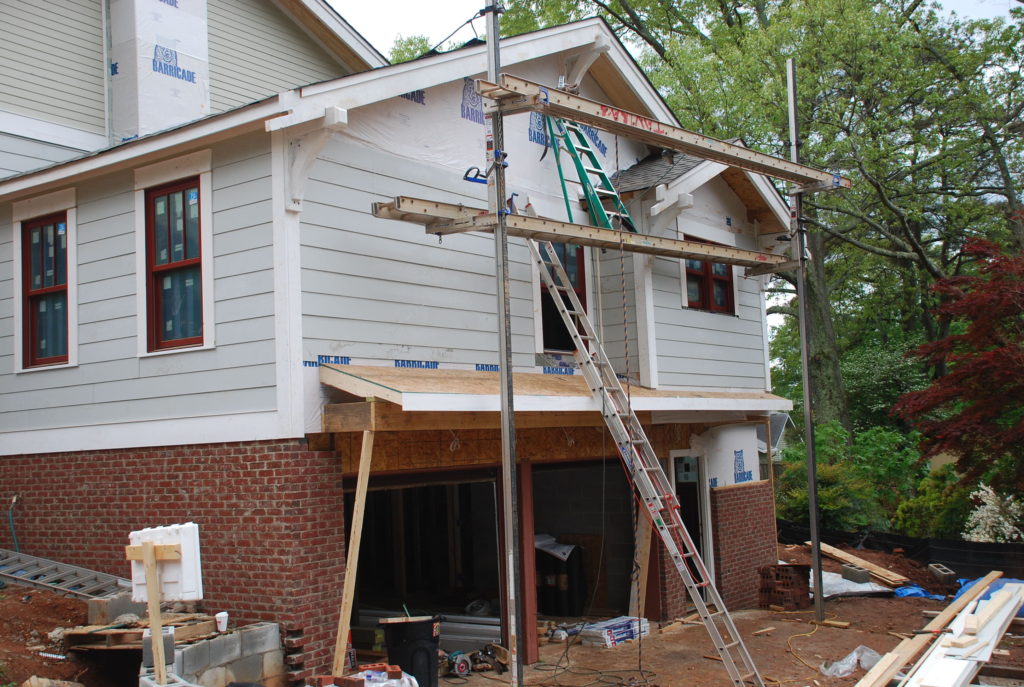 Once they got the eyebrow roof framed, they continued on up with the siding on the right side of the house. They needed to get the roof done first so they could flash it in correctly to keep water from getting in behind the roof.
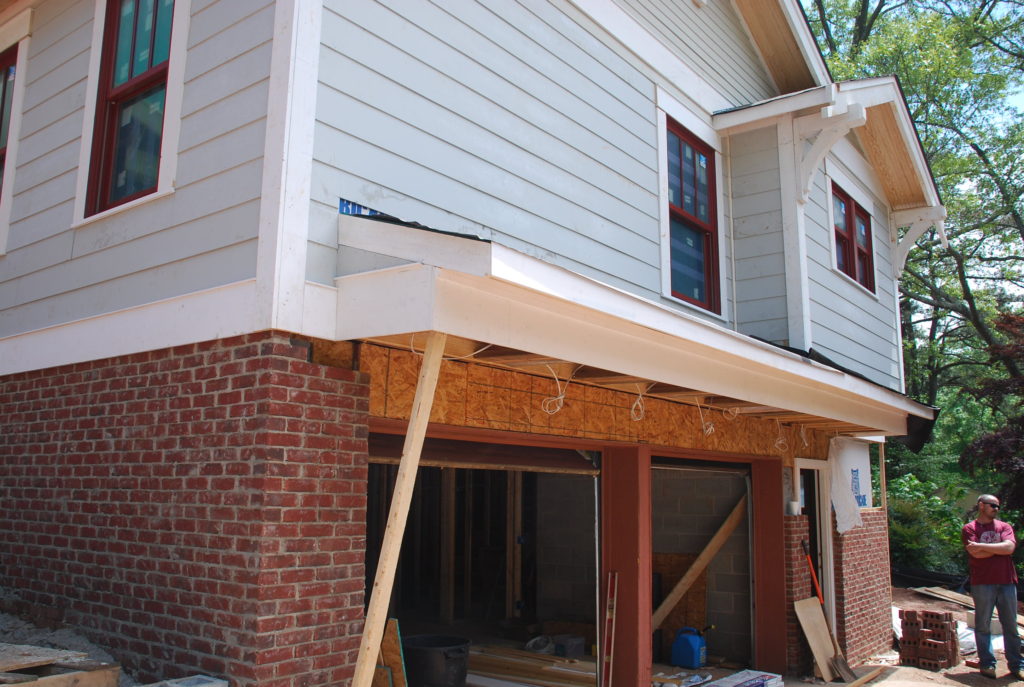
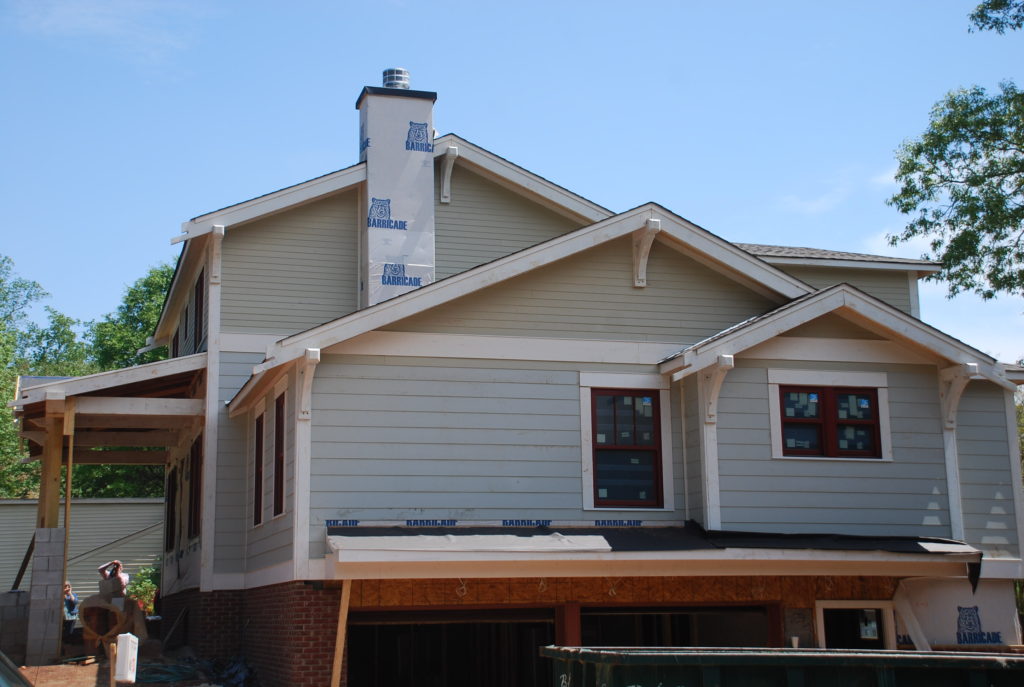 Before long they had the right side of the house wrapped up with siding and trim to match the rest of the house. Just about all that housewrap is now covered up.
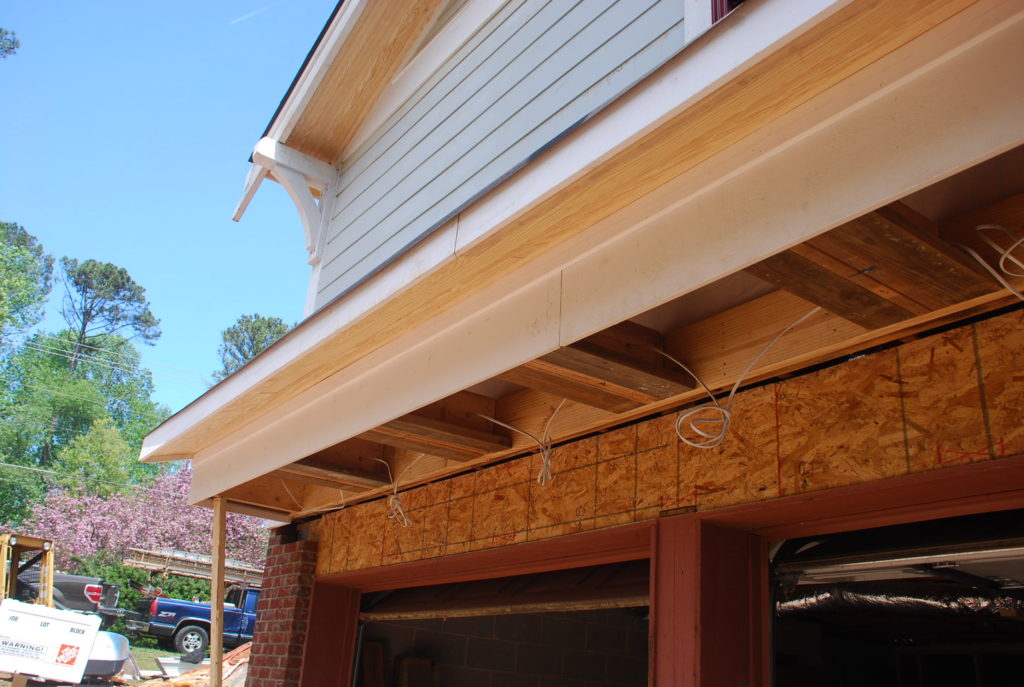 We also designed some corbels that will go under the roof and look like they are holding it up. Dave already made them (see February – Week 4), but we won’t put them up until later in the project. If you look carefully you can also see wires hanging down from the soffit of this area. Those are for recessed can lights that will be evenly spaced to create cool lighting effect along that side of the house.
 After they wrapped up the roof there, they moved to the back to tackle the two roof structures at the back doors.
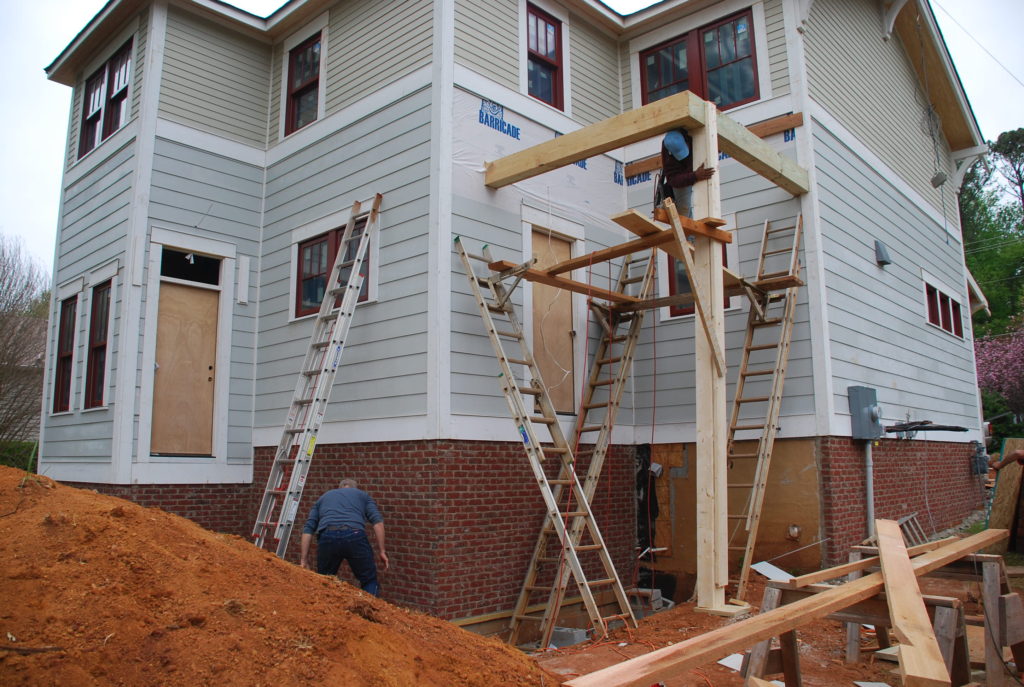 One thing that has always puzzled me about residential construction is that contractors always seem to want to build the roof structure for porches before they build the foundations that will hold them up. The first thing they do is to rig up some temporary support column made of whatever lumber is lying around. It will be used to hold up the roof and then later on when the foundation and columns are put in place, it will be removed and maybe re-purposed somewhere else. So once the support was in place, the beams were next.
 Then it was ready for rafters. Like the front, we specified full dimension 2x lumber for the rafters that are going to be exposed because that is what would have been used 100 years ago. This porch roof also has 3/4″ beadboard exposed on the bottom and then 1/2″ decking above that – just like the front porch.
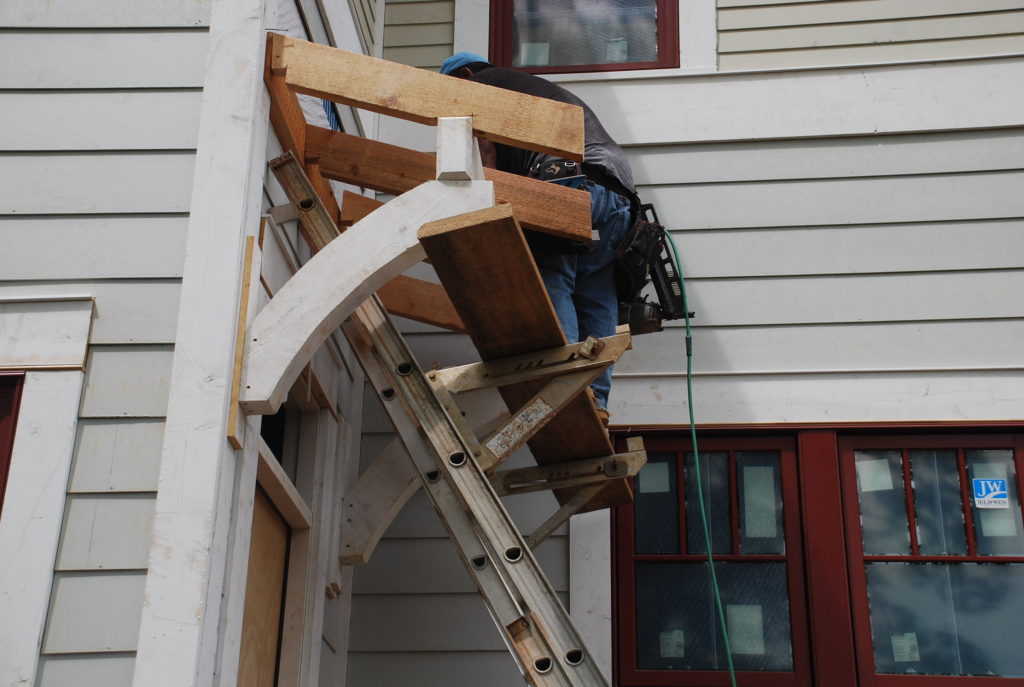
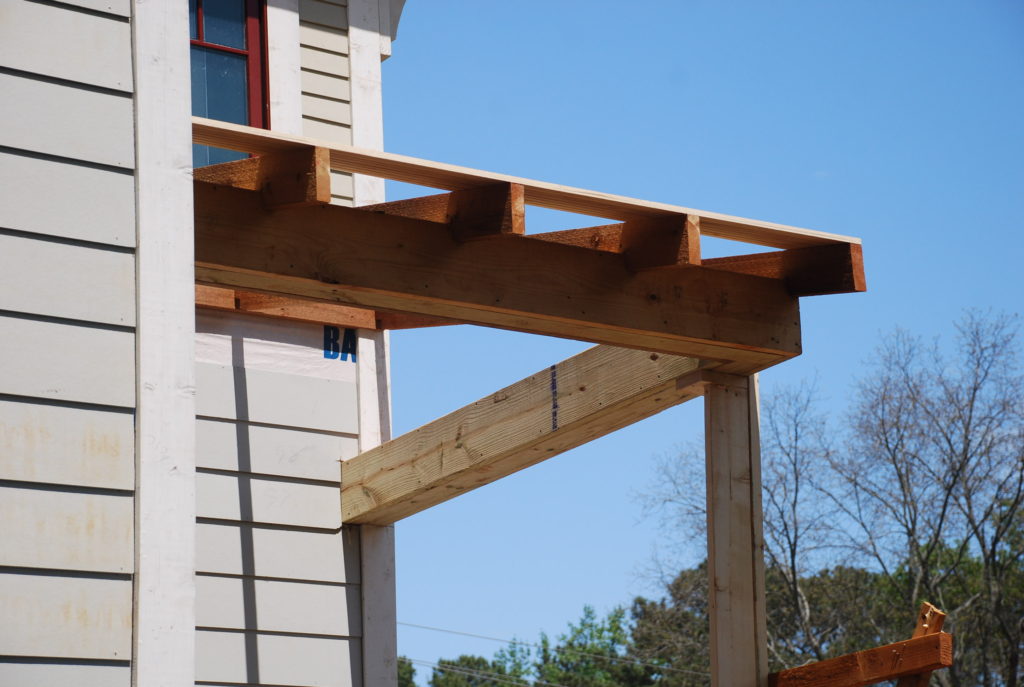 For the door from the back deck into the back stair we designed a small stoop roof with a curved bracket design. Again Dave had already made all the pieces, so it was just a matter of assembling them correctly.
 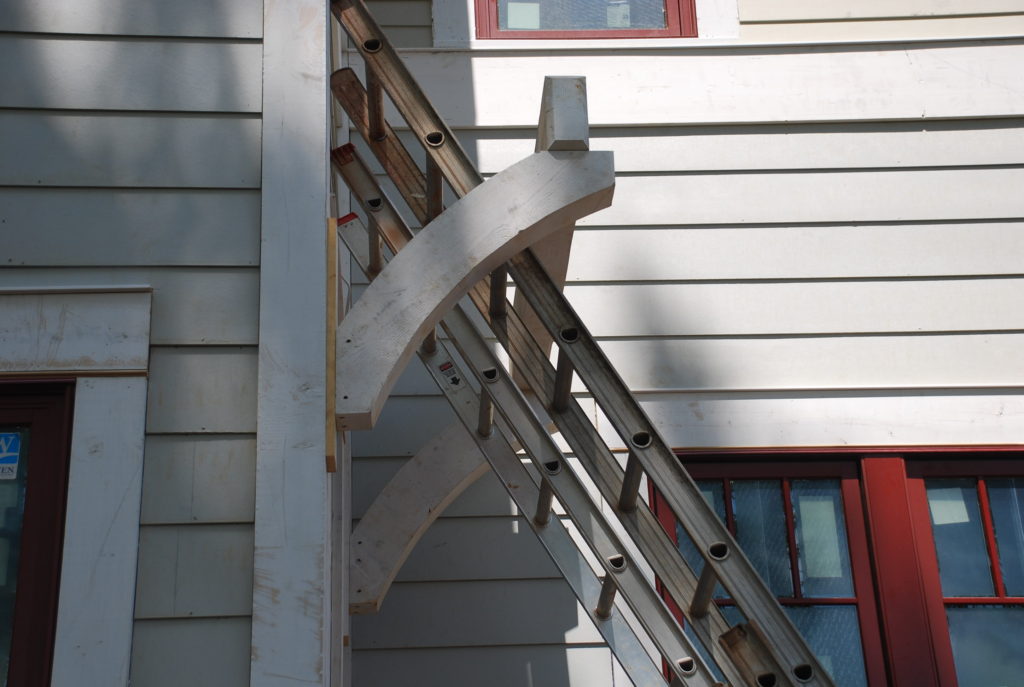 It was a little tricky getting everything up into place, but then getting the cedar rafters going went quickly.
 Below is the finished stoop roof with the decking on top. It creates a nice detail for the back of the house.
 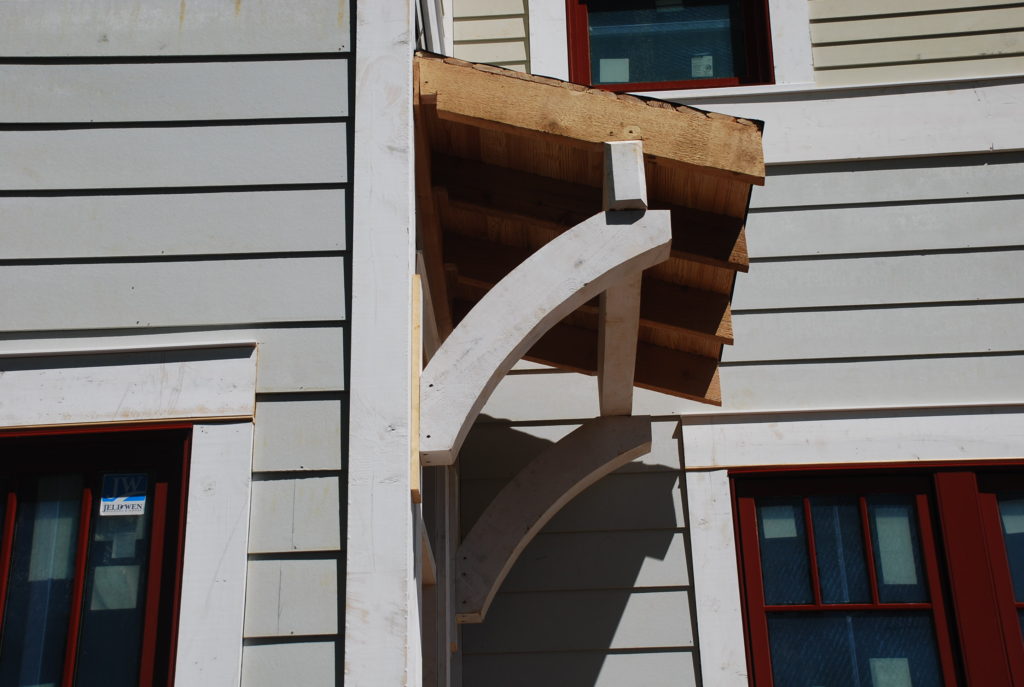 As architects, one thing that we always try to do is design all 4 sides of the house to tie together and create an attractive elevation on every side. It is very strange to me that for the great majority of houses that are built – designers and builders pay the least amount of attention to the back elevation – even though it is the side of the house where most of the outdoor living is done. So for most subdivisions, all the expense of brick or stone or other nice finishes adorn the front, sometimes the sides too, but almost never on the back. So folks end up grilling and playing and entertaining guests in fabulously landscaped yards and on beautiful decks that are positioned on least attractive, plainest, ugliest side of the house. Very odd indeed.
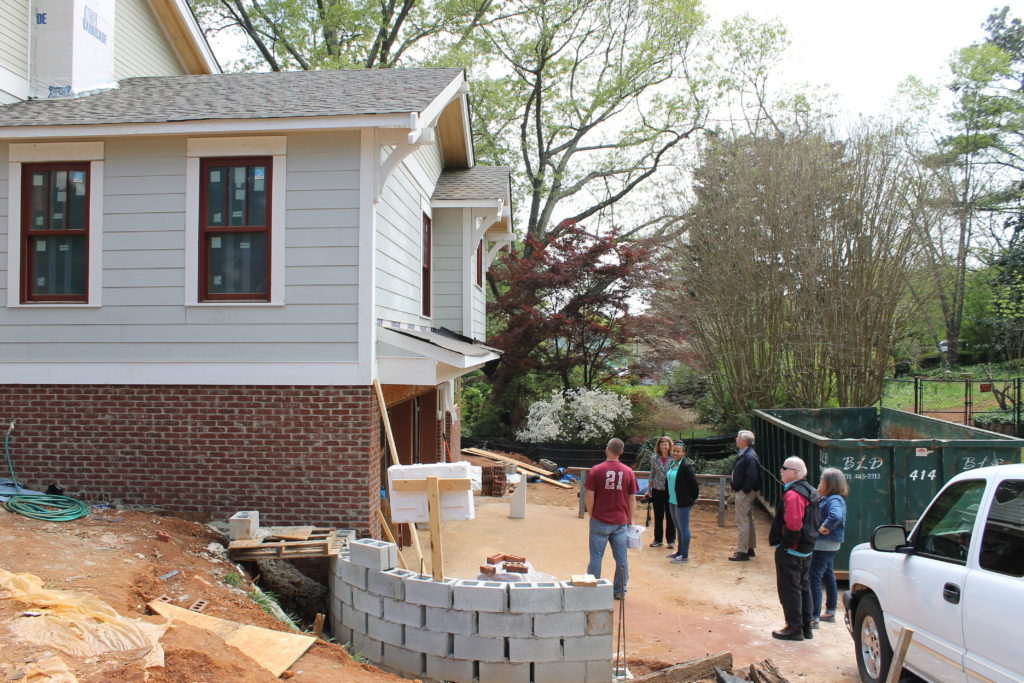
 During the week the Peek Design staff all made the trek down to Marietta for lunch together and stopped by 637 Polk for a job visit. It’s a good learning experience for us all to get out and see how things that we design and draw are being built. You can see most of us along with Andrew (Tom’s son and latest addition to the Gernatt Construction family) discussing the eyebrow roof and how it will be detailed out.
 Also that week, the roofer was back to finish up his job now that the front porch is decked. You can see that the porch roof has been covered with roofing paper, and the bundles of shingles are up there waiting for someone to nail them on.
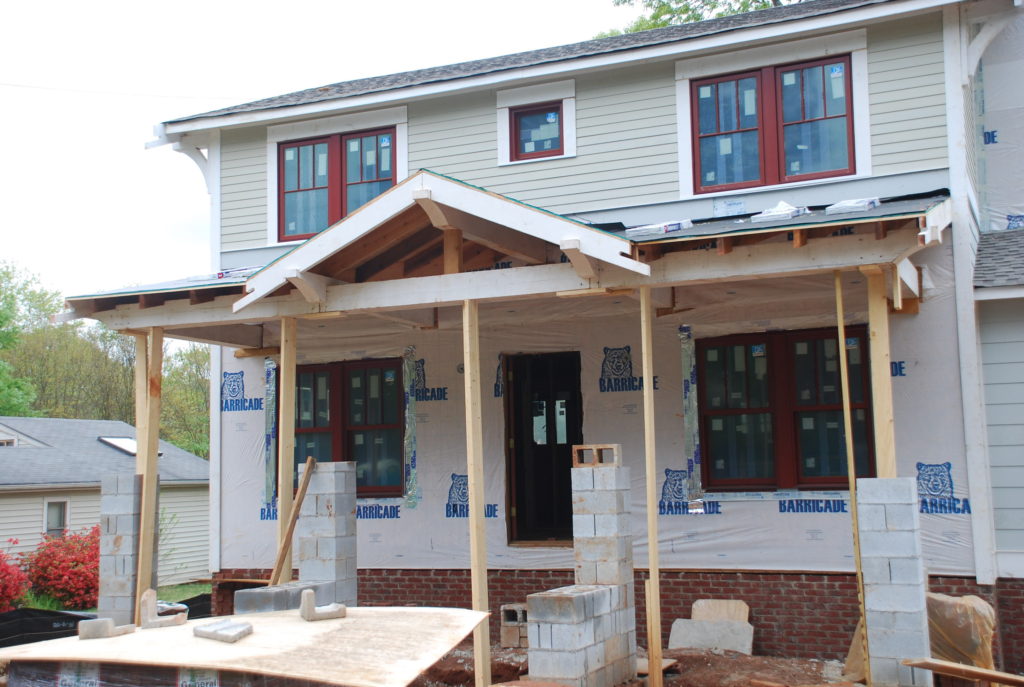 Below is a view from the front left Bedroom window. Next time you see the front, the last of the shingles will in place. All of the other roofs will have metal roofing.
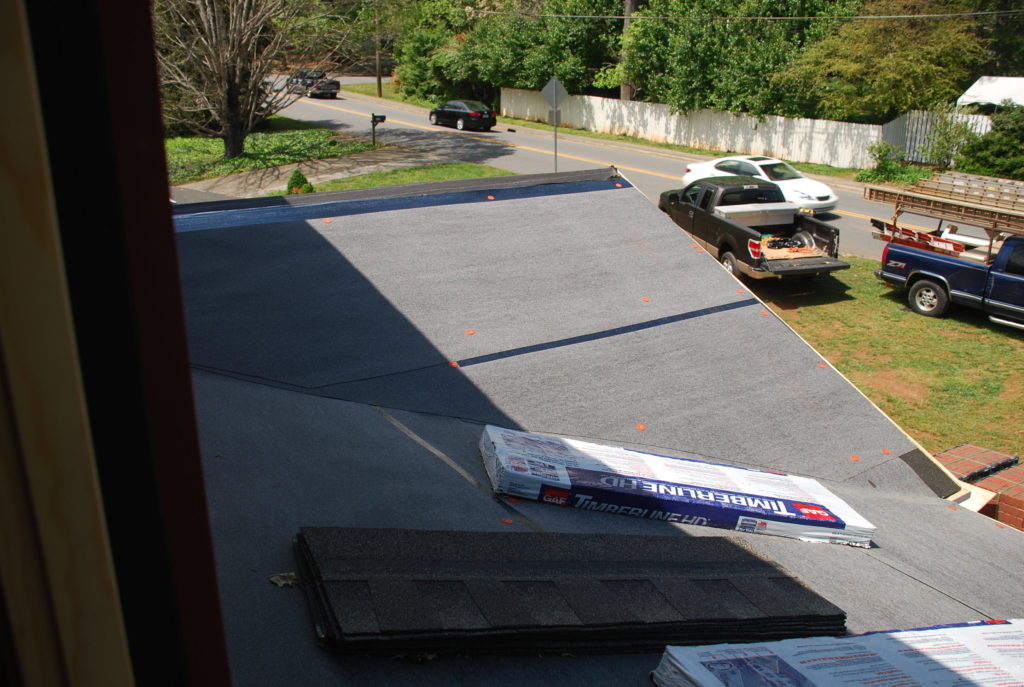 If you looked at the Gallery for last week, you noticed that we spent some time cutting some brick. One thing that I determined early on was that I wanted to not only replace the old prefab fireplace with one that looks more like a real masonry fireplace, but I wanted the chimney to look like a real brick chimney from the outside. A hundred years ago there was no such thing as prefab fireplaces with prefab flues in fake wood chimneys – so this was one detail that I really wanted to improve on.
 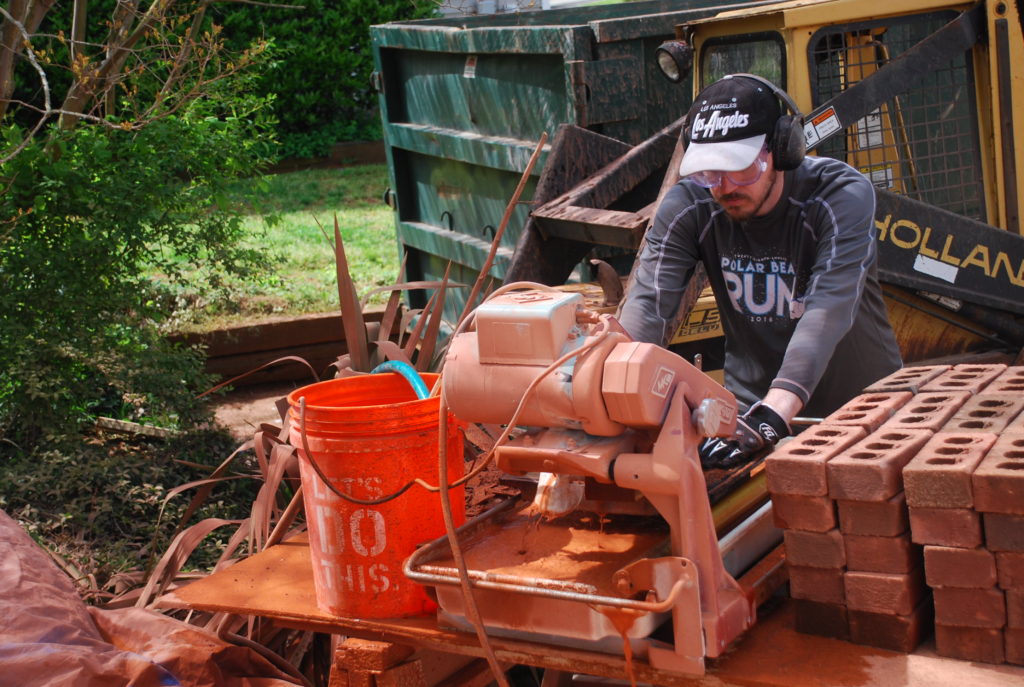 However, the fireplace is located directly over the Garage part of the Basement so there is no way to take a foundation down to the ground to support the massive weight of a real brick fireplace and chimney. So we are going to do the next best thing – create an illusion! Step 1 – we found a prefab unit that looks remarkably like a real masonry fireplace. Step 2 – we redesigned the old chimney to be smaller and more in keeping with what it would have looked like on a real Craftsman house. And finally Step 3 – we are taking the brick that is going on the rest of the house and cutting it into thin veneer which will then be ‘glued’ with mortar to the chimney framing so that it looks like real brick, but weighs a fraction of what it would have if it was full size brick.
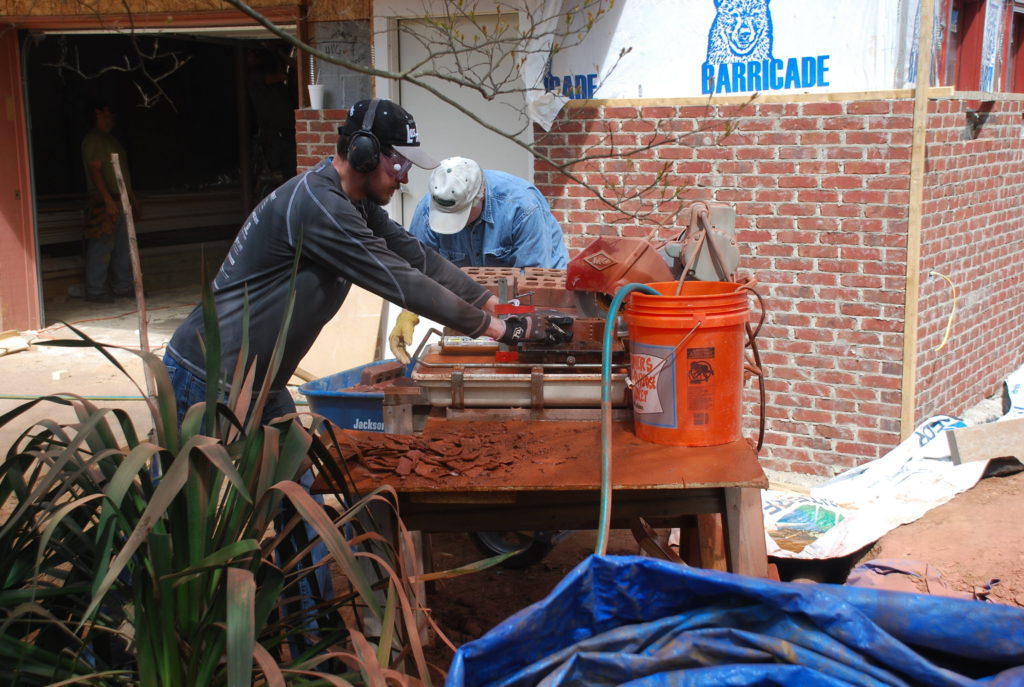 We shopped around and found that we could pay the brick supplier to cut the brick for us, or we could do it ourselves – and save about $1,000 (just for cutting the brick). So you should be able to tell which we decided to do from these pictures!
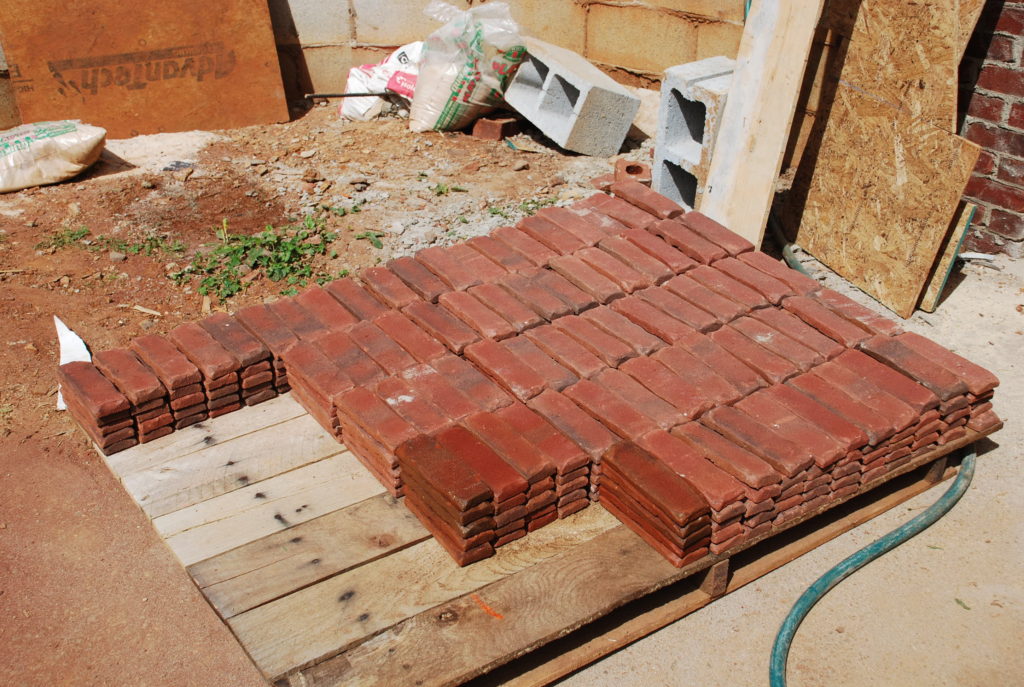 We spent a couple of hours last week figuring out what to do and setting up a process, and now it is just a matter of cutting and cutting and cutting. Tom has a masonry saw (wet saw) and we bought it a new blade and off we went. Here are about 420 flat faces so far. They are the easy ones – watch for the corners to come soon.
April – Week 2 – Eyebrow, front & back roofs, upper siding, & making some thin brick
April 16, 2016