What a week for the outside work – hot and humid! It started out with Tom and Andrew pruning the monstrous Crepe Myrtles and preparing to move them to Tom’s house. In addition, they got the tire re-inflated and moved all the crossties up onto the driveway outside the Garage Doors.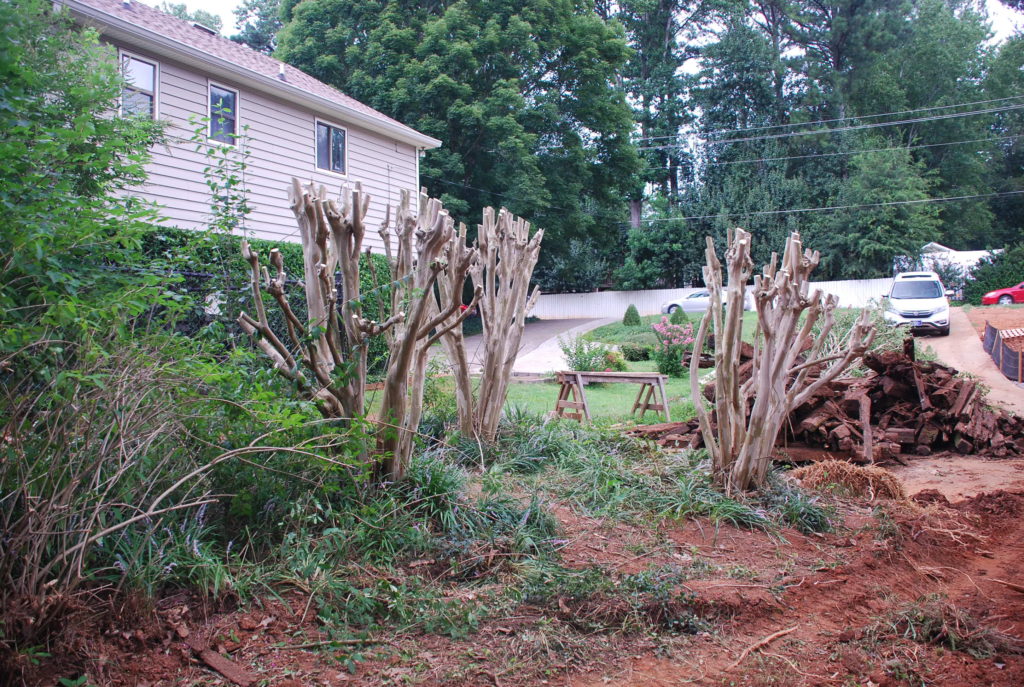 Here’s the mess ready to be hauled off – crossties and the branches from the Crepe Myrtles (Stephanye will stay, just the other stuff gets hauled off!).
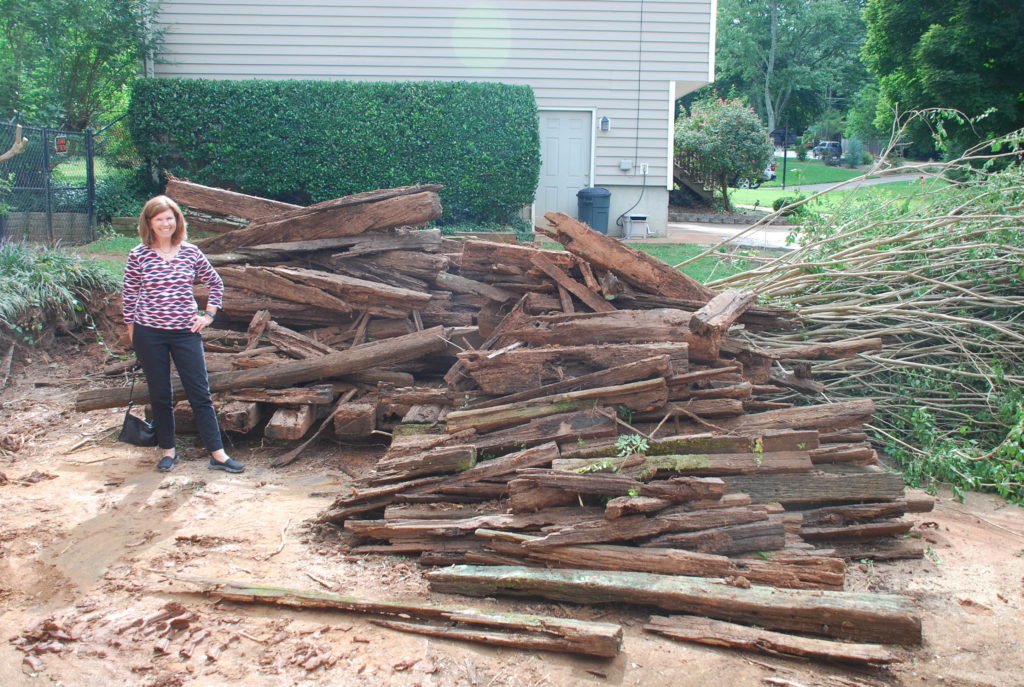 Also this week, the tiles came for the Kitchen and Panty floor. It is a linoleum product and we found the best price through Home Depot. They don’t have it in the stores, but it seems they will order just about anything you need. Dale and Stephanye picked it up at the Acworth store and delivered it to the house.
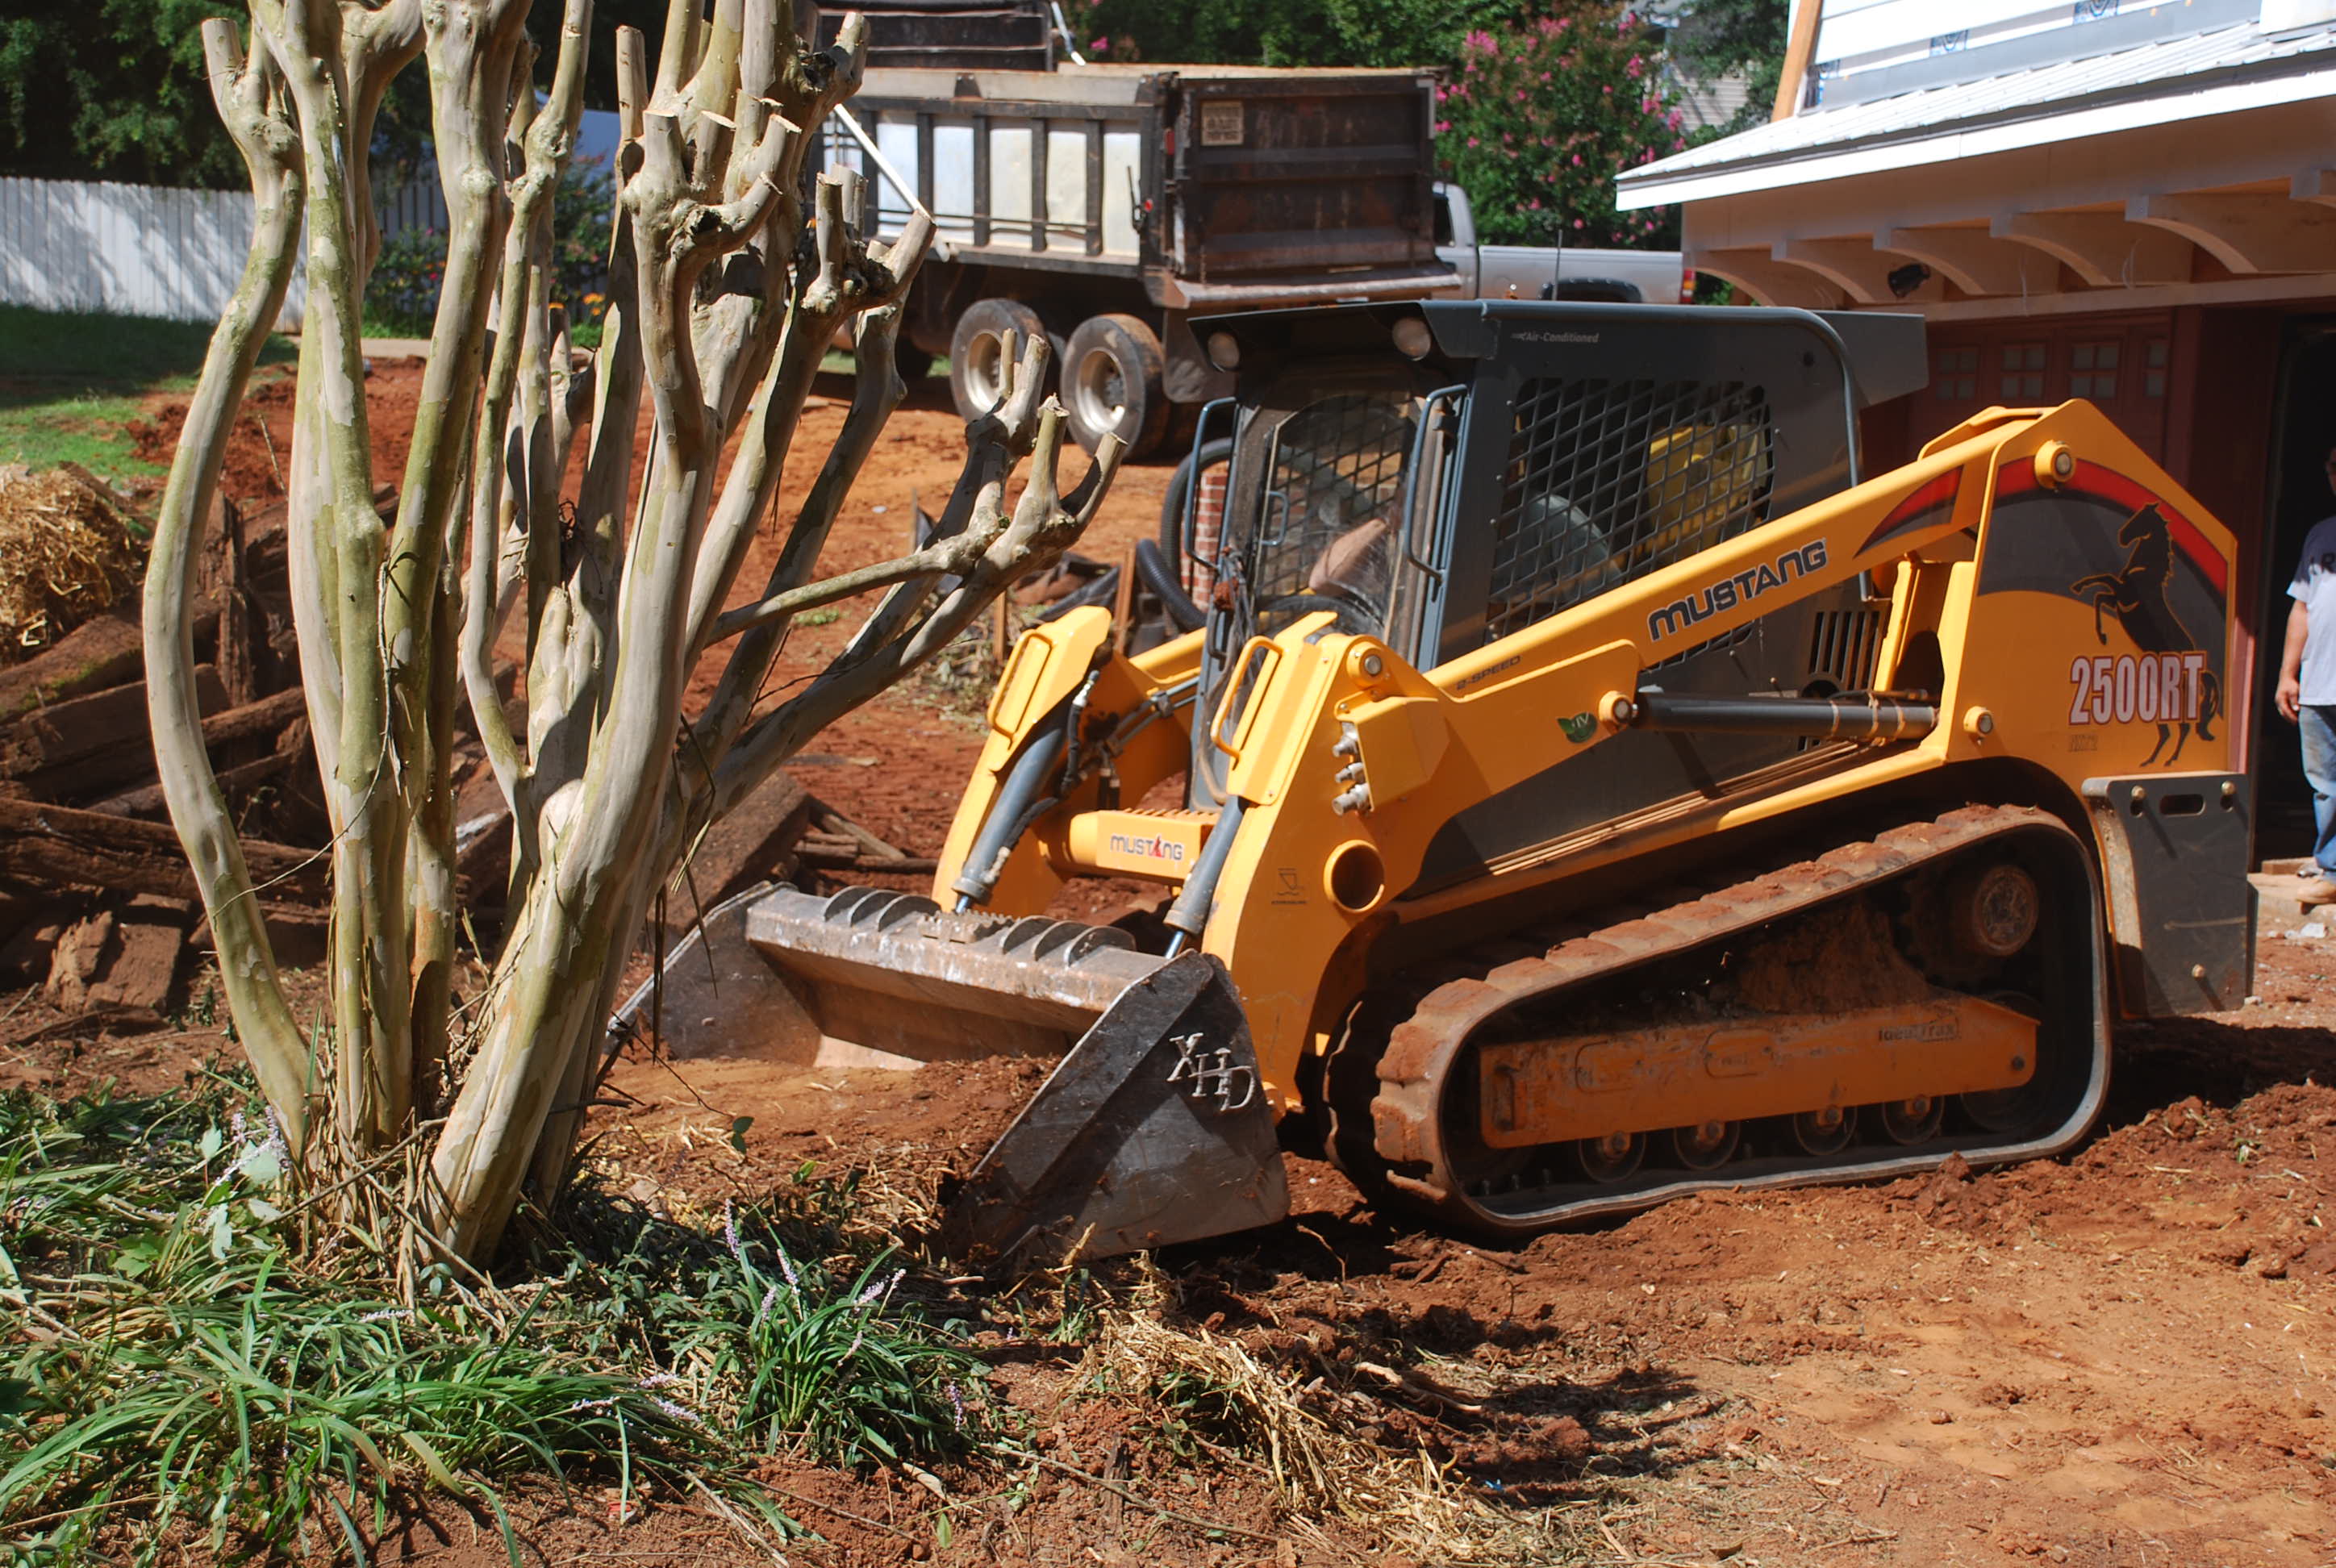
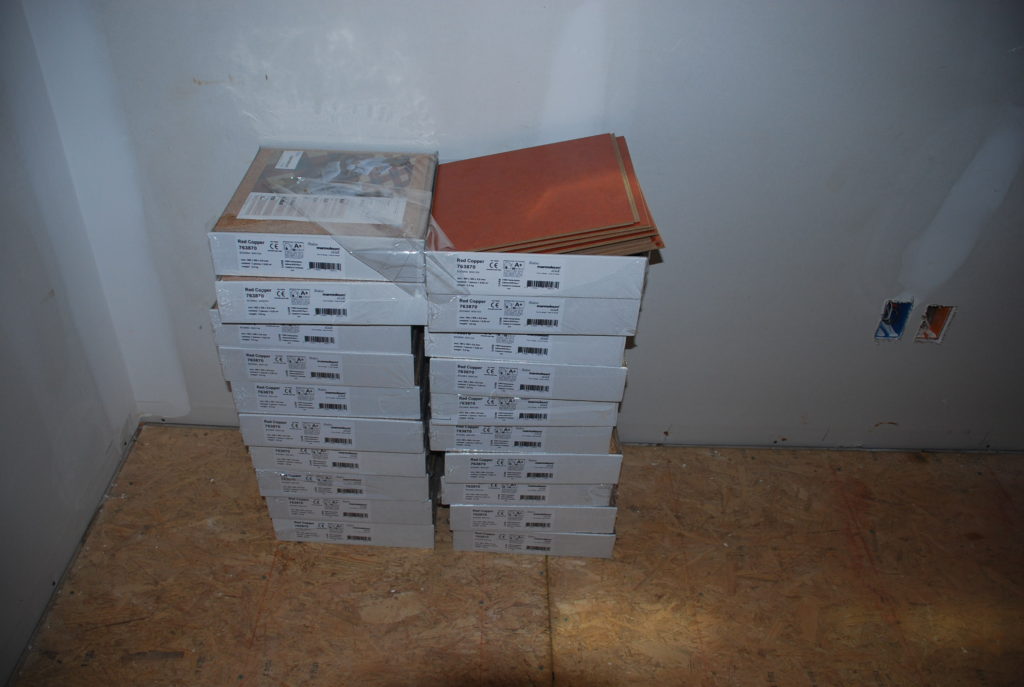 Friday afternoon we showed up do find Mike, the grading contractor busy tearing out the driveway. His loader is quite a bit bigger and stronger than the one Tom has, with a door you can close and air conditioning and a sound system – pretty fancy.
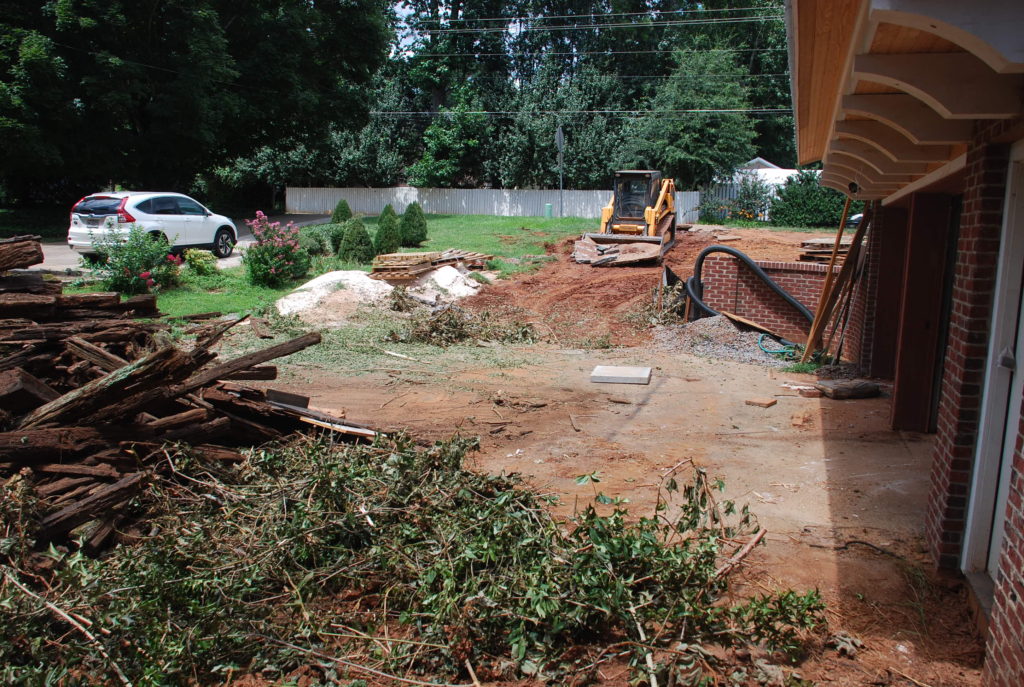 He was scooping up the driveway, breaking it into pieces and loading the concrete into his truck. He put our beginner operator skills to shame and make quick work of getting it loaded.
 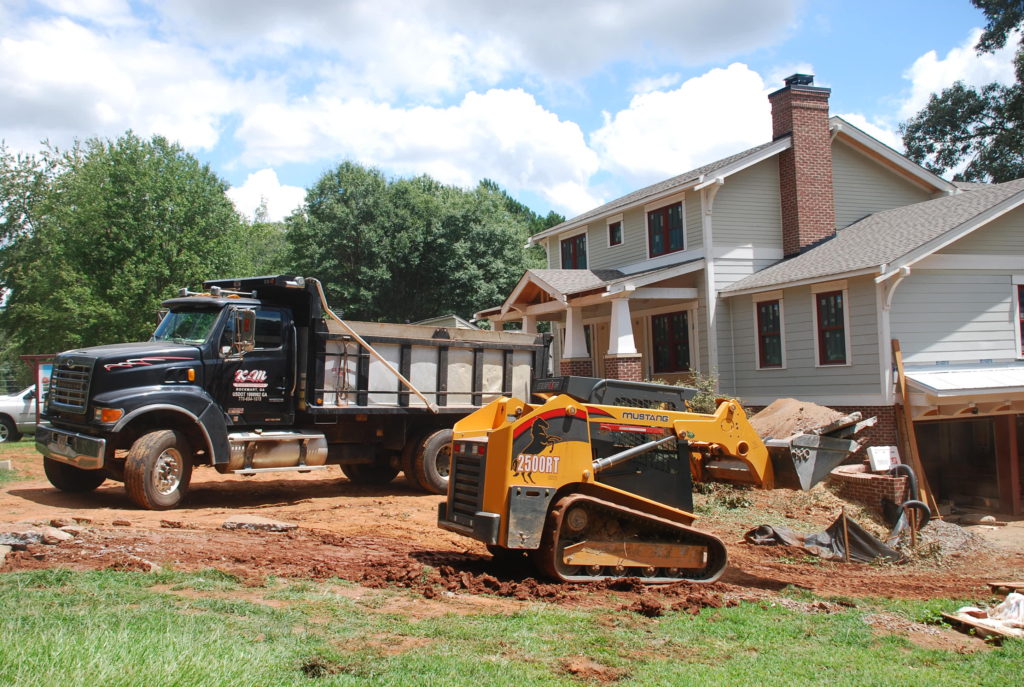 We had originally planned to saw-cut the concrete to create pieces that were more manageable, but I’m glad we didn’t waste our time. He was able to get his bucket under an edge of the concrete and just pick it up. Sometimes he would just drop it back down to break it into smaller pieces.
 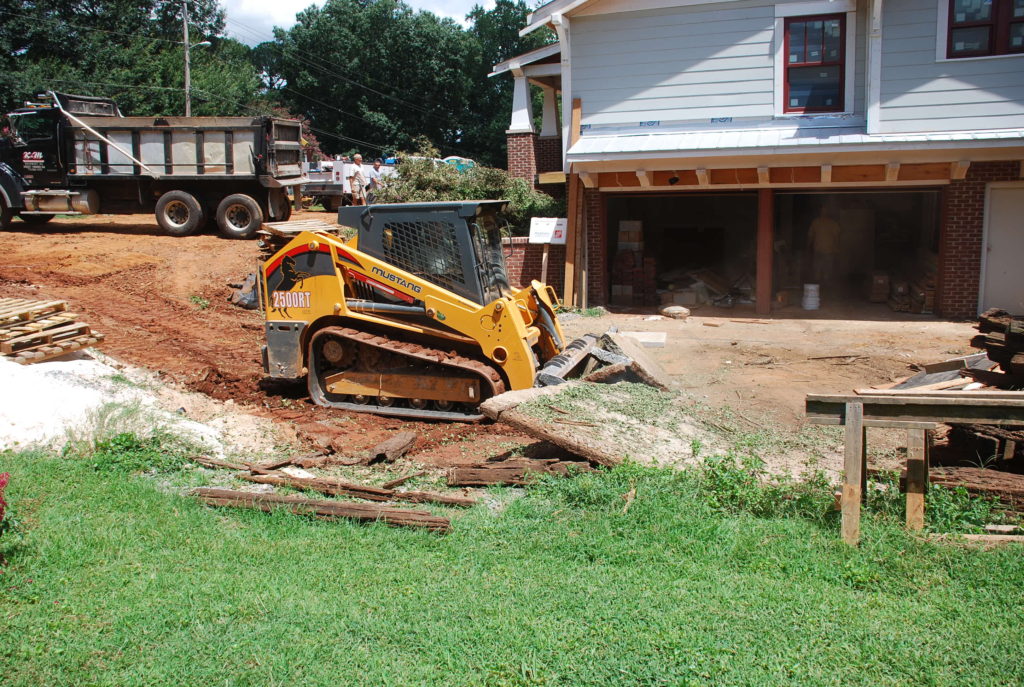 Before long the whole drive was out and loaded and hauled off. The crossties have to go to a different landfill, so he will be back for those.
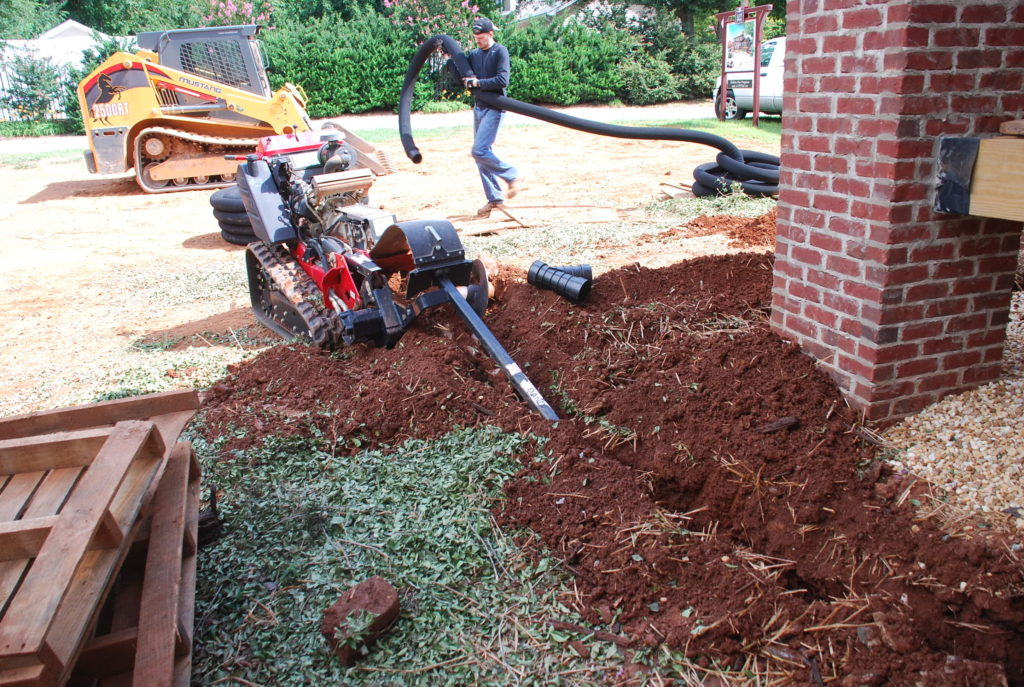
 We are going to be generating a good bit of water run-off in the front yard between downspouts and french drains. In addition we will have foundation drains along the bottom of the Basement walls, as well as drains under the brick inlaid area in the Motor Court, so Dale decided it would be a good idea to install underground piping from the front around to the ditch. That’s going to be a lot of trench digging, so we opted to rent a ‘Trencher’ to make life a little easier.
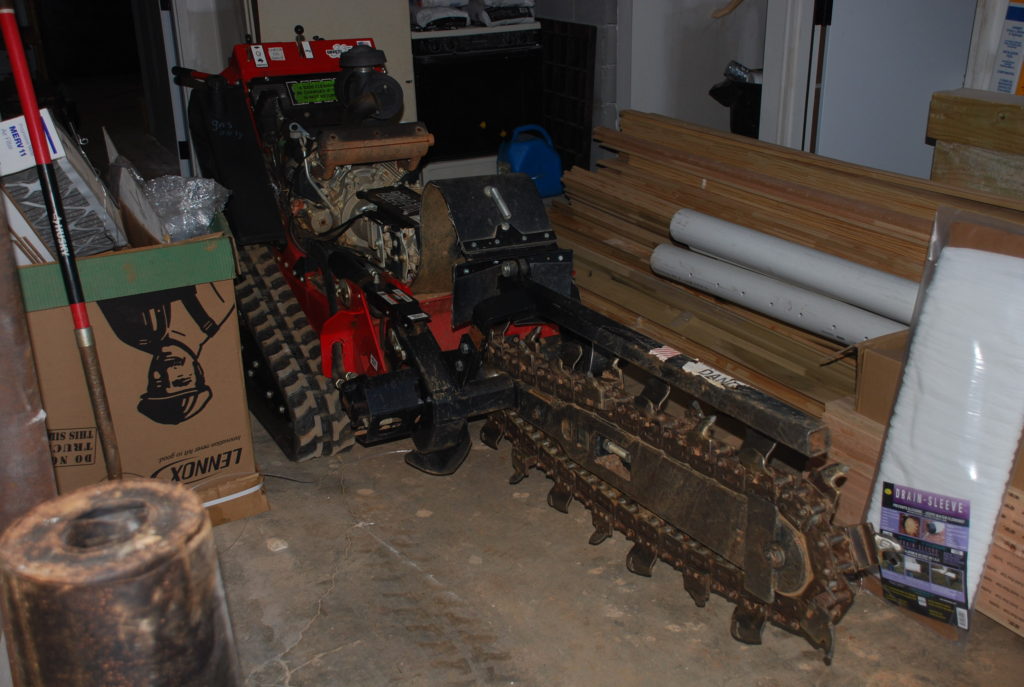 A trencher is basically a huge chain saw with tracks that you walk behind and use to dig a trench. This one had a blade that was 36″ long – more than we would need to get the trenches all dug. He picked it up Friday night and rented it for a day in hopes that would give them enough time to get all the trenches dug.
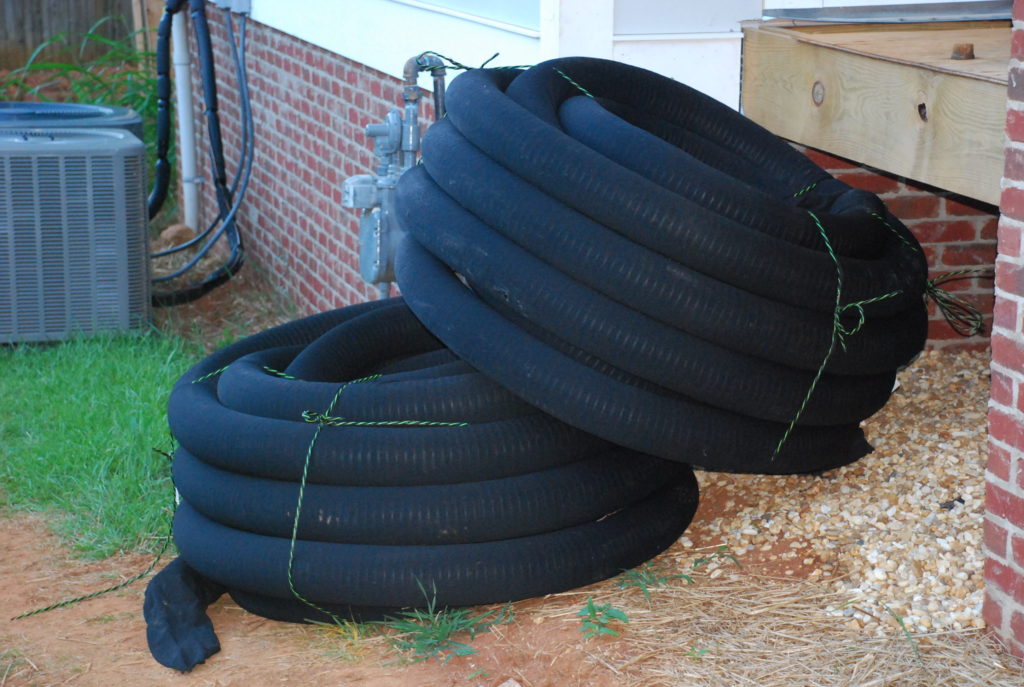
Tom had picked up some drain pipe with fabric around it to keep the dirt from getting in. It was stacked and ready to go.
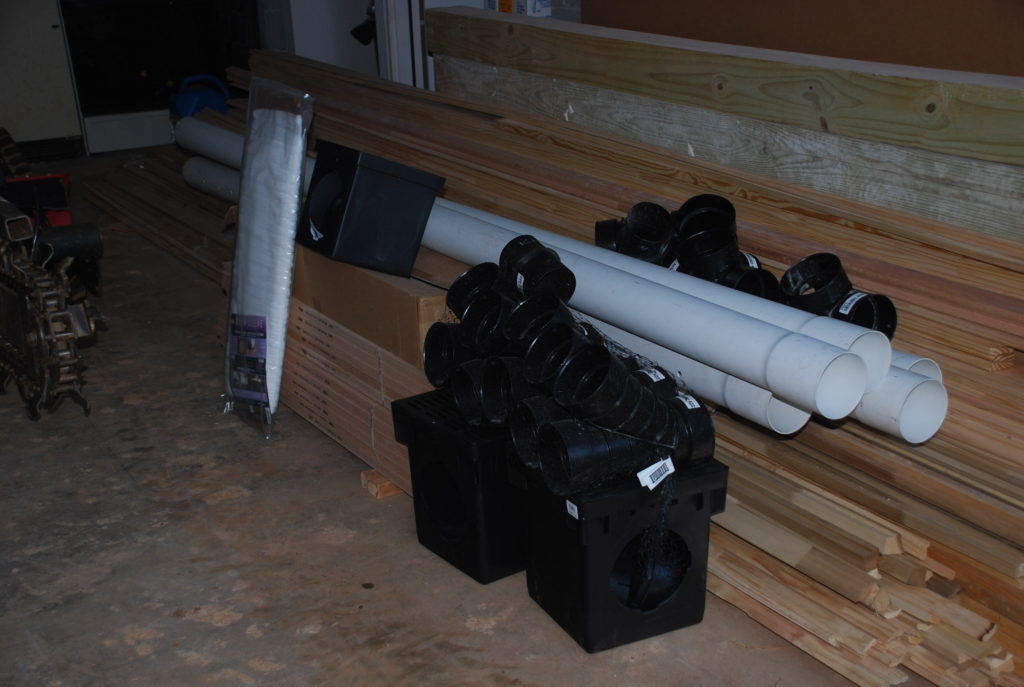
 We were also going to need some drain inlet boxes and a bunch of fittings and some hard pipe to go under the brick, so all of that was there and ready to go Saturday morning when we were ready to get started.
 Mike had dug up the Crepe Myrtles and put them back behind where they were with the massive root balls sitting on the ground. All was clear for us to get going.
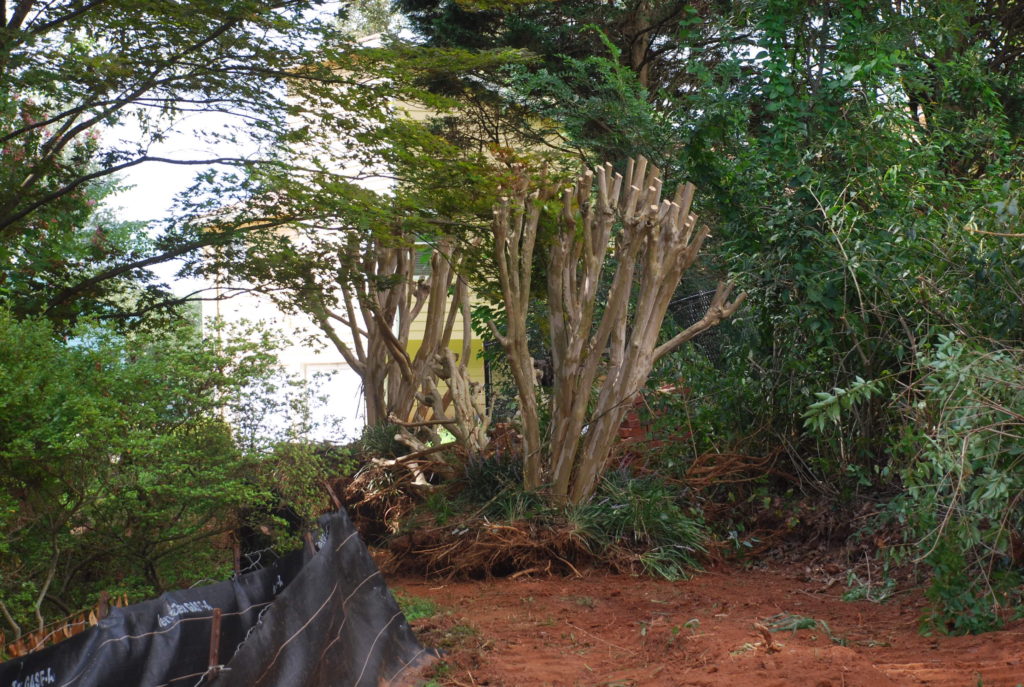 We started up at the front left downspout and began out trenching down the front of the house and also back to where each of the downspouts will be.
 We made the trenches as deep as we thought we needed so that we won’t hit them when we are digging to plant shrubs and plants in the yard. I’m sure that we’ll have some conflicts, but the landscaping is fairly free-form and can be adjusted as needed.
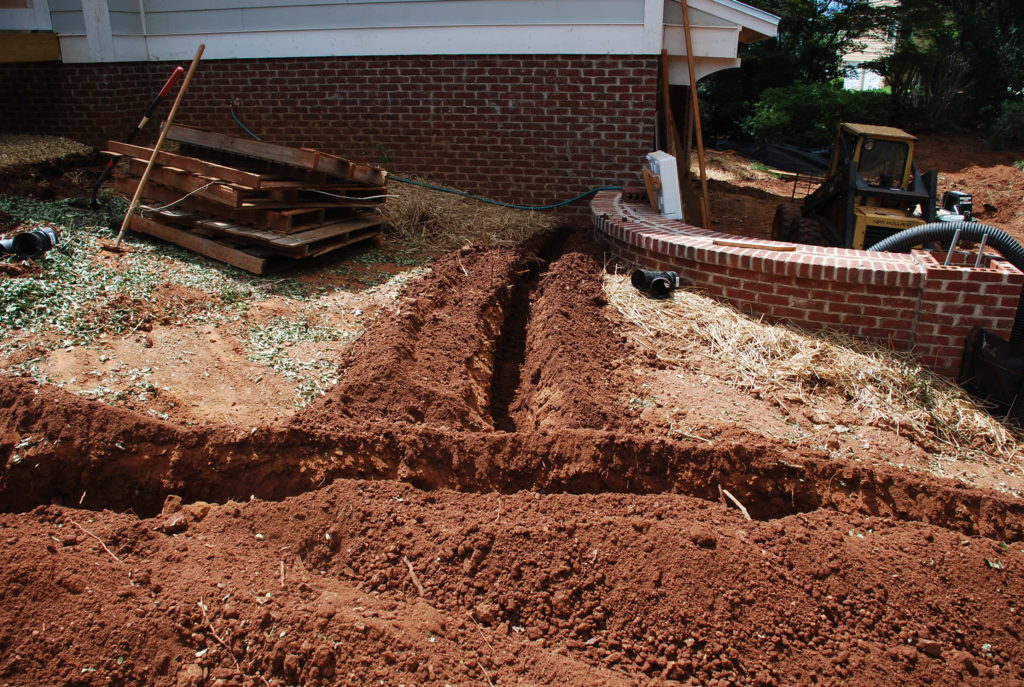 Here’s the long trench down the front – ready for the pipe.
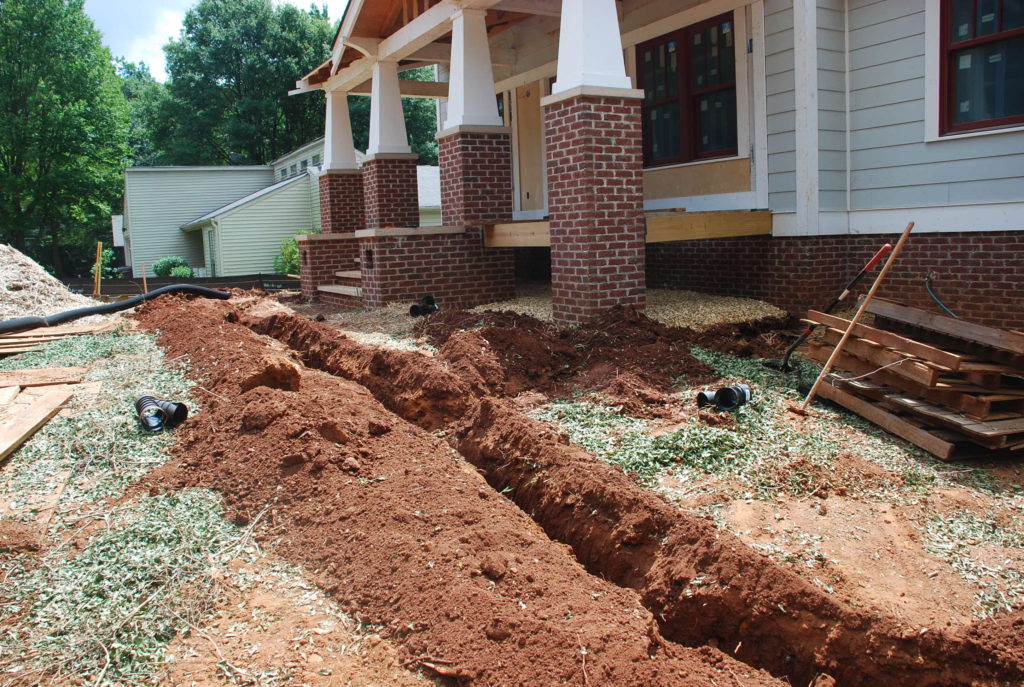 Here’s the view from the top down. The drain pipe on the left is there to create a ‘French Drain’ along the drip line of the Front Porch. We’re not putting a gutter there, so the water that drips off will just fall into the drainage area and be carried away in the drain pipe – at least that’s the plan.
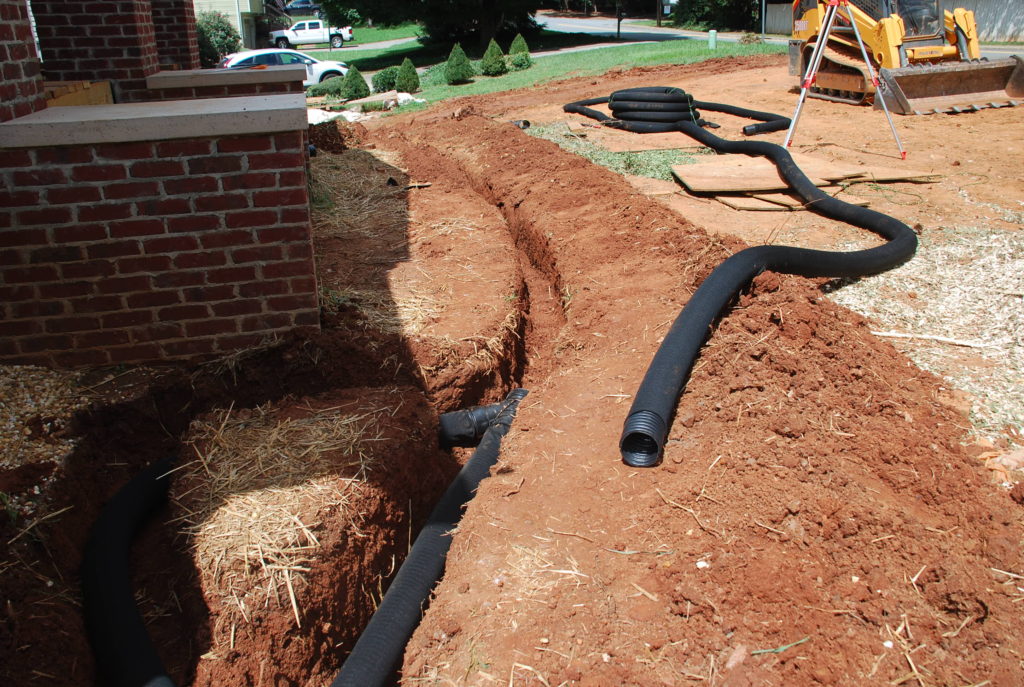 It was pretty easy to make sure we had enough fall for the water to drain around on the front, but at the Motor Court area outside the Garage doors, it is going to be much flatter, so we pulled out the level to check and make sure all the drain pipes were going downhill.
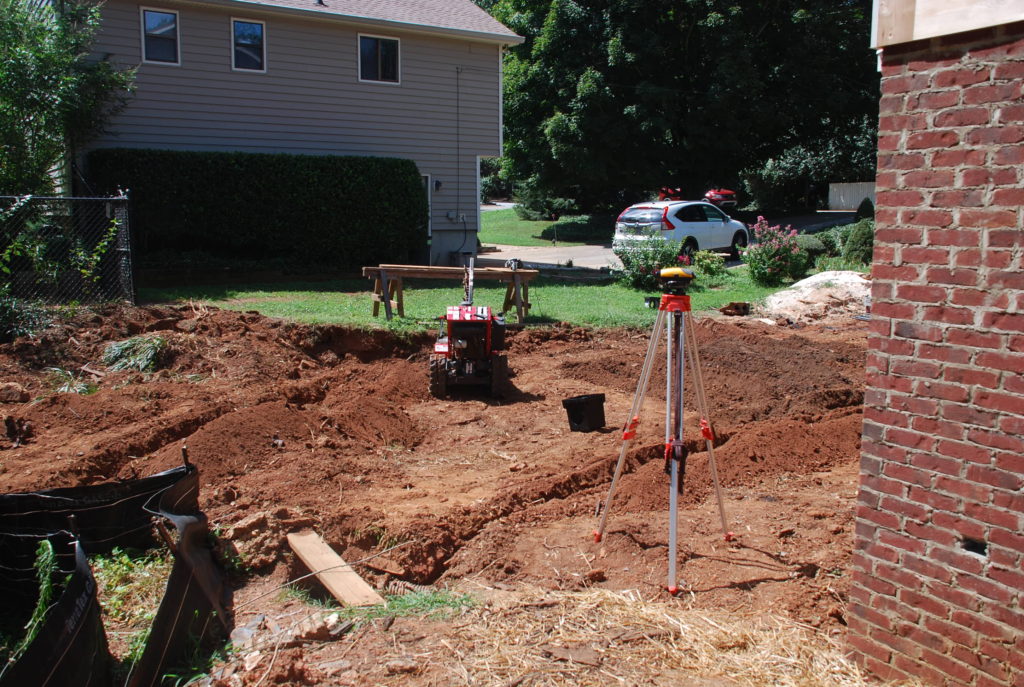 We marked off the area where the brick inlay is going, and put three trenches underneath to catch any water that will drain through the brick and carry it to the drainage system and into the ditch.
 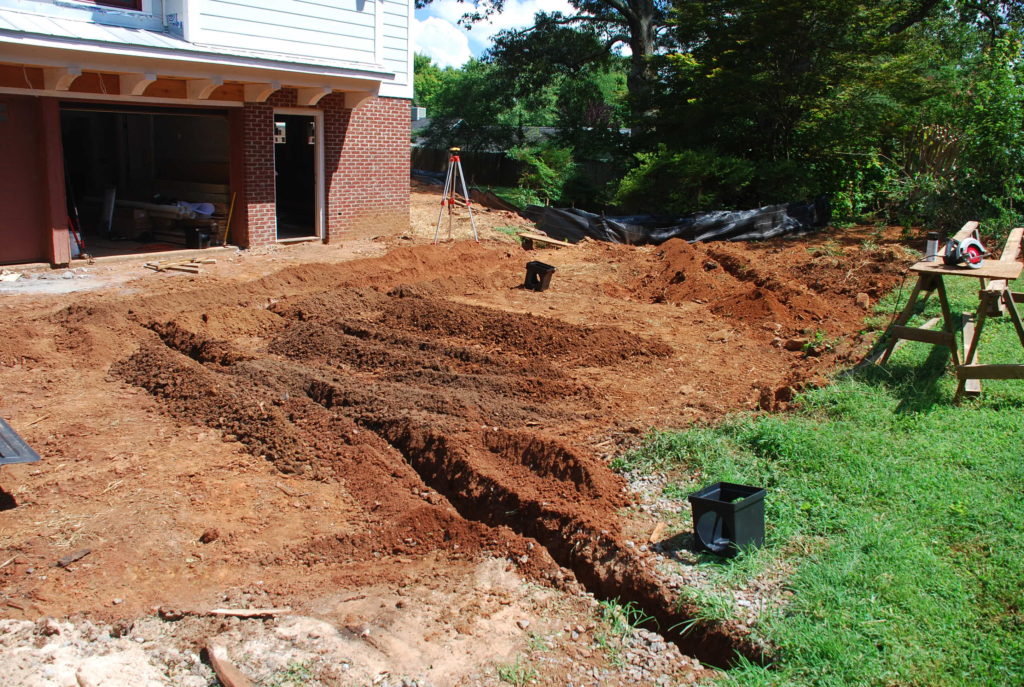 In the meantime, Mike was back and hauling off all the extra dirt that we aren’t going to be able to use. I think he took 5 truck loads of just dirt, besides all the concrete from the driveway and the crossties.
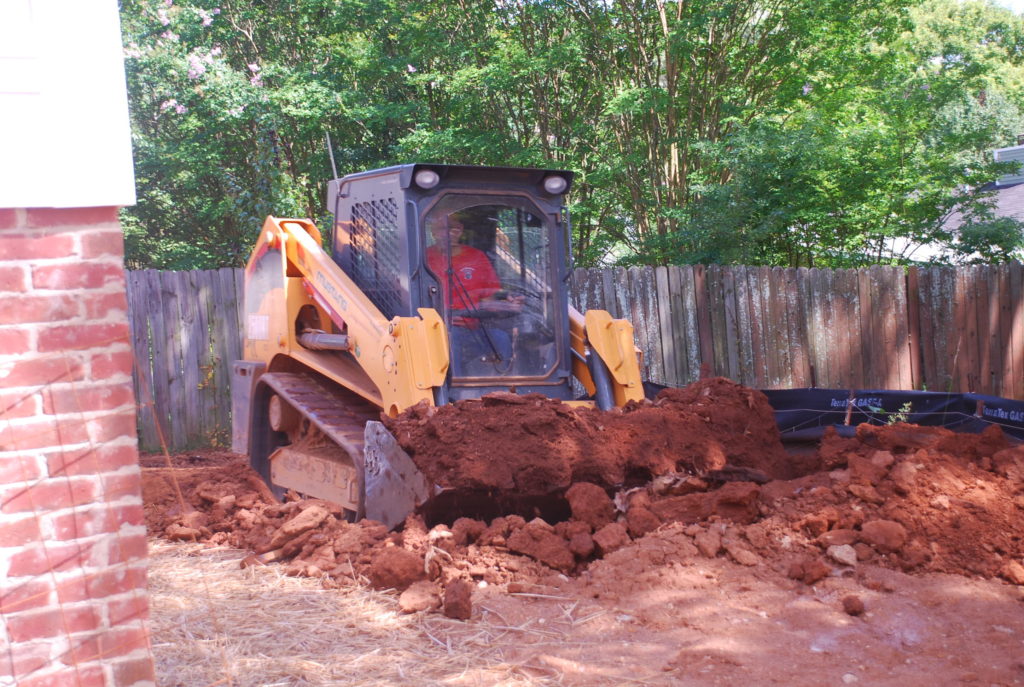 Once the trenches were all in, we took some hard plastic pipe with holes in it, wrapped it with fabric to keep the dirt out, and created our drainage grid under the brick.
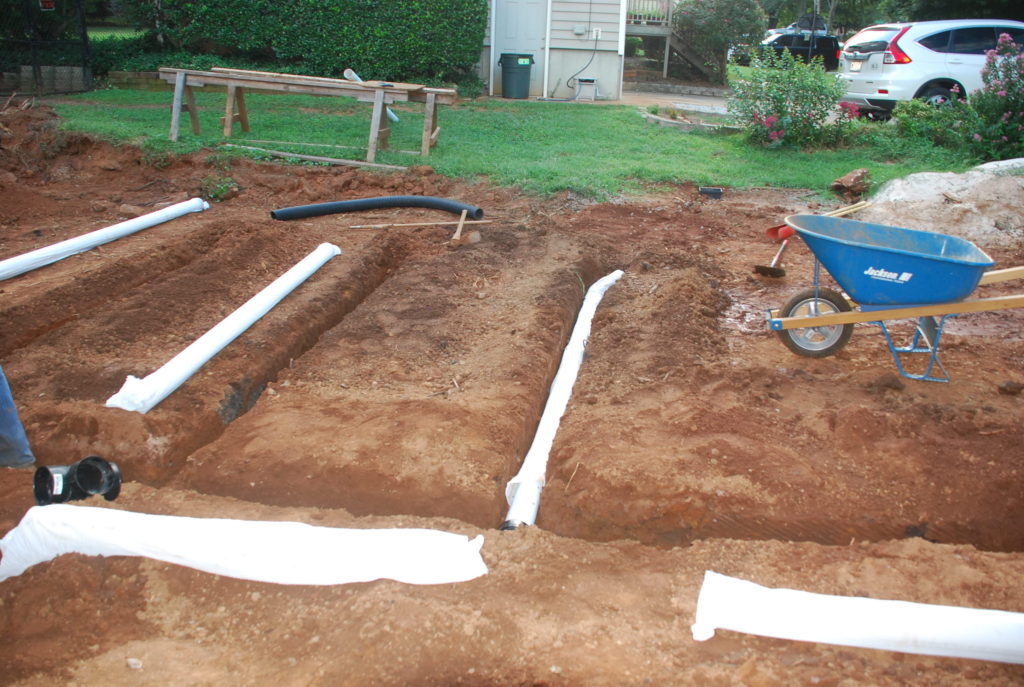 Then is was time to cover it. We had some #57 stone (gravel) left over from previous projects and it allowed for a good start in covering the pipe.
 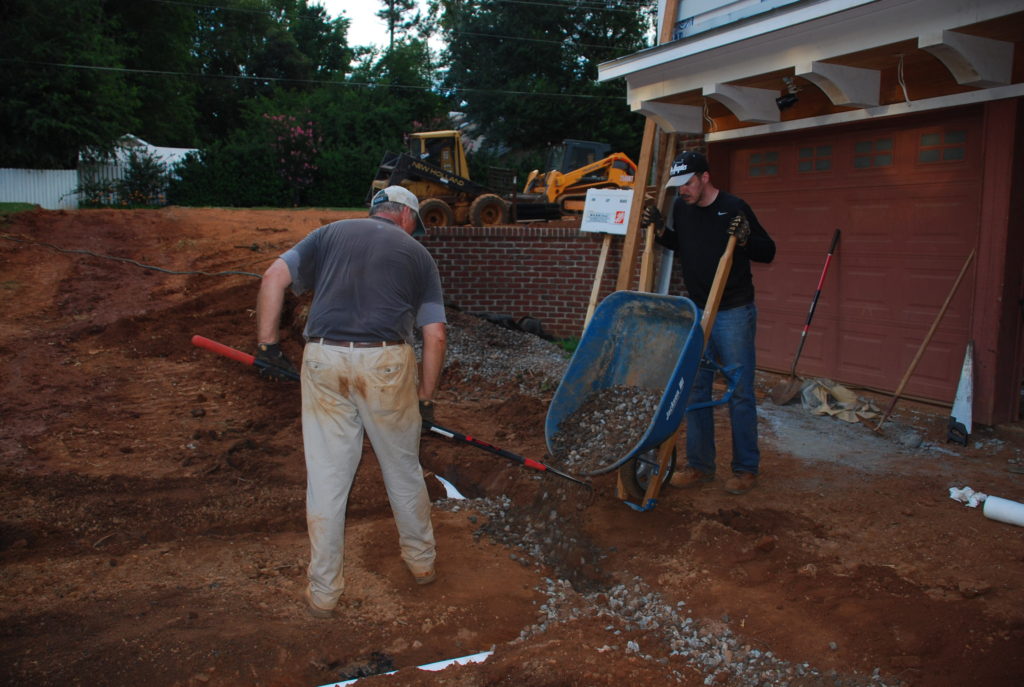 As you can tell, it was getting dark as we were finishing up the first part of this job and Stephanye was in the back yard giving the grass a good spraying of RoundUp. Our landscape folks have told us that we need to go ahead and start spraying so everything will be ready to dig in a month or so when they bring in the new plant materials.
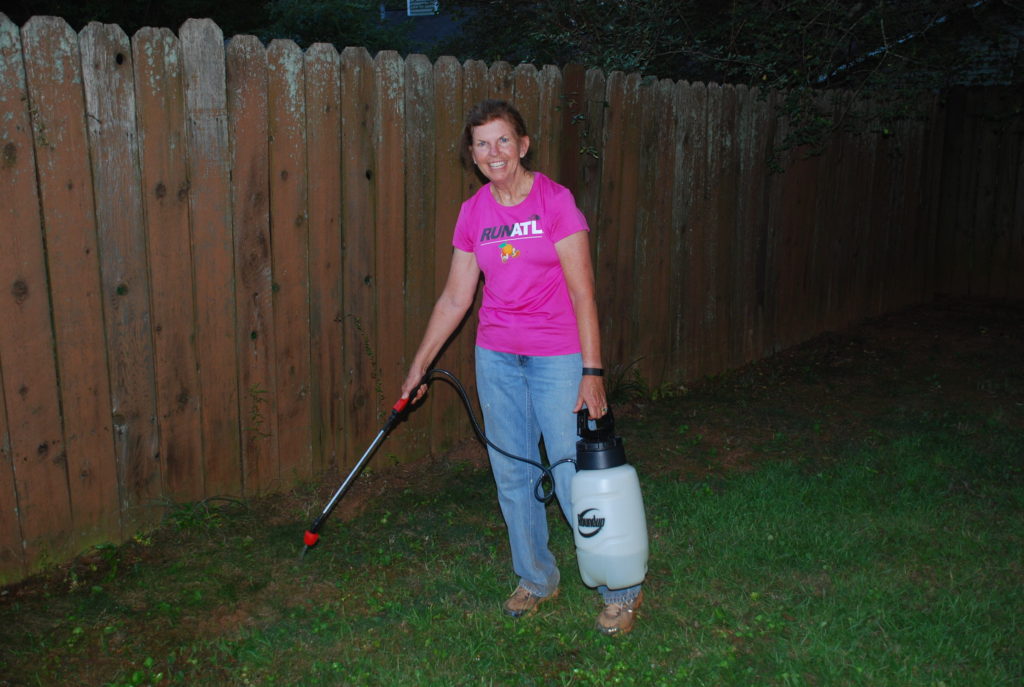 It was back-breaking work trenching and digging and hauling all weekend, but we’re not near finished yet. We had to take the trencher back, so the rest of it (next weekend) is going to be by hand. At least we’re getting some good exercise, and a respectable farmer tan.