I mentioned last week that we were going to have to do a couple of things in the basement to meet the current building code which weren’t required by the code 35 years ago. One of those is to create a fire barrier between where the cars will park and the floor of the house above. The code requires 5/8″ Type X gypsum board for that barrier and with all the pipes and ducts and wires running up in that area now, the only way to accomplish this is to furr down below all those things so that the drywall will have something to attach to.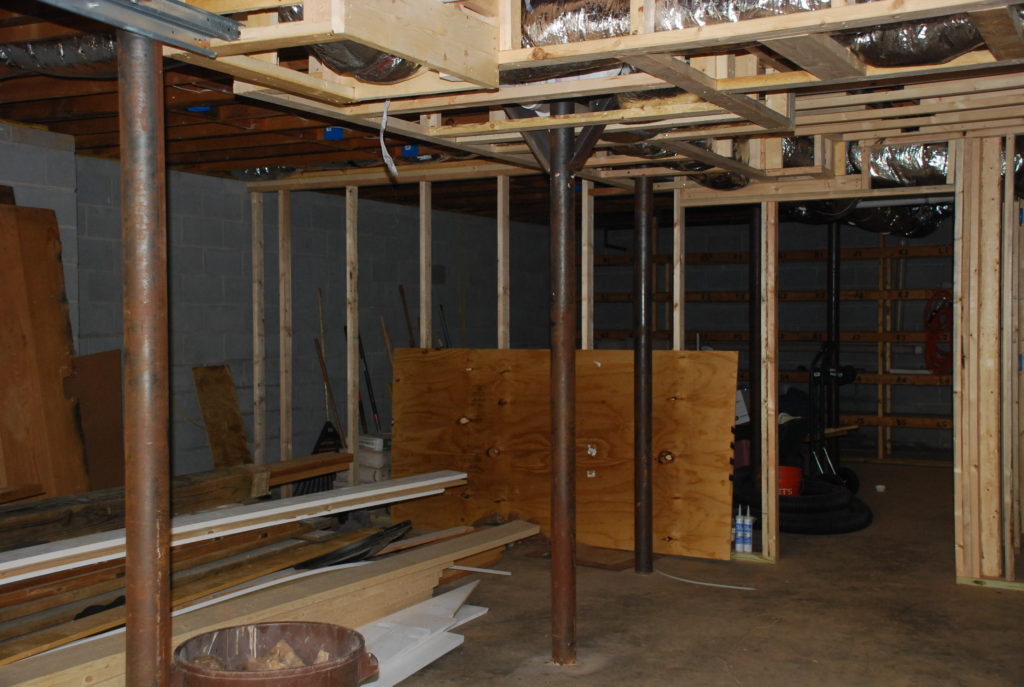 So Poncho spent most of last Saturday furring and furring until finally we had everything in the Garage area encased in framing. Tom called the City to request the Framing Inspection this week and when the inspector came out, he had a few issues that he wanted us to remedy before he would approve.
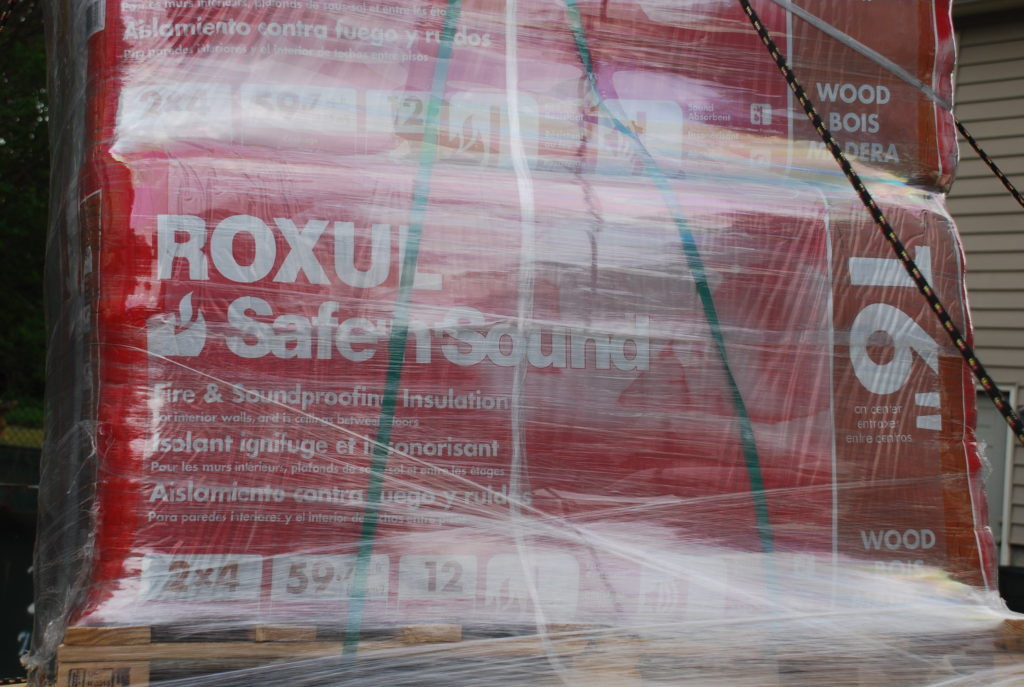
 One of them was that he wanted us to put fire-rated insulation above all the furring so that a fire couldn’t spread inside of the area that will soon be encased with drywall. The code has very strict requirements regarding fire-blocking inside of enclosed chases, and he considered this one of those cases. So we headed to the big-box store down the road and came back with a pallet of mineral wool insulation (6 bags), along with all the rigid foamboard that we are going to need to insulate the Basement walls.
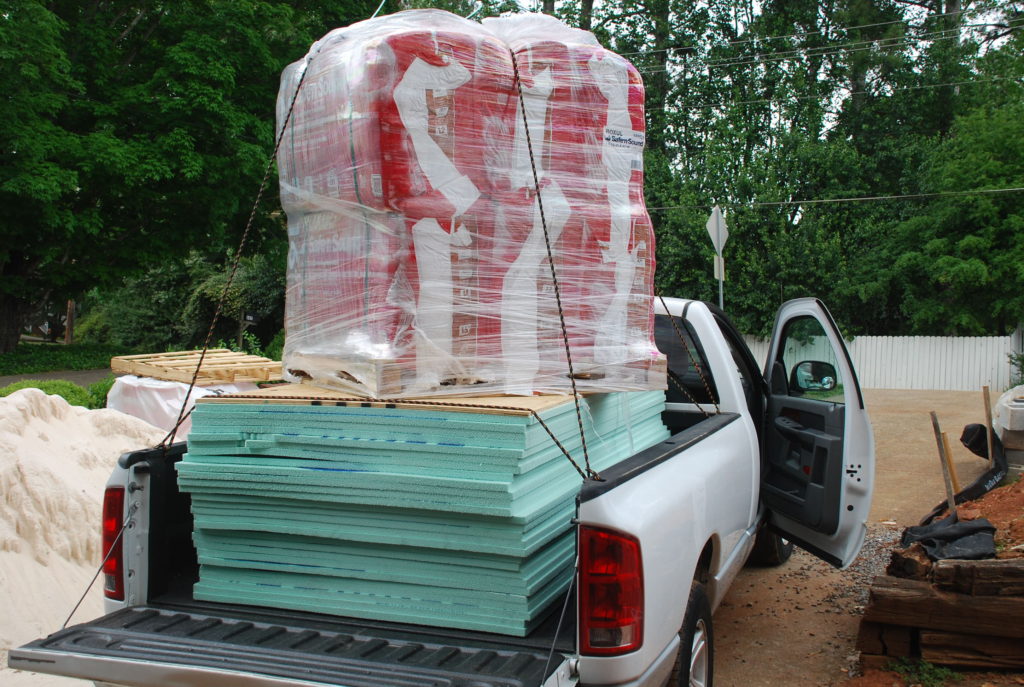 As it turns out, the insulation that we needed for fire-blocking in the Basement is the same kind of insulation that is used for sound control. Mineral Wool insulation is heavier than your normal pink thermal insulation that goes in the wall to give it a ‘R’ value, and it is spun out of – you guessed it – minerals. They heat up a secret formula of rocks until they are molten and then spin the concoction in a big cotton candy machine thing, and what you get is this insulation.
 Now I’ve been accused of being obsessed with wanting to reduce unwanted sounds in the house, so to maintain my reputation I bought it in bulk so we’d be sure to have enough to handle all the areas that I want to deal with later.
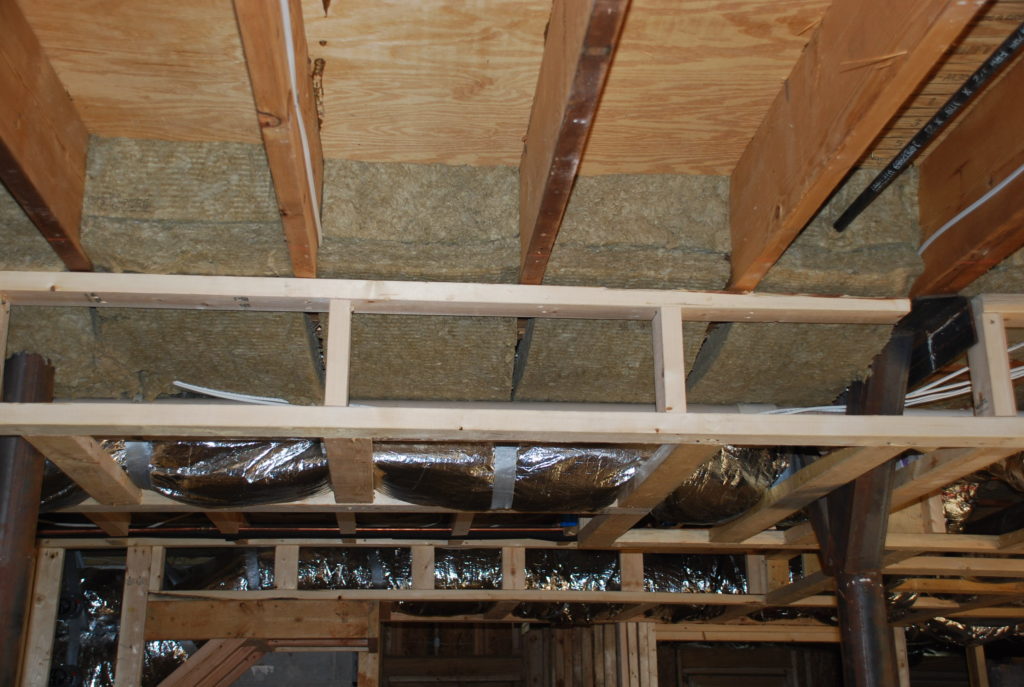
First off though, we needed to seal the area above the furring. The insulation comes precut into slabs that are 48″ long and the right width to fit between joists or studs at 16″ on center (which is normal for residential construction). That works out perfect for framing that is installed to those dimensions, but much of it is not, so there’s a good bit of cutting that has to happen to get it to fit.
 As a side note . . . one place that we decided to splurge was at the Kitchen window. Jeld-Wen makes a very cool ‘French Casement’ type window that we felt would be perfect for this new opening. It is a ‘push-out’ style and has screens on the inside so that you can keep the window open and the bugs out, and then open the screens to hand something out the window.
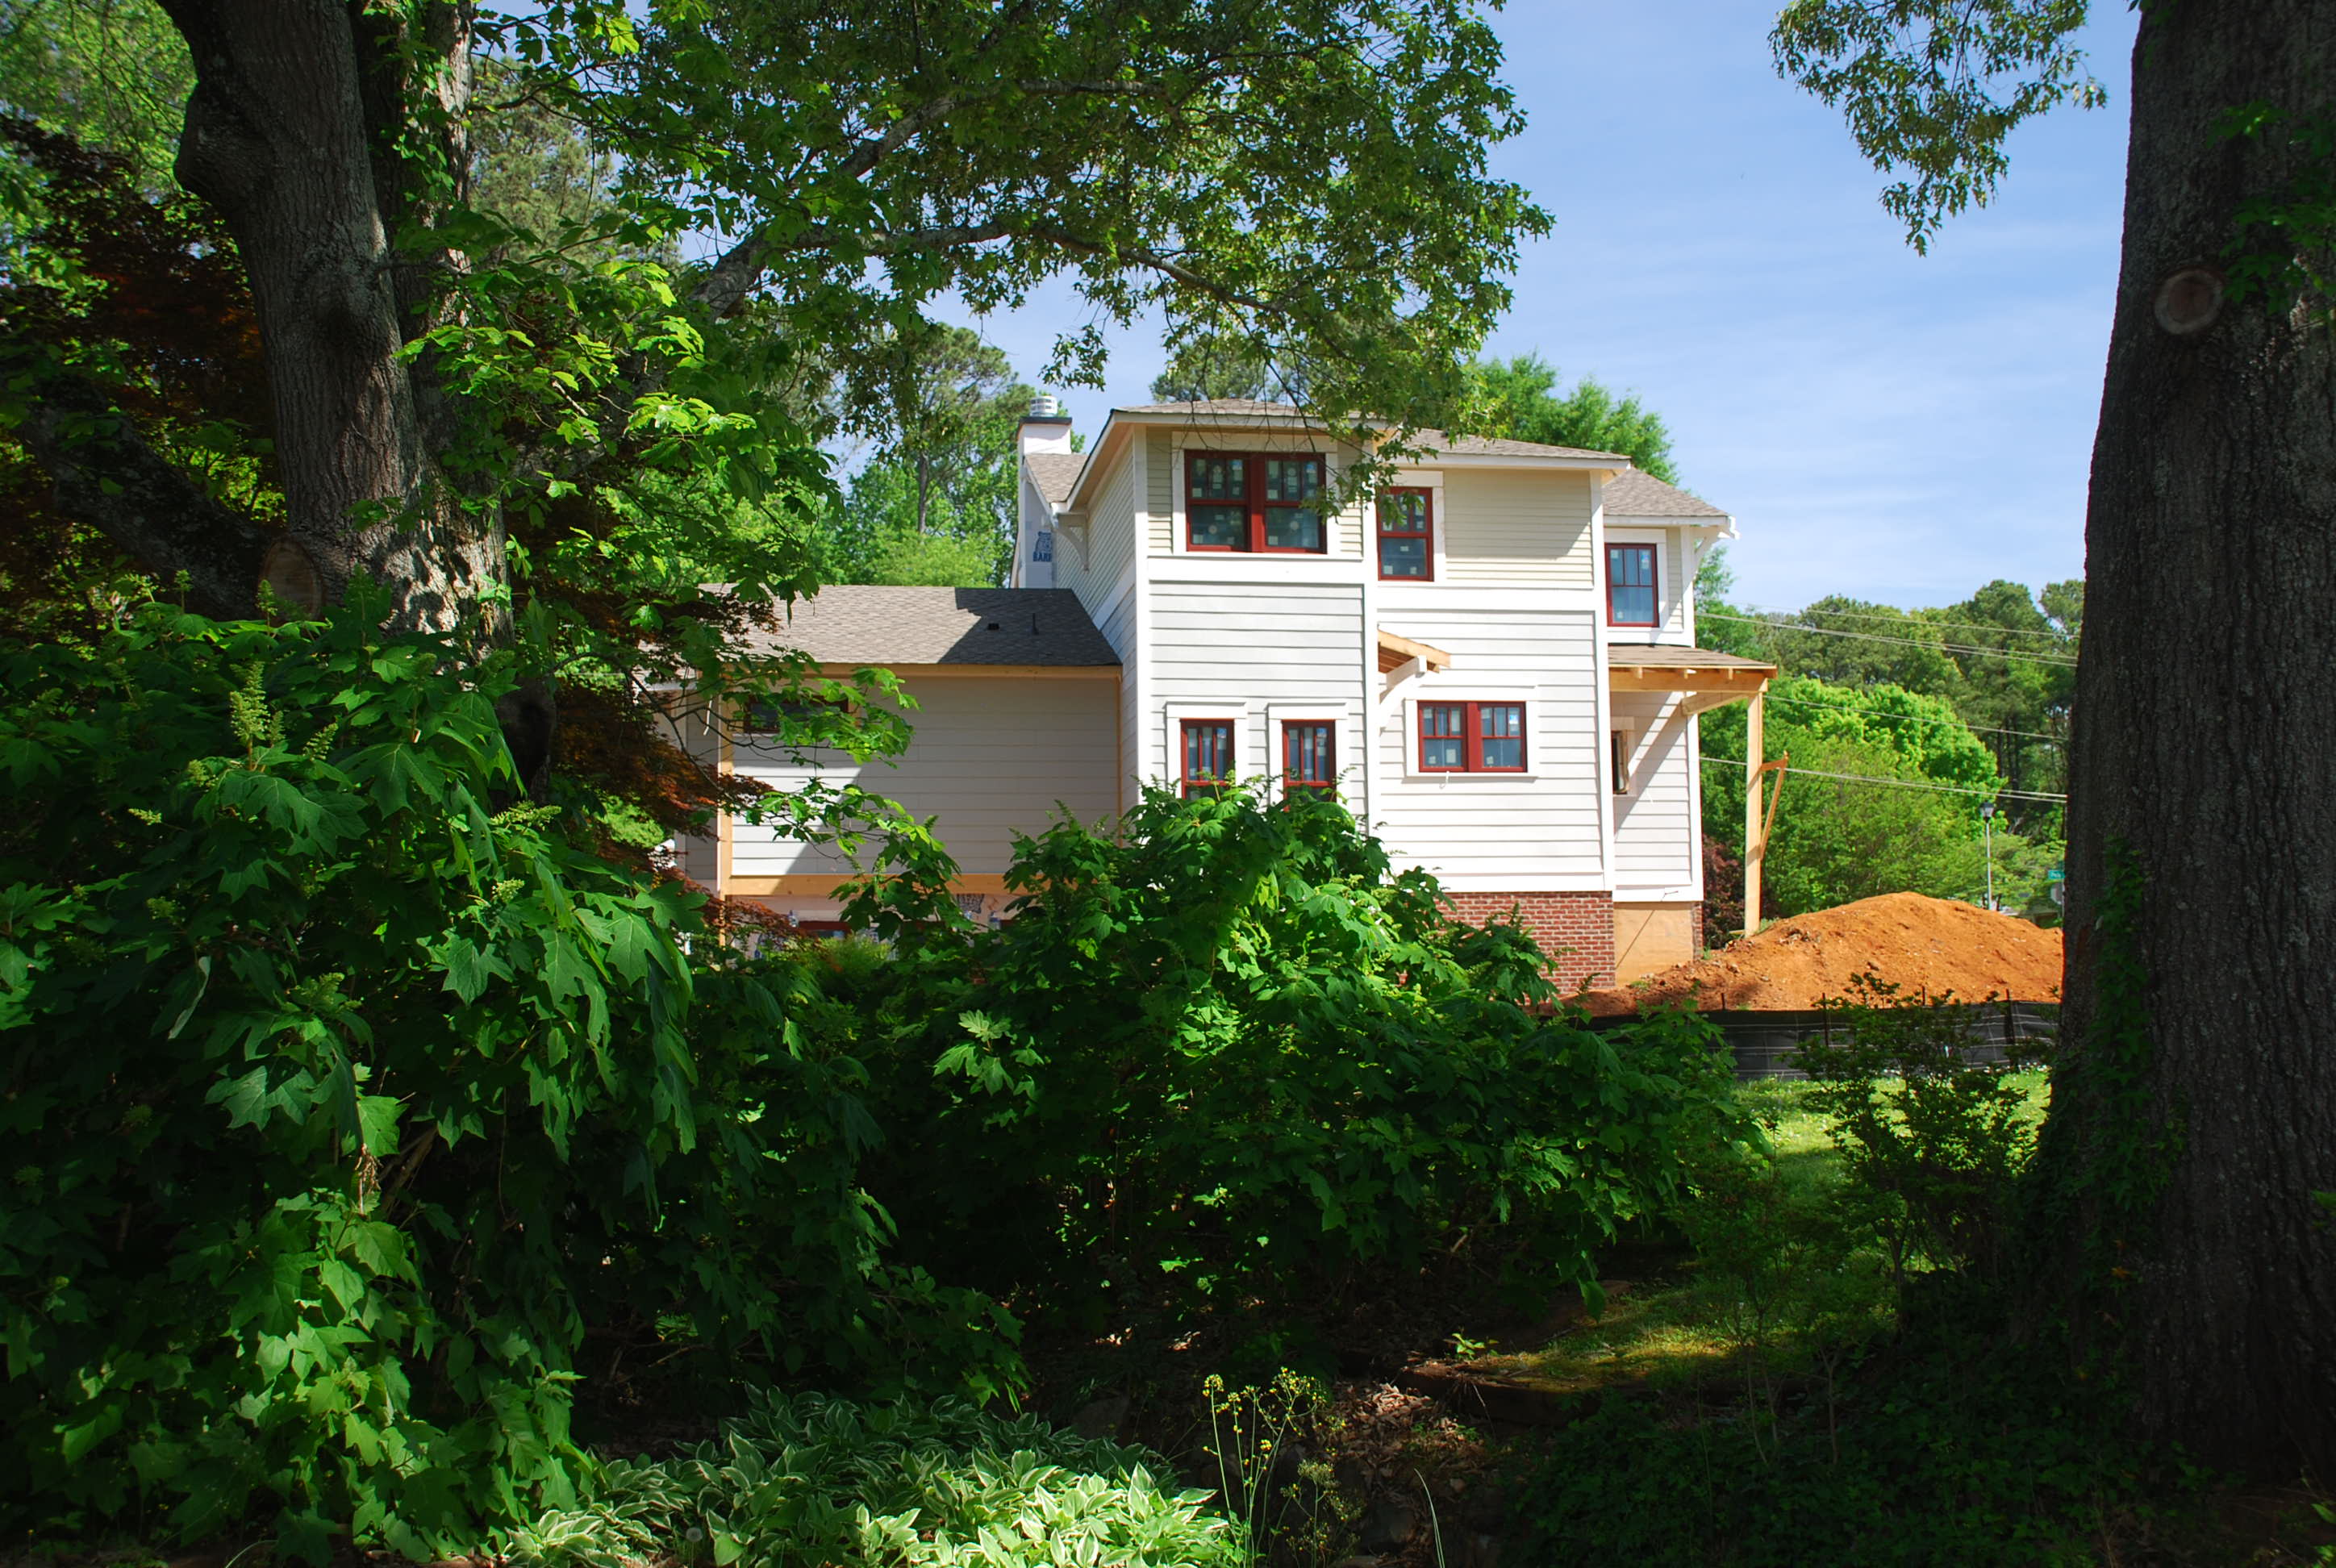
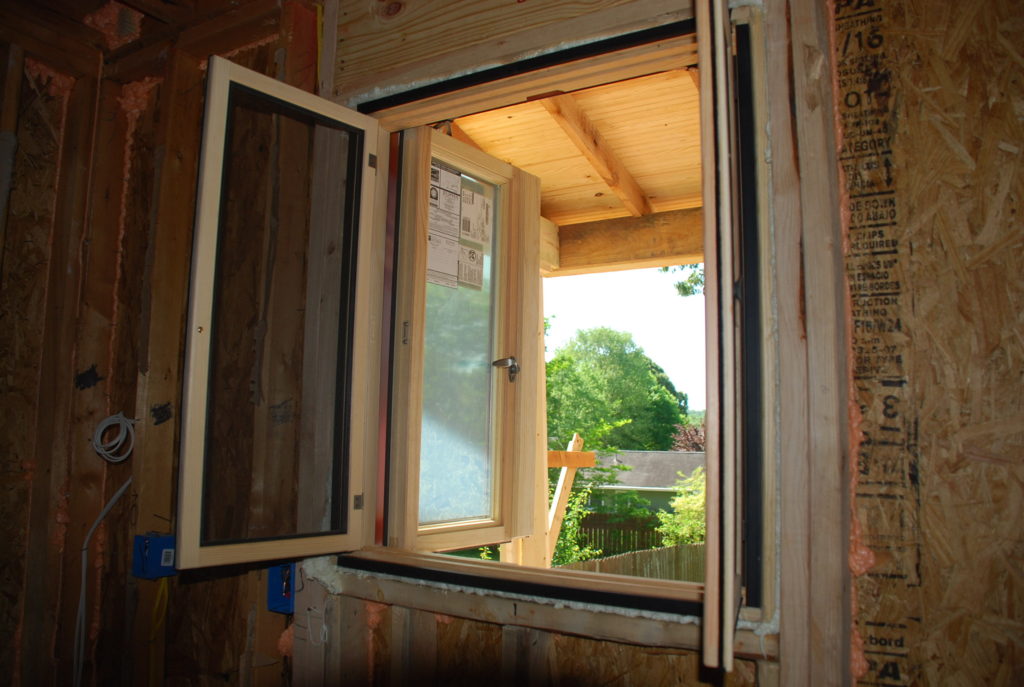 Below is the current view out the window to the back yard, but soon there will be a deck there and hopefully the piles of dirt will turn into nice landscaping.
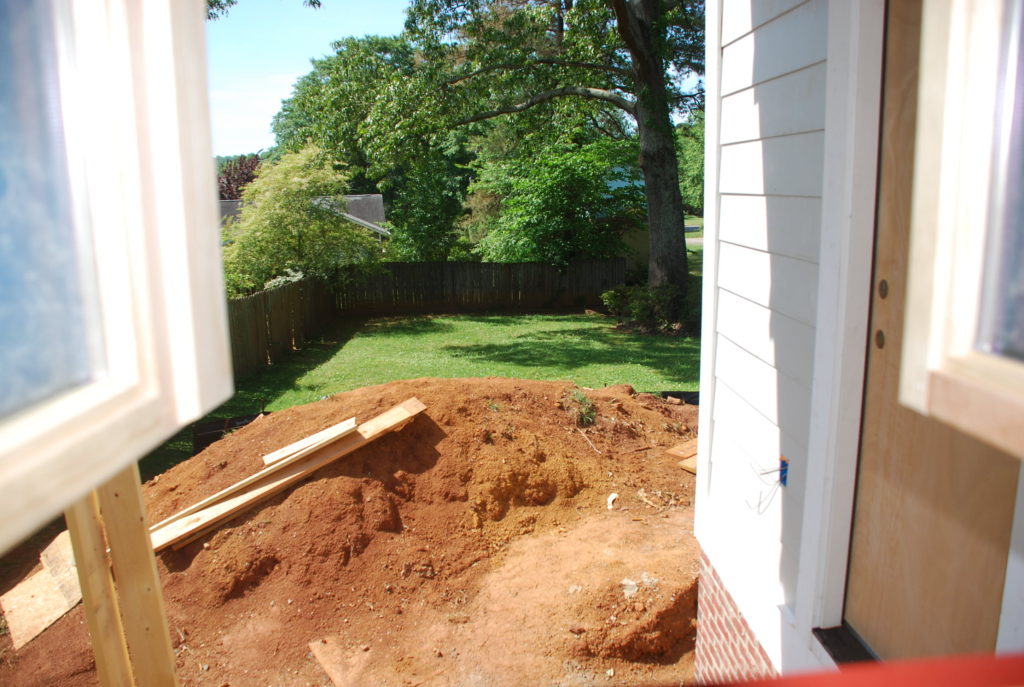 The window and the door from the Pantry are covered by one of the new porch roofs which will provide some protection and a little bit of shade back there on the South side of the house.
 Back to the issue at hand, one of my pet peeves is my dislike for water noises coming from the ceiling and walls! For example, before the renovation, whenever the bathroom upstairs was being used – sink, toilet or shower, it sounded like a waterfall in the ceiling and walls when the water drained through the pipes. This was one of the issues that I have been wanting to correct for years but was never willing to tear out the drywall to address it.
We did a lot of research and resolved that cast iron pipe was the best solution to this problem. The mass of the iron pipe as opposed to PVC allows for a significant reduction in the sound of the water passing through it. Tom discussed this with the plumber early on, and he told us that we only needed to worry about the vertical drops, and to just use the normal PVC for all the horizontal piping and ells and traps.
I was skeptical, but took the word of the expert and had them install all the drain lines that way. However, now that everything is in place (except for the drywall) we tested the system by running water through the drains and though the verticals are quieter than they would have been otherwise, the horizontal runs still make a lot of noise.
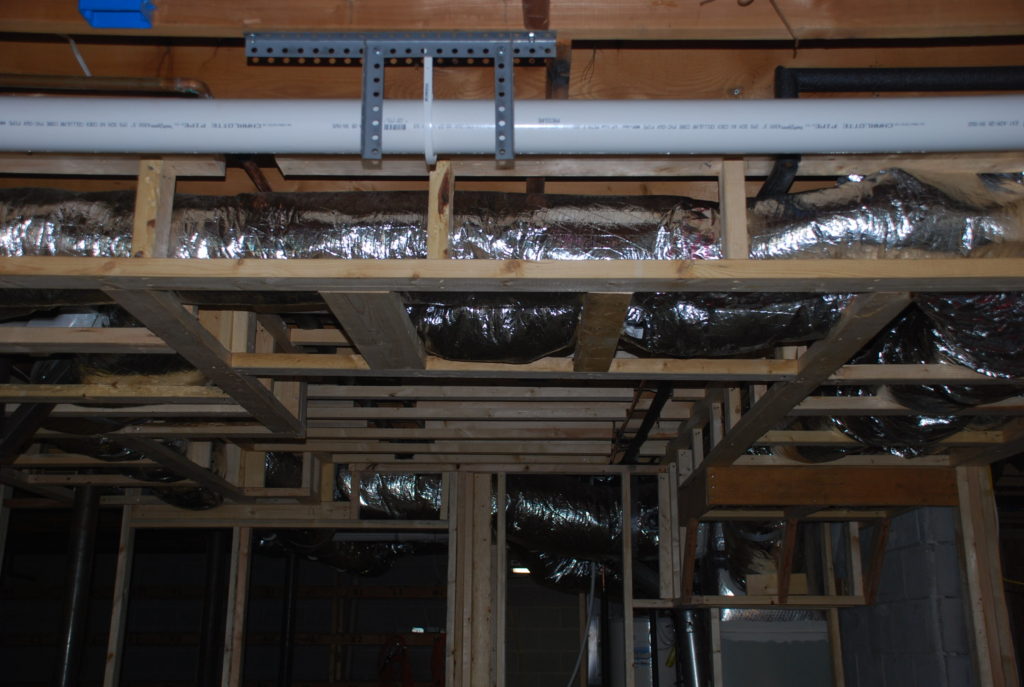
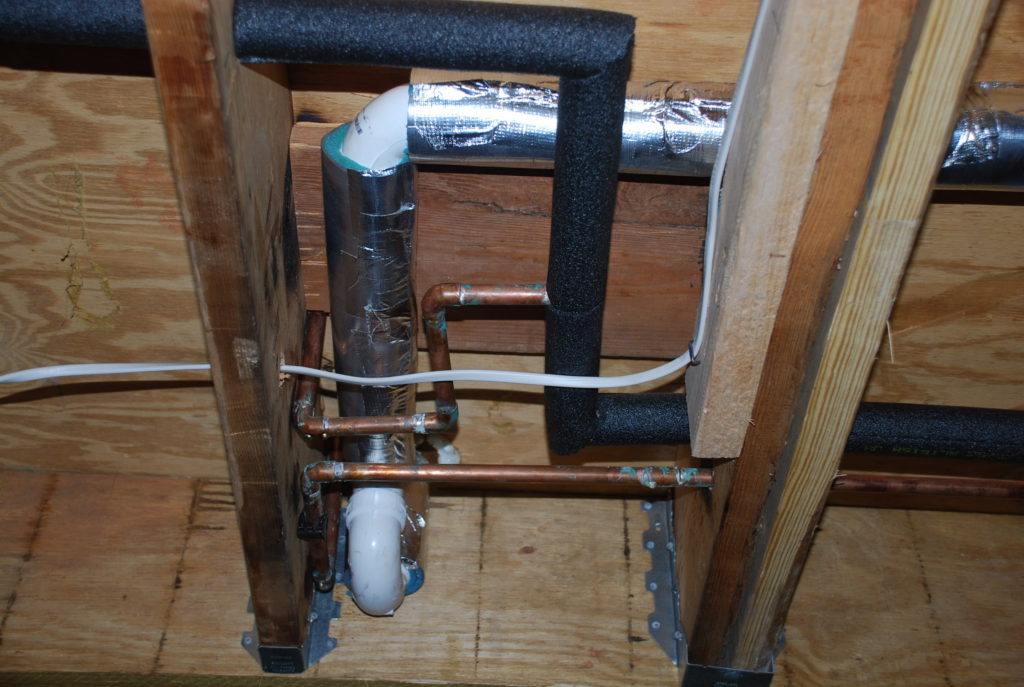
So I’m on a mission to eliminate the noise! The first step is to install some foam-rubbery pipe-wrap insulation which is designed just for this purpose. It has a metallic outside facing and is sealed with a foil tape. 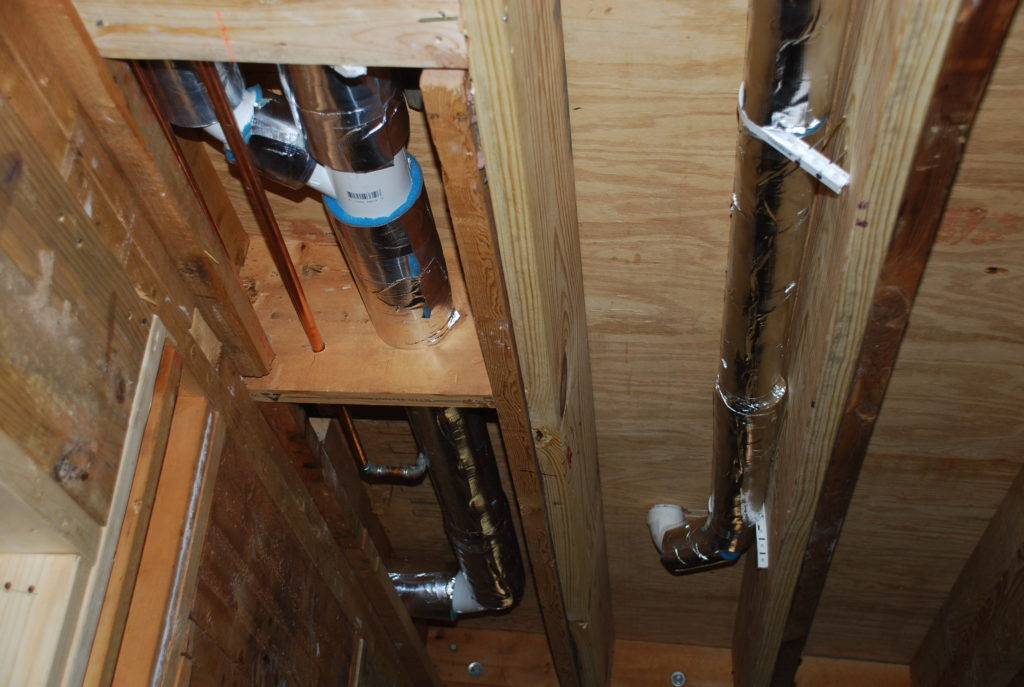 You can see in these photos that we’ve wrapped all the major runs and will come back and address the connections the best we can.
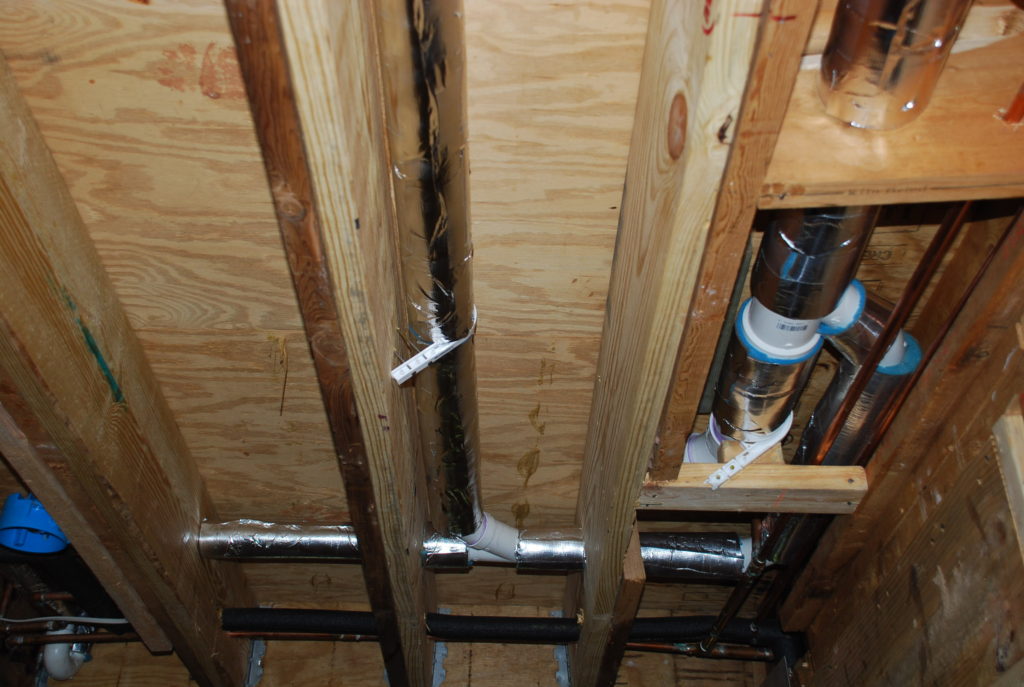 The hot water lines were already insulated (that’s the black insulation). The silver stuff is the new insulation that we’ve added to the drains for sound reduction. Once we get these all insulated we’ll test the noise again and see if we need to do more.
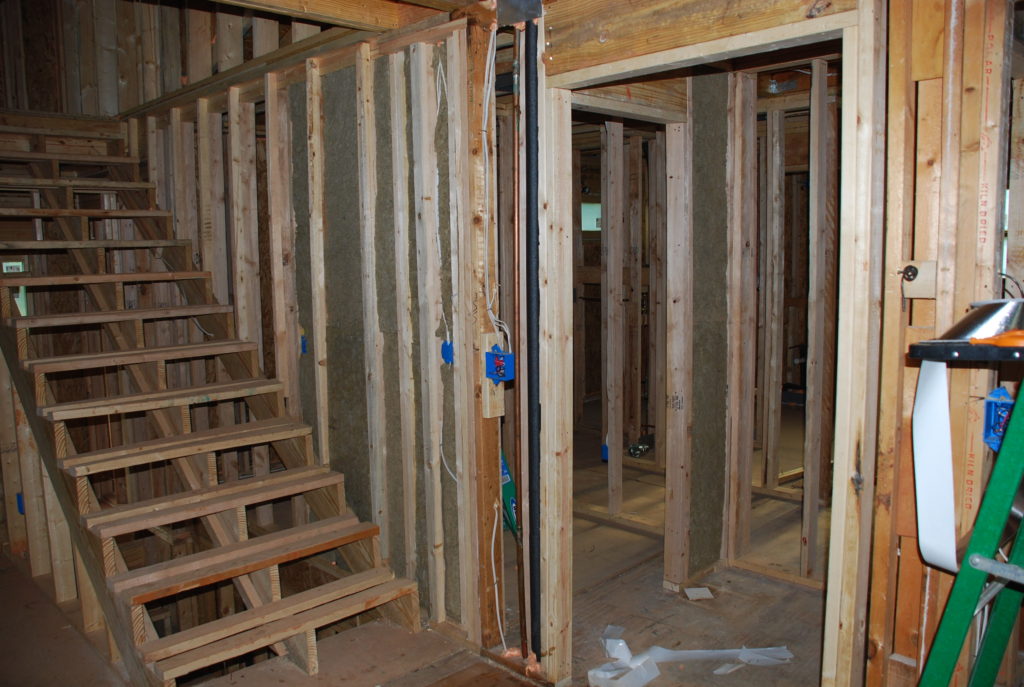
 Nobody likes to hear bathroom noises – whether you are inside or outside, so we took the mineral wool batts and surrounded the Powder Room with them. Another step in keeping down undesirable sounds in the Family Room.
 Next week we’ll tackle some areas upstairs that are of concern as well.