With the giant hurdle of getting the brackets and bargeboards up, we were finally ready to get some shingles on the roof. We made our shingle selection a few weeks ago, and they had been ordered and delivered to the site last week sometime.
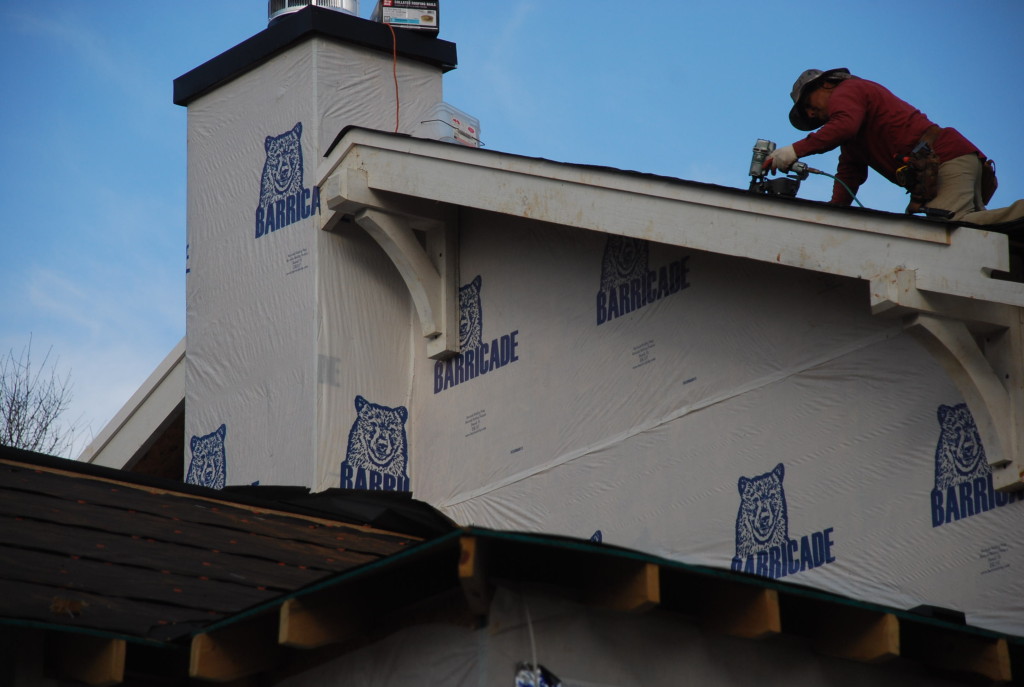
The roofing contractor went right to work because there was more rain in the forecast. They put flashing on the chimney and started shingling from the bottom up. We are going to use spray foam insulation in the attic, so there will be no need of attic ventilation – so no soffit vents or ridge vents are required.
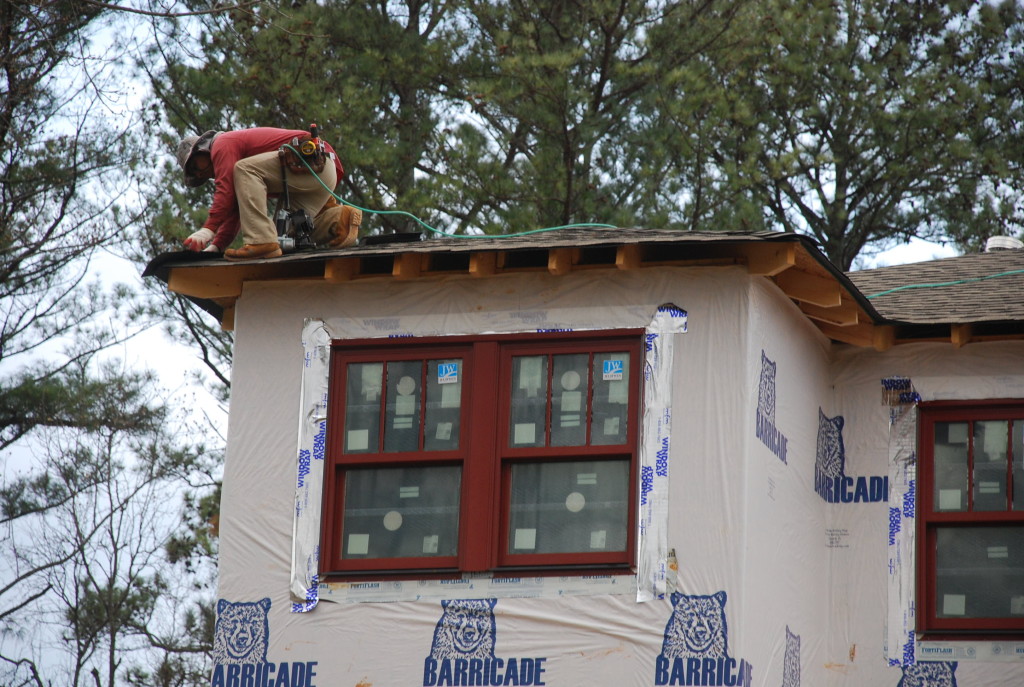
They installed all of the upper roof shingles just in time for another rainstorm to hit. We still had tar paper on the lower roof over the Master Suite, so that area was protected, but we were still anxious to get the shingles on.
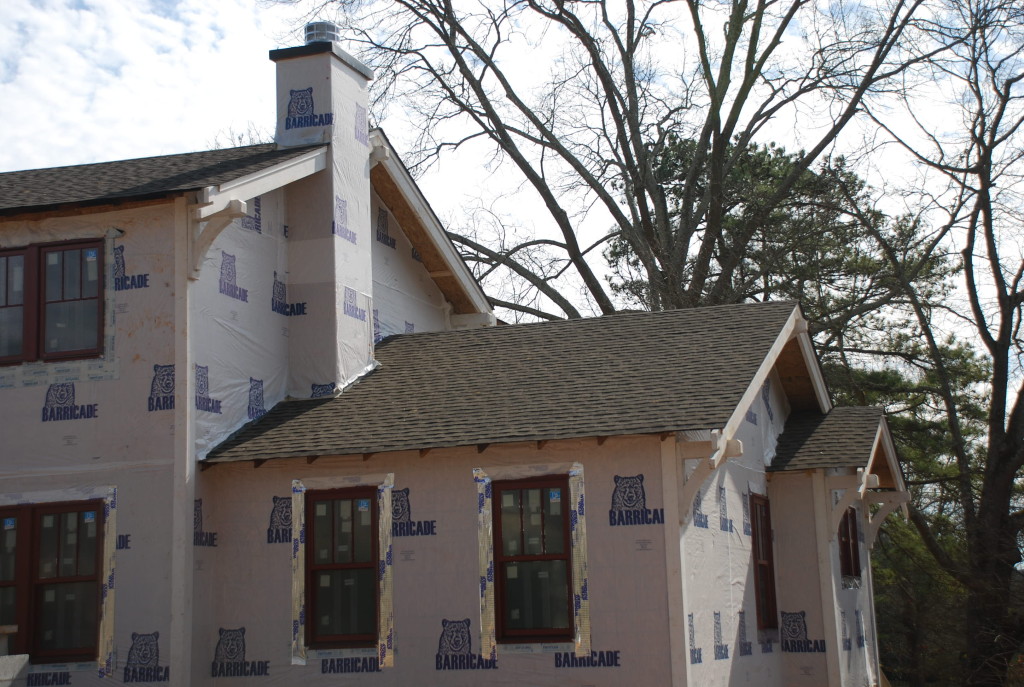
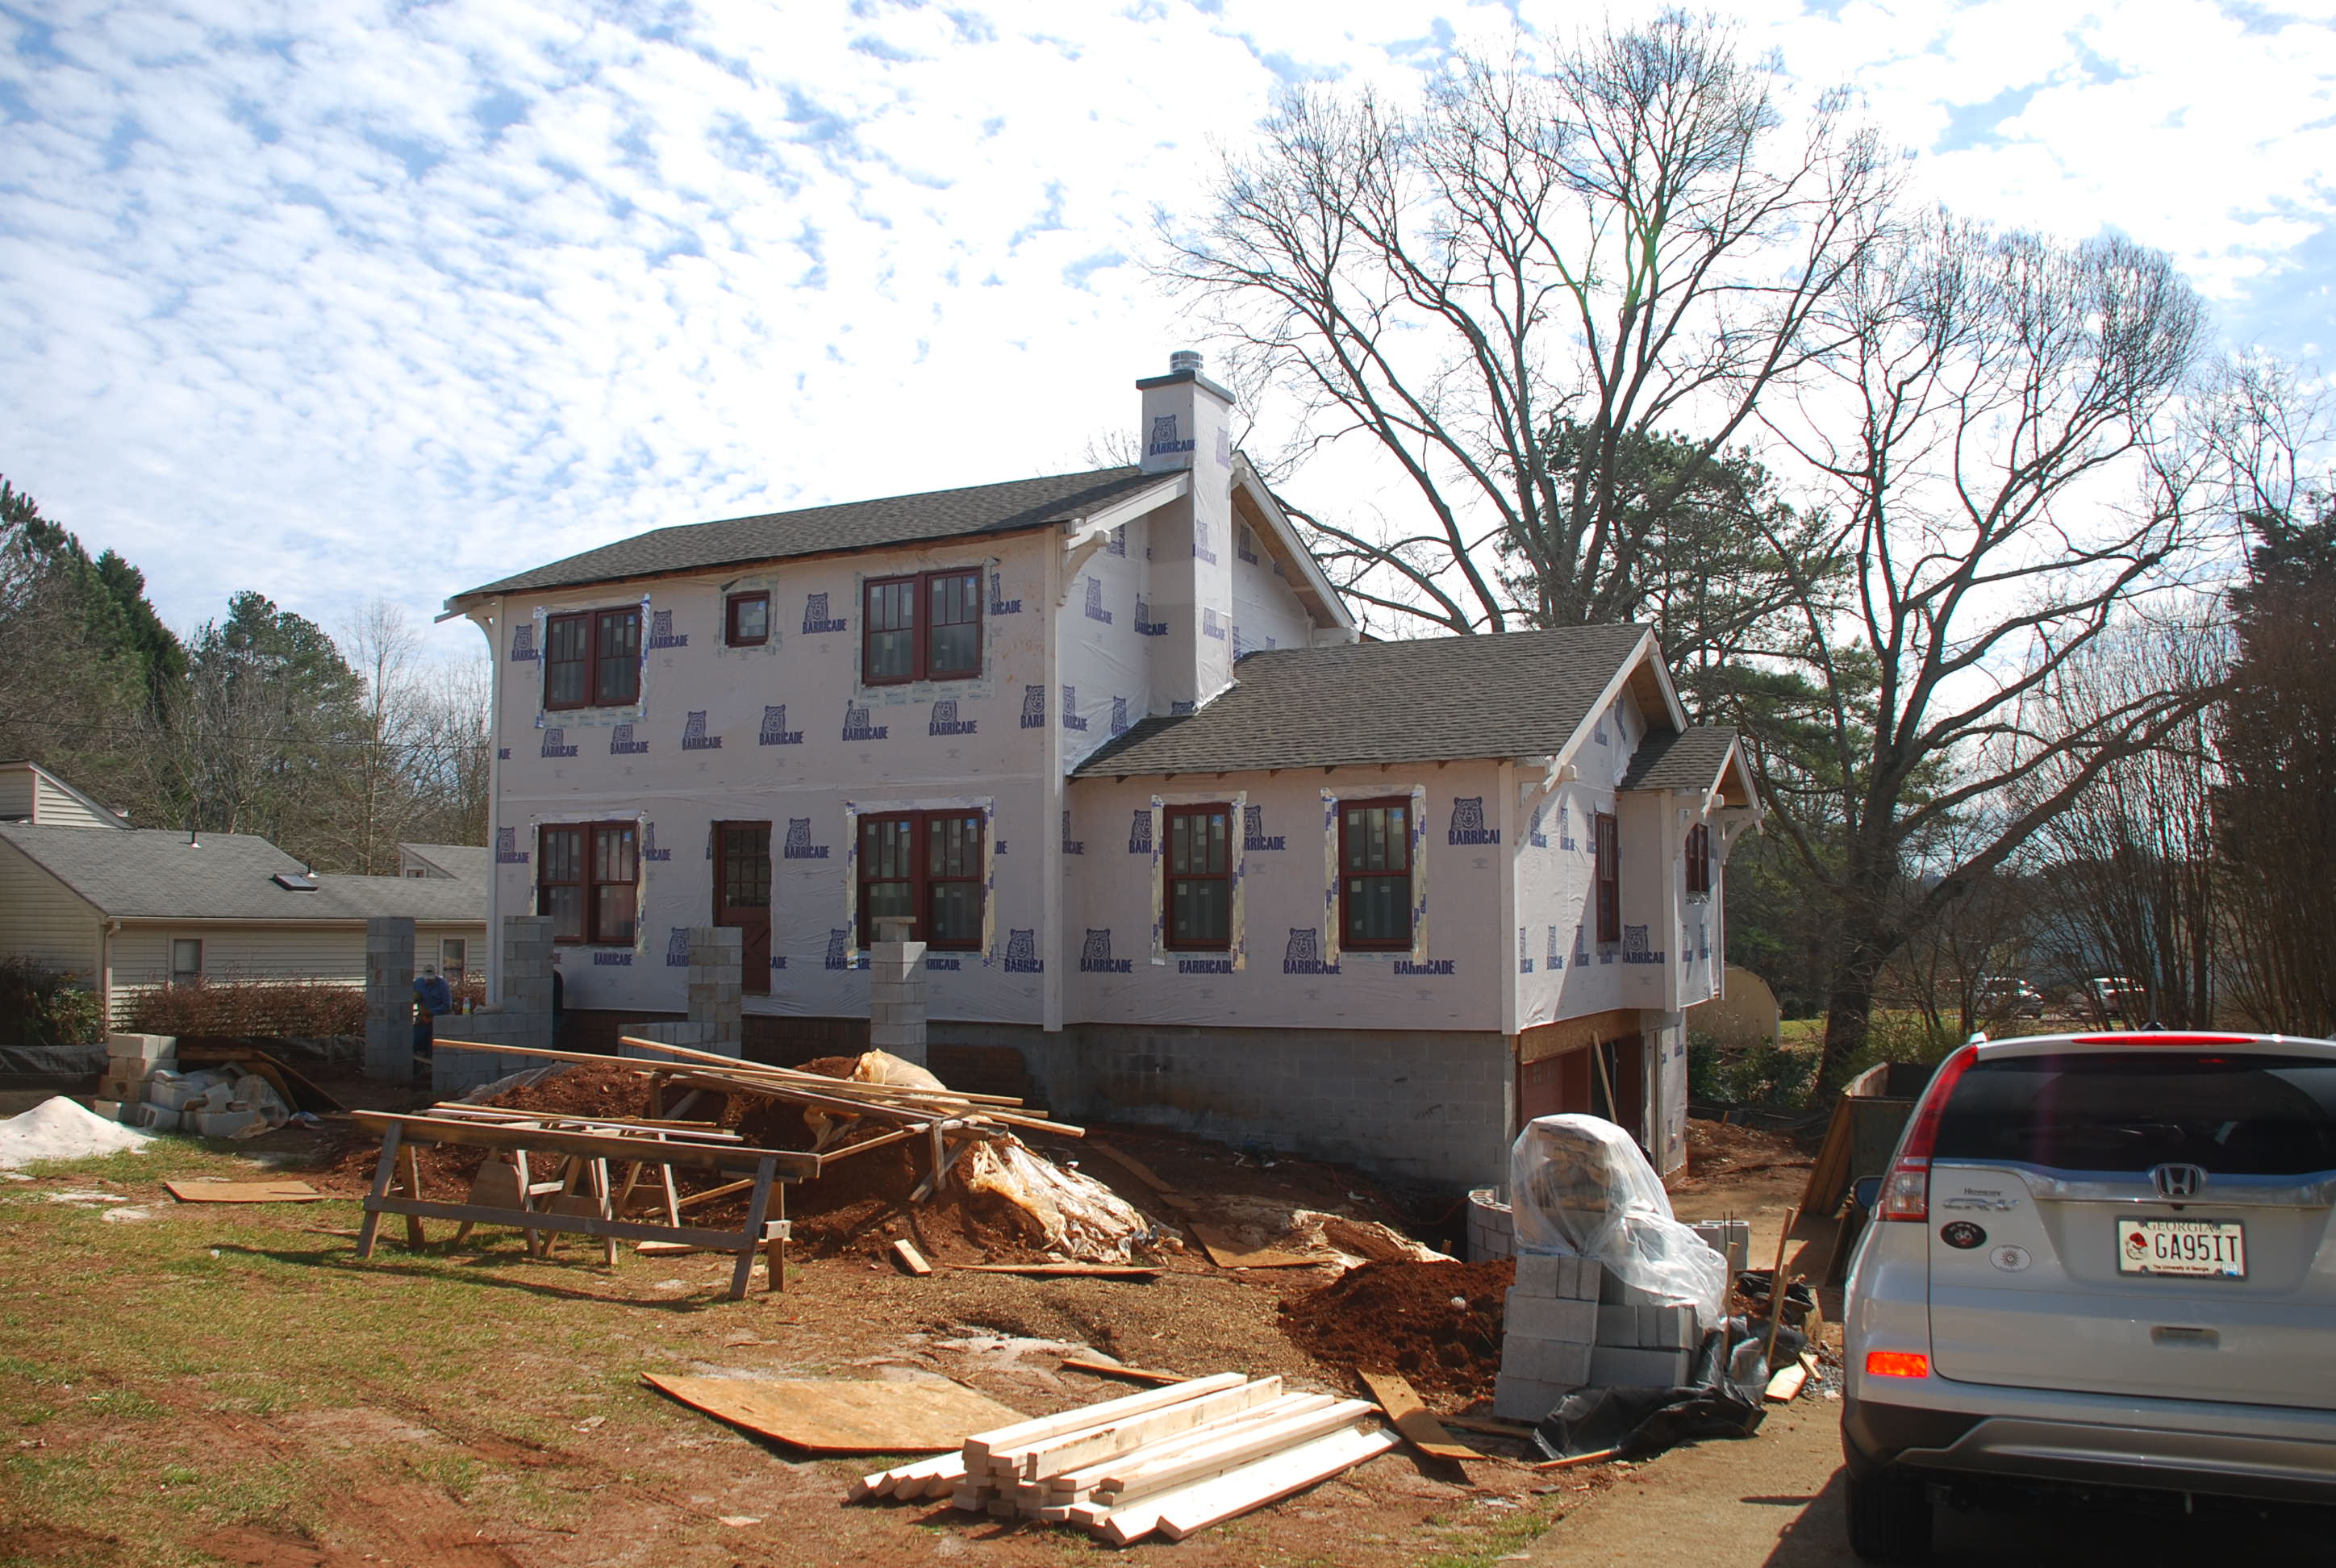
Finally the skies cleared again and they were able to finish up on all the rest of the shingles. We still have some roof areas yet to be built (front porch, back porch, eyebrow roof over the garage doors), but the main house is now all shingled.
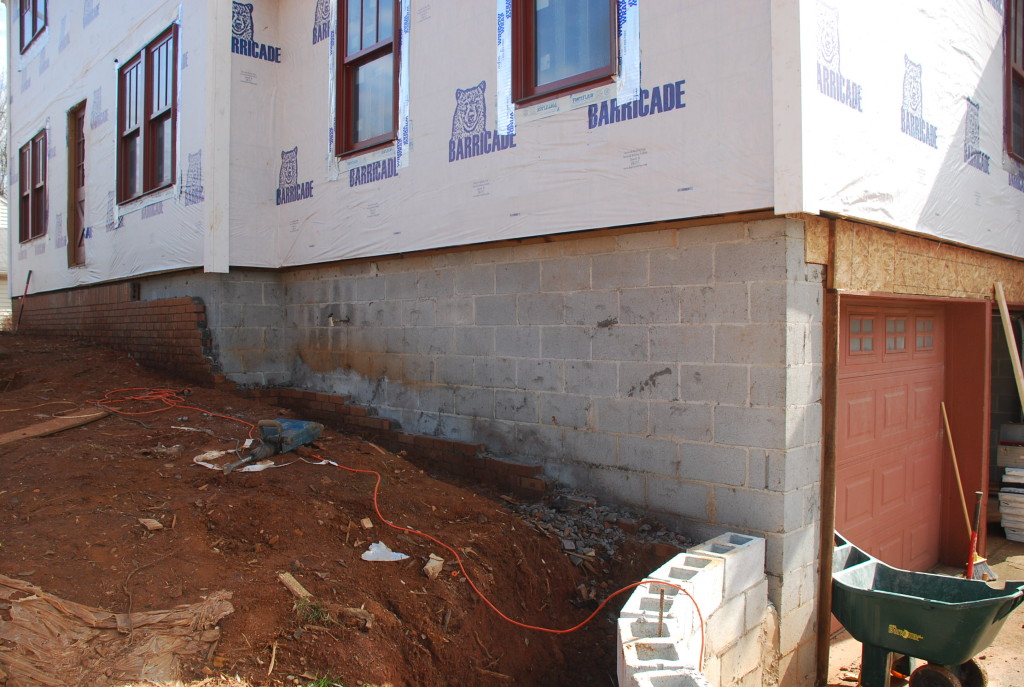
As I mentioned earlier, we are going to replace the face brick with a different brick and mortar that is more appropriate to the new/old style that we are trying to achieve. Jonathan and Dale have begun the task of removing the brick down about 8″ below grade some time back, but found that original mason had filled all the holes in the brick with mortar. It seems that the mortar was harder than the brick so when hit with a sledgehammer, the brick would shatter into lots of little pieces – which required lots of cleanup to get it all in the dumpster. Tom volunteered that he had a hammer drill and we figured we’d try it out on this demo task.
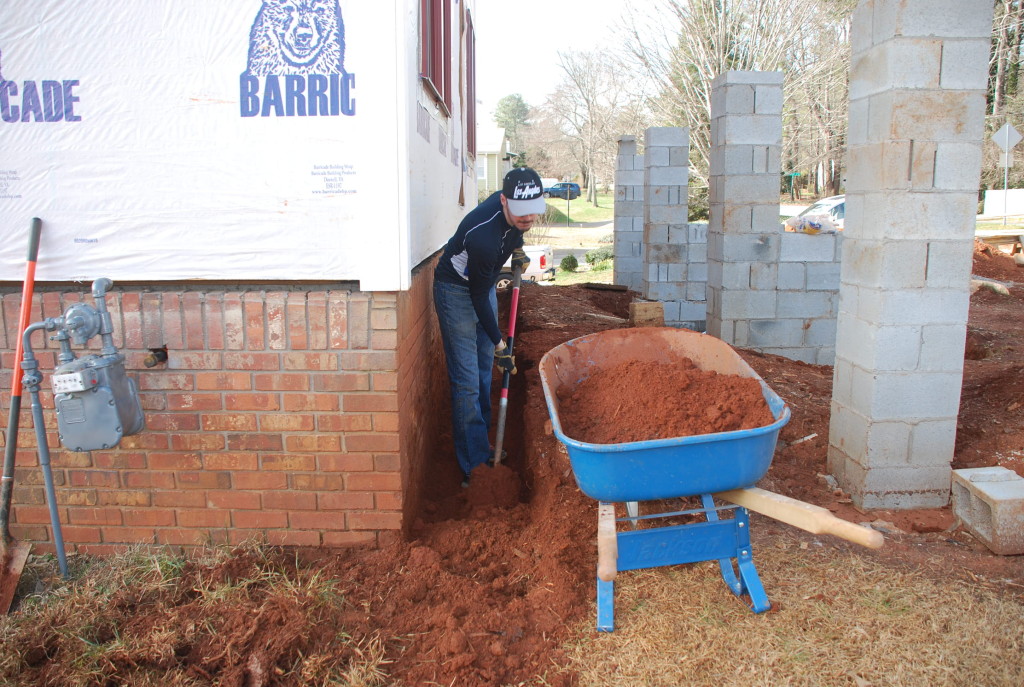
But before we could take the brick off, we determined where the finished grade was eventually going to be and dug down about a foot below that level. The plan is to re-brick the area that is going to show above grade, but just leave the old brick down below grade. The mason will build right on top of the old brick and then when we backfill the dirt against the house, you’ll never know that the original brick is still there below grade.
We were anxious to try the new demo tool and sure enough it was a much better option to swinging a sledgehammer.
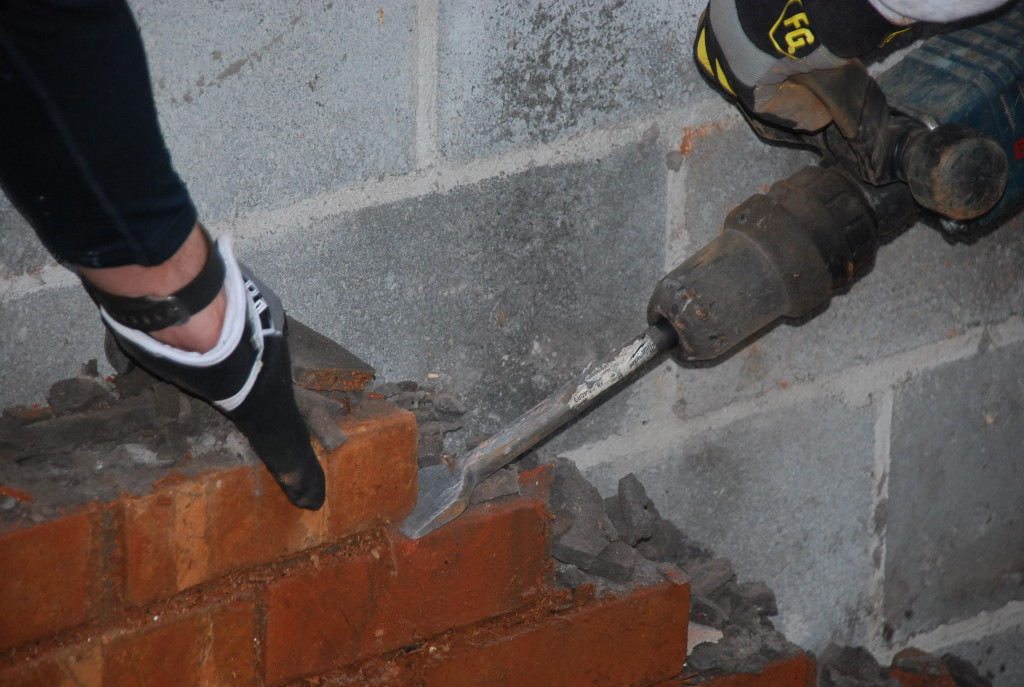
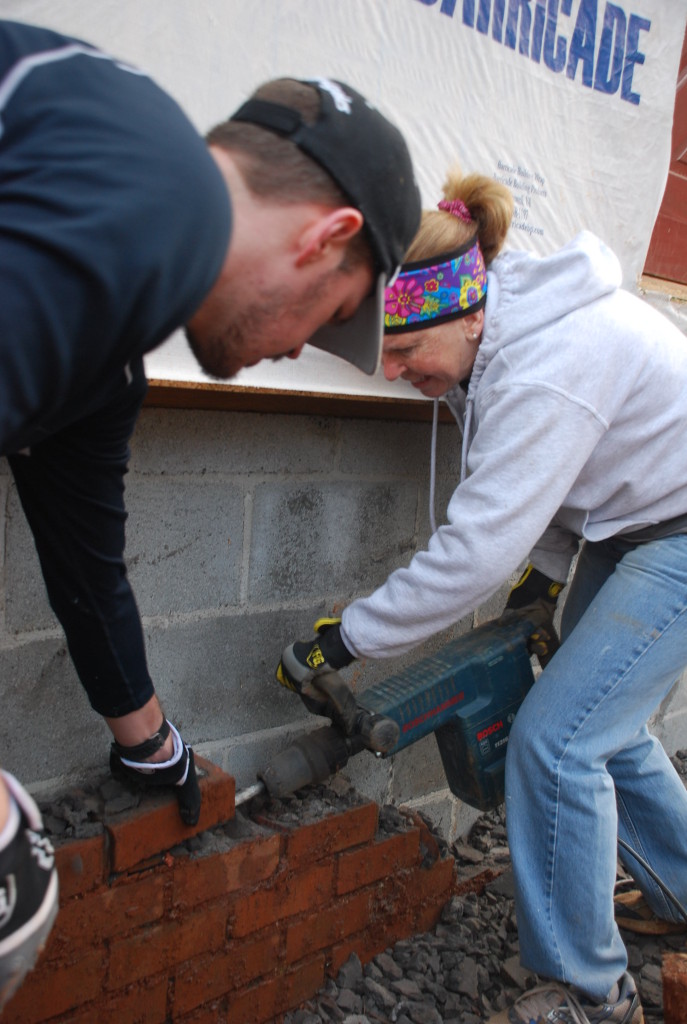
The hammer drill is basically a small jackhammer that hammers whenever there is pressure against the chisel. It is quite heavy and between that and the vibration and loading the wheelbarrow and wheeling it to the dumpster, it was a pretty good workout. We rotated roles and were able to sustain steady progress throughout the day. Even Stephanye took her turn at the hammer drill between her other jobs taking photos and sweeping and sweeping and sweeping.
We tried several techniques, but resolved that drilling at the mortar joints was definitely the best approach. We drilled from the end of the brick, or from the side, or sometimes from the corner – whatever it took to get them off. As before we found that there were no brick ties, and at least as far as we dug, no waterproofing on the wall. I guess with a unfinished garage, the original builder wasn’t concerned with water infiltration. Amazingly, over the 35 years that we lived there, we never had any issues with water coming through the walls.
We almost got it finished – but ran out of daylight with an hour or two of work left. We have a work-light that we could have brought out to continue, but we were pretty worn out and weren’t holding anybody up, so decided to leave the last little bit for next week.