
We didn’t quite finish the brick demo last week. Strangely enough the sun seems to be on a regular schedule and we weren’t able to delay the darkness. So the first thing we had to wrap up this week was finishing that and hauling all the removed brick to the dumpster.
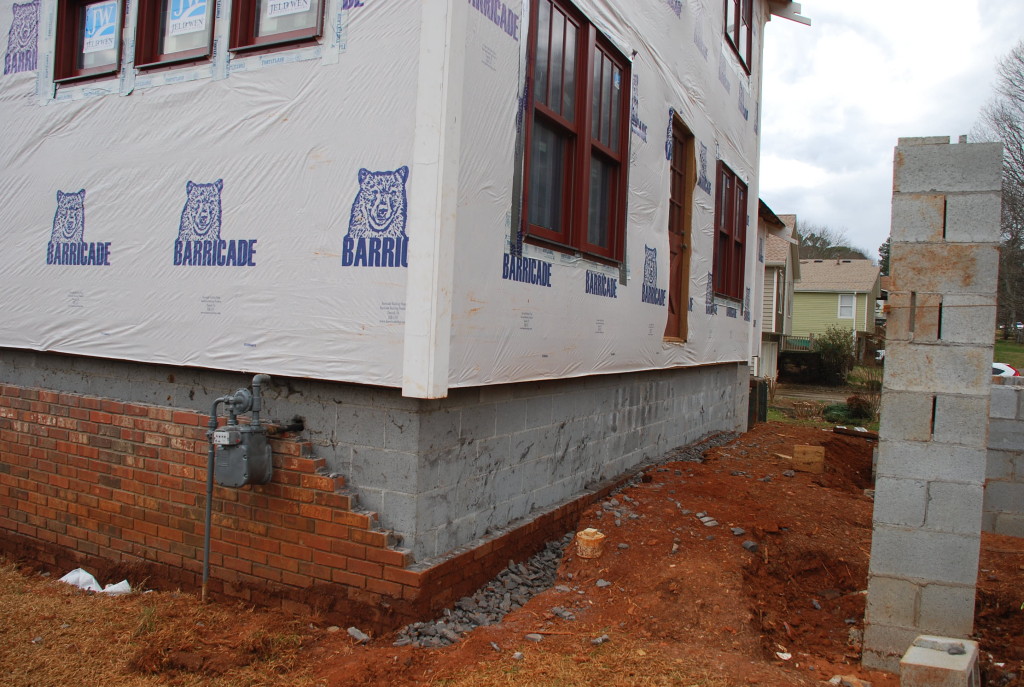
We had almost finished all the front wall done, it just needed to go a little lower at the front left corner. We also had to work around the gas and electrical service on the side, so figured we’d want as much daylight as we could get to make sure we could see what we were doing. So we first removed the top ‘soldier’ course on the side (the construction name for when you lay a brick on it’s end with the face out). Then it was just a matter of using the hammer drill technique to take off the rest.
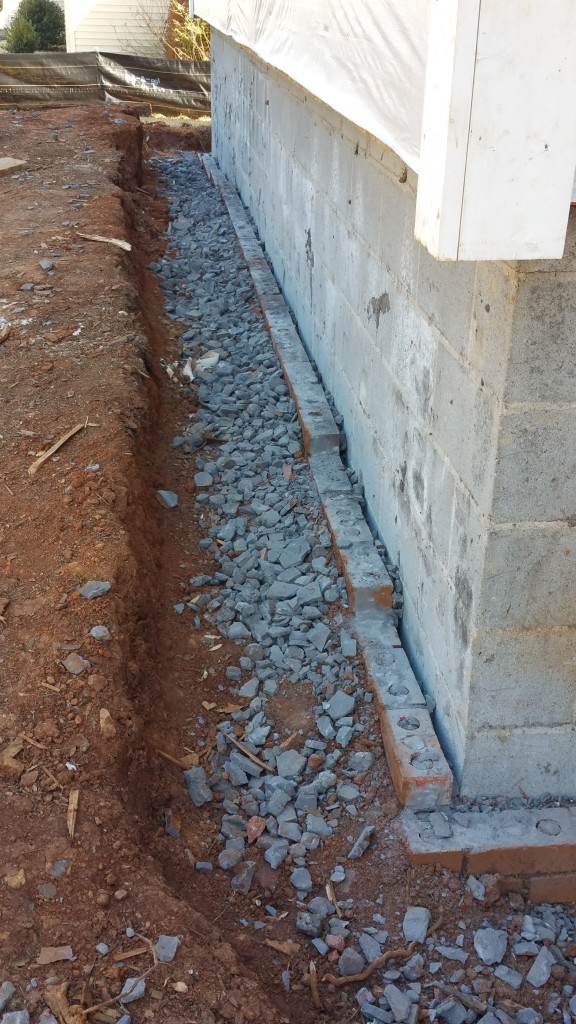
Pretty soon we had all the front down as far as we wanted and started around the corner to get the left side. The gray ‘gravel’ looking stuff is the mortar that was either between the bricks or inside the holes. You can see that all the holes were pretty much filled with mortar all the way down.
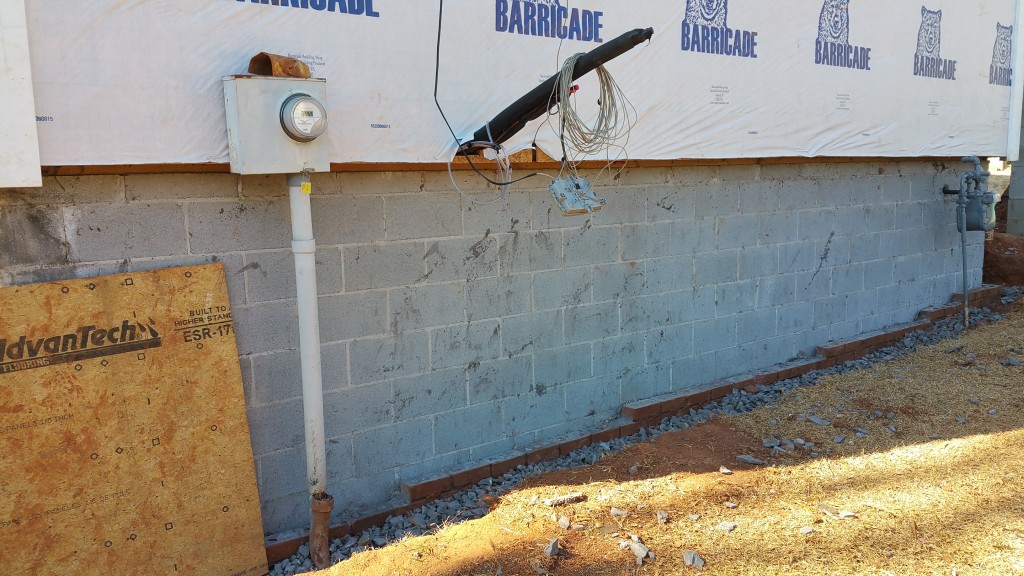
As we went down the left side of the house, we had to work around both the gas meter and the electrical meter which were both very loose and wobbley. The HVAC sub had disconnected the gas meter from the pipes to the house so there couldn’t be any surprises if someone accidentally turned the valve back on. I guess that is normal practice – certainly good to be safe, but all that was holding up the meter was that little pipe going down into the ground. The electric service to the house is run underground from a transformer positioned up near the road on the property line. As long as I can remember the joint in the PVC conduit that goes down into the ground has been open – exposing the cable.
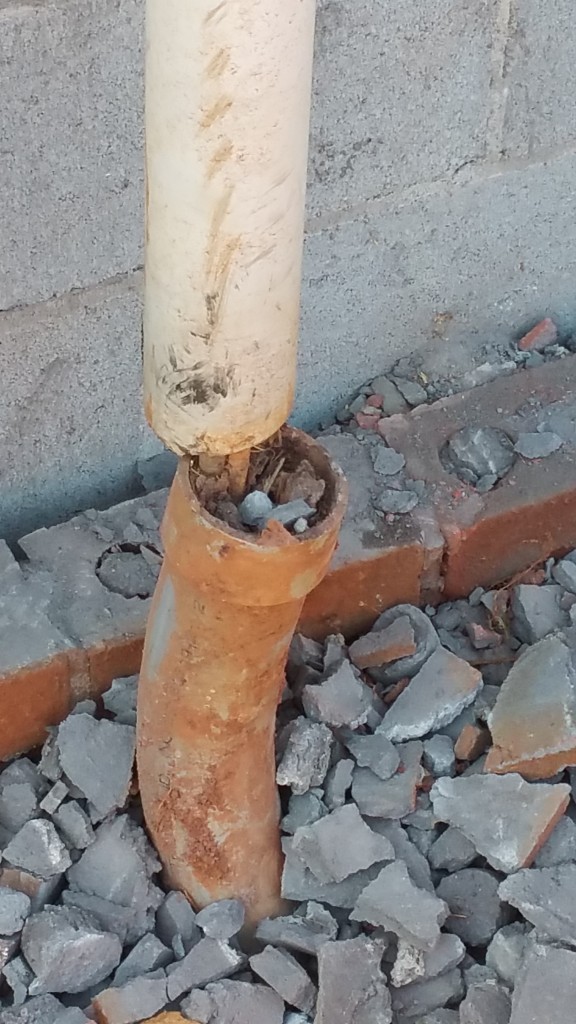
The insulation around the wires seemed to be intact, but there were rocks and debris that had collected in the conduit over the years. Long ago I wrapped a piece of sheet metal around the joint to protect it from the lawnmower and the weed-eater. That seemed to keep the wire from getting damaged, but this is something that we definitely need to address. I’ve told Tom and Guy (our Electrician) about it and they said that it will get fixed.
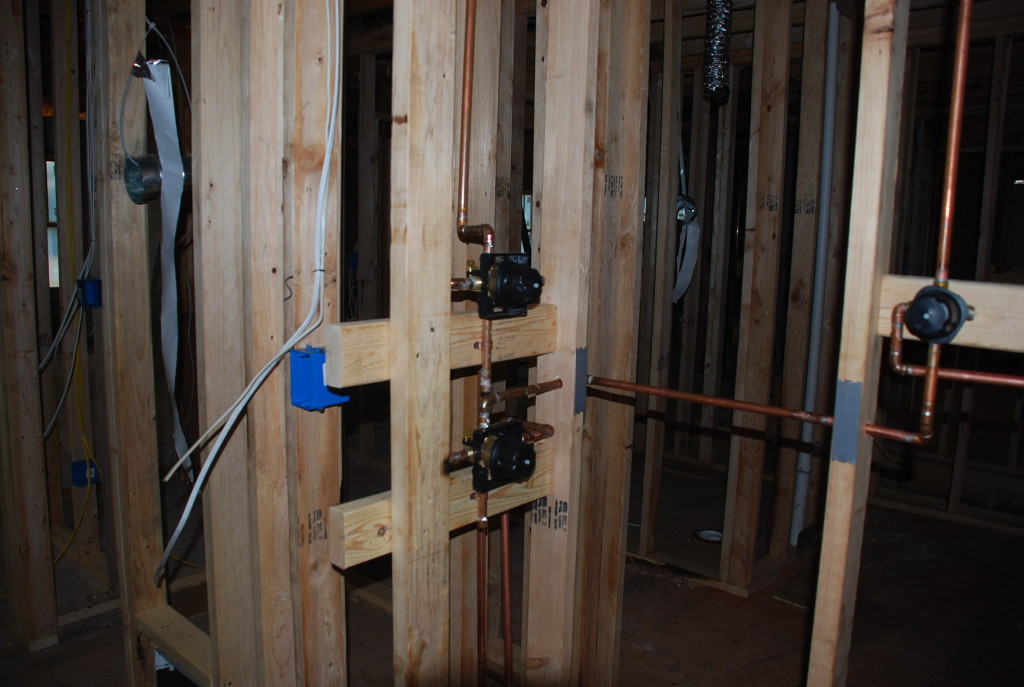
The plumbers also did some work inside this week. One item that we’ve been working on is how exactly to layout the Master shower. We have specific ideas about the shower heads and some tile niches for the soap and shampoos and stuff, and even though the tile work doesn’t get done until much later, we have to figure it all out now so that the framing is done correctly and the shower valves are all installed to accommodate the plumbing. So they came back this week and did some more work on the piping, but it isn’t quite right yet. We’ll do a drawing to illustrate so that everybody can get on the same page.
We are getting pretty close to having all the rough mechanicals done and almost ready for that inspection. Before we do, I want to make sure everything is just right, because once that inspection is passed, then it is a flurry to getting the insulation in and then the drywall covers everything up. At that point, it is much more complicated and difficult (translates as ‘expensive’) to make changes to items inside the wall.
So we’re going to take a little break from construction for a week or two to make sure that we’ve reviewed everything carefully and to create punch-lists of all the things that need to be corrected before proceeding. At the same time we’re going to review the contracts and budgets to make sure all is in line and we are tracking with what we thought things were going to cost. Once that is done, it will be back to business.